


Use Application Service Adapter to push the spring-music app
This how-to uses Application Service Adapter to push the spring-music app and bind it to a MySQL-compatible database represented as a CF service instance.
See spring-music sample Java application.
Prerequisites
You must have a Java version between 8 and 17 installed to your local workstation.
Clone and prepare the application locally
From the command line, clone the spring-music sample application Git repository to a directory on your local workstation:
git clone https://github.com/cloudfoundry-samples/spring-musicChange into the root directory of the cloned repository:
cd spring-musicBuild a runnable Spring Boot JAR file for the application:
./gradlew clean assemble
Push the app without persistent storage
Ensure you are logged into the Application Service Adapter environment you intend to use and that you have targeted the desired Cloud Foundry org and space. You can use cf target to verify this context.
Use the cf CLI to push the application to your Application Service Adapter environment:
cf pushYou should see output similar to the following:
Pushing app spring-music to org o / space s as cf-admin...
Applying manifest file /Users/tanzu/workspace/spring-music/manifest.yml...

Updating with these attributes...
  applications:
  - name: spring-music
    path: /Users/tanzu/workspace/spring-music/build/libs/spring-music-1.0.jar
    memory: 1G
    random-route: true
    env:
      JBP_CONFIG_SPRING_AUTO_RECONFIGURATION: '{enabled: false}'
      SPRING_PROFILES_ACTIVE: http2
Manifest applied
Packaging files to upload...
Uploading files...
 52.64 MiB / 52.64 MiB [==========================================] 100.00% 31s

Waiting for API to complete processing files...

Staging app and tracing logs...

   Build reason(s): CONFIG
...

Waiting for app spring-music to start...

Instances starting...

name:              spring-music
requested state:   started
routes:            spring-music-stellar-sitatunga-cz.apps.example.com
last uploaded:     Tue 08 Nov 16:24:36 PST 2022
stack:             io.buildpacks.stacks.bionic
buildpacks:

type:            web
sidecars:
instances:       1/1
memory usage:    1024M
start command:   java "org.springframework.boot.loader.JarLauncher"
     state     since                  cpu    memory   disk     logging      details
#0   running   2022-11-09T00:25:33Z   0.0%   0 of 0   0 of 0   0/s of 0/s

type:            executable-jar
sidecars:
instances:       0/0
memory usage:    1024M
start command:   java "org.springframework.boot.loader.JarLauncher"
There are no running instances of this process.

type:            task
sidecars:
instances:       0/0
memory usage:    1024M
start command:   java "org.springframework.boot.loader.JarLauncher"
There are no running instances of this process.
The manifest for the spring-music application assigns it a random route by default, which is present in the
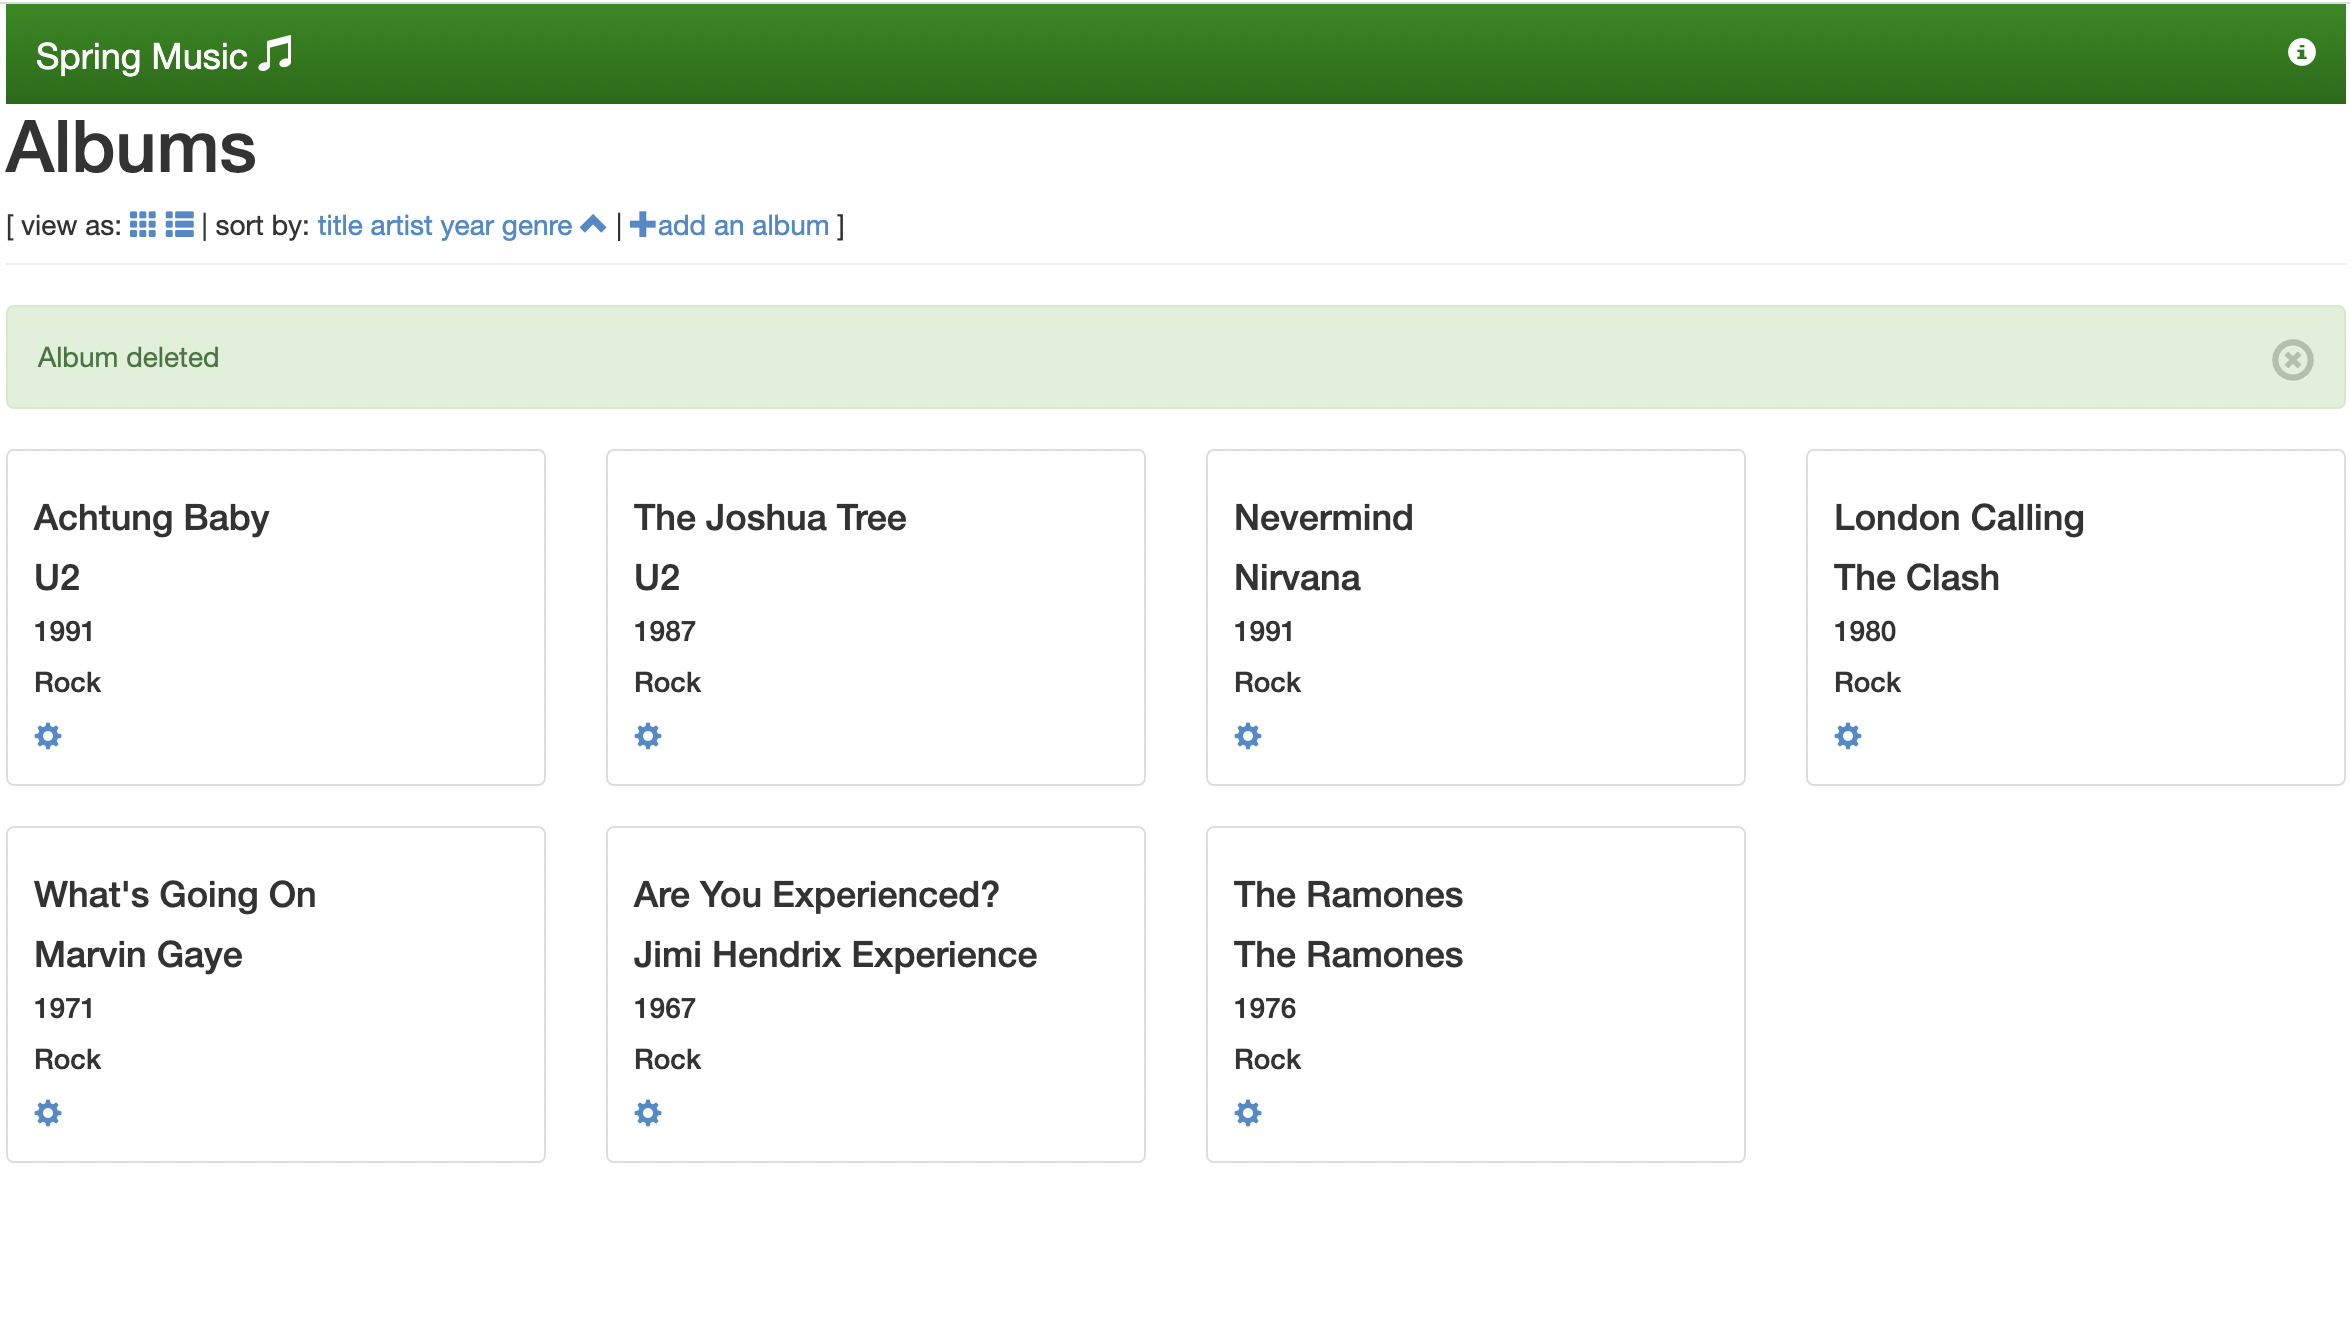
routesfield of thecf pushoutput. Navigate to the route URL in your browser and verify that it serves requests correctly. You should see a webpage similar to the following: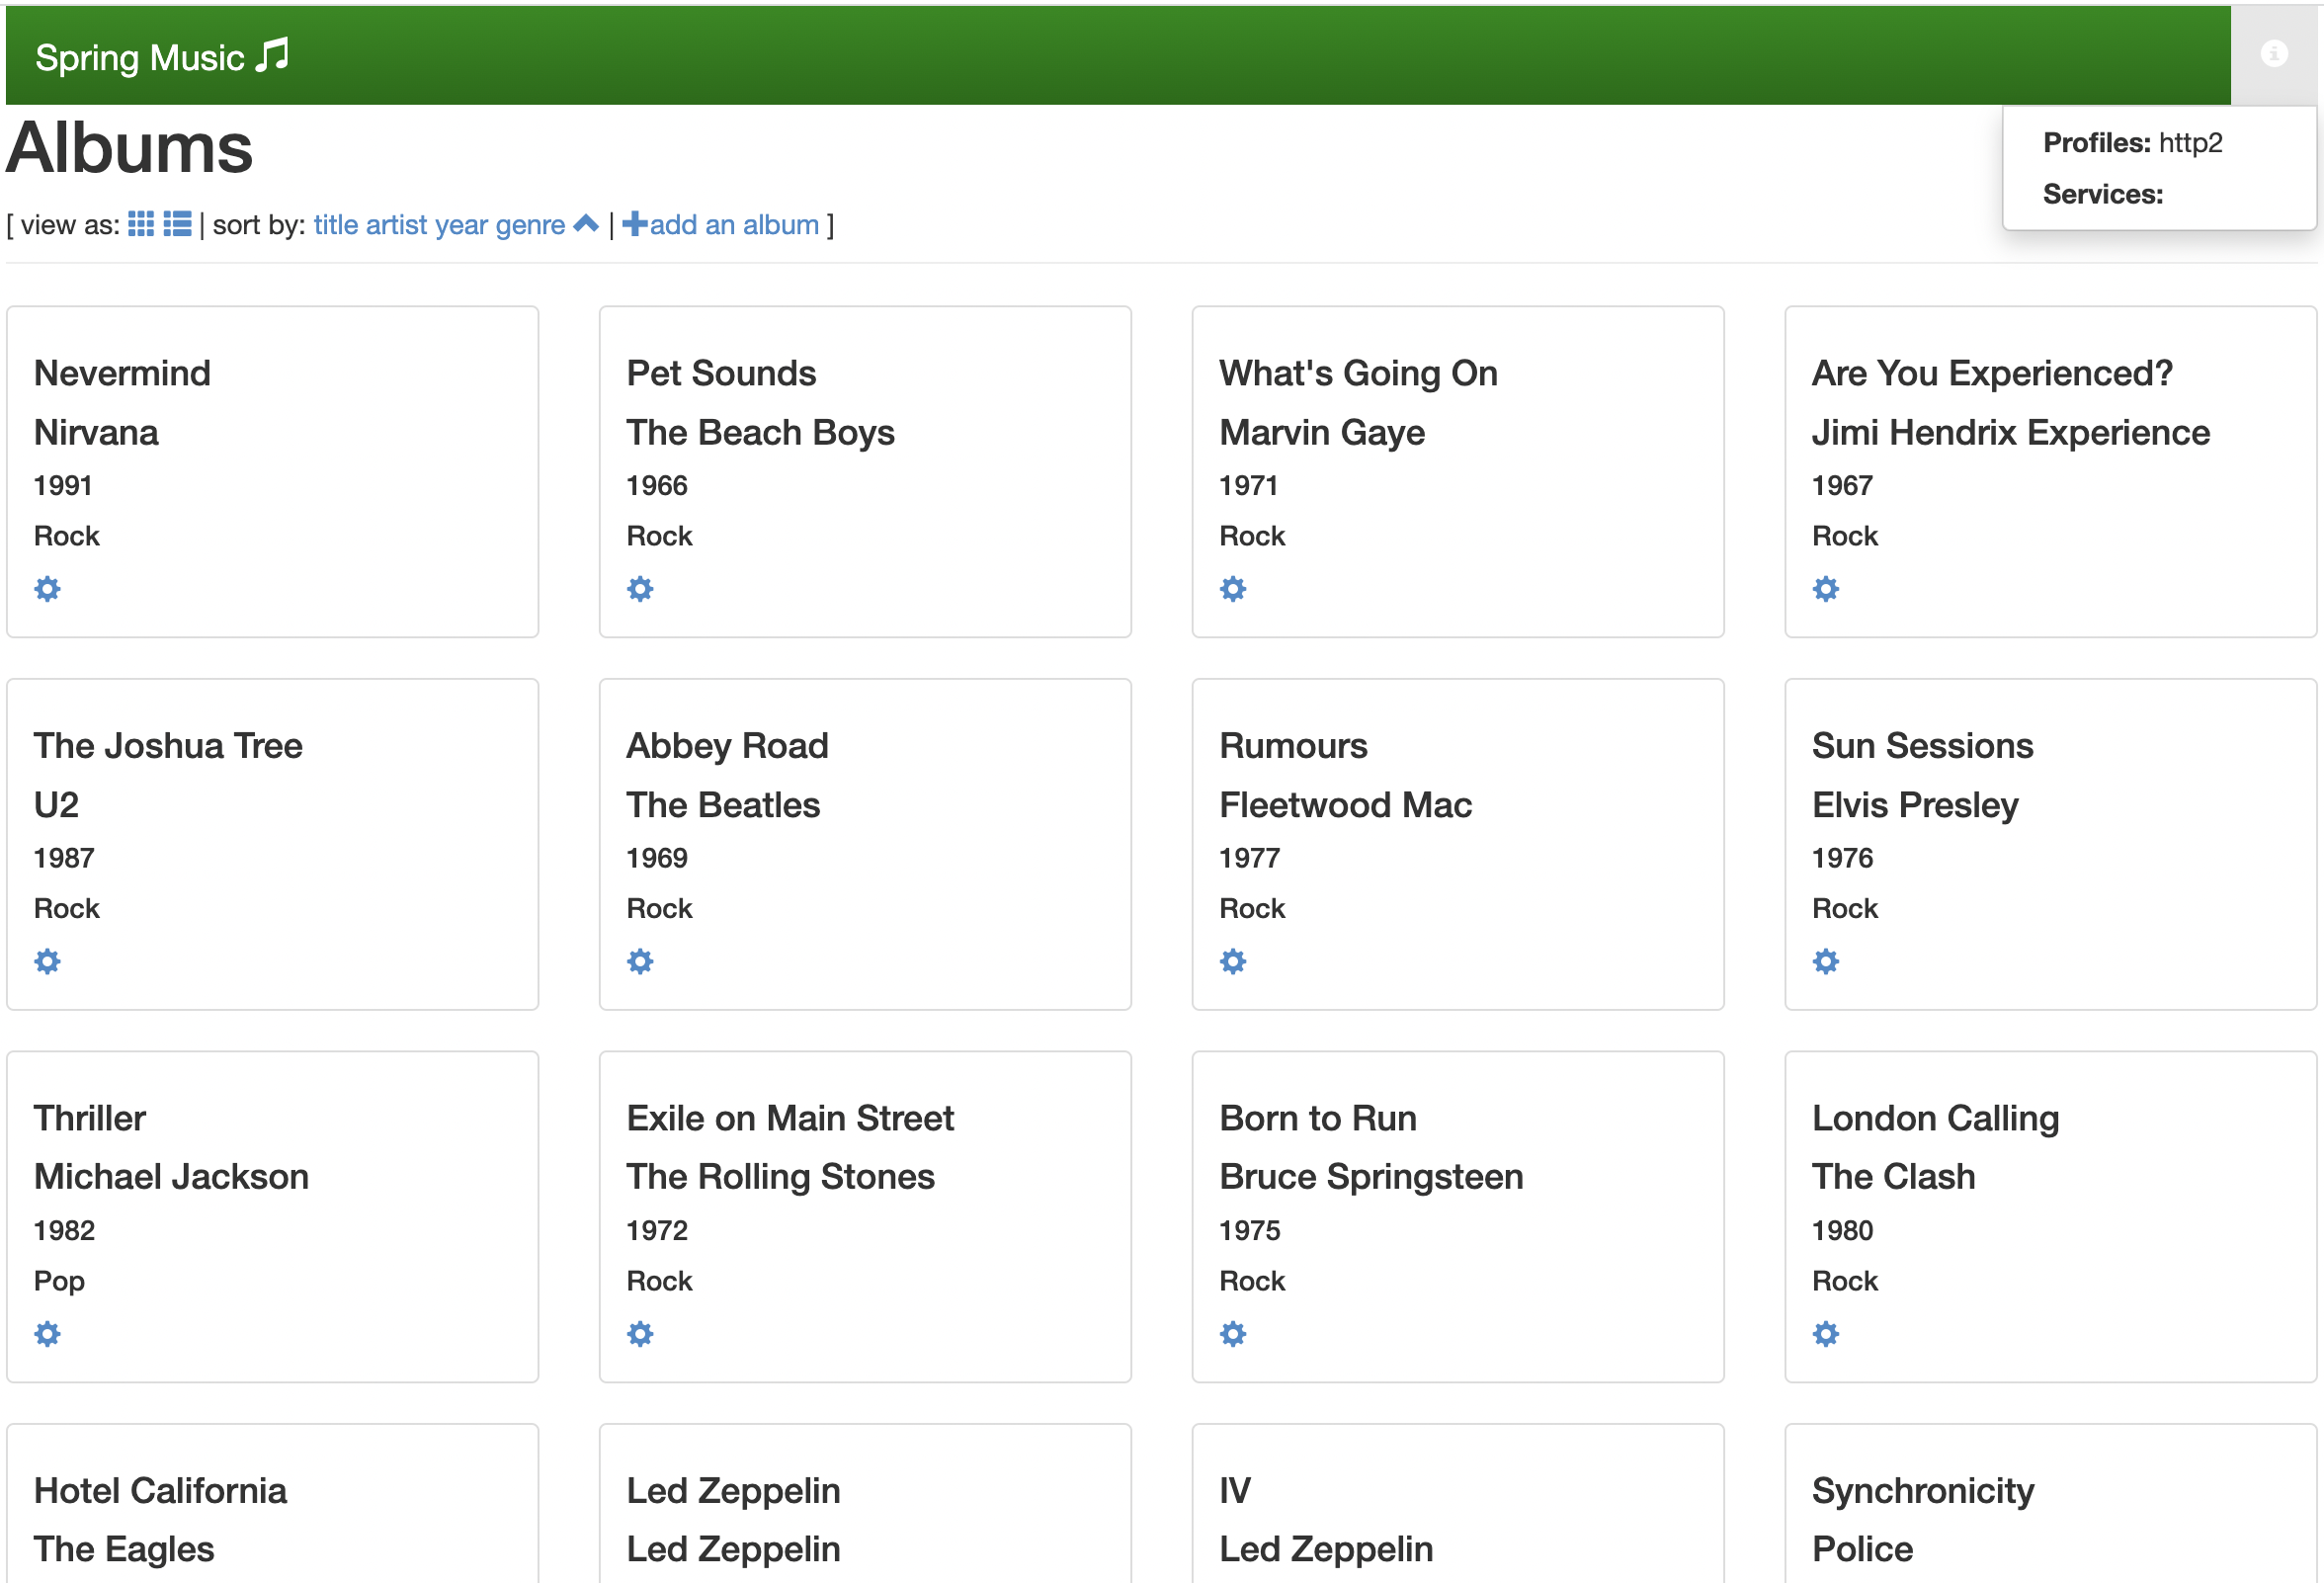
Make a few changes to the music catalog: use the gear icon on each entry to modify or delete some of the albums, and use the "add an album" link at the top of the page to add some albums.
Restart the spring-music application:
cf restart spring-musicThe application is unavailable for a short period of time while it restarts.
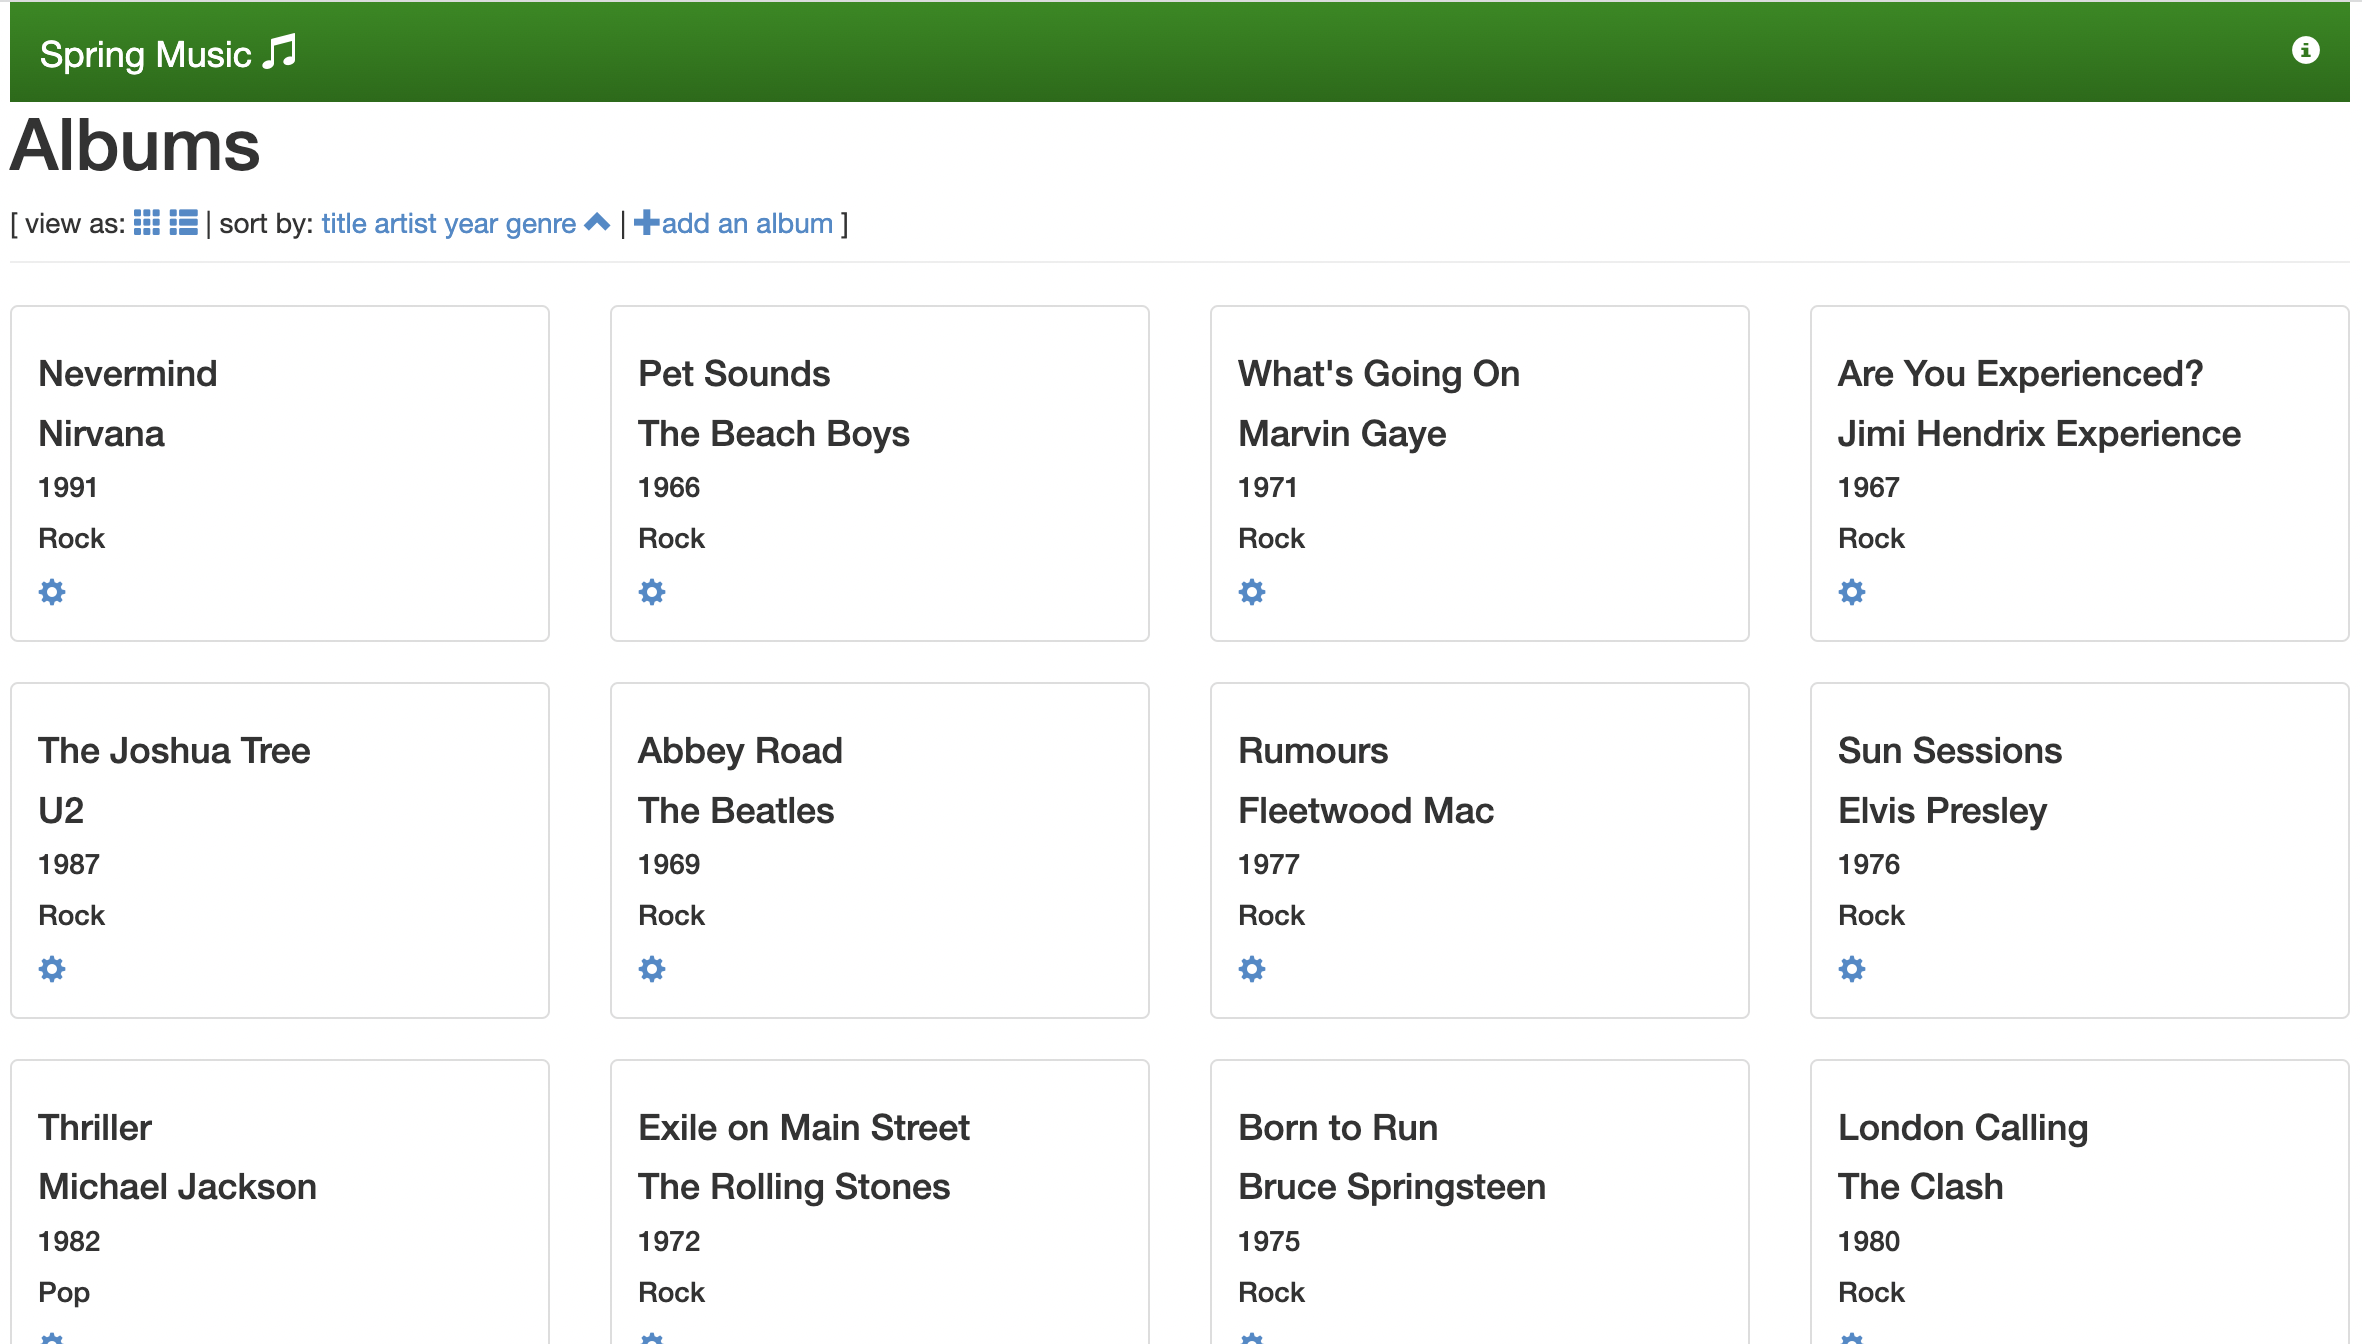
After it has finished restarting, refresh your browser window and observe that your modifications have not been preserved.
Create a database service for persistent storage
CautionThe following instructions provide an easy way to create a MySQL database on the same Kubernetes cluster as the Application Service Adapter installation, but this database deployment is not suitable for production use. If you require a production-grade database on Kubernetes, consider using VMware Tanzu SQL with MySQL for Kubernetes or VMware Tanzu SQL with Postgres for Kubernetes.
Create a separate namespace to run a containerized MySQL database:
kubectl create namespace service-instancesCreate a Kubernetes Deployment of a MySQL-compatible database in this namespace, along with a Kubernetes Service that exposes it inside the cluster and a Kubernetes Secret with credentials:
kubectl apply -n service-instances -f - <<EOF
---
apiVersion: v1
kind: Secret
metadata:
  name: spring-music-db
type: servicebinding.io/mysql
stringData:
  type: mysql
  provider: mariadb
  host: spring-music-db.service-instances.svc
  port: "3306"
  database: default
  # demo credentials
  username: user
  password: pass

---
apiVersion: v1
kind: Service
metadata:
  name: spring-music-db
spec:
  ports:
  - port: 3306
  selector:
    app: spring-music-db

---
apiVersion: apps/v1
kind: Deployment
metadata:
  name: spring-music-db
  labels:
    app: spring-music-db
spec:
  selector:
    matchLabels:
      app: spring-music-db
  template:
    metadata:
      labels:
        app: spring-music-db
    spec:
      # no persistance configured, the database will be reset when the pod terminates
      containers:
      - image: mariadb:10.5
        name: mysql
        env:
        - name: MYSQL_USER
          valueFrom:
            secretKeyRef:
              name: spring-music-db
              key: username
        - name: MYSQL_PASSWORD
          valueFrom:
            secretKeyRef:
              name: spring-music-db
              key: password
        - name: MYSQL_DATABASE
          valueFrom:
            secretKeyRef:
              name: spring-music-db
              key: database
        - name: MYSQL_ROOT_PASSWORD
          value: root
        ports:
        - containerPort: 3306
          name: mysql
        livenessProbe:
          tcpSocket:
            port: mysql
        readinessProbe:
          tcpSocket:
            port: mysql
        startupProbe:
          tcpSocket:
            port: mysql
EOF
Verify that the Deployment for the database is ready:
kubectl get deploy -n service-instances spring-music-dbYou should see output similar to the following:
NAME              READY   UP-TO-DATE   AVAILABLE   AGE
spring-music-db   1/1     1            1           4m
If the
READYcolumn does not display1/1, wait a few moments and inspect the Deployment again.
Bind the database to the application
Create a user-provided service instance in the Cloud Foundry space containing the JSON-formatted contents of the
spring-music-dbSecret:MYSQL_CRED_JSON=$(kubectl -n service-instances get secret spring-music-db -ojson | jq '.data | map_values(@base64d)') cf create-user-provided-service spring-music-db -p "$MYSQL_CRED_JSON"Bind the service instance to the spring-music application:
cf bind-service spring-music spring-music-dbRestage the application:
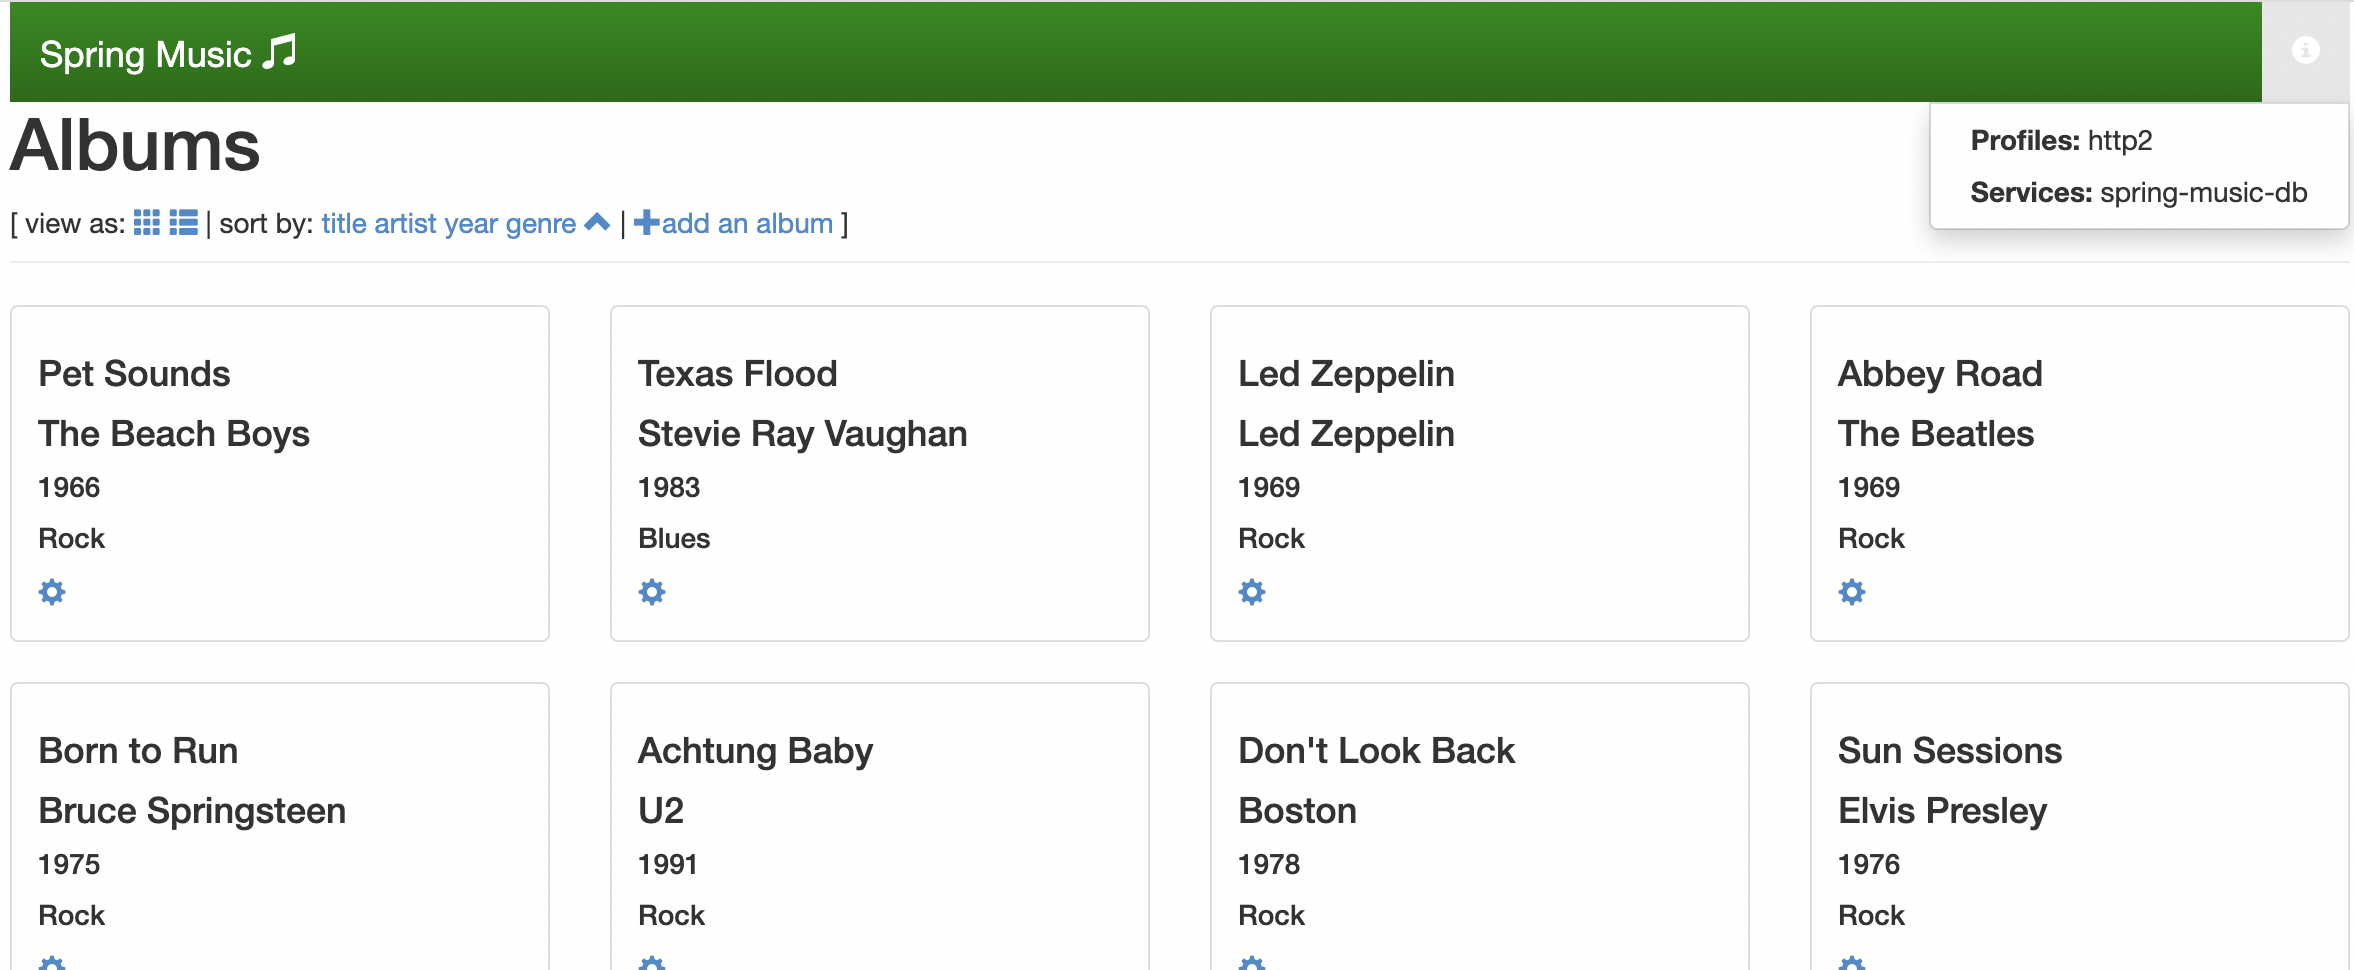
cf restage spring-musicAfter the application finishes restaging and restarting, refresh the browser window with the spring-music application and click on the app information icon in the upper right corner. It should indicate that the application is bound to the spring-music-db service:
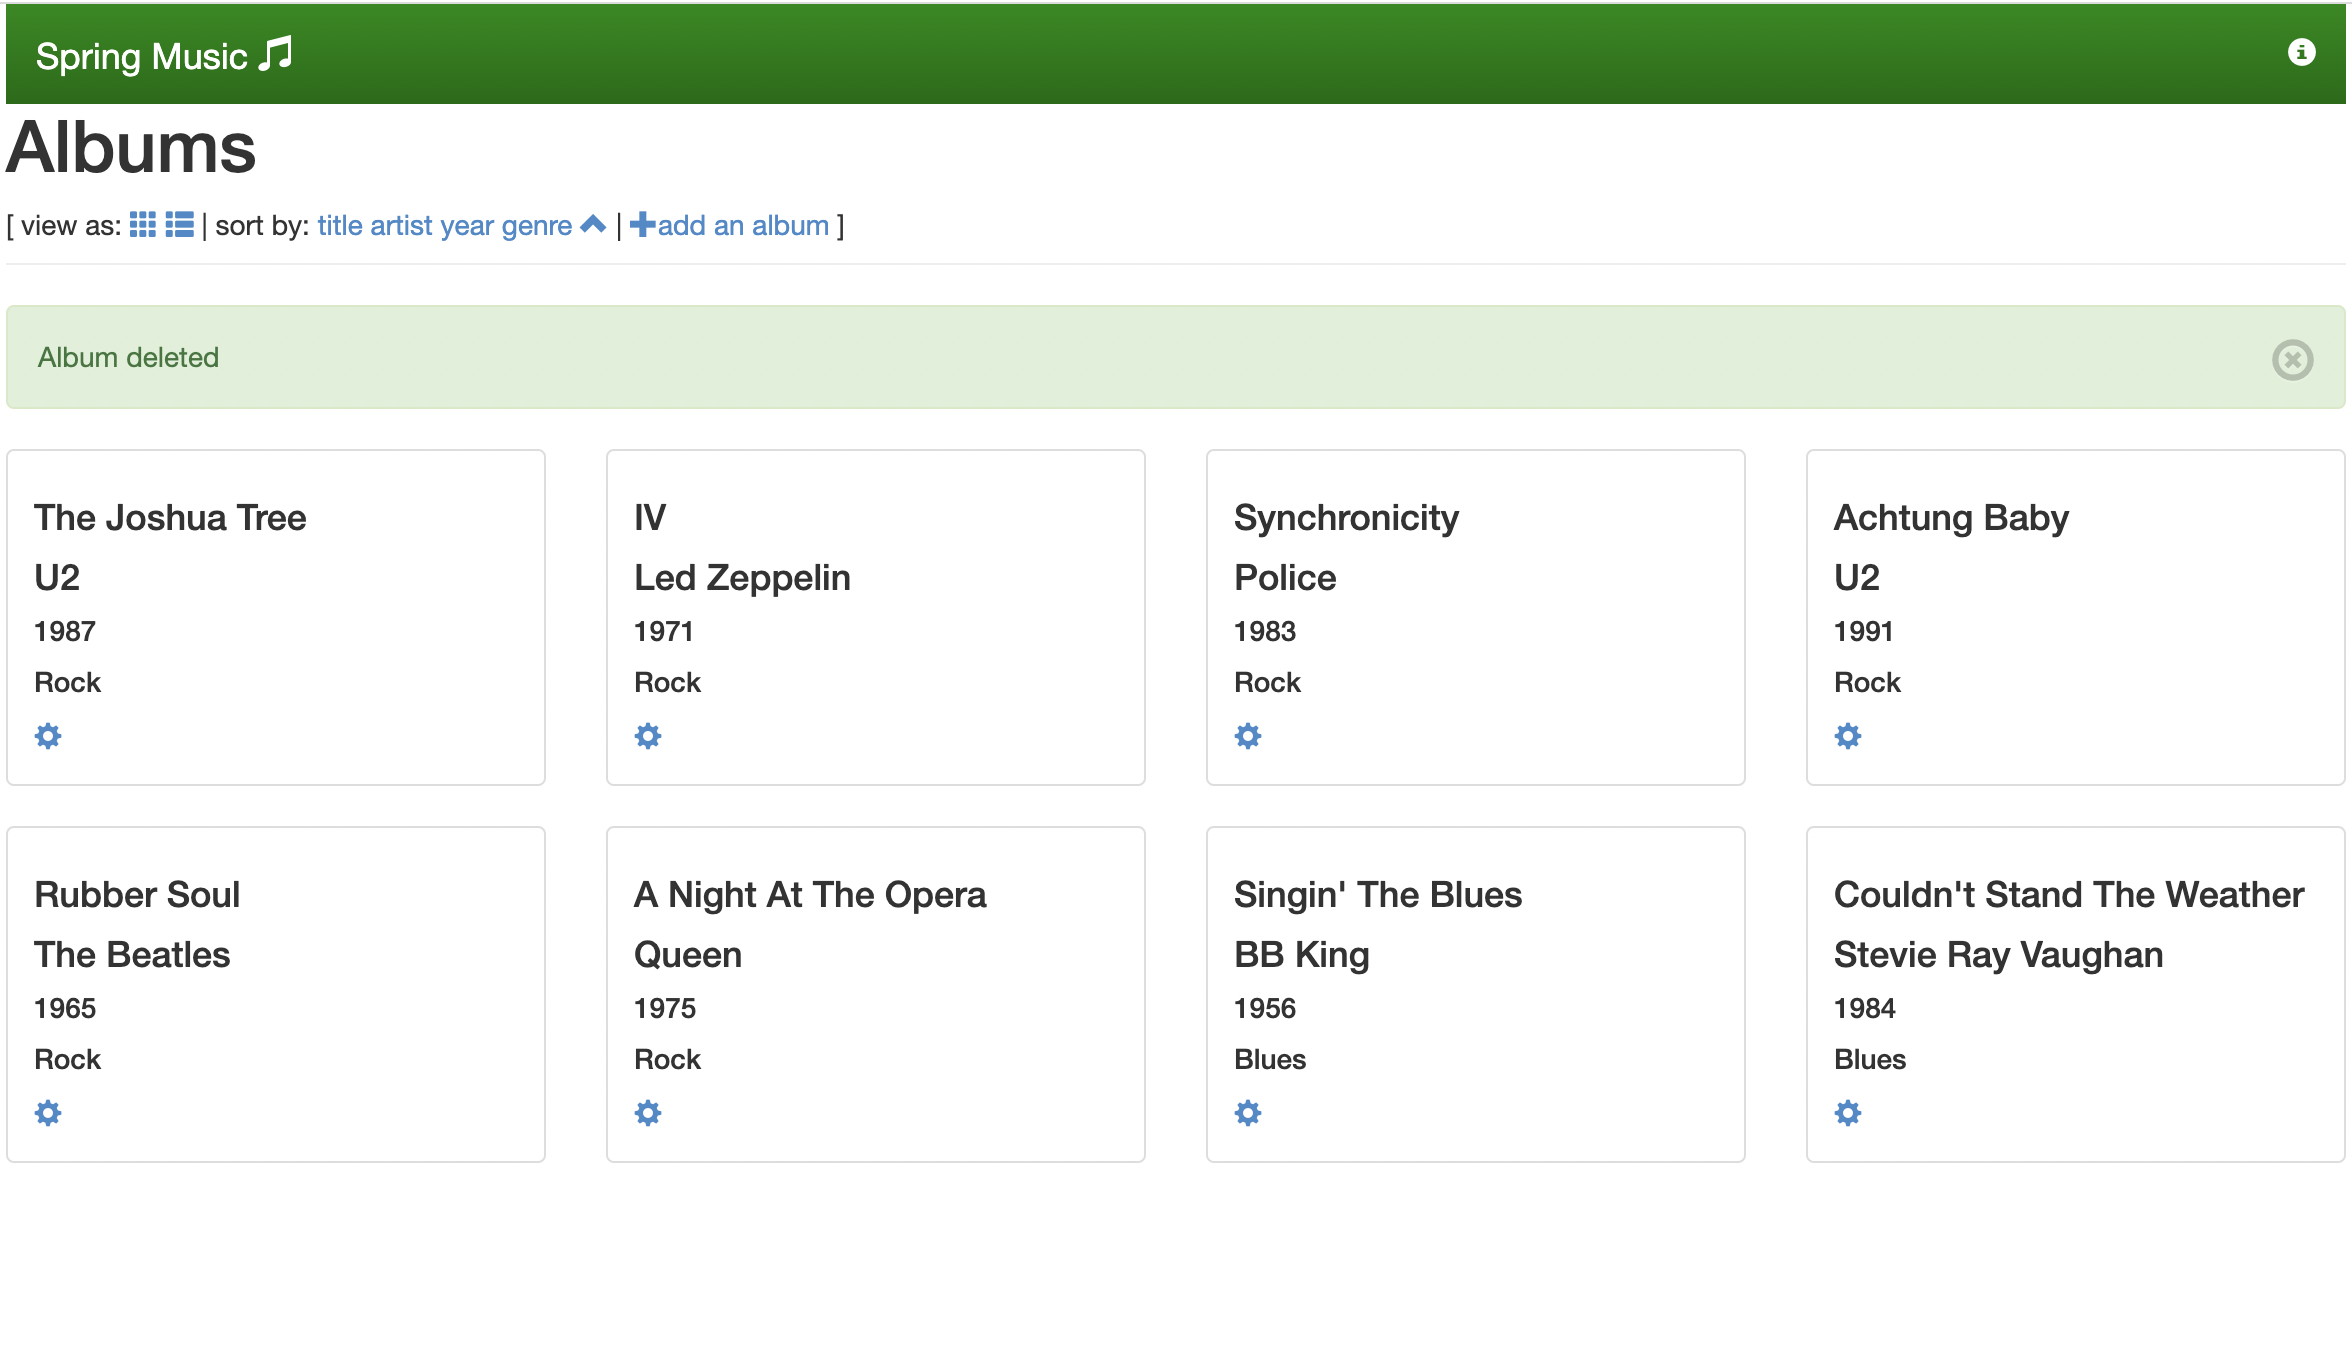
Make modifications to the album catalog again:
Restart the spring-music application again:
cf restart spring-musicRefresh the browser window and observe that the changes you made now persist through application restarts.
