


This topic tells you how to install and configure CredHub Service Broker.
Prerequisites
To install and configure the CredHub Service Broker, you must have CredHub instances available in your VMware Tanzu Application Service for VMs (TAS for VMs) deployment.
To confirm the number of CredHub instances available, perform the following actions:
-
Click the TAS for VMs tile in the Tanzu Operations Manager Installation Dashboard.
-
Select the Resource Config tab.
-
Locate the CredHub job and verify that the number of instances is set to at least
1.The number of instances that you need depends on both the version of TAS for VMs and whether or not you want high availability:
In TAS for VMs version… For high availability, set to… Default value is… 2.7 and earlier 2or more02.8 and later 3or more2
For more information on installing and configuring TAS for VMs for your chosen IaaS, see TAS for VMs.
Install CredHub Service Broker
To install the CredHub Service Broker tile on the Tanzu Operations Manager Installation Dashboard, do the following:
-
Download the product file from Broadcom Support Portal.
-
Go to the Tanzu Operations Manager Installation Dashboard and click Import a Product to upload the product file.
-
Under the Import a Product button, click + next to the version number of CredHub Service Broker. This adds the tile to your staging area.
Configure CredHub Service Broker
To configure the CredHub Service Broker:
-
Click the newly added CredHub Service Broker tile.
-
Follow the procedures below.
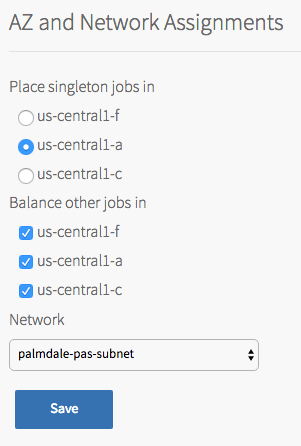
Configure AZs and Networks
To set the availability zones and network to deploy on, do the following:
-
Click Assign AZs and Networks.
-
Select a region under Place singleton jobs in and Balance other jobs in.
-
Select the Network where to deploy CredHub Service Broker. You may select any network.
-
Click Save
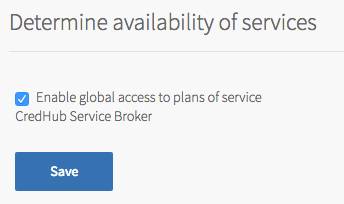
Configure Services Access
To confirm the default network that the CredHub Service Broker will be deployed on, do the following:
-
Click Services Access.
-
Ensure the Enable global access to plans of service CredHub Service Broker checkbox is selected.
-
Click Save
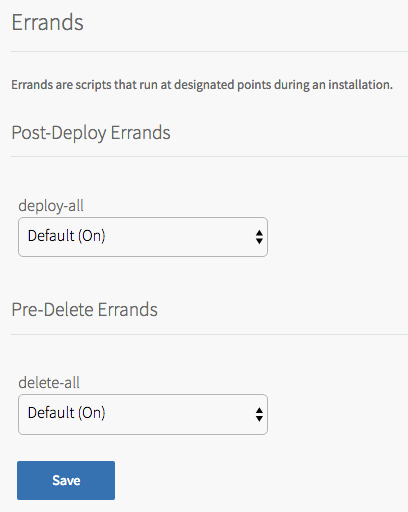
Configure Errands
To determine the errands will run after deployment and to ensure that the pre-delete errands will run if the tile is ever uninstalled, do the following:
-
Click Errands.
-
Ensure deploy-all is set to Default (On) under Post-Deploy Errands.
-
Ensure delete-all is set to Default (On) under Pre-Delete Errands.
-
Click Save.
Deploy CredHub Service Broker
To complete the installation and deploy the CredHub Service Broker tile, do the following:
-
Return to the Tanzu Operations Manager Installation Dashboard.
-
Click Apply Changes to deploy CredHub Service Broker.
