


Learn how to install Metric Store.
Prerequisites
For a list of compatible Tanzu Operations Manager and VMware Tanzu Application Service versions, see Product Snapshot.
Install Metric Store
- Download the product file from Broadcom Support.
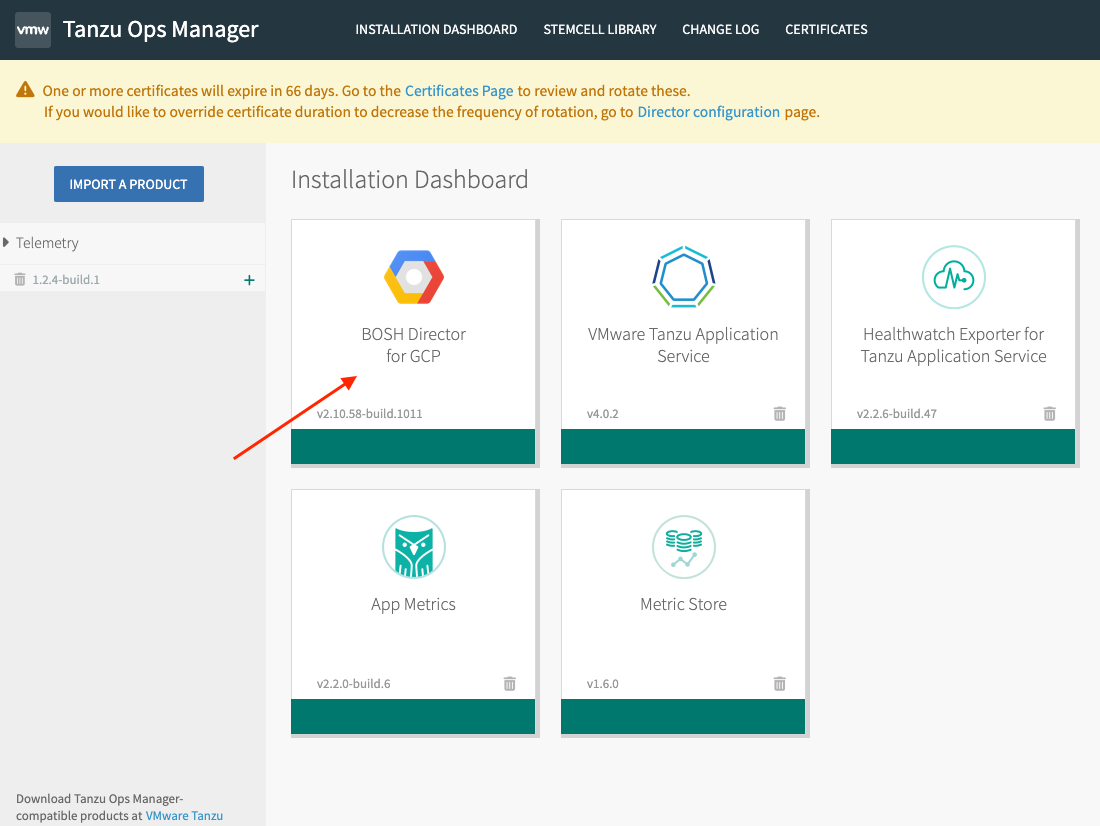
- Go to the Tanzu Operations Manager Installation Dashboard and click Import a Product to upload the product file.
- Under the Import a Product button, click + next to the version number of Metric Store. This adds the tile to your staging area.
Create a Network
If you do not want to use an existing network for Metric Store, you can create a new network by completing these steps:
-
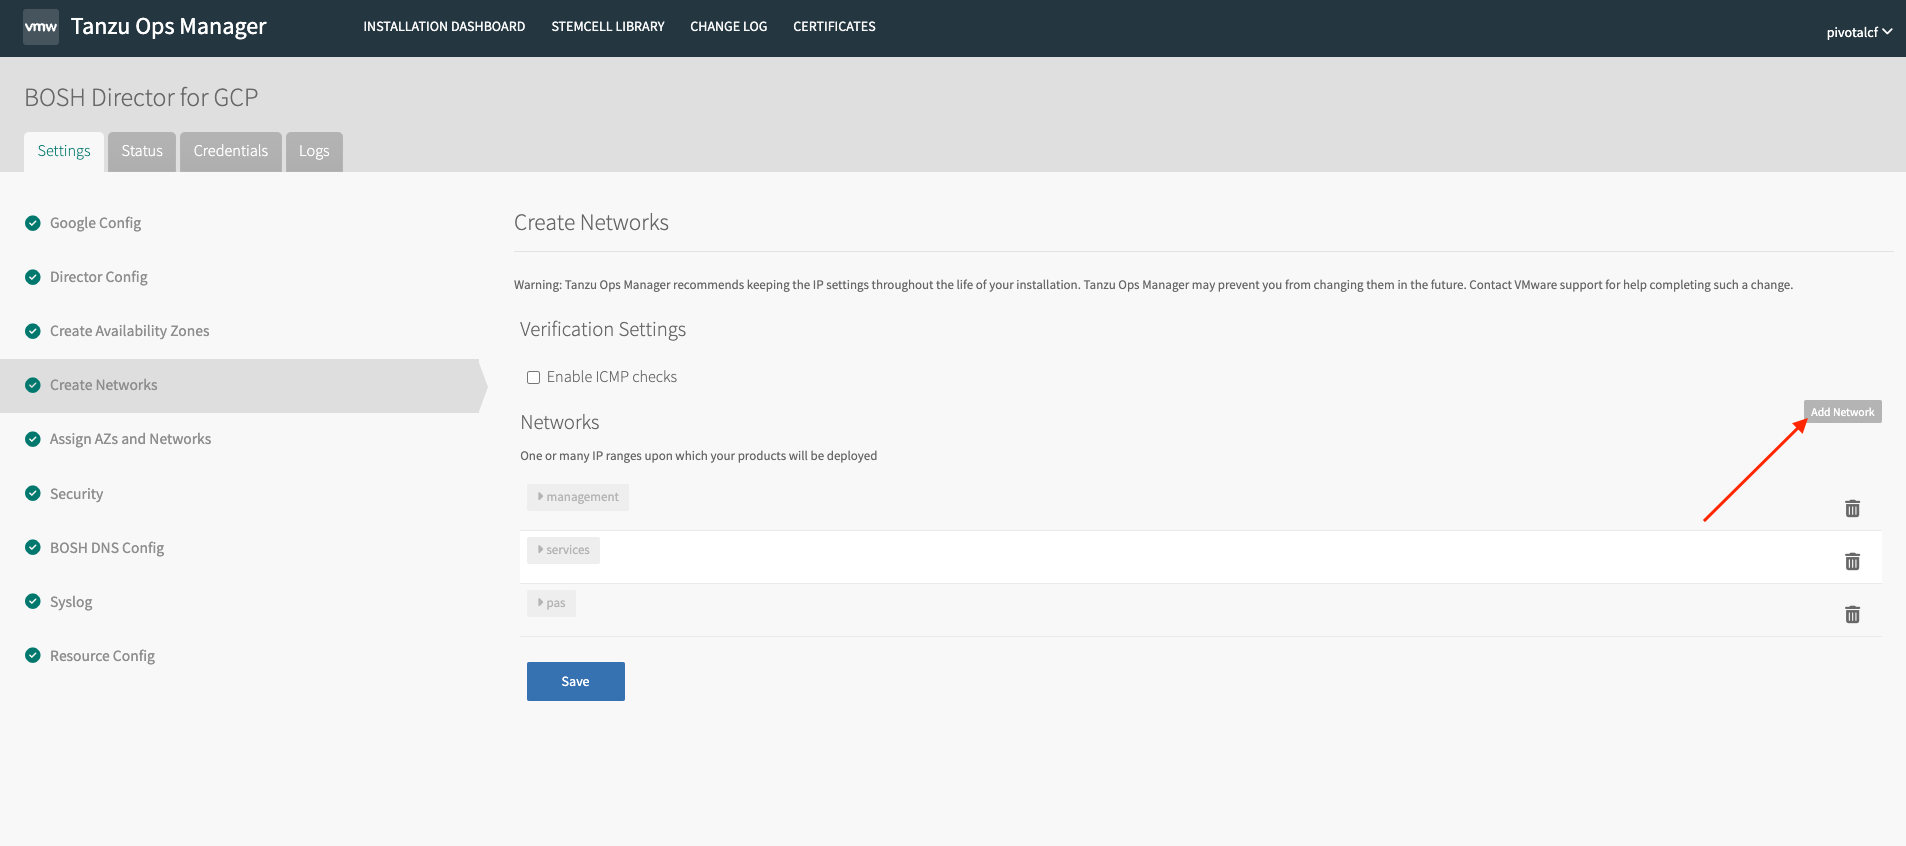
Click the BOSH Director tile on the Tanzu Operations Manager Installation Dashboard.
-
Go to Create Networks and click Add Network.
-
In the Name text box, enter a name for the service network.
- Enter the network details.
- Click Save.
Configure the Metric Store Tile
To configure the Metric Store tile, perform the following steps:
- Click the Metric Store tile on the Tanzu Operations Manager Installation Dashboard.
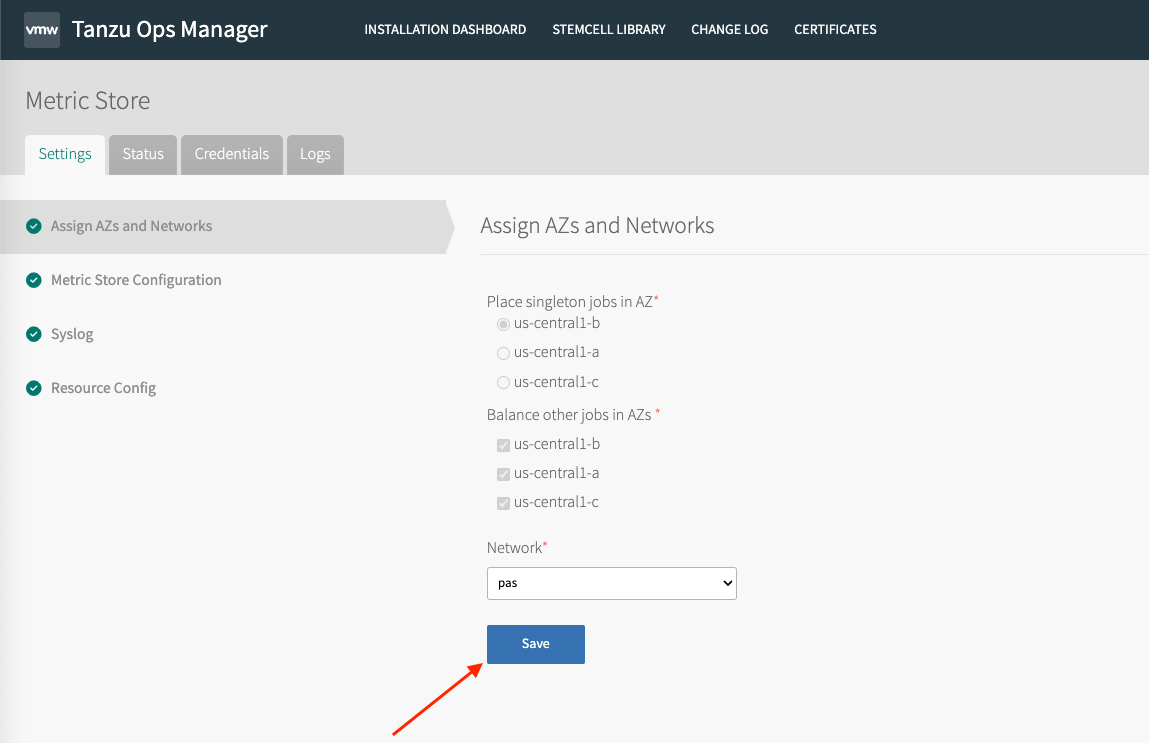
- Go to Assign AZs and Networks.
- Select an Availability Zone (AZ) for placing singleton jobs.
- Select one or more AZs for balancing other jobs. To create a highly available environment, VMware recommends selecting multiple AZs.
-
Select Network for installing Metric Store.
-
Click Save.
Metric Store Resources
You can configure Metric Store resources in the Resource Config section of the Metric Store tile. By default, Metric Store configuration is pre-selected for all deployments.
| Resource | Instances | CPU | RAM | Ephemeral Disk | Persistent Disk | Static IP | Dynamic IP |
|---|---|---|---|---|---|---|---|
| Metric Store | 3 | 4 | 32 GB | 30 GB | 250 GB | 0 | 1 |
Verifying installation of Metric Store
Please see the Authorization and Authentication section of the topic Using Metric Store.
