


This topic describes how to install and configure Minio for VMware Tanzu.
Install Minio for VMware Tanzu
- Download the Minio Tile from Pivotal Network.
- Navigate to the Ops Manager Installation Dashboard and click Import a Product to upload the tile.
- Under the Import a Product button, click + next to the version number of Minio. This adds the tile to your staging area.
Configure Minio Tile
- Click on the newly added Minio for VMware Tanzu Tile.
- Fill in the configuration.
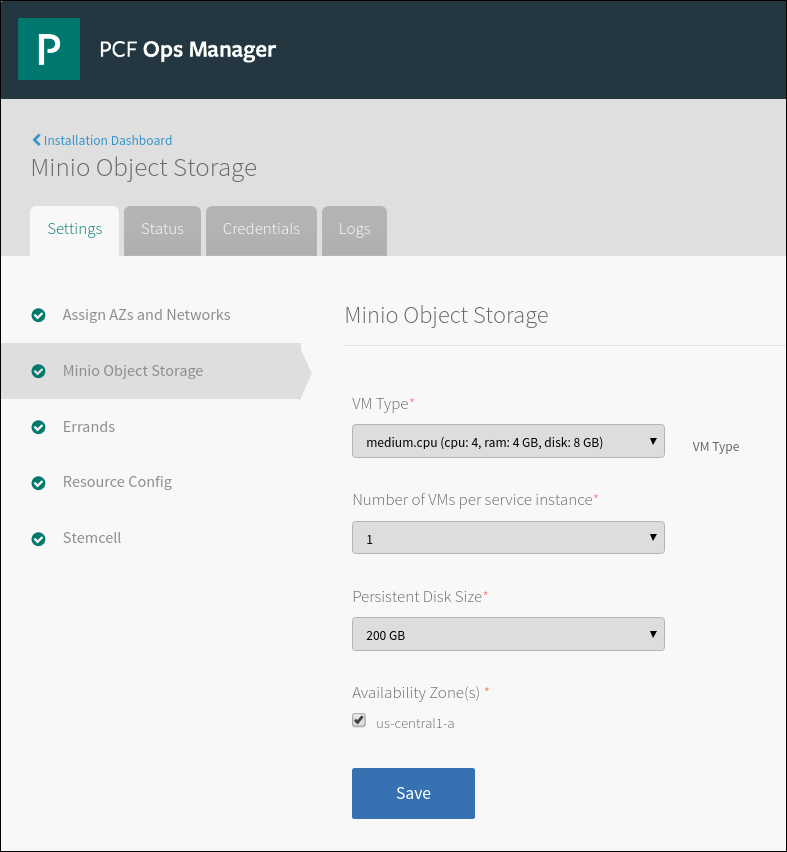
- VM Type: Select the VM configuration of Minio instance.
Minio itself is lightweight and can run on embedded systems as well as on multi-core servers. Hence the configuration of the VM will depend on the workload. A Virtual Machine with 4G of RAM and 2-cores should be good for most workloads. - Number of VMs per service instance:
1: You can choose “1” if the VM’s local disk is well protected (i.e if the virtual disks are on VMware, vSAN, or on Public clouds - Google Cloud Platform, Microsoft Azure, or Amazon Web Services)
4 to 16: You can choose 4-16 VMs to provide protection against disk and node failures. Minio uses erasure-coding and bit-rot detection techniques to provide protection from the disk and node failures. With erasure-code, usable space is half of total storage space (numberOfVMs*persistentDiskSize)/2. For example if you choose 6 VMs and 100G per VM, object storage space will be 300G. Minio uses half the storage space to store data and half the space to store parity information.
- Persistent Disk Size: Size of the persistent disk in a VM.
- Availability Zone(s): Select one or more availability zones.
- VM Type: Select the VM configuration of Minio instance.
- Click Save.
- Return to the Ops Manager Installation Dashboard and click Apply changes to install the Minio Tile.
