This topic describes Identity Provider (IdP) Discovery and tells you how to configure it for your VMware Tanzu Application Service for VMs (TAS for VMs) apps that use Single Sign‑On for VMware Tanzu Application Service.
What IdP Discovery Does
If users with different email domains access the same TAS for VMs app, you can configure Single Sign‑On to authenticate them through different identity providers.
In this situation, IdP Discovery streamlines the login experience by automatically redirecting the user to their own IdP and shielding them from seeing the IdPs of other app users.
When a user logs in to an app, an account chooser autofills their email address from any previous login, or presents a choice if they have logged in from more than one account. Users can add or remove accounts from the account chooser.
Example
As an example, consider an app where some users log in with @example.com username and some with @gmail.com username. With IdP Discovery, users with both email domains can log in from the same login page and do not have to see or choose from a list of login options that covers all the domains. IdP Discovery ascertains each user’s IdP from their email domain.
Enable IdP Discovery
IdP Discovery is associated with a service plan, and configured for the apps bound to instances of that plan. To enable IdP Discovery for a service plan and the apps that use it, you must be an Admin or a Plan Admin.
To enable IdP Discovery:
-
Enable IdP Discovery for the Single Sign‑On service instance that your app is bound to:
- Log in at
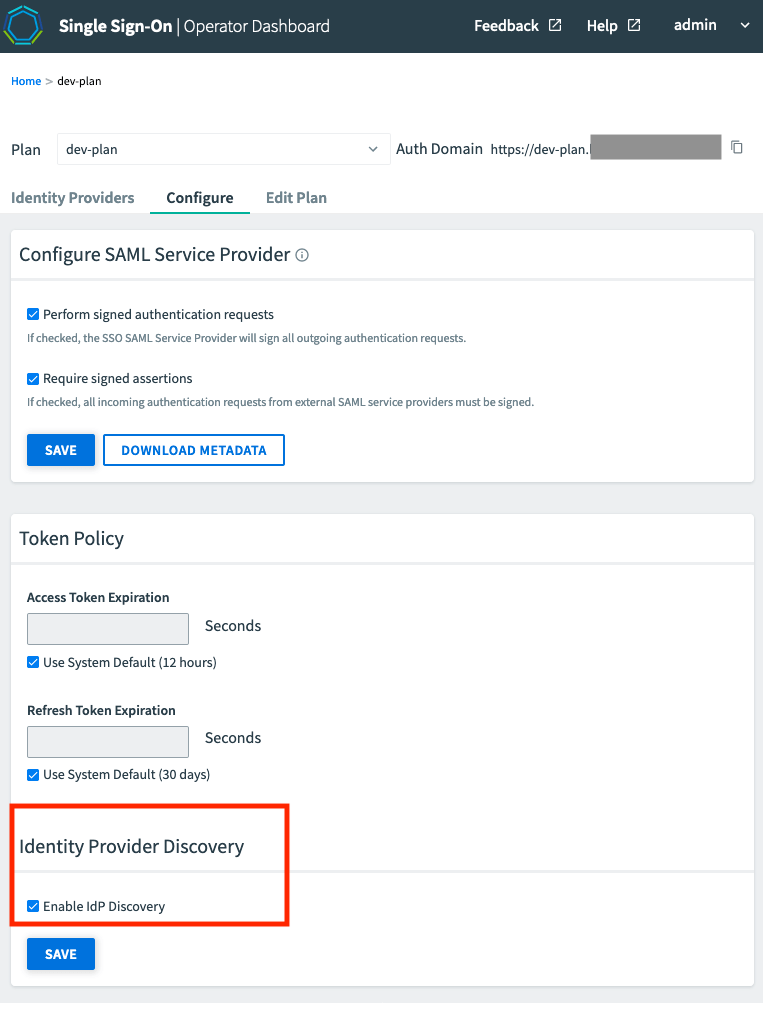
https://p-identity.SYSTEM-DOMAINusing your User Account and Authentication (UAA) admin credentials. You can find these credentials in your VMware Tanzu Application Service for VMs tile in Tanzu Operations Manager under the Credentials tab. - Click the plan name and then select the Configure tab.
- Select the checkbox under the Identity Provider Discovery section and click Save.
- Log in at
-
Click the plan name and then select the Identity Providers tab.
-
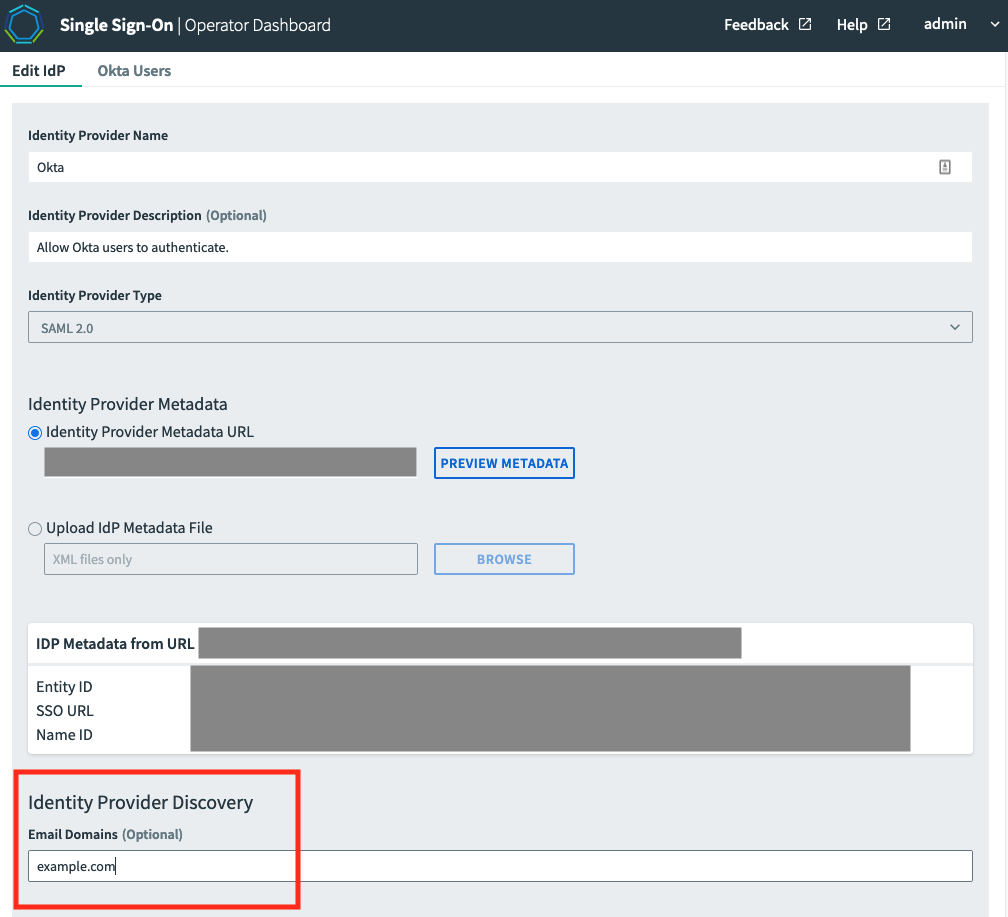
Click on the name of an identity provider to be associated with an Email domain.
-
Enter the Email domains you want to include as a comma-separated list under the configuration page for the identity provider plan, and click Save.
-
In Apps Manager, navigate to your space, open the Service tab, and select your service instance.
-
Click the Manage link under the service name, and edit the app configuration by selecting the required Identity Providers.
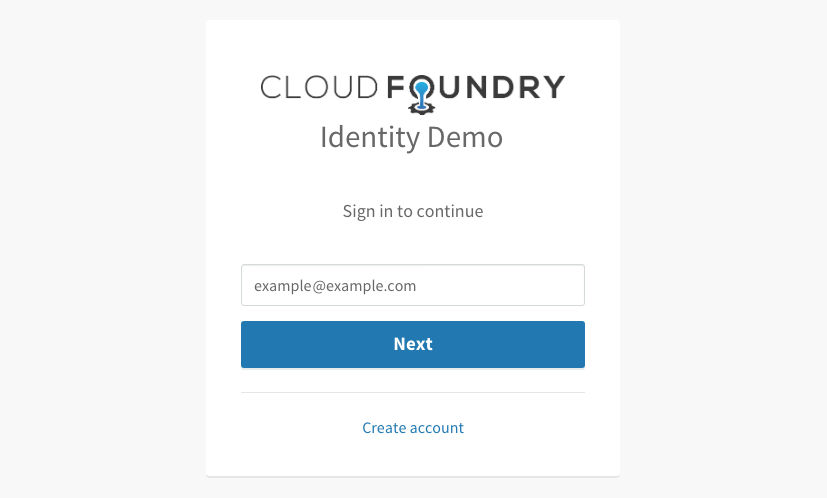
After these steps, the login page prompts for the username first:
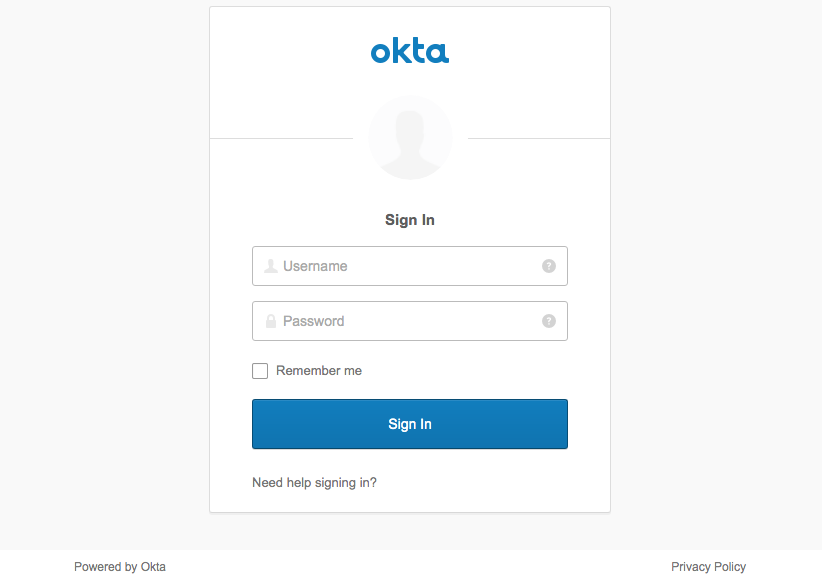
If the user enters their @example.com username, they are redirected to the Okta login page: