


This topic tells you how to set up PingOne Cloud as your identity provider by configuring SAML integration in both Single Sign‑On for VMware Tanzu Application Service and PingOne Cloud.
Overview
To set up PingOne Cloud as your identity provider through SAML integration:
- Set up SAML in Single Sign‑On
- Add a New SAML App
- Configure the SAML Settings
- (Optional) Specify App and Group Attributes
- Publish the SAML App
Set up SAML in Single Sign‑On
To set up SAML in Single Sign‑On, follow the steps in Configure SAML Settings.
Add a New SAML App
To add a new SAML app:
-
Sign in as a PingOne Cloud admin.
-
Navigate to your app by clicking on Apps.
-
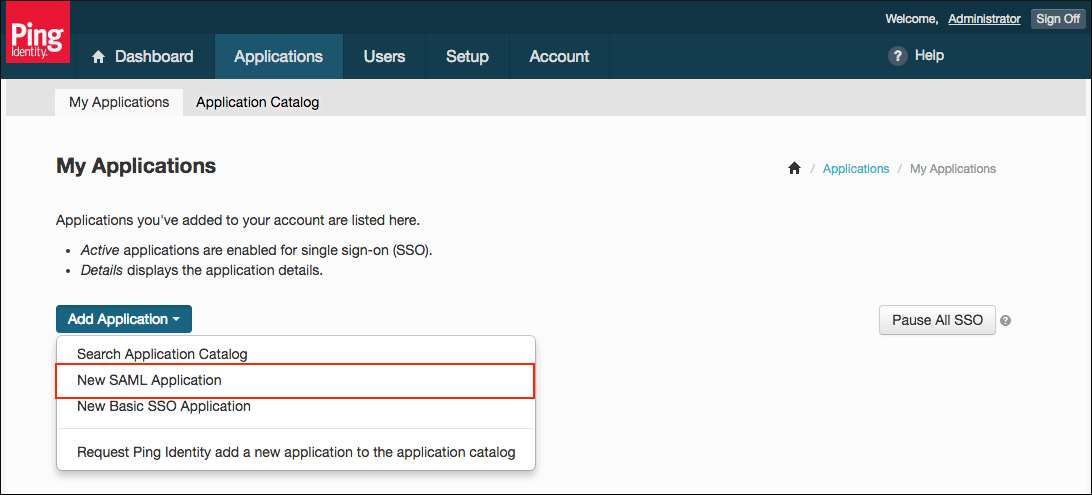
Click Add Application and choose New SAML Application.
-
Enter the Application Name, Application Description, Category and any Graphics.
-
Click Continue to Next Step to configure SAML.
Configure the SAML Settings
To configure the SAML settings:
-
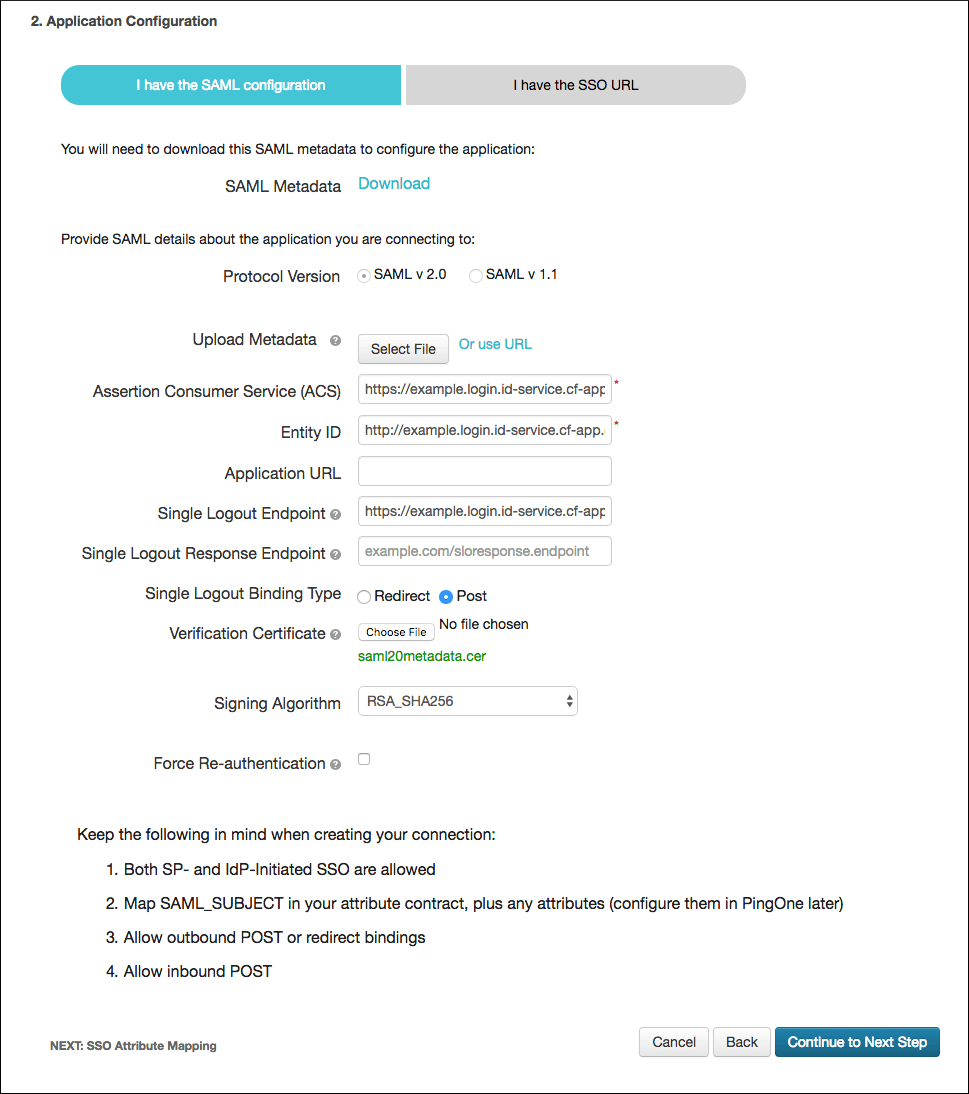
Select I have the SAML configuration.
-
For SAML Metadata, click Download to download the identity provider metadata.
-
For Protocol Version, select SAML v 2.0.
-
For Upload Metadata, click Select File and select the service provider metadata.
-
Click Continue to Next Step.
(Optional) Specify App and Group Attributes
To specify app and group attributes:
-
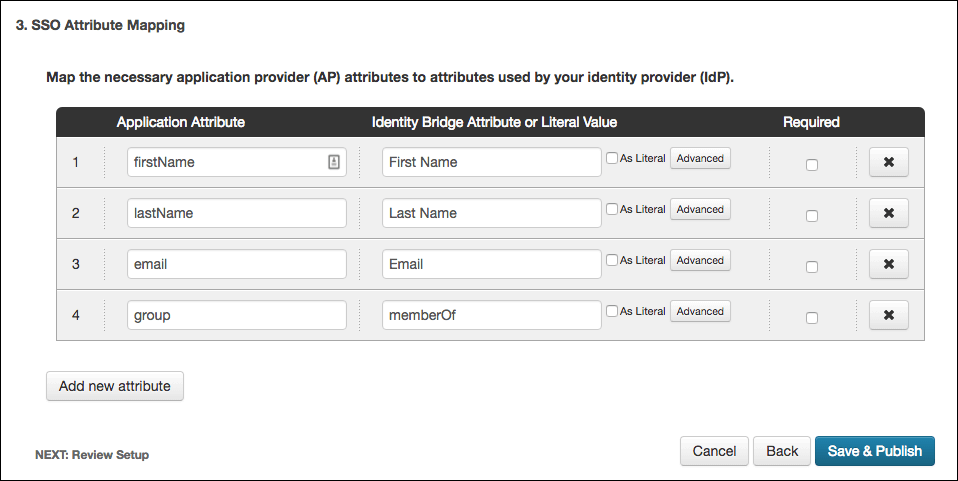
Under SSO Attribute Mapping, specify any app or group attributes that you want to map to users in the ID token.
Publish the SAML App
To publish the SAML app:
-
Click Save & Publish.
-
Click Finish.
