


RHEL based systems receive new network device interfaces with new IP settings applied along with incremented indexes in the interface names. For example, if the source system has two network interfaces eth0 and eth1, then the target system will obtain the network interface names as eth2 and eth3 respectively.
RHEL 7 — In RHEL 7, Consistent Network Device Naming is enabled by default. Thus no additional actions are required from a user/administrator perspective.
RHEL 6 — The
biosdevname utility does not work in operating system hosted on virtual machine. Hence you are required to execute the following workaround:
Note: This option requires that the system is not using NetworkManager (i.e
NM_CONTROLLED=no in
ifcfg-* files) (Source:
https://access.redhat.com/solutions/112643)
Procedure
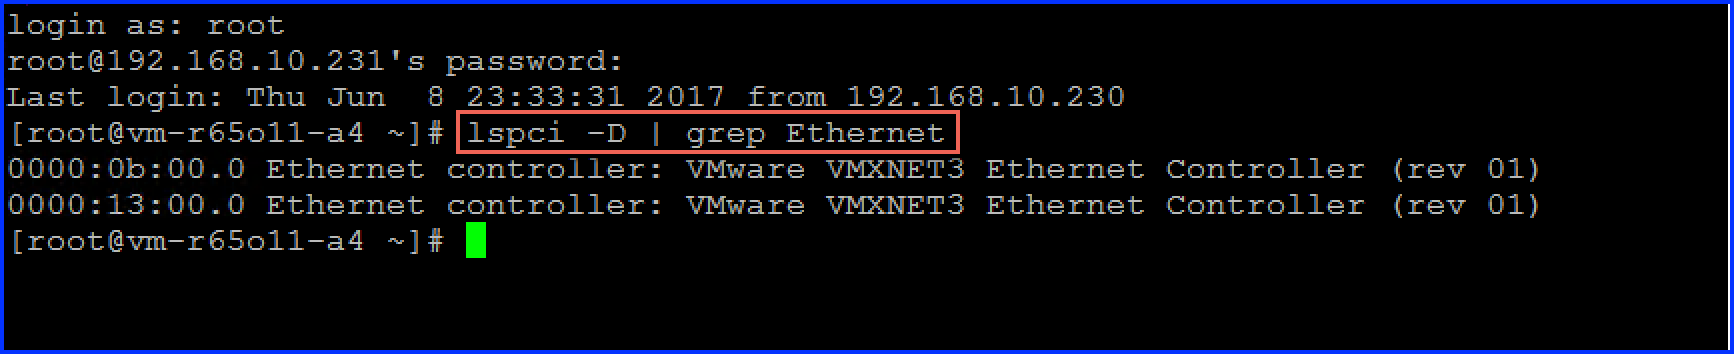
- Identify the PCI address of your Ethernet interfaces with lspci command as depicted in the following figure:
Figure 1. Login as root and execute lspci
- Create the /etc/udev/rules.d/60-persistent-net.rules file and fill it with the following type of network device NAME mapping, highlighted for reference as depicted in the following figure:
Figure 2. Create 60-persistent-net.rules file

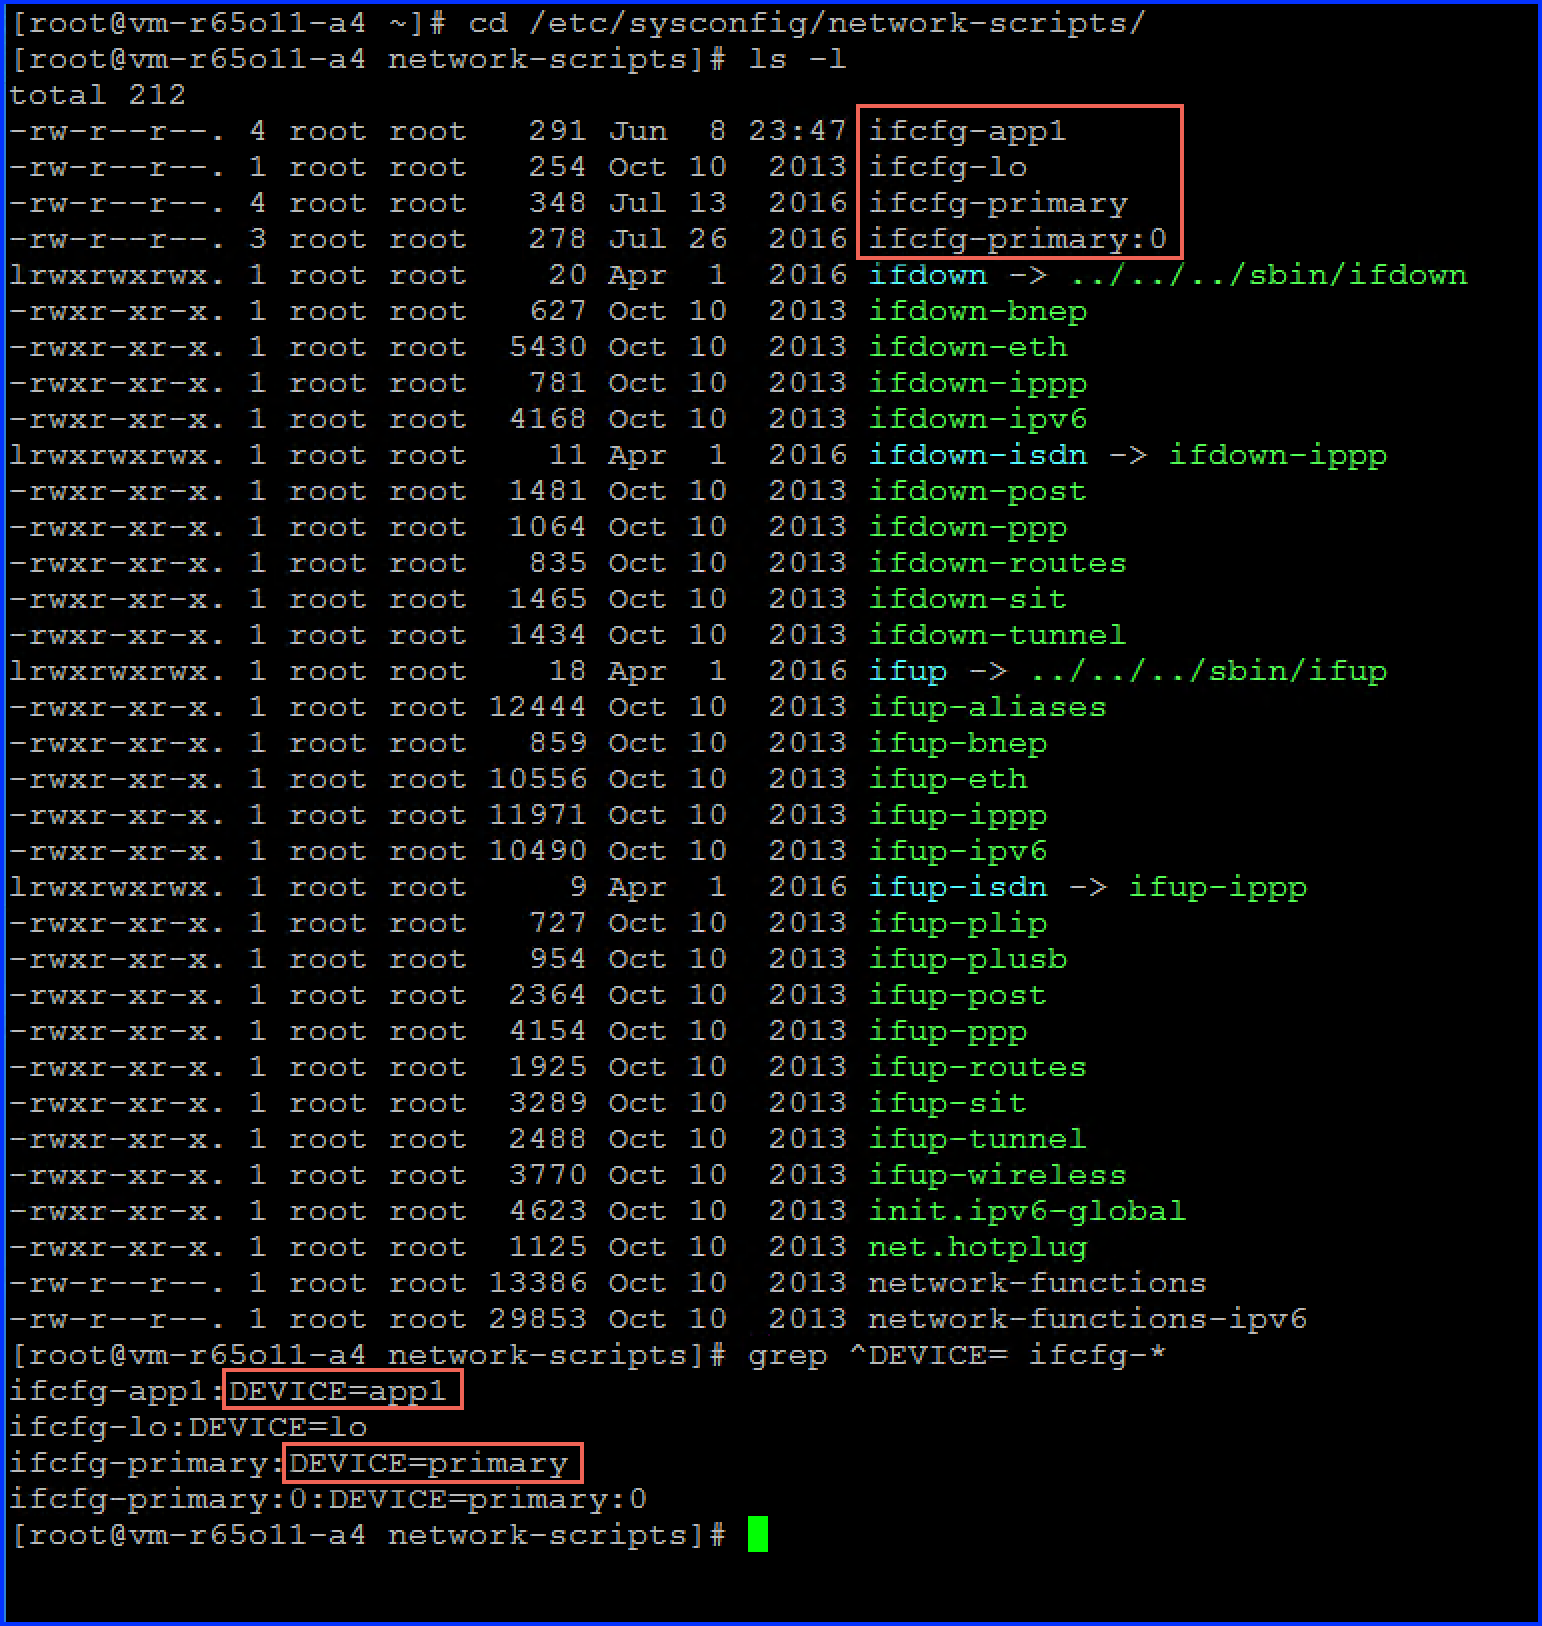
- Rename and modify (using any editor of your choice), /etc/sysconfig/network-scripts/ifcfg-* files to use the new names in the DEVICE=value fields. The following figure depicts the DEVICE values after modifying the corresponding ifcfg-* files (highlighted for reference).
Figure 3.
Results
After rebooting the operating system all the current network interfaces on the system will be renamed according to the Consistent Network Device Naming scheme.
