As a template developer, you can configure and deploy a Salt minion using cloud templates for air-gapped environments.

Prerequisites

  • Ensure that the /etc/salt/cloud.deploy.d folder on the Automation Config server contains the latest tarball with the latest version of the installer files.
  • Ensure that your VM has python 3 installed and configured.
  • On your VM, if you are not using the root account, create a user account and add it to the sudo group: usermod -aG sudo salt-user
For more information on Windows requirements, see Spinning up Windows Minions.

Procedure

  1. On the Salt master, navigate to the RaaS configuration file located in /etc/raas/raas.
    Note: If you have more than one Salt master, you must repeat these configuration steps for each Salt master.
  2. Add these lines to the configuration file:
    minion_deployment:
      airgap_install: true
  3. In the RaaS configuration file, change the RaaS configuration settings to work in an air-gapped environment:
    Setting Notes
    airgap_install When set to true, RaaS is configured to operate in an air-gapped environment. Set to false to disable.
    sseapi_command_age_limit Sets the maximum age of a command in seconds. Entries older than the specifed number of seconds are dropped automatically. The default is 0, which disables the feature.
    sseapi_minion_deploy_airgap Set to true to deploy minions in an air-gapped environment. The default is False.
    sseapi_win_minion_deploy_delay Sets the length of the time delay for minions to deploy to Windows virtual machines. The time is specified in seconds.
    An example of these settings in the RaaS configuration file:
    sseapi_command_age_limit: 180
    sseapi_minion_deploy_airgap: True
    sseapi_win_minion_deploy_delay: 180
  4. Restart the RaaS service using the service raas restart command.
  5. In Automation Assembler, configure and deploy a template without the saltConfiguration or remoteAccess sections.
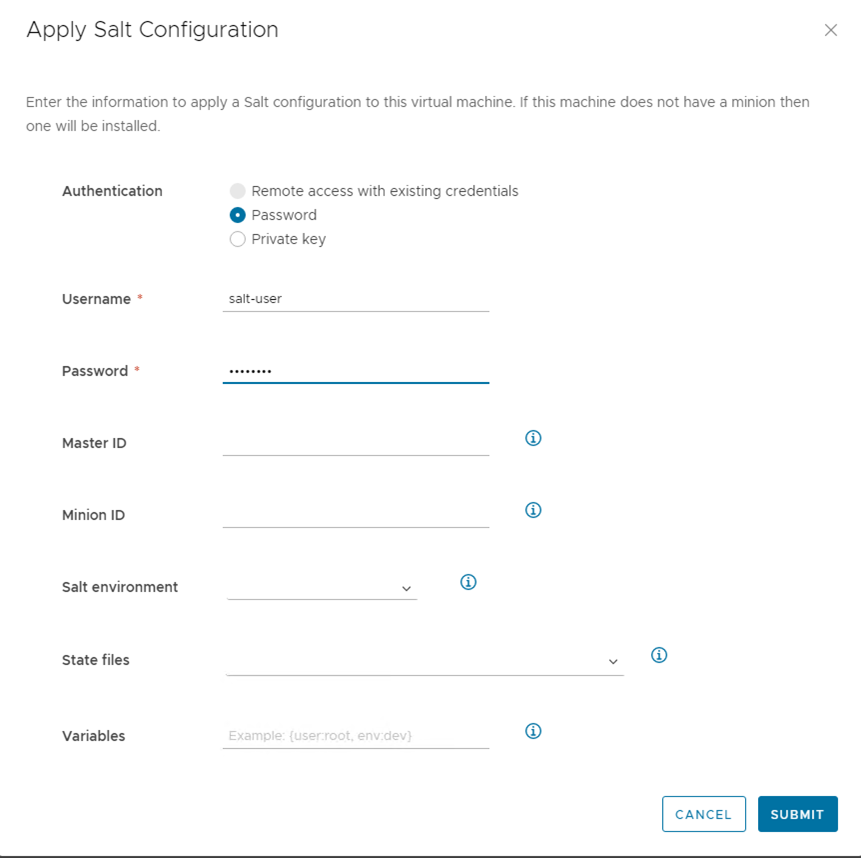
  6. Run the Apply Salt Configuration Day 2 action against the machine.
    Note: You only need to enter your authentication credentials to run the action.
  7. Navigate back to the template and verify the YAML configuration.
  8. Test and deploy the template.