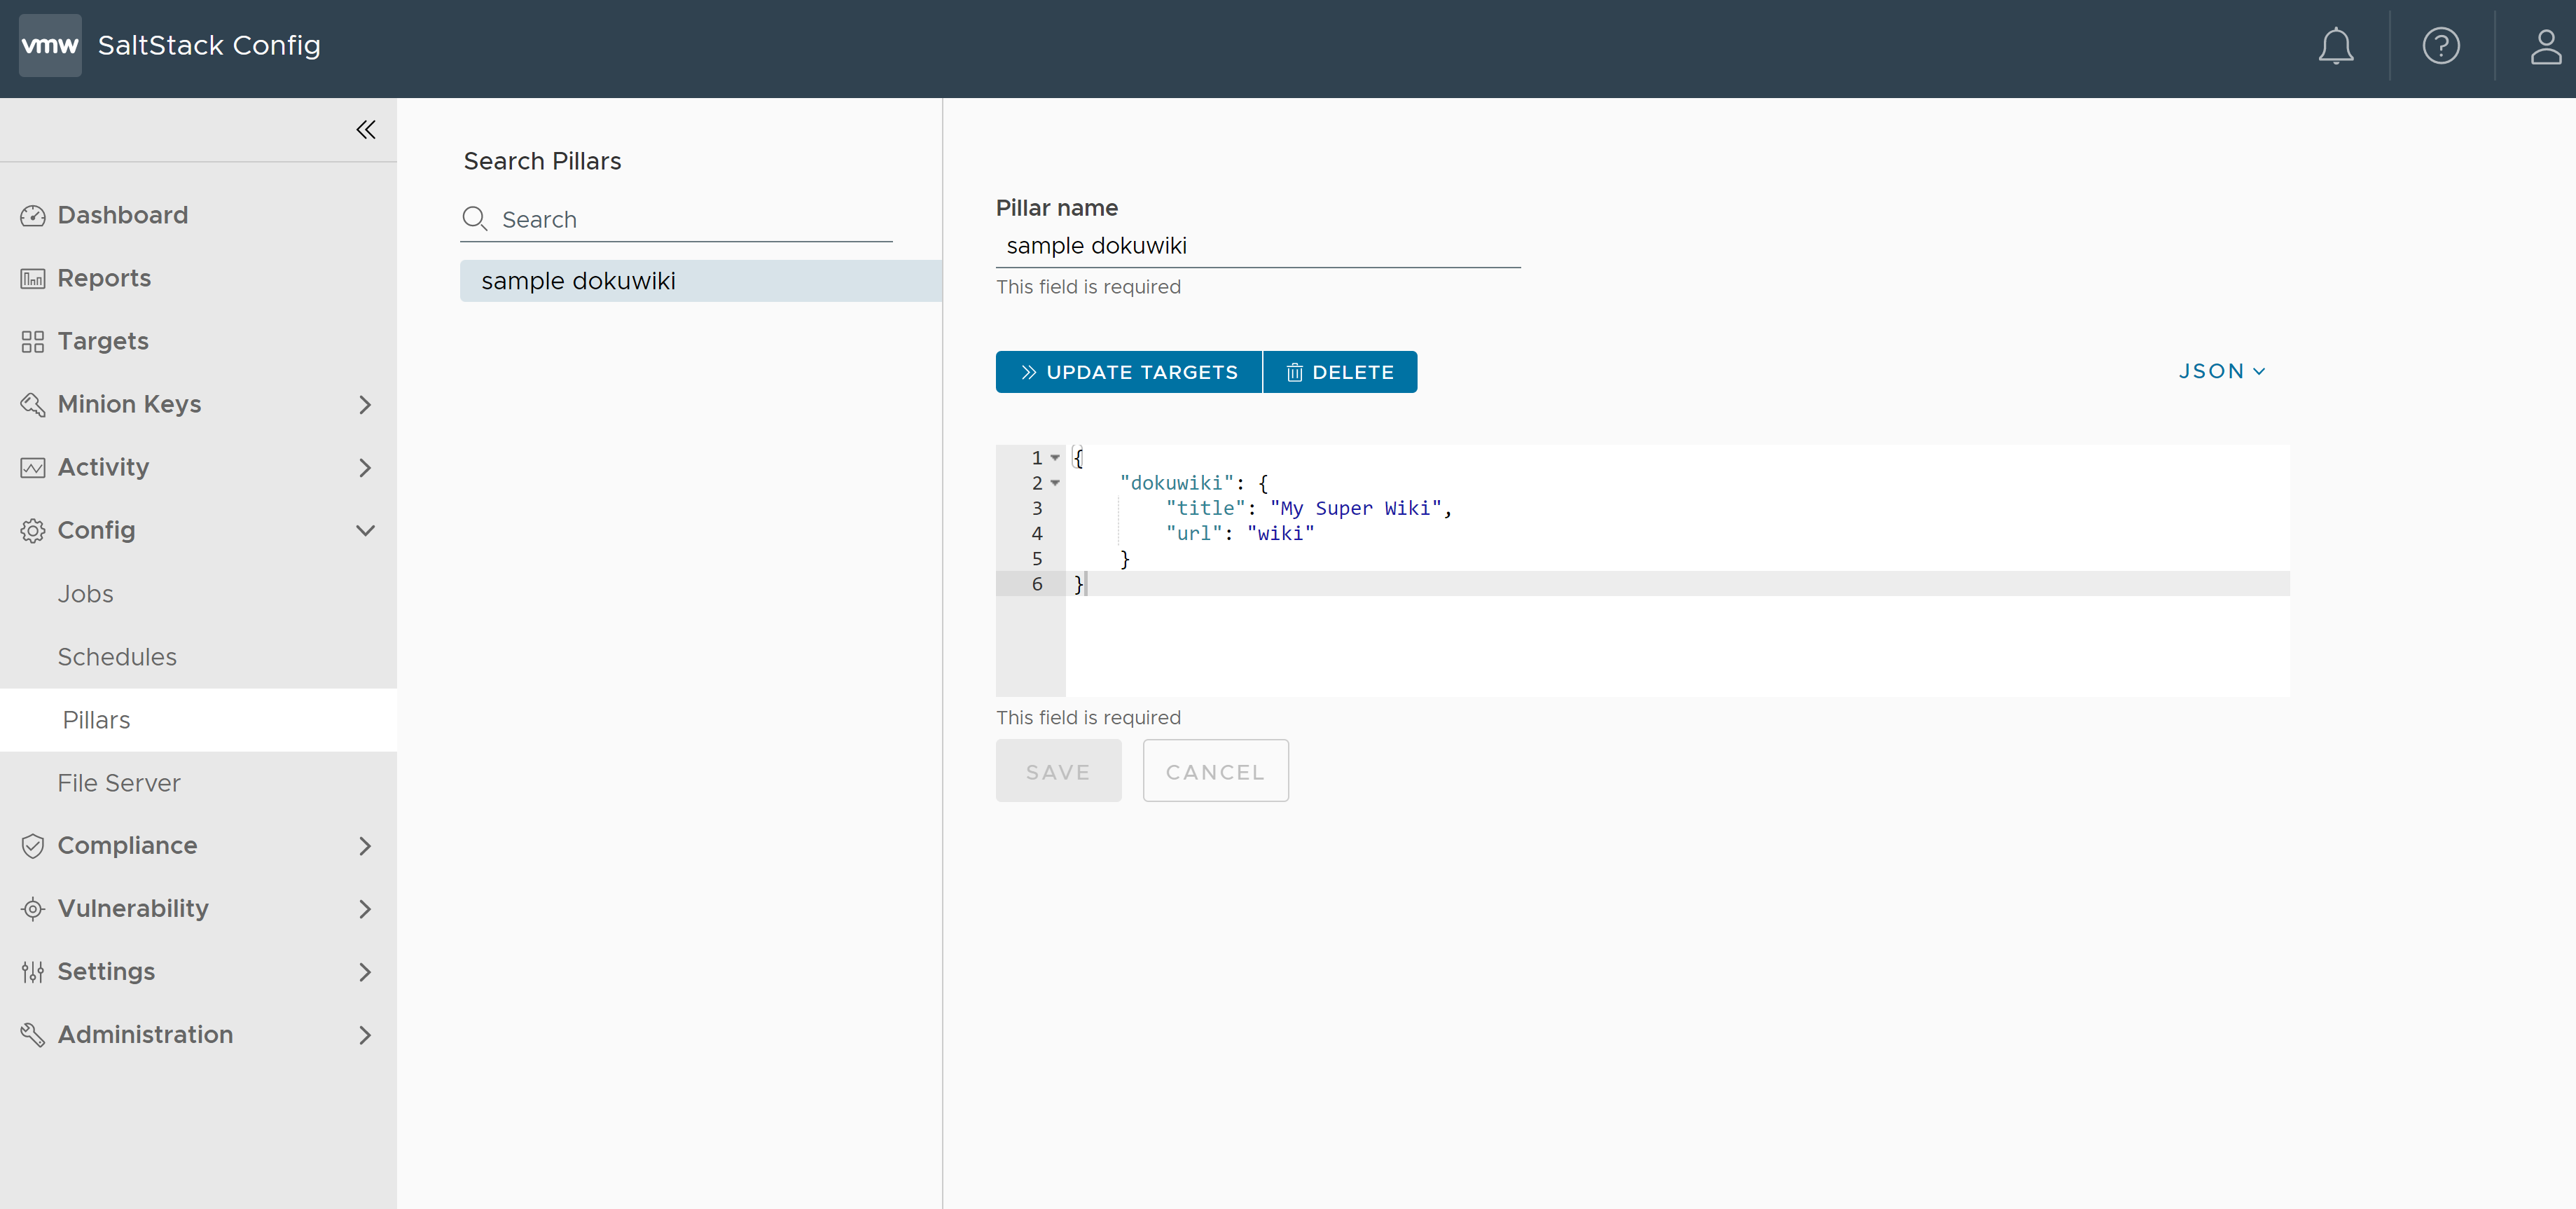
You can create or upload state files and pillar data in the Automation Config File Server and Pillar workspaces. If you don't want to use the File Server, Automation Config also supports connecting to an external repository (such as a Git repository) where you can save your state files and pillar data.
What are state files?
Instead of manually configuring each node or application one-by-one, you can use the Automation Config state management system to create state files that you can apply to many nodes simultaneously. These state files can include a set of instructions that tell Automation Config which operations should be run on the node and in which order. They can also explain which configuration files or settings should be applied.
After you’ve written or modified a state file, you can automatically run these state files and apply them to many nodes at once. You can target nodes based on each node's inherent properties (such as its operating system) or you could also target nodes based on custom labels that you define. See How do I create targets? for more information.
The state management system also ensures each node is configured properly and as efficiently as possible. If a configuration has drifted, Automation Config can put nodes and applications back into its compliant configuration state. If a configuration needs to change, Automation Config can quickly deploy those changes to the affected nodes.
Example of a state file
State files are usually written in YAML and Jinga, but other formats such as JSON are compatible with Salt. A typical state file might look like this:
install_apache:
  pkg.installed:
    - name: httpd

ensure_service_running:
  service.running:
    - name: httpd
    - watch:
      - pkg: install_apache

default_html_page:
  file.managed:
    - name: /var/www/html/index.html
    - source: salt://apache/index.html
- Installs Apache (httpd) on the minion.
- Starts the Apache service.
- Deploys a sample HTML index page that is hosted on the minion.
What is pillar data?

- Pillar can restrict user access to private, sensitive data such as passwords and configuration settings. For example, you could use pillars to allow a user to run a job that requires authentication to an external service without accessing those authentication credentials themselves. In this case, you would assign the user access to the given job and target, but not to the pillar containing sensitive authentication details.
- Pillar can send data that changes based on the context or the minion that is requesting data. For example, you could assign different passwords to different minions and store all the passwords in one pillar file. Then, you could write a state file that tells the minion to look up their unique password in the file without having to create multiple files or store passwords in multiple places.
Data stored in the Automation Config Pillar Store is encrypted using the Raas encryption key associated with the specific instance of Automation Config (for example: “/etc/raas/pki/.raas.key”). Once the Pillar data is defined in the Automation Config UI, it is encrypted with this key and stored in the PostgreSQL database. This key is also used to decrypt the data for display in the Automation Config UI.
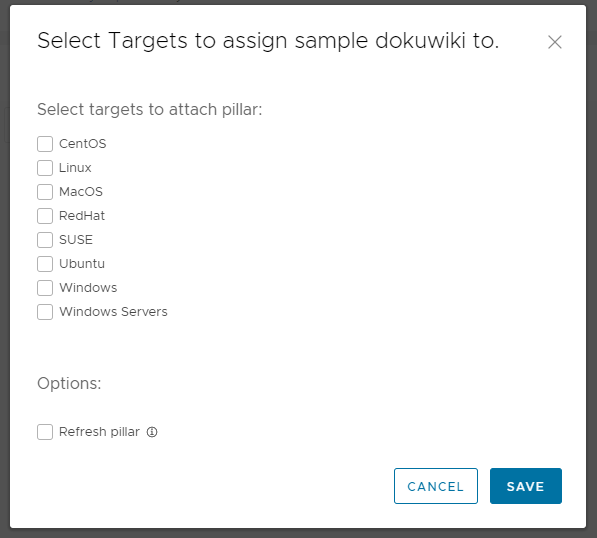
Pillar data is assigned in Automation Config through the pre-defined target groups of minions.
When pillar data is assigned to a specific target system and included in state files, it is processed by the master for each minion system. During processing, the data is encrypted with a separate AES key for each minion for transmission to the target system during a state or orchestration file application.
Once pillar data is defined and saved, click to assign the pillar data to a group of minion systems.
Example of a pillar file
Pillar files are usually written in YAML and Jinja, but other formats such as JSON are compatible with Salt. Pillar data is stored as a dictionary and uses key-value pairs to look up values. A typical pillar file might look like this:
 pillar1: value
 pillar2:
   - value
   - value
 pillar3:
   sub_key:
     - value
     - value
This example shows three different methods for formatting your pillar data. The syntax you choose to use will depend on your needs and the type of data you need to store.
Before you start
Because Automation Config is powered by Salt, it helps to have a basic working knowledge of Salt and the concepts related to these features. The following table lists some helpful resources for more information:
| To learn about... | See... |
|---|---|
| The basics of working with Salt |
|
| Salt states |
|
| Pillar data |
|
| Salt execution and state modules |
|
After defining your pillar data, you can assign the pillar data to a group of minion systems by clicking Update Targets, selecting the target group, and then clicking Save.

When pillar data is assigned to a specific target system and included in state files, it is processed by the master for each minion system and encrypted with a separate AES key for each minion. This key allows the pillar data to be transmitted to the target system during a state or orchestration file program.
Adding state files to the File Server
To add a state file to the File Server so that it can be used in jobs:
- Research which Salt execution or state modules would help you achieve your desired outcome. When you find the Salt module that meets your needs, read the module's documentation to ensure you are familiar with the module's parameters and other requirements.
- Optional: As a best practice, write a rough draft of your state file in your preferred code editor and check that your state file uses well-formed syntax with a code linter.
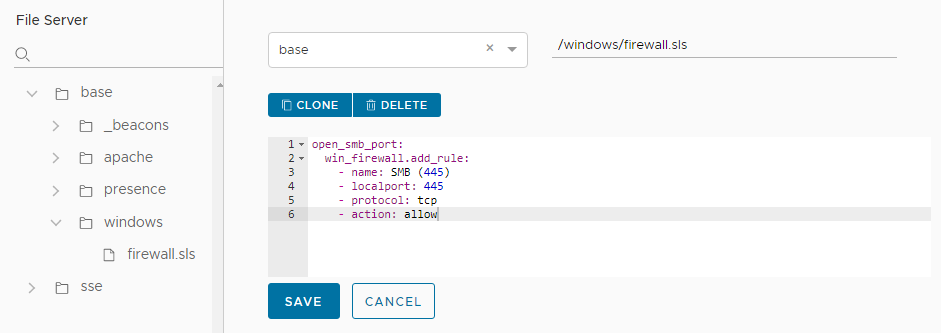
- In the Automation Config user interface, click Config > File Server in the side menu to open the File Server workspace.
- When you first open the File Server workspace, you see the file directory and a blank new file. Use this blank file to create a new state file or to copy your state file from your code editor.

- Click the Saltenv menu and select the environment where you want to store the state file. If you're unsure which environment to select, use base.
- In the Path name field, type the filepath and filename, ending it with the file extension
.sls. For example,/my-directory/my-state-file.sls. - In the body of the file, write or copy your state file code. For example:

- Save the state file and confirm the new file appears in the File Server directory.
Adding pillar data to a Salt master
Although you could use the Automation Config Pillar workspace to add pillar data to the Salt master, it might be easier to add the pillar data directly to the Salt master. To add pillar data so that it can be referenced in state files or assigned to targets, you could do one of two methods:
- SSH into the Salt master and add the pillar file to the master's directory using the standard Salt procedures for adding files to a master. See Pillar and Pillar walkthrough for more information.
- Create a job in the Automation Config user interface that adds the pillar data to the Salt master using the
salt-runcommand, which uses the Salt runner feature. See How do I create jobs? for more information.
Next steps
After creating state files and pillar data that can be accessed by the minions, you can then reference these files in jobs that you create in Automation Config. See How do I create jobs? for more information.