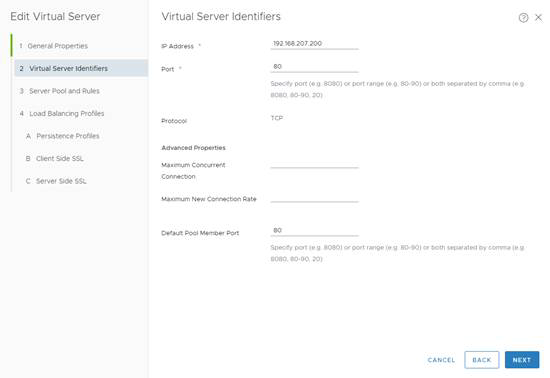
NSX-T Virtual Servers contain the Virtual IP address (VIP) for the pools of nodes that will be accessed.

Steps to configure the Virtual Servers for HTTP requests:

Prerequisites

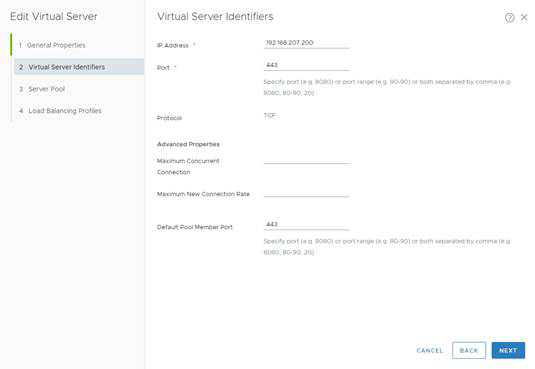
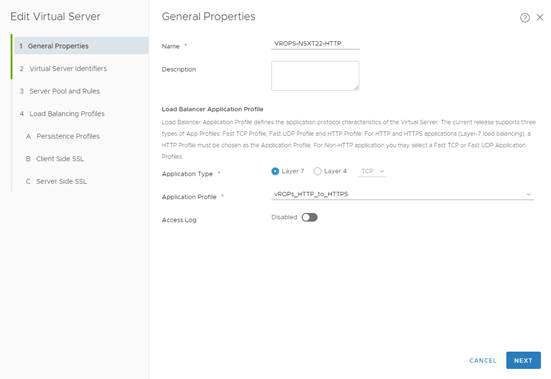
In this case, there are two separate VIPs created with the same IP address. One virtual server is used for redirecting insecure HTTP (port 80) traffic to a secure-channel connection – HTTPS (port 443). The second virtual server is used for handling and forwarding secure-channel traffic (HTTPS) to the backend systems.

Procedure

  1. Go to Load Balancing > Virtual Servers > Virtual Servers
  2. Click the Add () icon.
  3. Choose a name for Virtual Server
  4. Configure Application Type as Layer 7
  5. Assign appropriate Application Profile (please refer to the example below)
  6. Assign VIP (Virtual IP) and port 80 to handle HTTP requests
  7. Add Default Pool Member Port 80
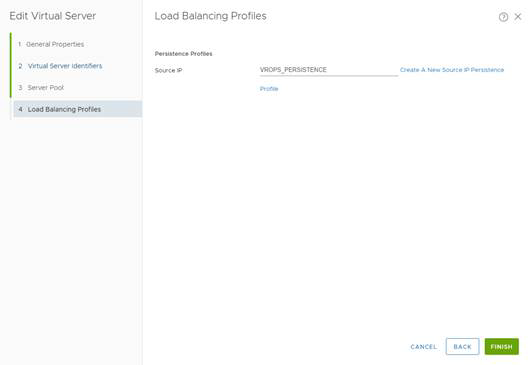
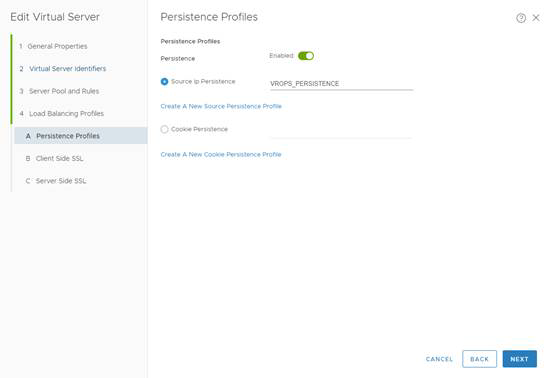
  8. Assign appropriate Persistent Profile (please refer to the example below)
    Note:

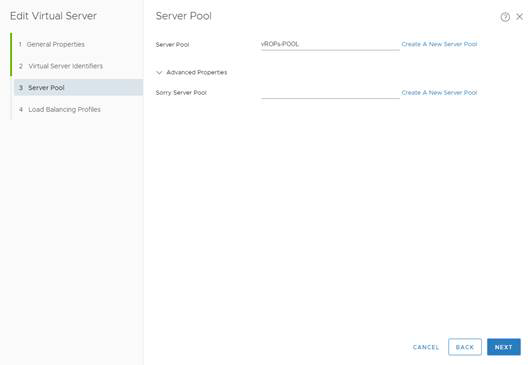
    There is no need to configure any Server Pool for this Virtual Server


    general properties

    virtual server identifiers

    persistence profiles
  9. To configure the Virtual Servers for HTTPS requests, go to Load Balancing > Virtual Servers > Virtual Servers
  10. Click the Add () icon
  11. Choose a name for the Virtual Server
  12. Configure Application Type as Layer 4
  13. Assign appropriate Application Profile (please refer to the example below)
  14. Assign a VIP (Virtual IP) and port 443 to handle HTTPS requests
  15. Add Default Member Port 443.
  16. Assign appropriate Server Pool (please refer to the example below)
  17. Assign appropriate Load Balancing Profile (please refer to the example below)
    general properties

    virtual server identifiers

    server pool

    Load balancing profiles