


To implement a fix or remediate a vulnerability in a VMware Aria Suite product, you can download a script and run it in your VMware Aria Suite Lifecycle environment.
The feature supports updates to:
- VMware Aria Automation
- VMware Aria Operations
- Workspace ONE Access, formerly VMware Identity Manager
- VMware Aria Automation Orchestrator
- VMware Aria Automation Config
- VMware Aria Operations for Logs
- VMware Aria Operations for Networks
You run the script in offline mode and can use it to update both standalone and clustered node deployments.
Note: You can only run scripts that the VMware team shares specifically for running in
VMware Aria Suite Lifecycle.
Prerequisites
- Verify that you are running VMware Aria Suite Lifecycle 8.14 or later.
- Obtain the script that you want to run from a VMware KB or from the VMware product engineering team.
- Upload the script bundle as a zip archive with a supported directory and file structure to your VMware Aria Suite Lifecycle appliance.
Procedure
- Choose how you want to run the script.
- To run the script at the environment level, click at the upper right.
- To run the script at the product level, select a product from the environment, then click at the upper right.
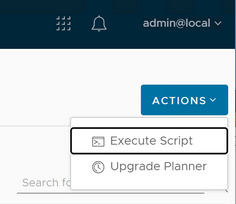 Note: Running the script at the product level is a Day 2 action.
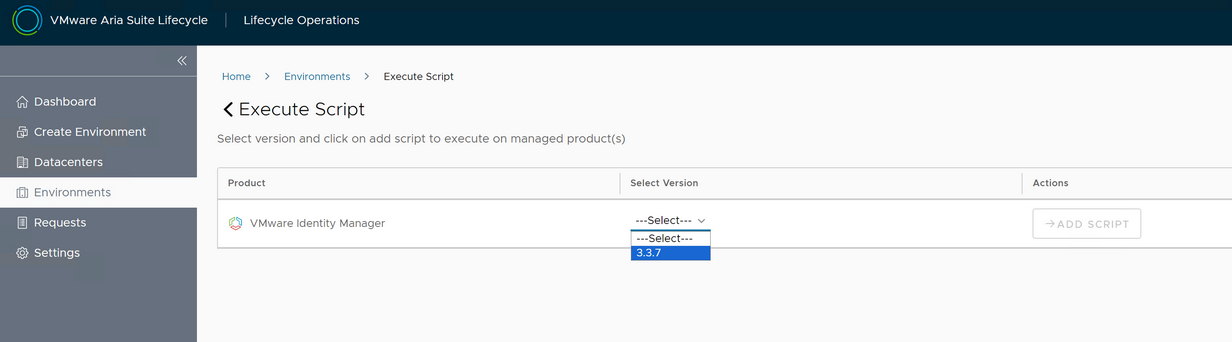
- In the Execute Script window that appears:
- Select the product name and version.
- If you are running the script from the environment level, select the version of the products that you are updating then click Add Script in the Actions column.
- If you are running the script from the product level, the product name and version are selected.
- If you are running the script from the environment level, select the version of the products that you are updating then click Add Script in the Actions column.
- Select the environment for the product and click Save & Proceed.
- To provide the location of the uploaded script bundle, enter the directory where the zip archive is stored such as /uploaded_data and click Display files. Select the file you want to run and click Save & Proceed.
- When initiating script validation, a best practice is to select both:
- Take Product Snapshot
- Retain Product Snapshot
Then click Validate.
The script validation process might take some time because appliances are powered on and off when snapshots are taken. The log for the validation steps is/var/log/vrlcm/vmware_vrlcm.log. - If the validation completes successfully, click Submit.
- Select the product name and version.
