


You can create a backup policy for VMware Aria Suite components by using the Policy Configuration Wizard.
If you select to create a backup policy without using the Policy Configuration Wizard, ensure that Use Acceleration is disabled during policy creation.
Prerequisites
Verify that your NetBackup is fully configured.
You can include VMs that use the same datastore in a single NetBackup policy to control the amount of backup related I/O that occurs per datastore and to limit the backup effect on the target VMs.
You can use combination of full and incremental backups to reduce the time needed for the implementation of the backup policy and required resources.
Procedure
- Start NetBackup Administration Console and click the View Tree icon.
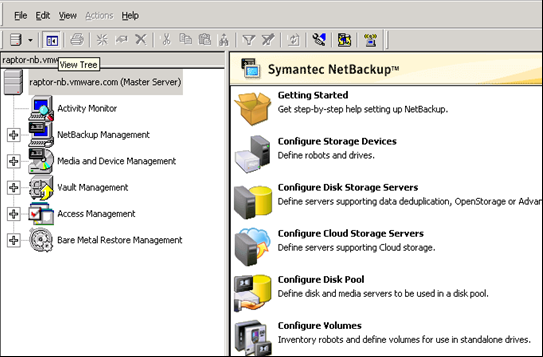
- Click the Add New Policy icon from the toolbar.

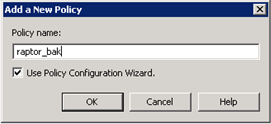
- In the Add a New Policy window, enter a name for the new policy. Select the Use Policy Configuration Wizard check box, and click OK.
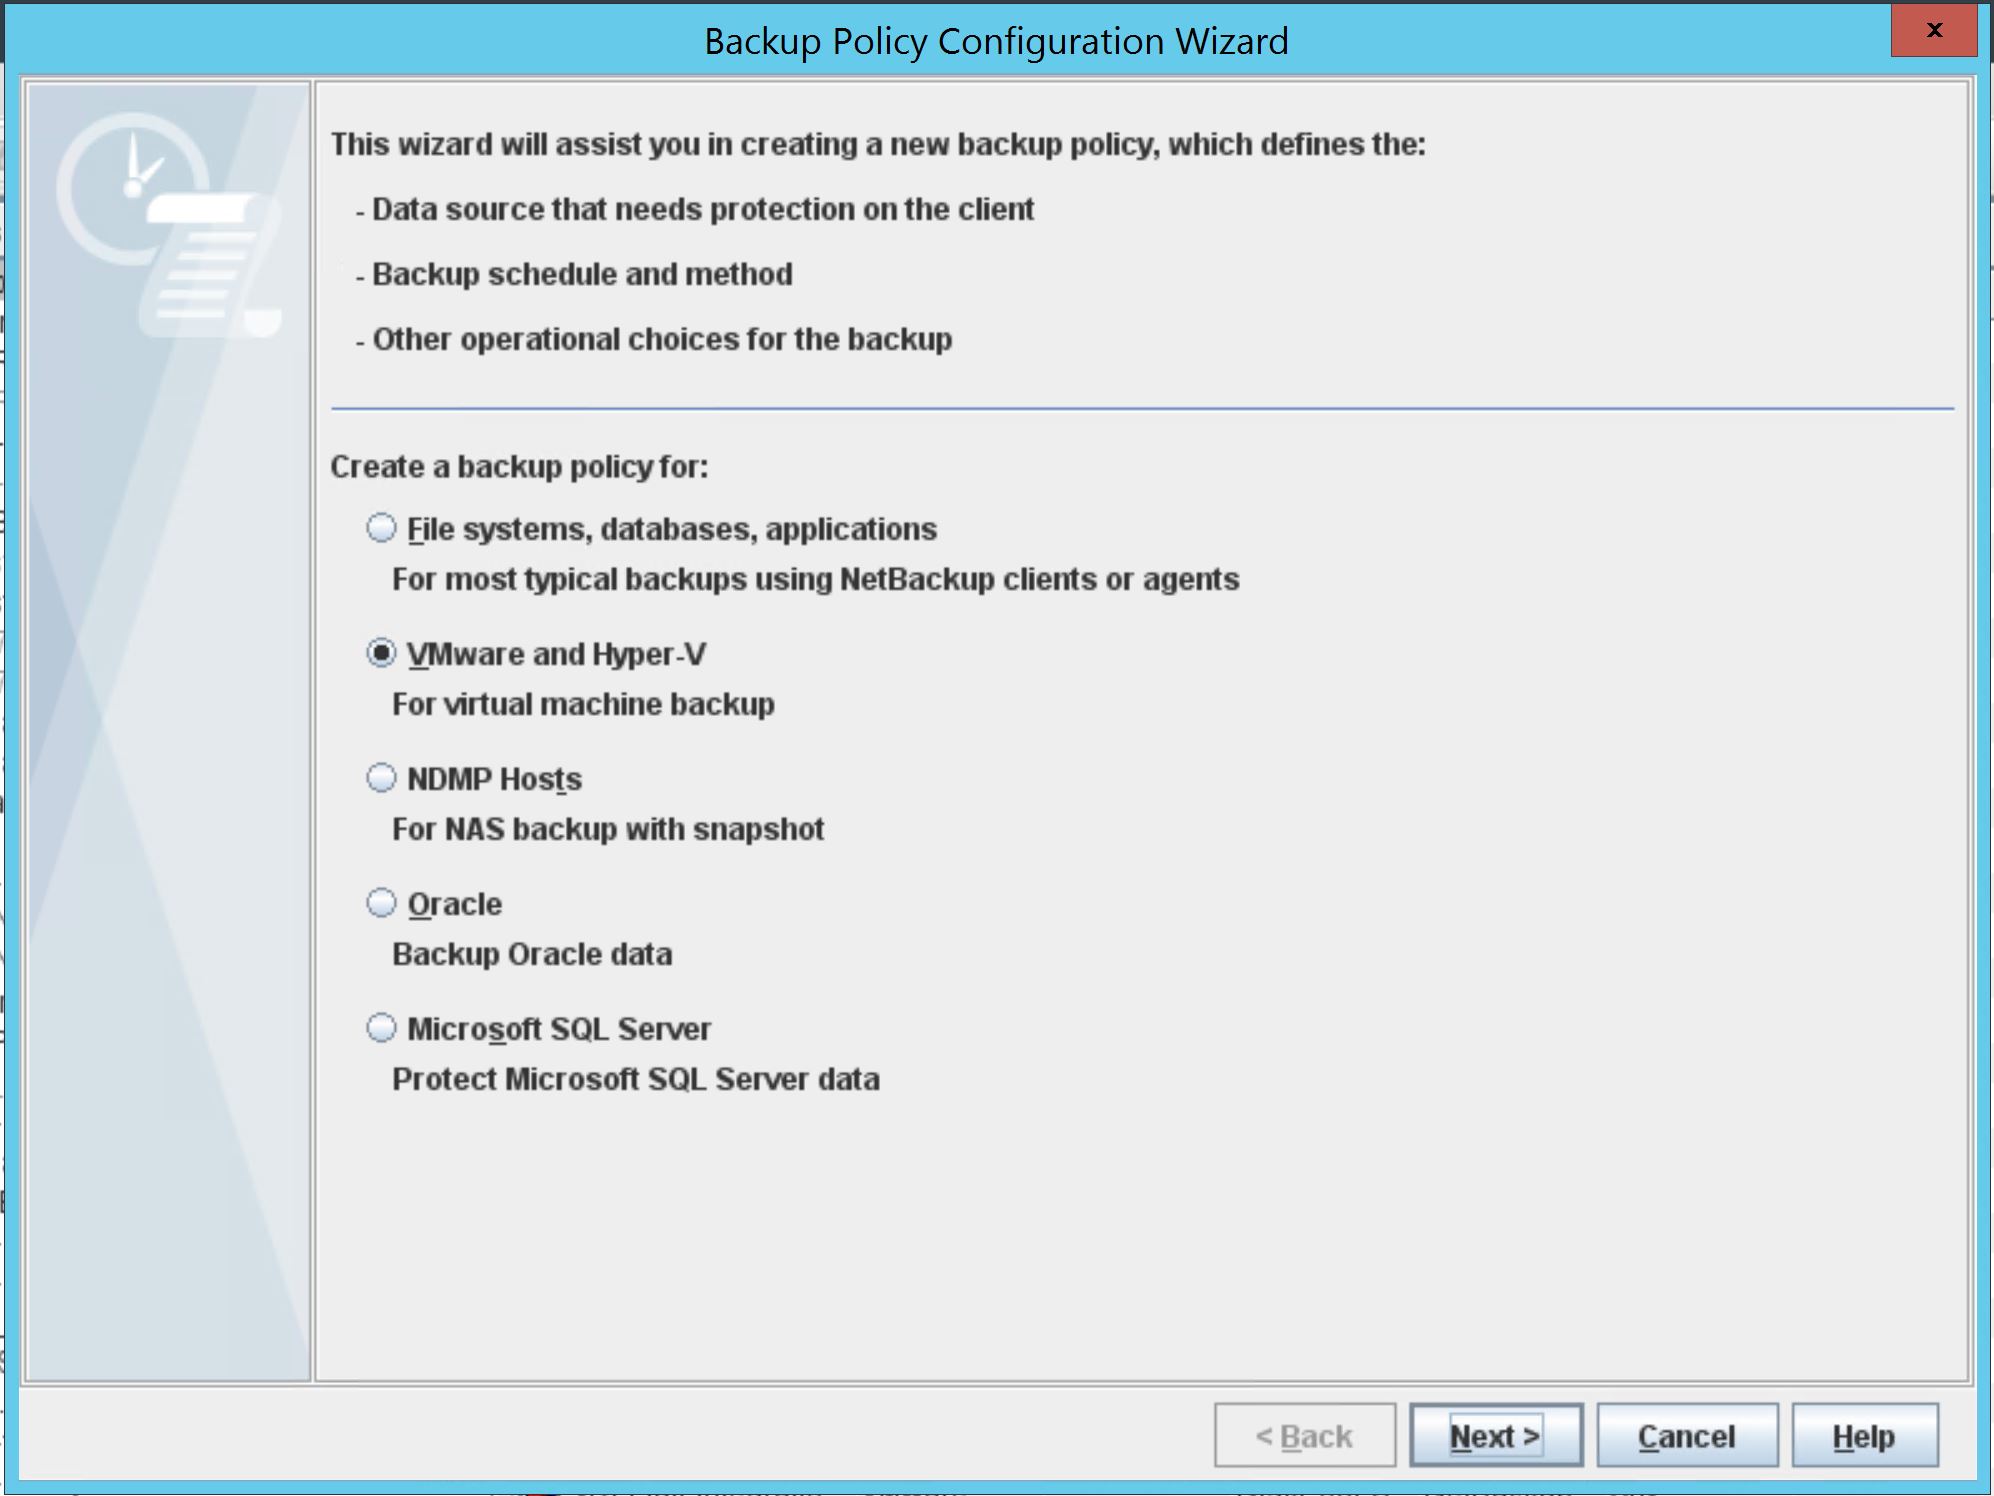
- In the Policy Configuration Wizard window, under Create a backup policy for, select VMware and Hyper-V and click Next.
- In the Select Client window, verify the Policy Name, click VMware as the virtual machine type, and click Next.

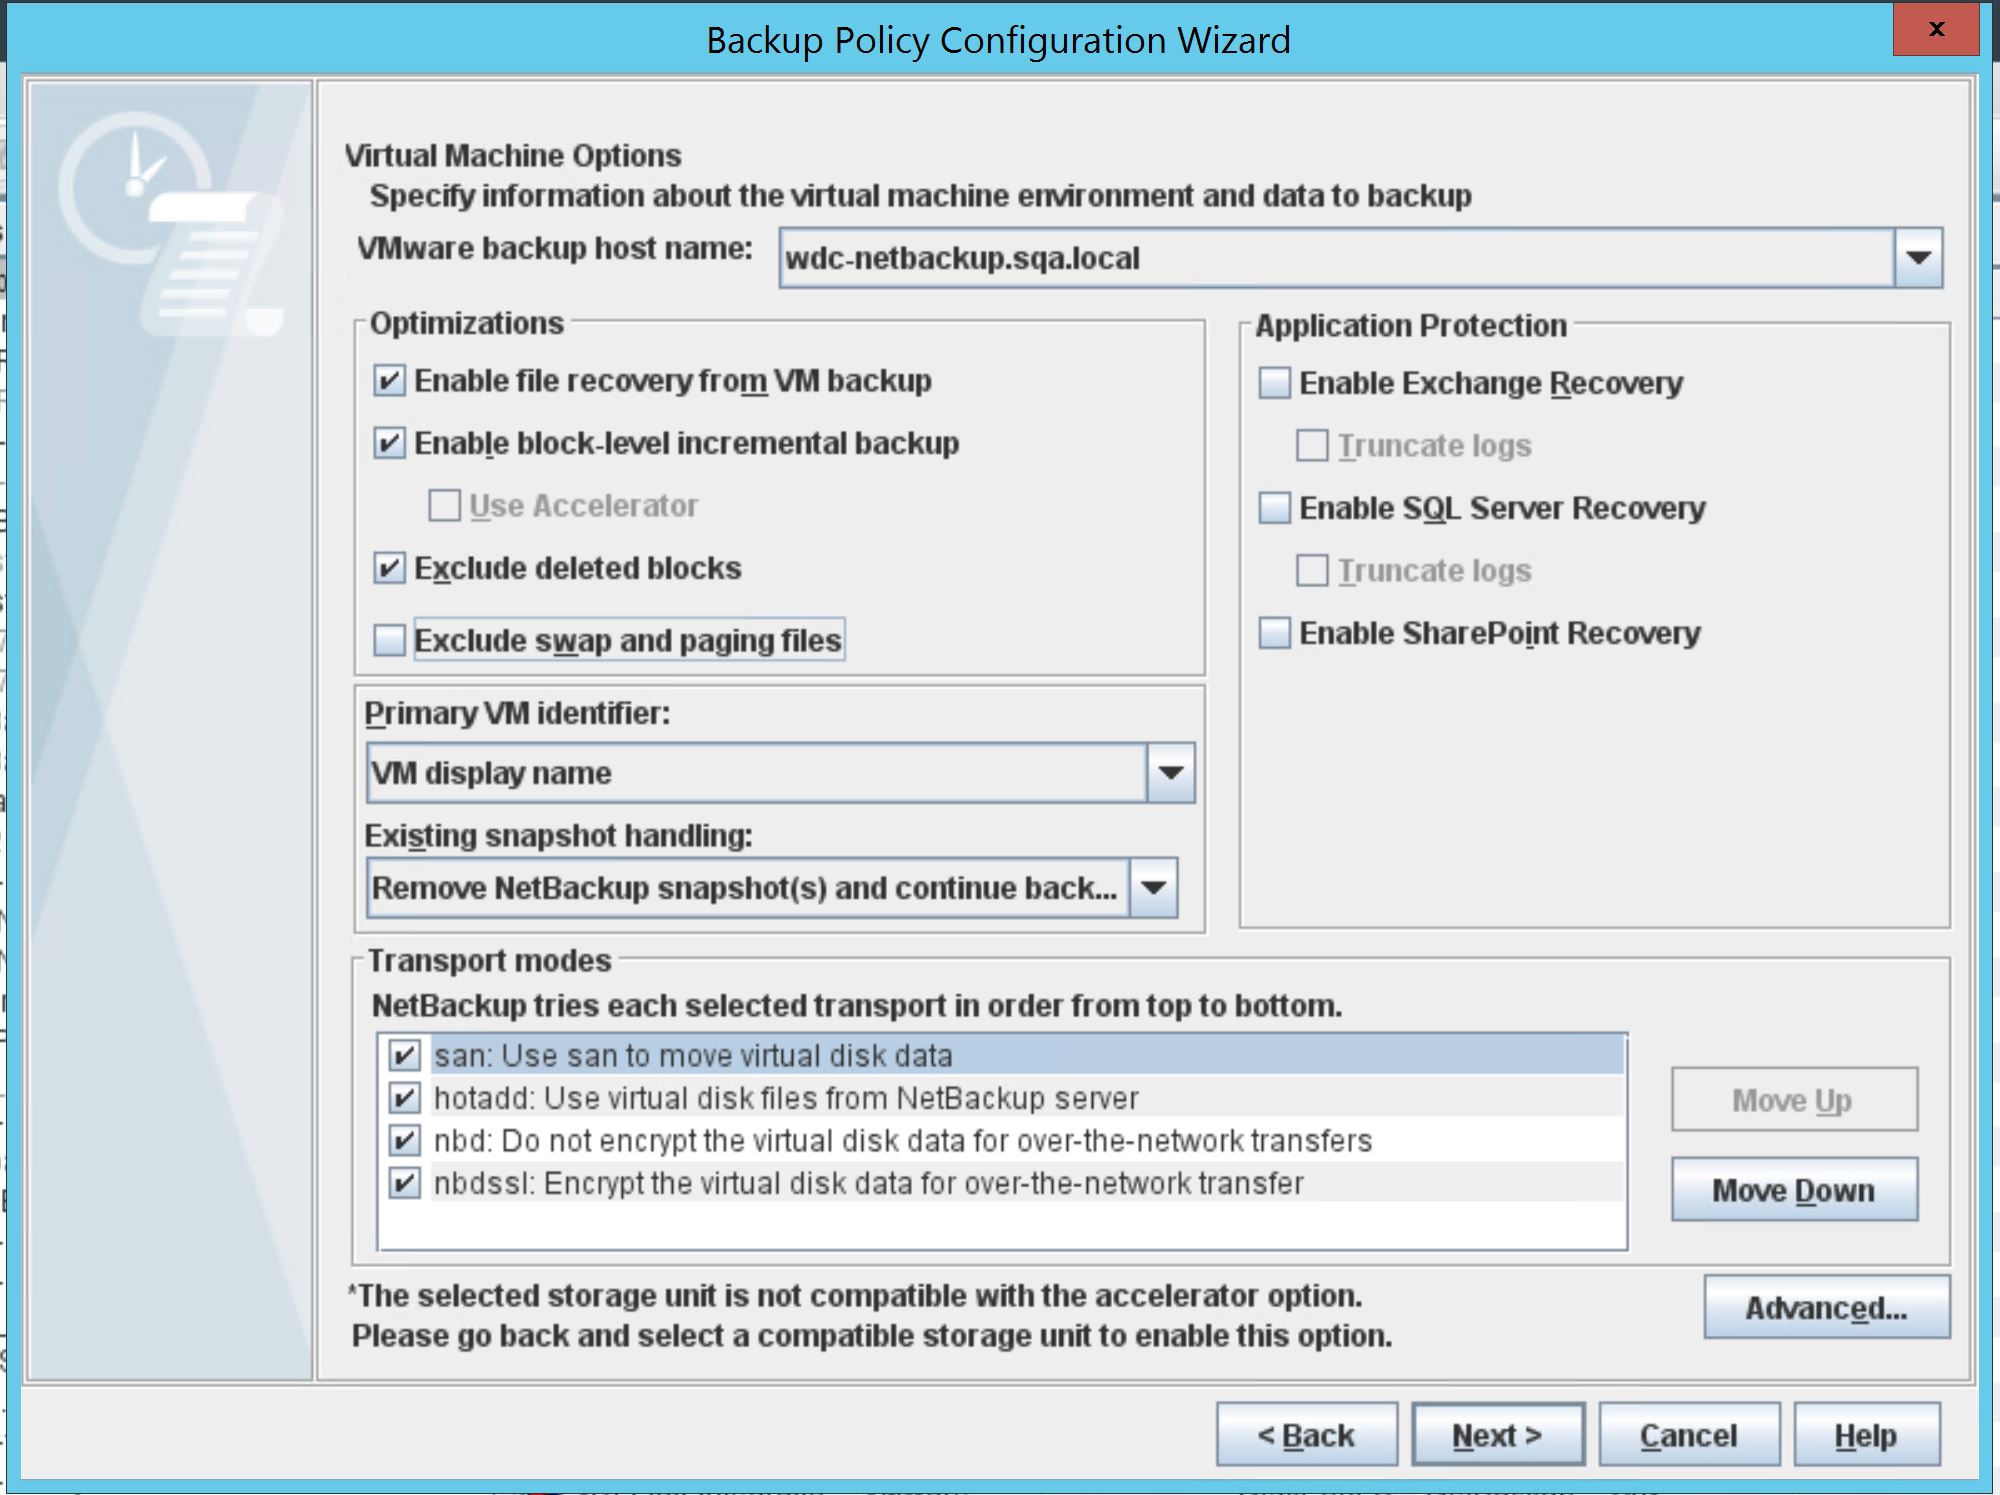
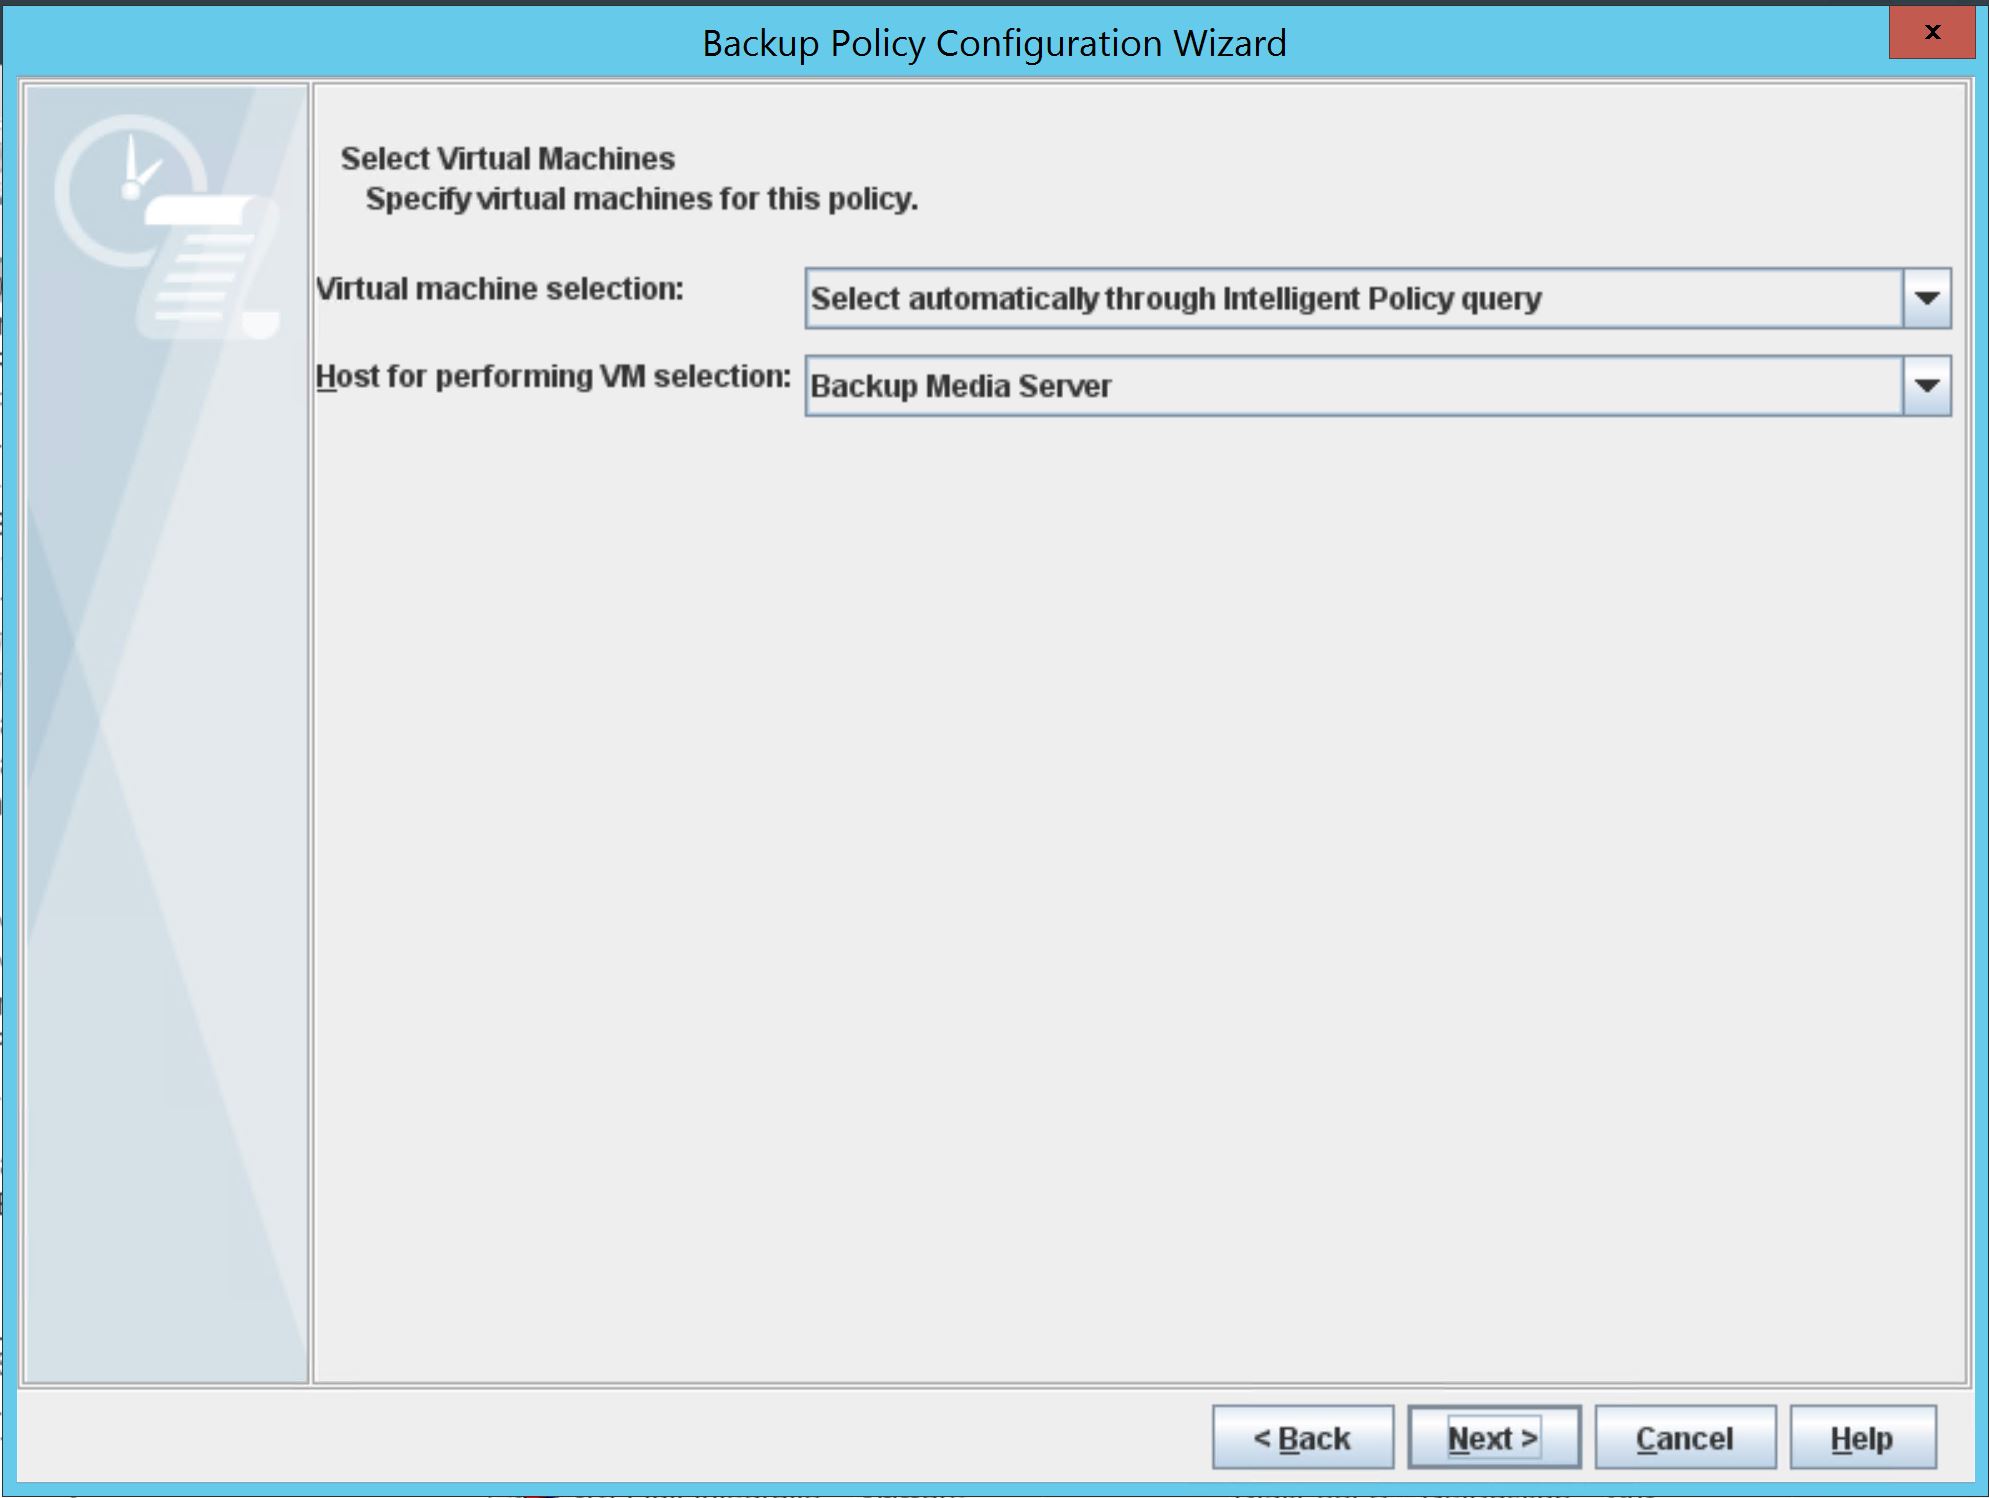
- In the Virtual Machine Options window, specify information about the virtual machine environment.
- Verify that Exclude swap and paging files under Optimizations is disabled.
- Set the options under Optimizations, Application Protection, and Transport modes or use the default values.
- Select Primary VM identifier as VM display name.
- Click Advanced. In the VMWare - Advanced Attributes window, verify that the Virtual machine quiesce parameter is Disabled for all the VMs and click OK.
- Navigate back to the Virtual Machine Options window and click Next.
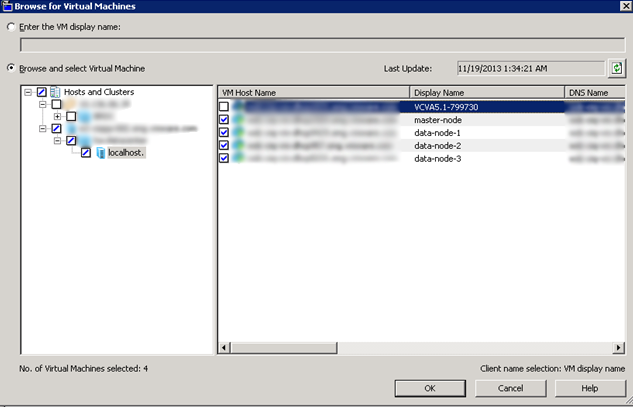
- In the Select Virtual Machines window, browse and select VMs and click Next.
 Note:
Note:You can add VMs as per the lists in the respective VMware Aria Suite components. If you do not add the VMs in the correct order, you do not have to remove the VMs, because with NetBackup you can change the order of the VMs by dragging the VMs.
- Select the VMs that you want to add, click OK, and click Next.
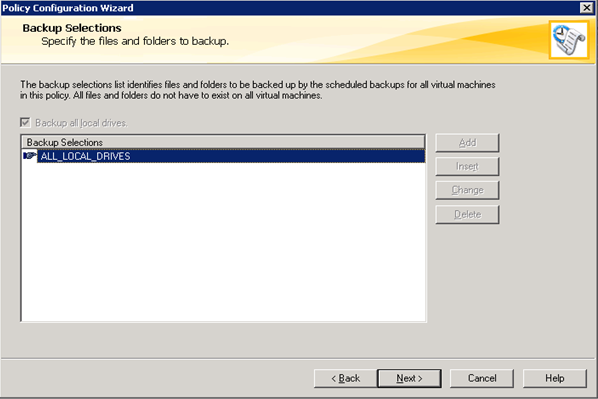
- In the Backup Selections window, select ALL_LOCAL_DRIVES to get a full backup of each VM and click Next.
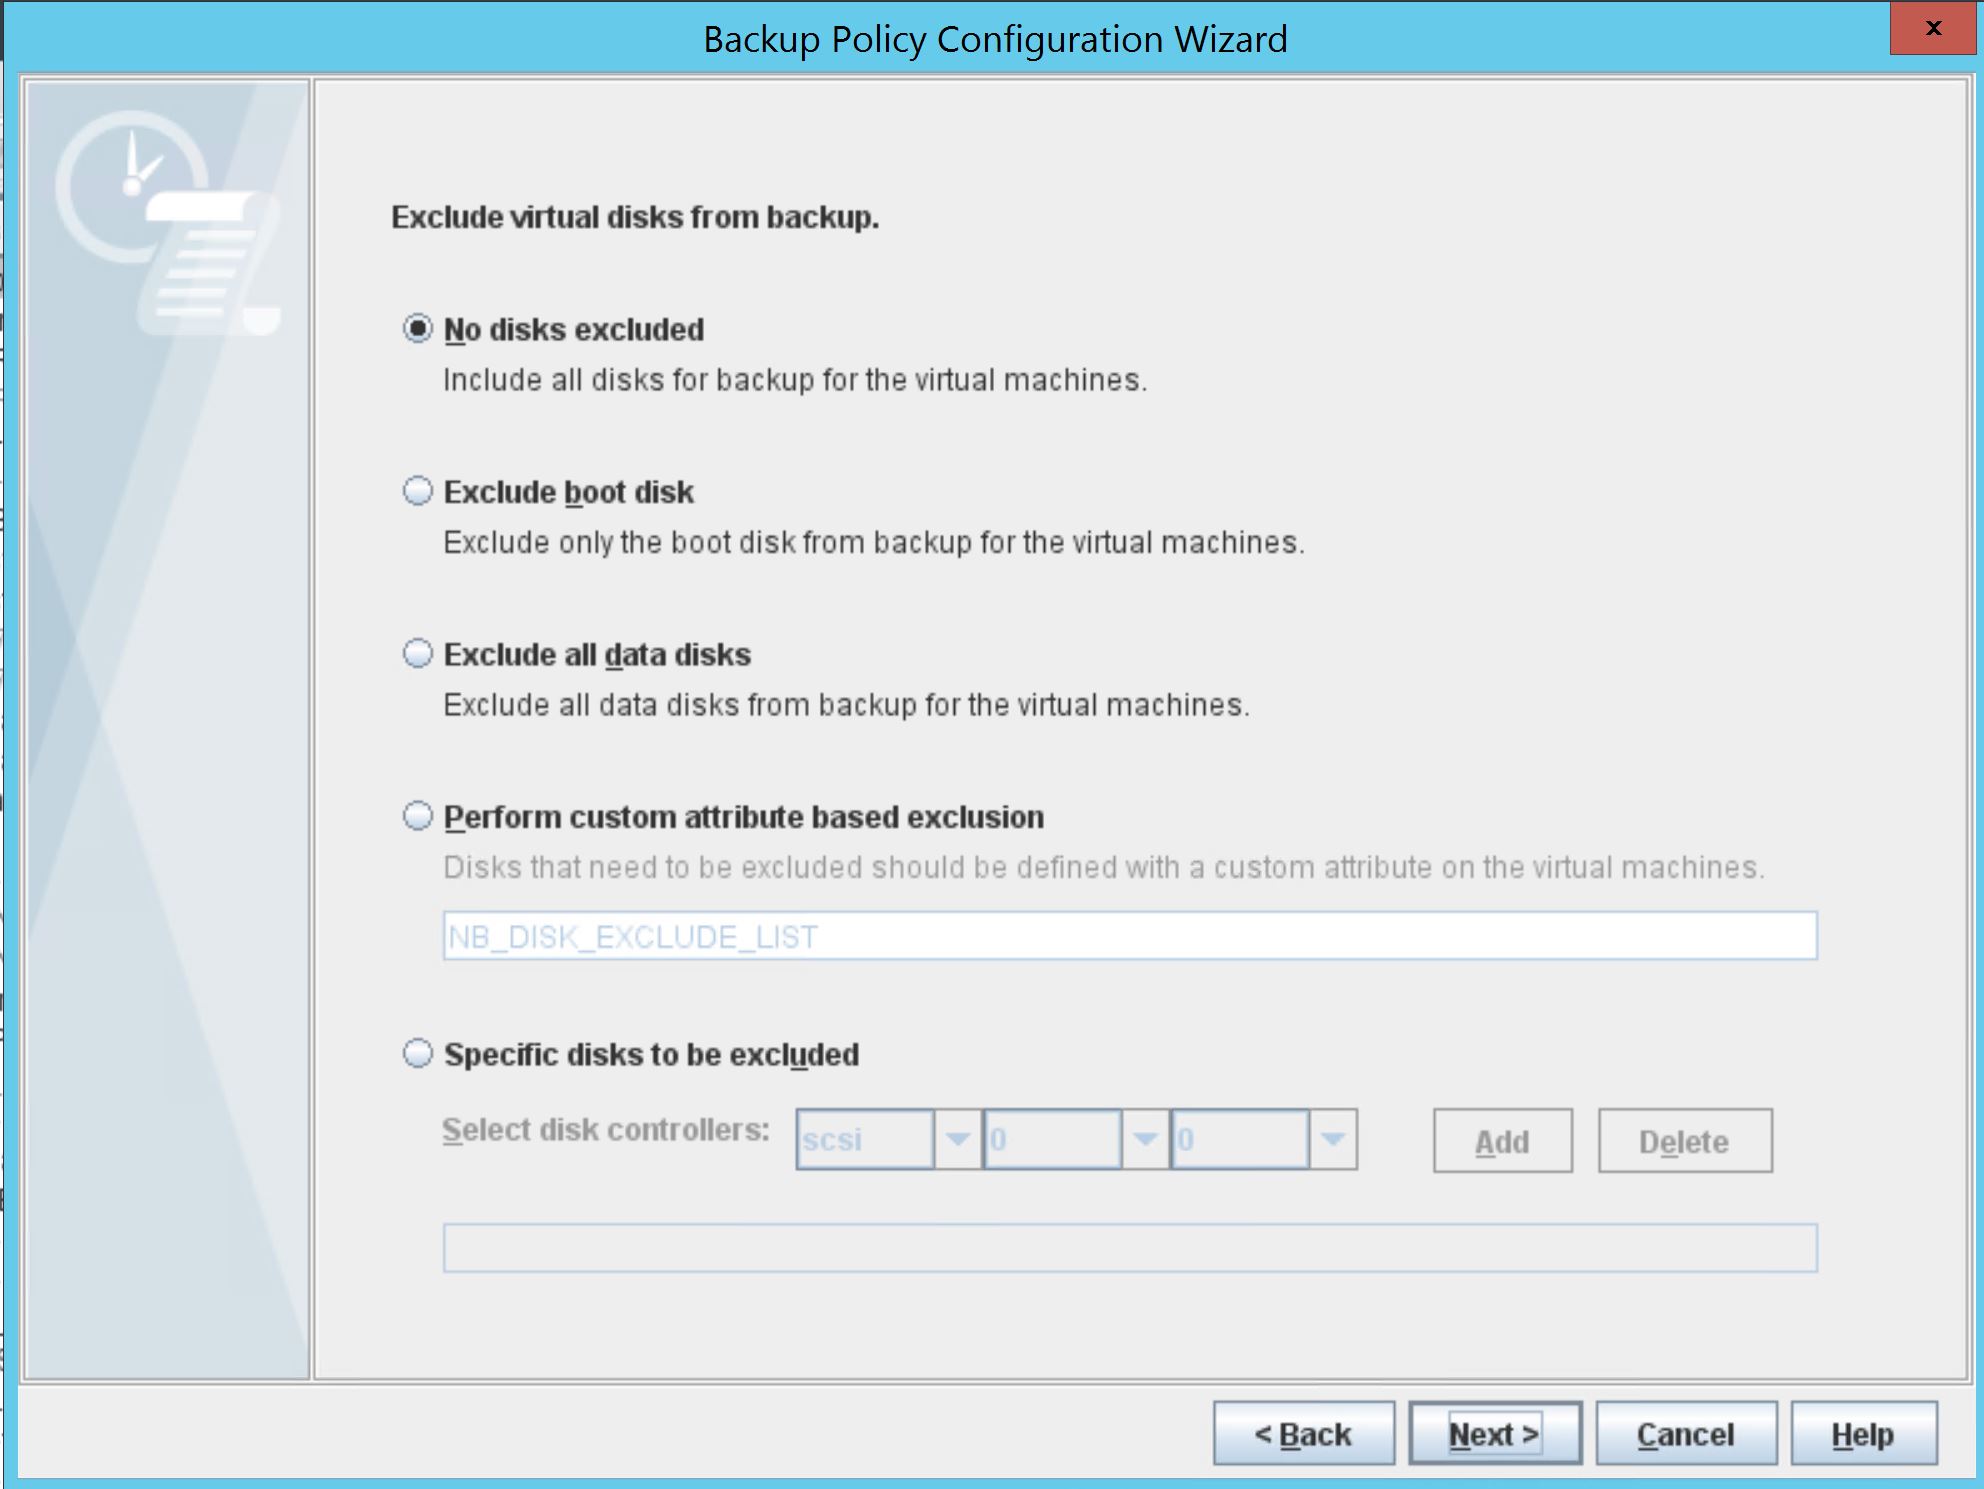
- On the Exclude virtual disks page, ensure that the default option, No disks excluded, is selected and click Next.
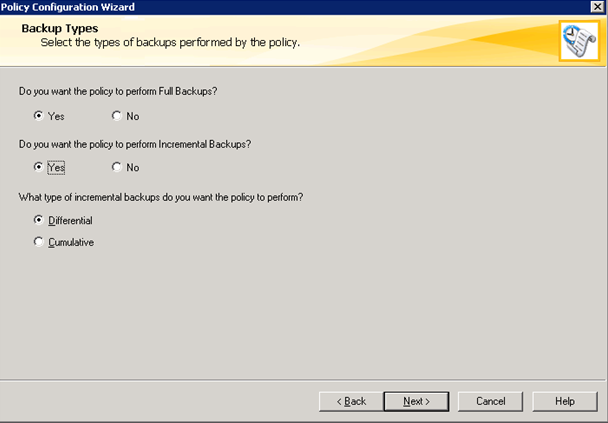
- On the Backup Types window, select the types of backups.
Select Cumulative if you want the policy to perform full backups and incremental backups.
Select Differential to perform incremental backups to optimize the overall backup process.
Click Next.
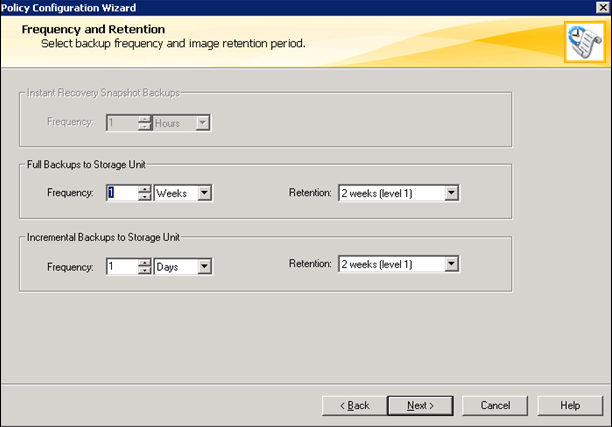
- In the Frequency and Retention window, select the backup frequency, the image retention period, and click Next.
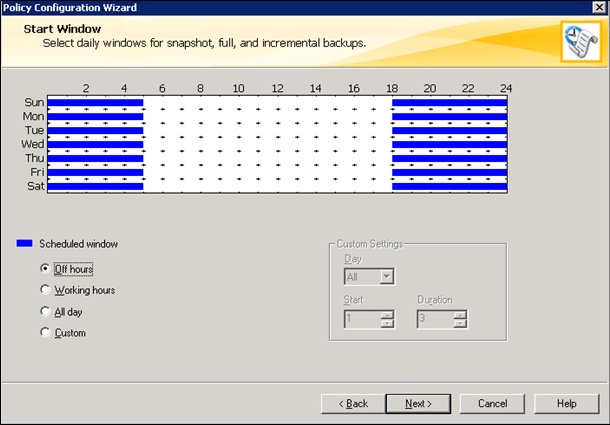
- In the Start Window, select daily windows for snapshot, full, and incremental backups.
Select Off hours as the Scheduled window, because an active backup process can add an overhead to the client-system setup.
Click Next.
Note:For VMware Aria Operations, the Scheduled window must not interfere with the Dynamic Threshold (DT). Schedule the backups when the DT is not running. DT runs at 2 a.m. by default.
- Review the summary of the policy. Click Back to make any change or click Finish to save the backup policy.
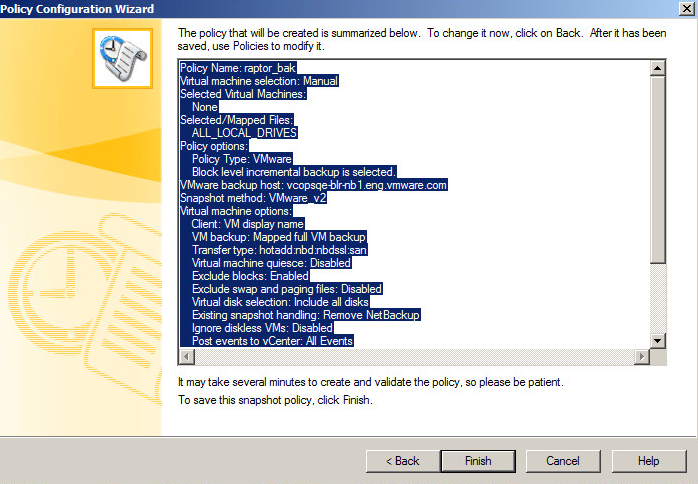
The backup policy is configured and is ready for execution.
