After activating and onboarding your VMware Aria Universal Suite subscription for your cloud services, you can activate licenses for your on-premises VMware Aria Suite products included in the subscription.
Step 1: Activate your VMware Aria Universal Suite Licenses Using the Cloud Proxy or VMware Aria Suite Lifecycle
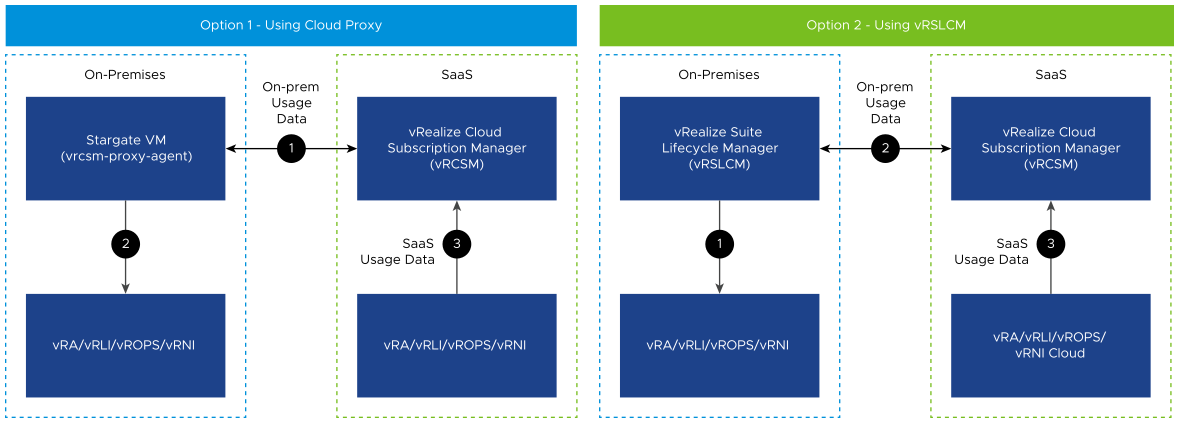
Prior to applying a VMware Aria Universal Suite license, you can choose one of the following options.
You can perform a fresh Cloud Proxy installation to connect to your on-premise VMware Aria instances. To learn about the Cloud Proxy onboarding process, watch the video on VMware Aria Universal Suite Simplified Onboarding.
You can install your existing VMware Aria Suite Lifecycle and apply the VMware Aria Universal Suite licenses in VMware Aria Suite Lifecycle.
Option 1: Install the Cloud Proxy
Use your VMware Cloud administrator credentials and log in to the VMware Cloud Services console.
Select Services, and then click the VMware Aria Subscription service tile.
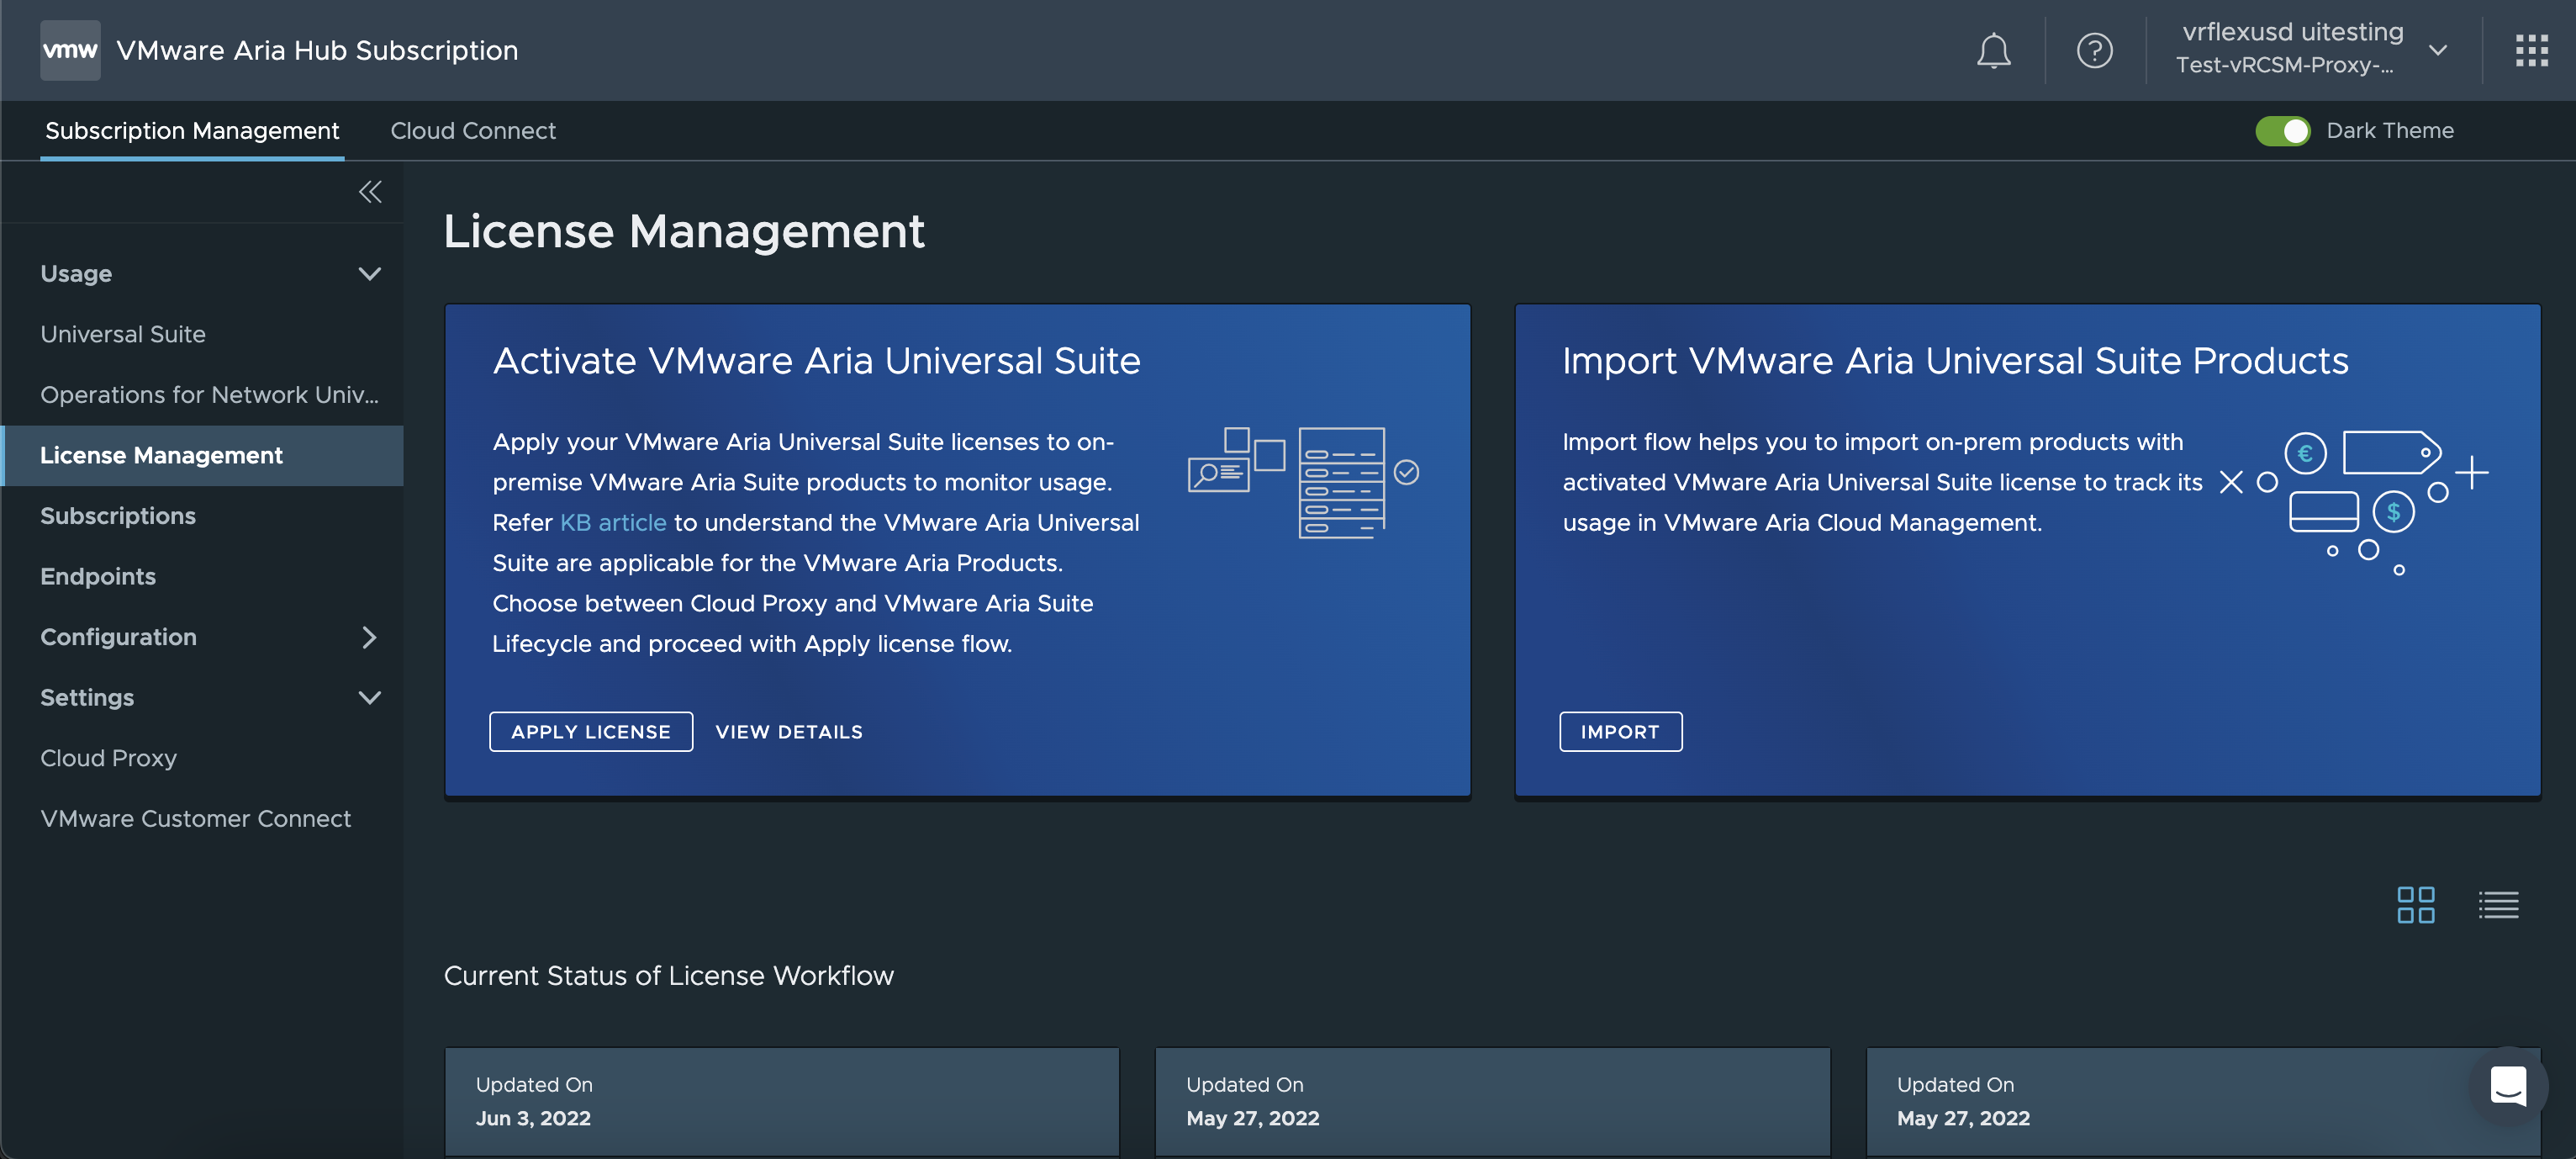
From the left menu, click License Management.
Choose your preferred option, and then click APPLY LICENSE.
Select your VMware Customer Connect credentials.

If you want to add a new Customer Connect account, perform the following steps.
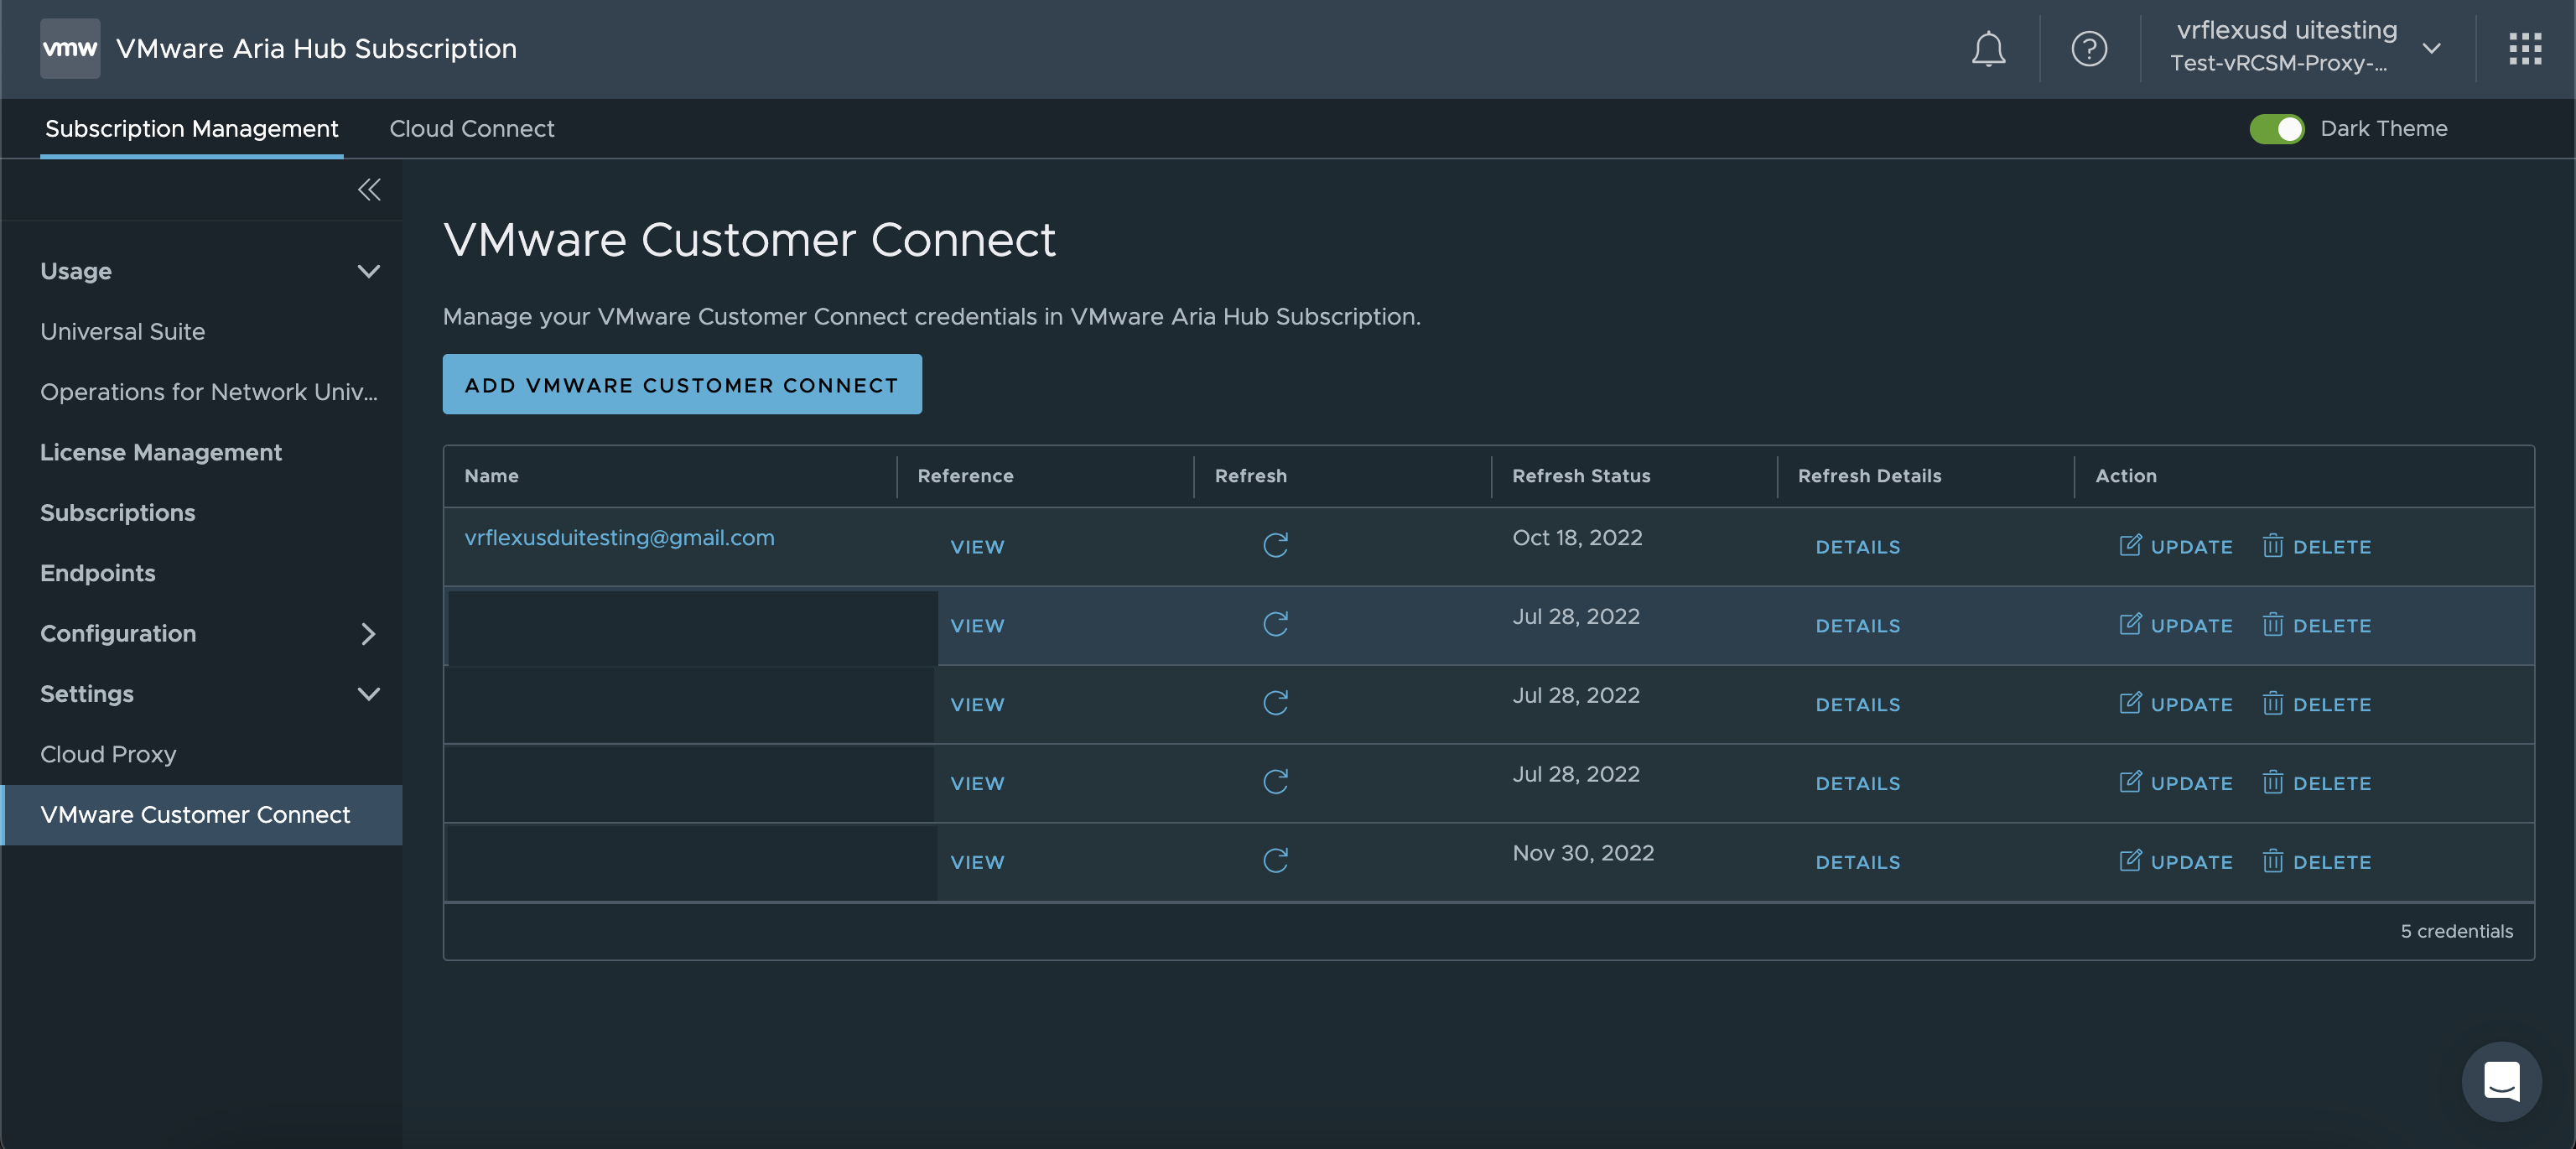
From the left menu, select Settings, and then select VMware Customer Connect.
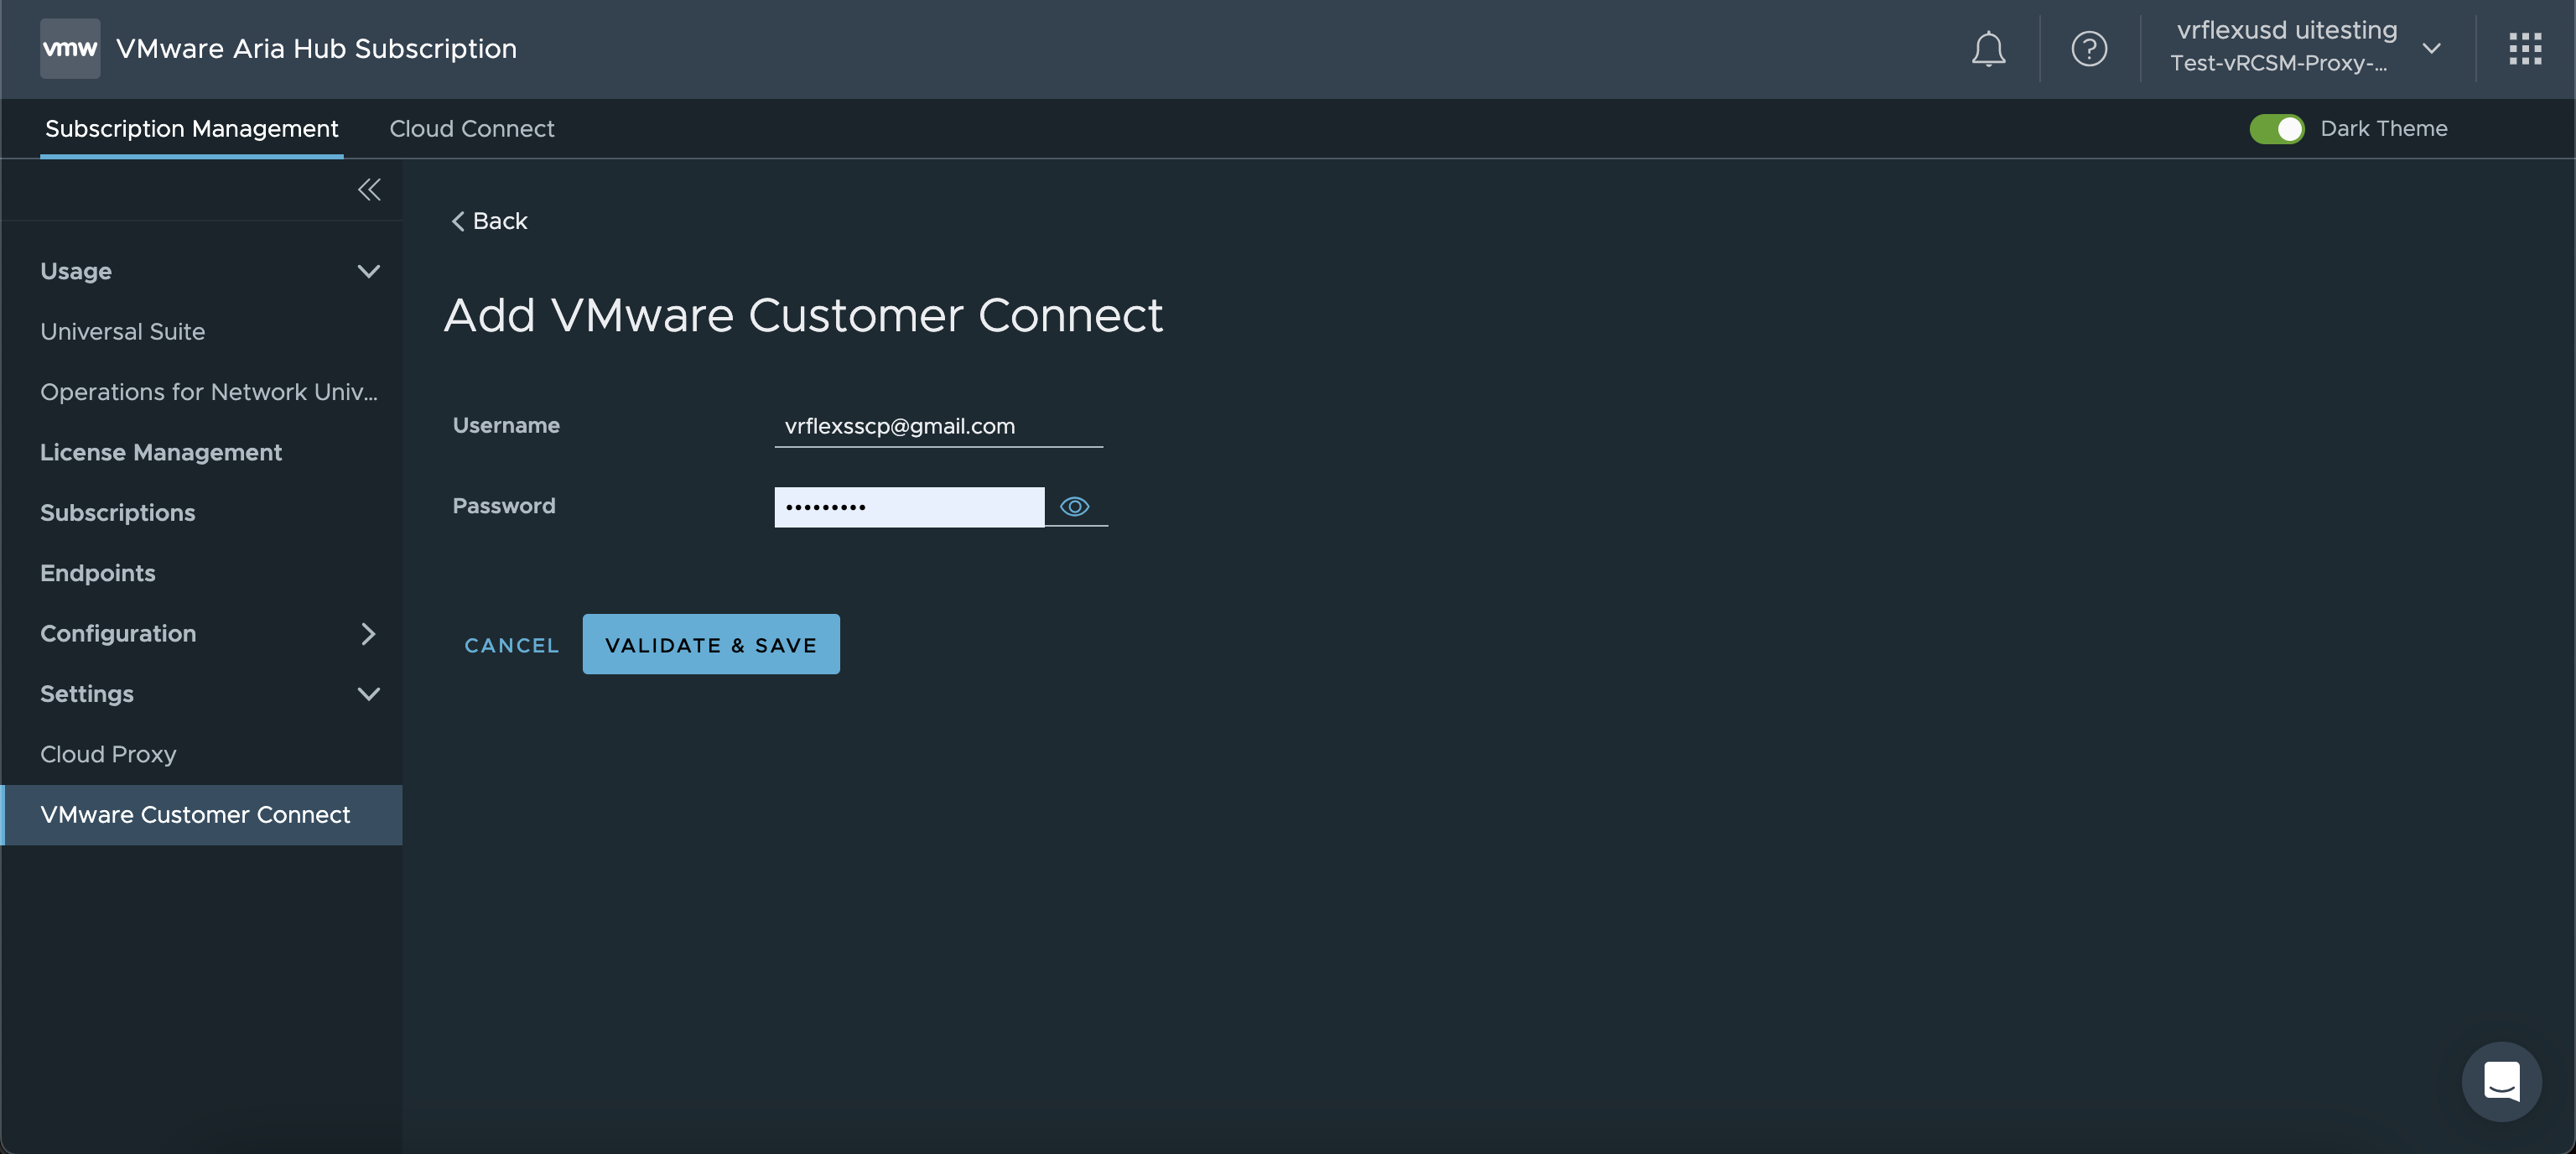
Click ADD VMWARE CUSTOMER CONNECT.
Enter the user name and password, and then click VALIDATE & SAVE.
If you want to update an existing Customer Connect account, perform the following steps.
Select VMware Customer Connect, and then select the required account and click UPDATE.
Enter the user name and password, and then click VALIDATE & SAVE.
If you want to delete an existing Customer Connect account, ensure that the endpoint does not have any license associated with the Customer Connect account.
Click Refresh to sync the VMware Aria Universal Suite licenses from Customer connect to VMware Aria Subscription Manager.
Select the VMware Aria Universal Suite license to activate your on-premise product and click NEXT.
Select the Cloud Proxy and click Next.
Note:Verify that the status of the selected cloud proxy is active.
If you want to add a Cloud Proxy, perform the following steps.
From the left menu, select Settings, and then click Cloud Proxy.
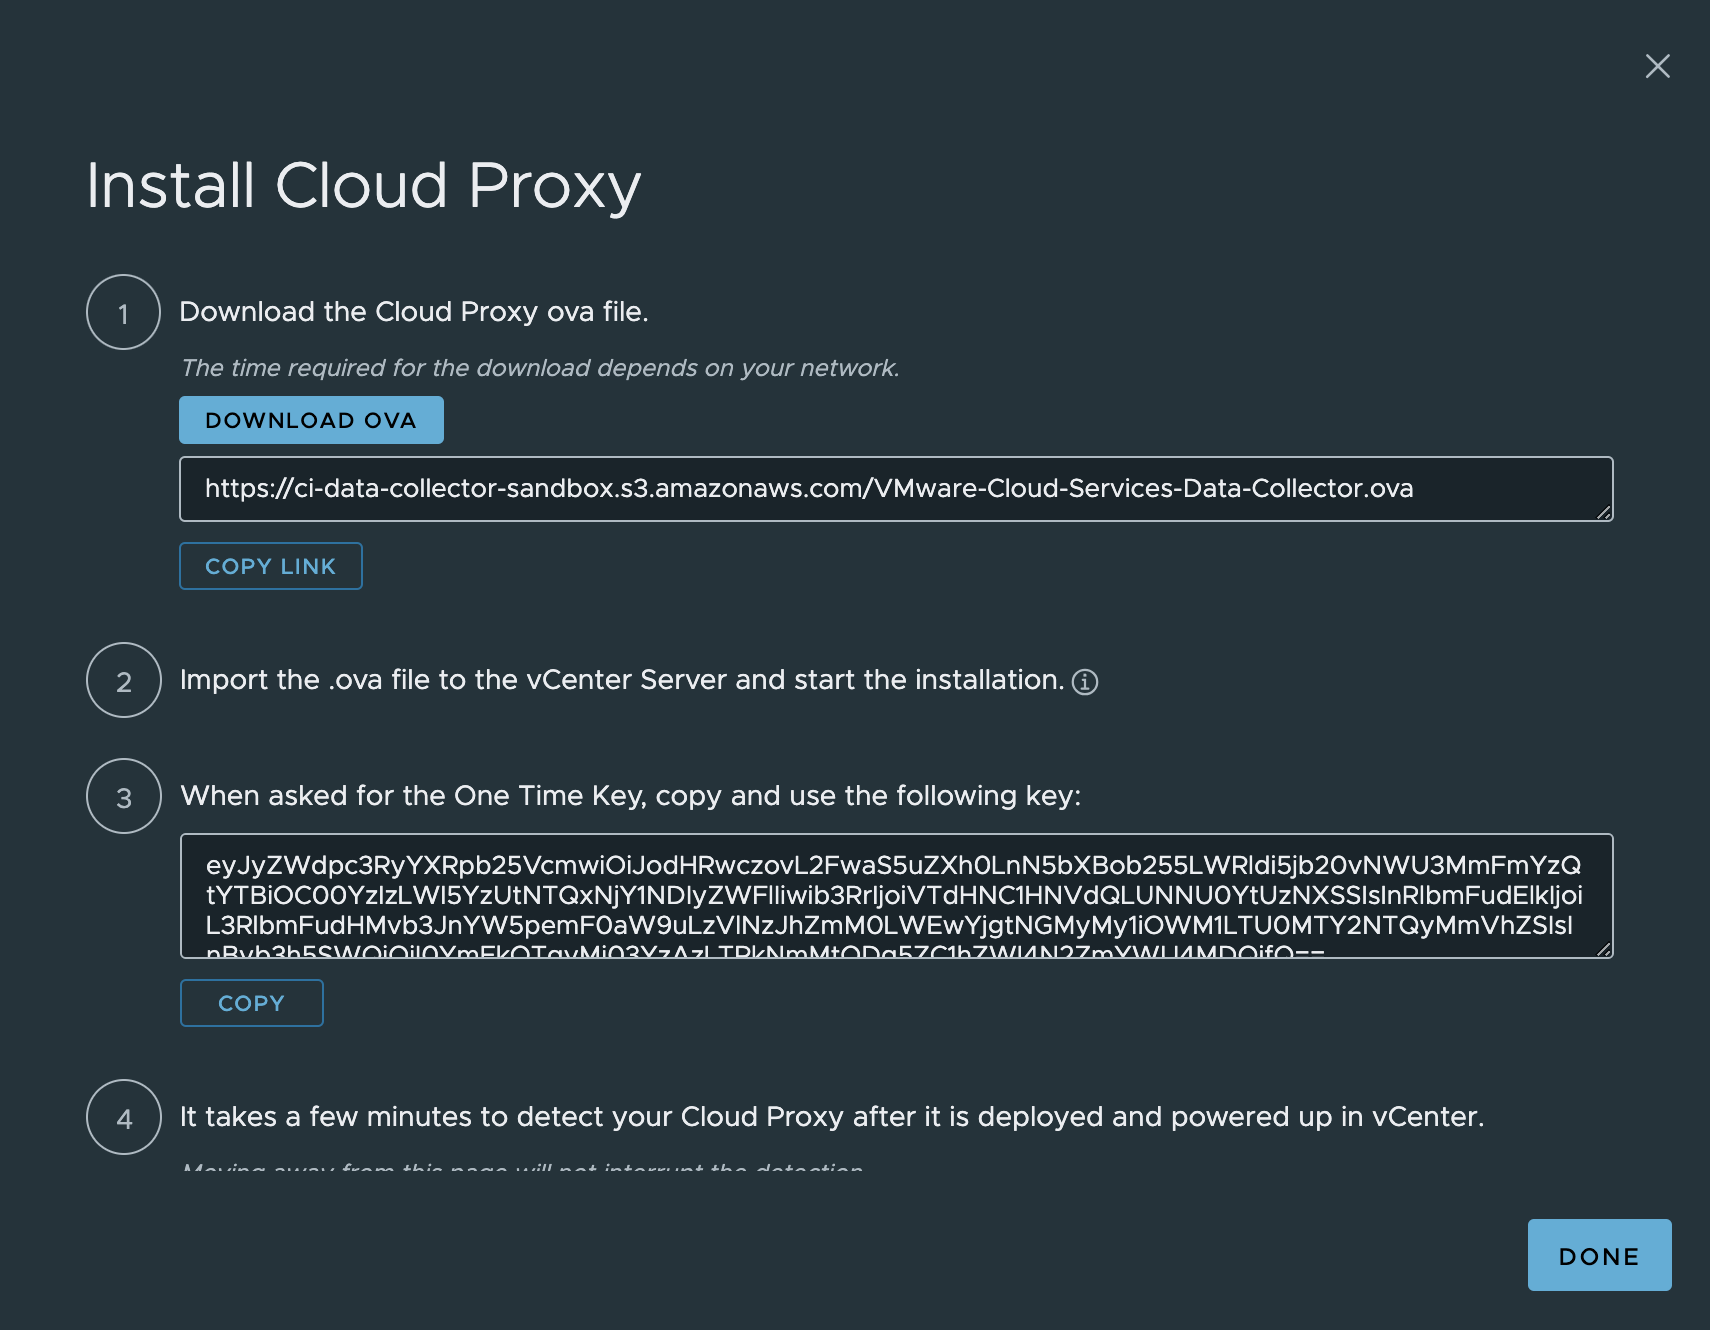
Select ADD PROXY and click New.
Import the
.ovafile to the vCenter Server and complete the installation.Once the installation is complete, click DONE.
Under Add Product, select the Product Type from the drop-down menu, and then select the Version.
Enter the FQDN/IP Address.
Based on the selected product, you can select the Admin Password or the Root Password.
Select the check box to remove all the perpetual licenses from the selected product, if required.
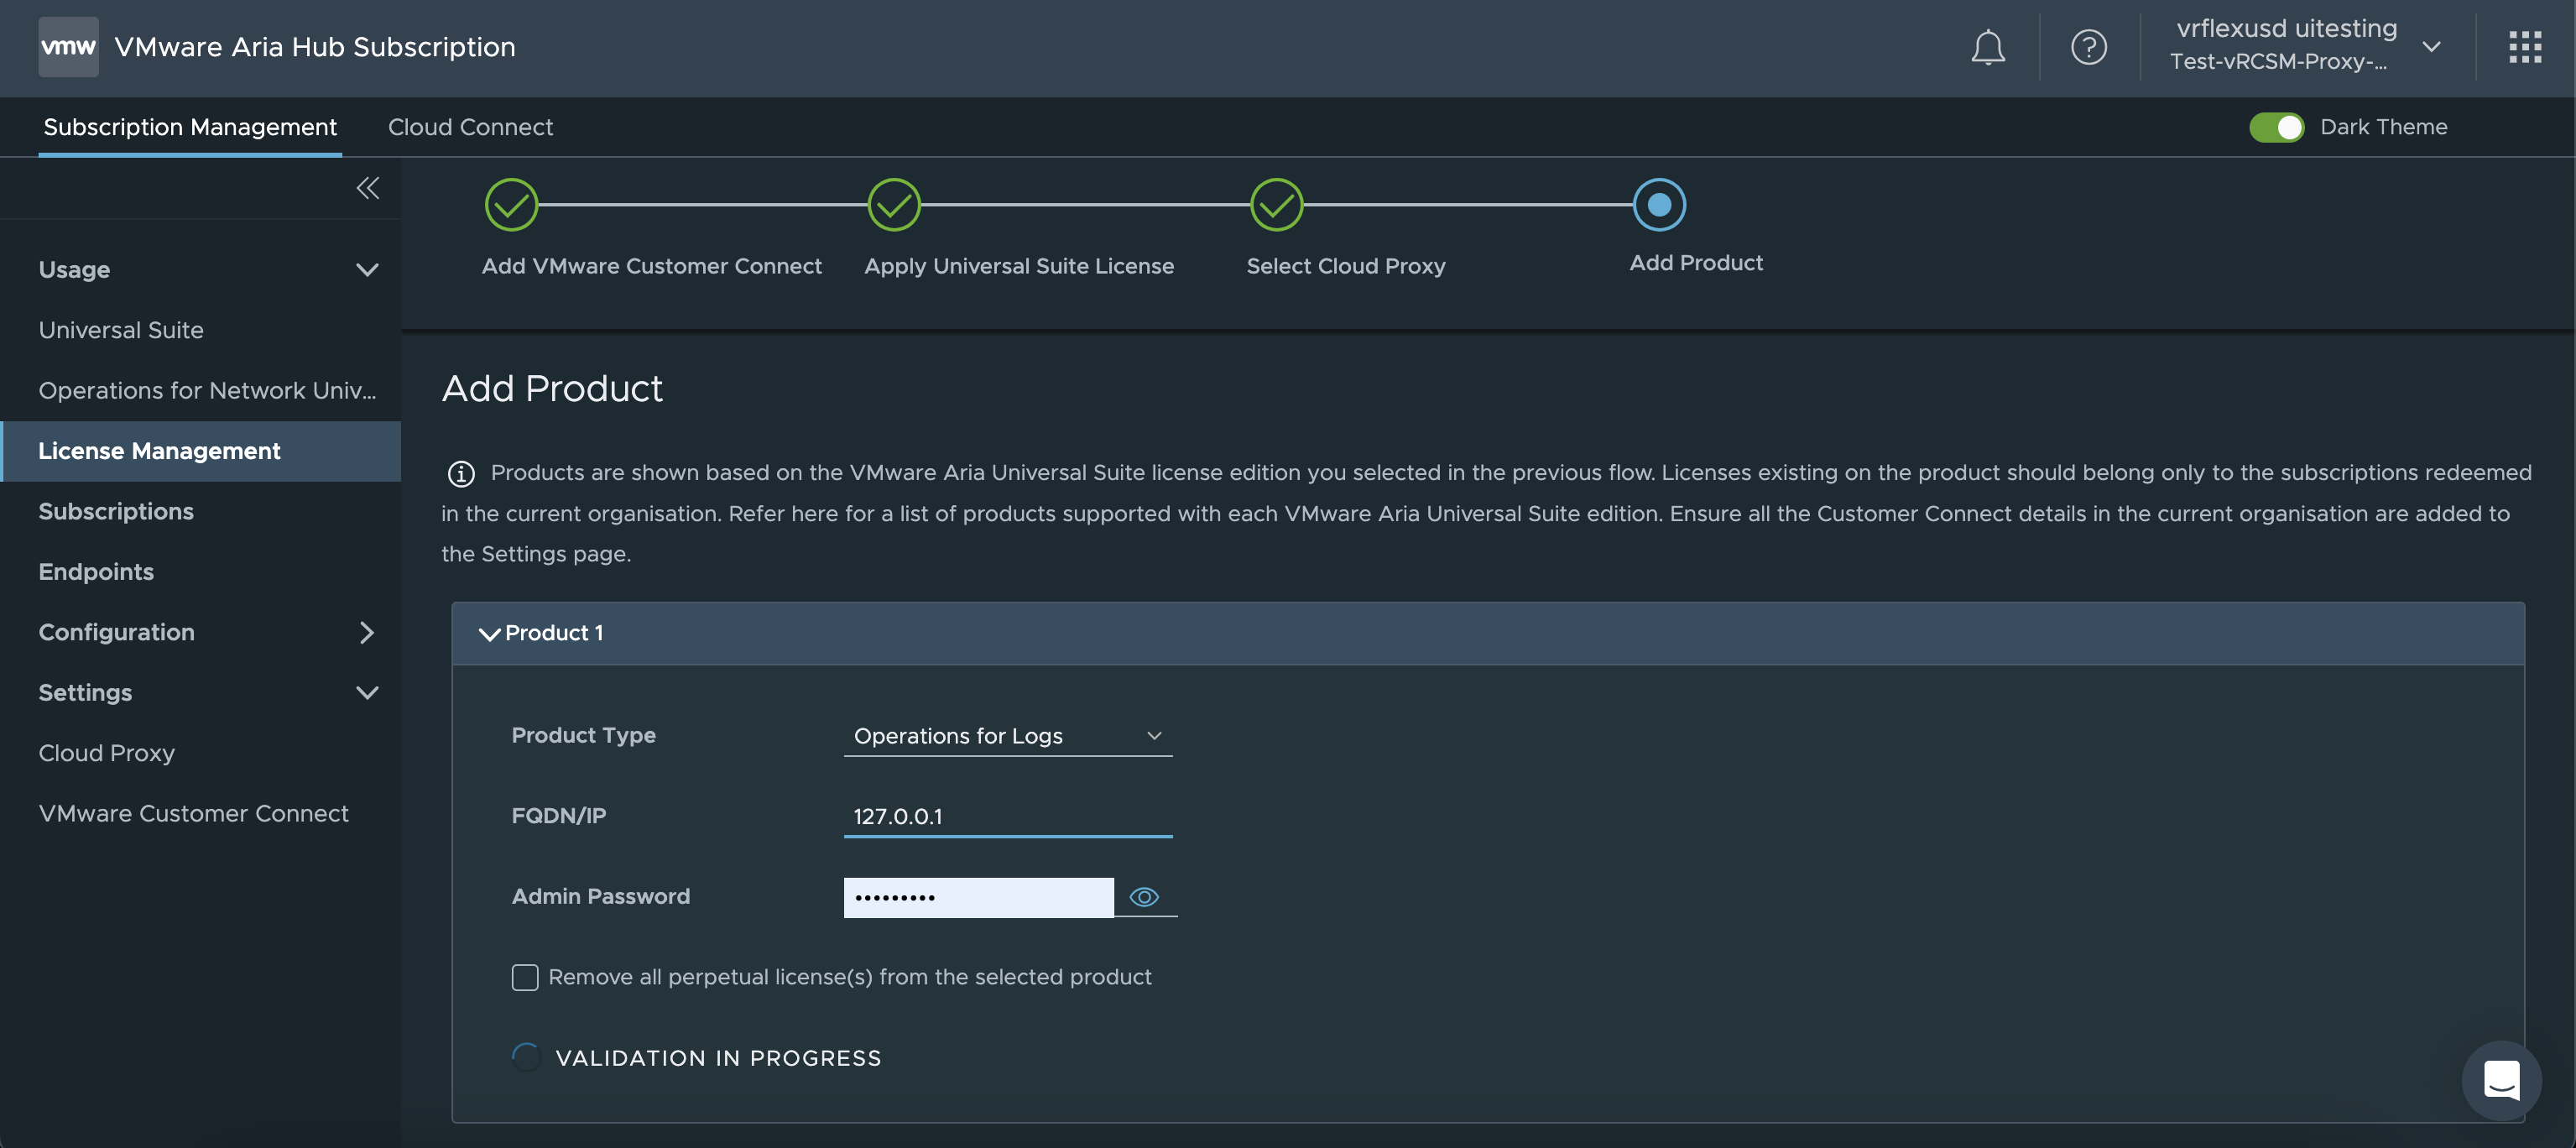
Click Validate & Add. When the validation is complete, click Next.
You can validate the details and click Finish.
The on-premise usage is synced automatically with VMware Aria Subscription Manager.
Option 2: Install VMware Aria Suite Lifecycle Using Easy Installer
You can use one of our installers to install the required VMware Aria Suite products.
VMware Aria Suite Lifecycle Easy Installer for VMware Aria Automation and VMware Identity Manager: This installer helps to install VMware Aria Suite Lifecycle, VMware Aria Automation, and VMware Identity Manager (also known as VMware Workspace ONE Access). The OVA bundle of this package contains the binaries of VMware Aria Suite Lifecycle, VMware Aria Automation, and VMware Identity Manager.
VMware Aria Suite Lifecycle Easy Installer: This installer helps to install only VMware Aria Suite Lifecycle. This package contains the OVA bundle of only VMware Aria Suite Lifecycle.
Perform the following steps for VMware Aria Suite Lifecycle installation.
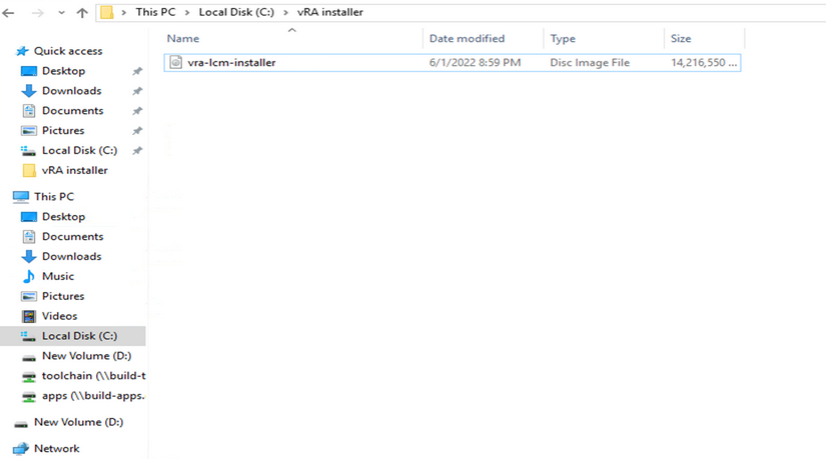
Download the VMware Aria Suite Lifecycle Easy Installer executable file from the My VMware download page.
Select the Easy Installer file.
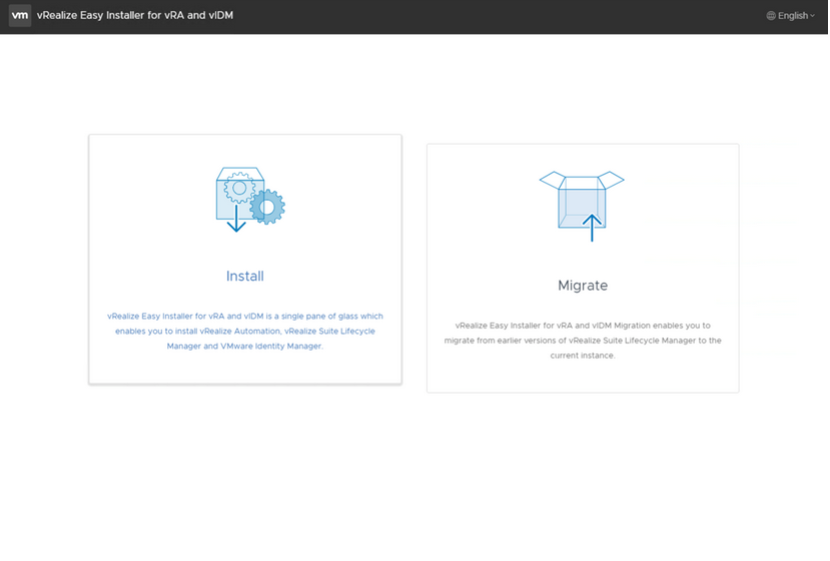
Click Install on the VMware Aria Suite Lifecycle Easy Installer window.
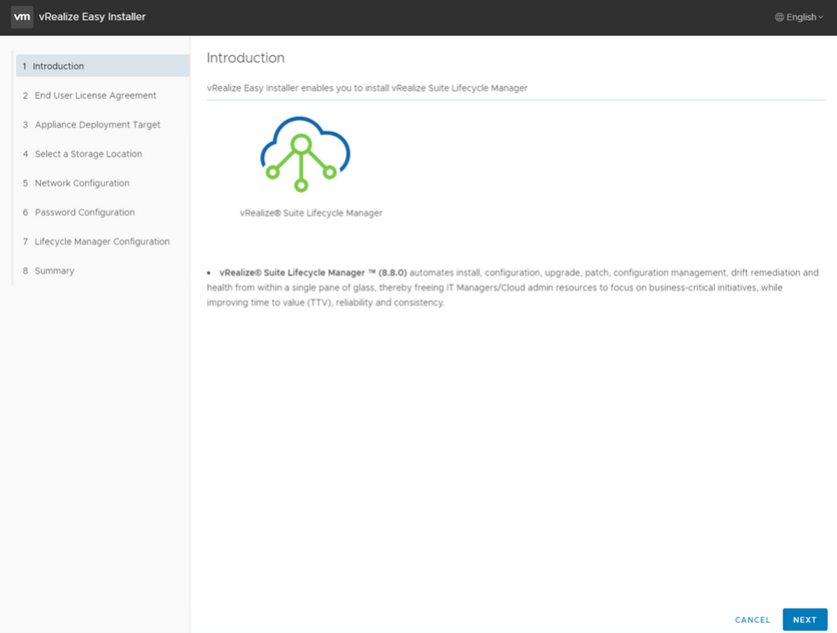
Click Next after reading the introduction.
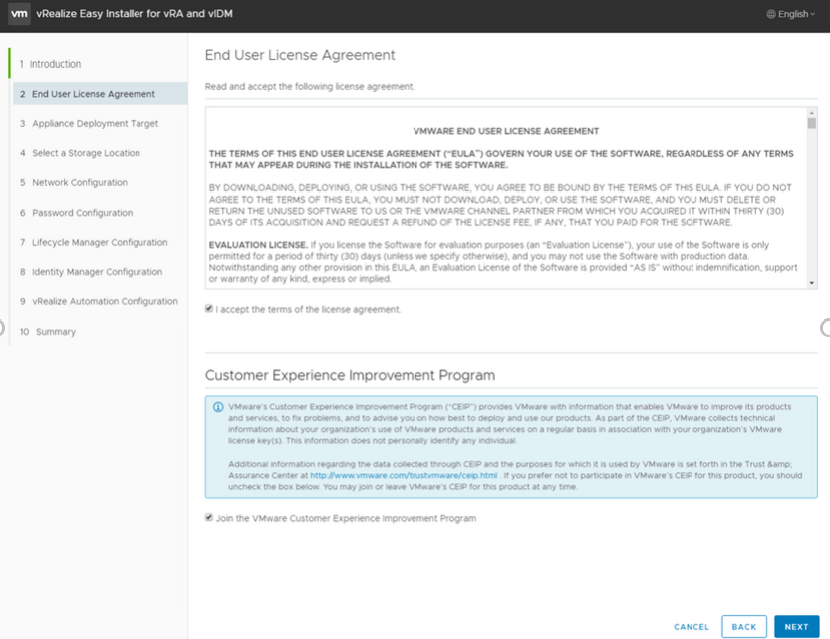
Accept the End User License Agreement and click Next. Read the Customer Experience Improvement Program and select the checkbox to join the program.
To specify vCenter Server details, enter these details on the Appliance Deployment Target tab.
Enter the vCenter Server Hostname.
Enter the HTTPs Port number.
Enter the vCenter Server Username and Password.

Click Next and you are prompted with a certificate warning, click Accept to proceed.
You must specify a storage location to deploy virtual appliances.
Expand the vCenter Server tree.
Expand to any data center and map your deployment to a specific VM folder.

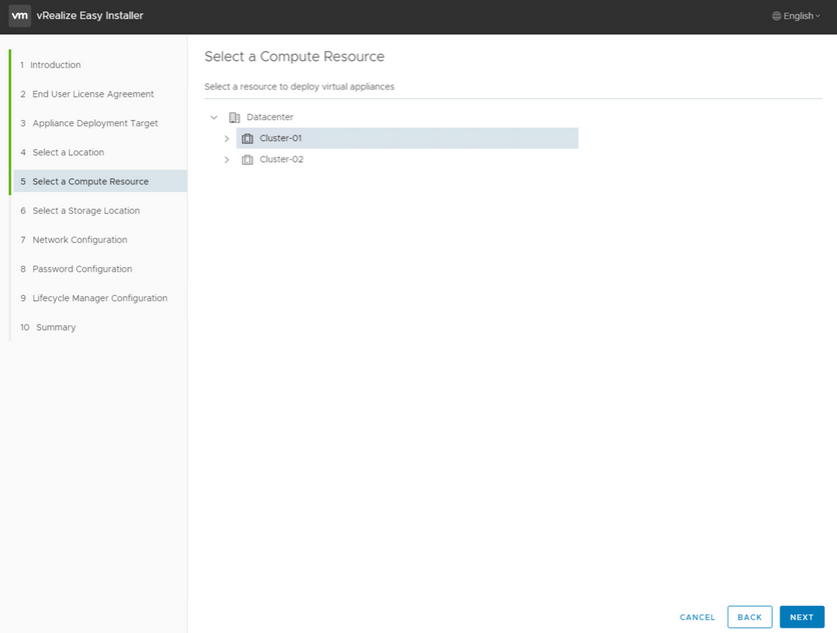
Specify a resource cluster on the Select a Compute Resource tab. Expand the data center tree to an appropriate resource location and click Next.
On the Select a Storage Location tab, select a datastore to store your deployment and click Next.
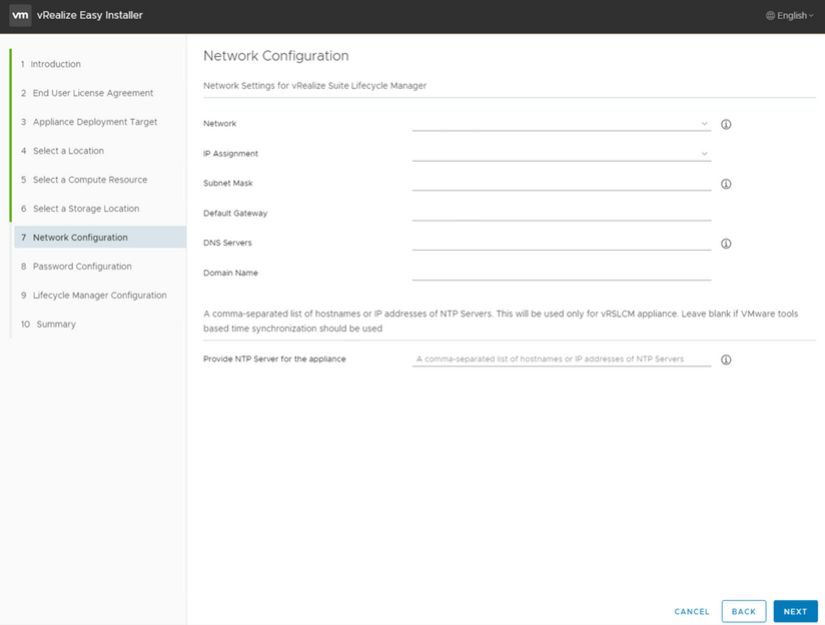
On the Network Configuration and Password Configuration tabs, set up your network and password configuration by entering the required fields, and clicking Next.
For a vRealize Suite Lifecycle Manager VM, enter the NTP server for the appliance and click Next.
The network configurations provided for all products are a one-time entry for your configuration settings. The password provided is also common for all products and you need not enter the password again while you are installing the products.
The password must included at least one upper case, one lower case, one number and one special character. Special characters can be !@#$%^&*(), and colon (:) is not supported in the password.

Set up vRealize Suite Lifecycle Manager configuration settings.
Enter a Virtual Machine Name, IP Address, and Hostname.
Provide configuration information. Enter the Data Center Name, vCenter Name and Increase the Disk Space fields.
Activate or deactivate the FIPS mode compliance, as required.
Click Next.
Verify the details in the Summary page and click Submit.
Step 2: Adding a License in VMware Aria Suite Lifecycle
You must create VMware Aria Operations licenses at the locker level in VMware Aria Suite Lifecycle, and then connect these licenses to VMware Aria Subscription to monitor your cloud data usage.
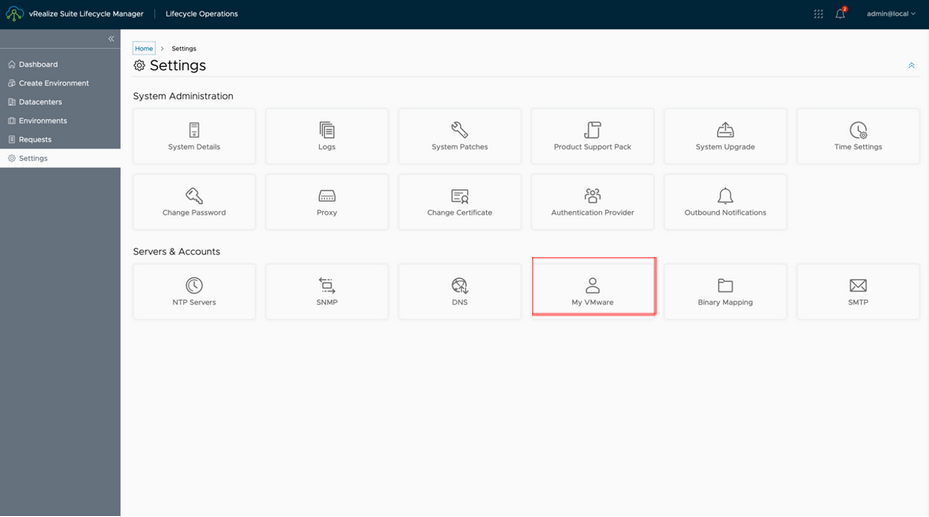
If you do not have My VMware account, navigate to the Lifecycle Operations dashboard, and then click Settings.
Click My VMware and add a Aria Cloud account.
Enter the My VMware account details and click VALIDATE.

After your My VMware accounts are configured, the corresponding license keys are synced.
From the Lifecycle Operations dashboard, click Locker.
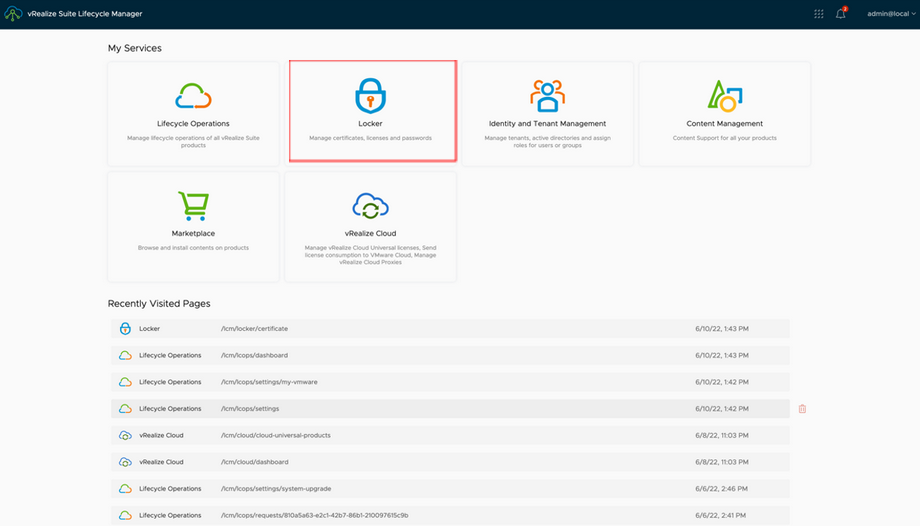
Select License. The VMware Aria Cloud licenses are created under your My VMware account and are displayed in the Licenses table.
Click RETRIEVE LICENSES to synchronize the available VMware Aria Universal Suite license keys.
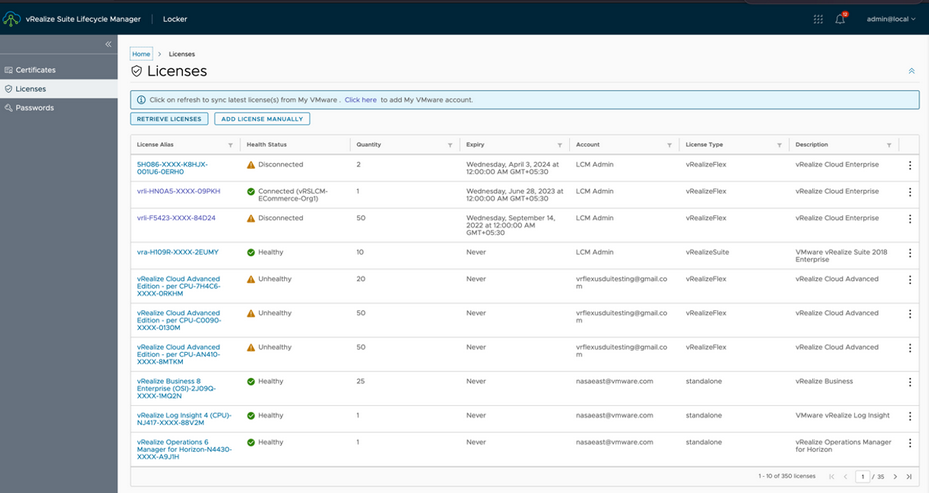
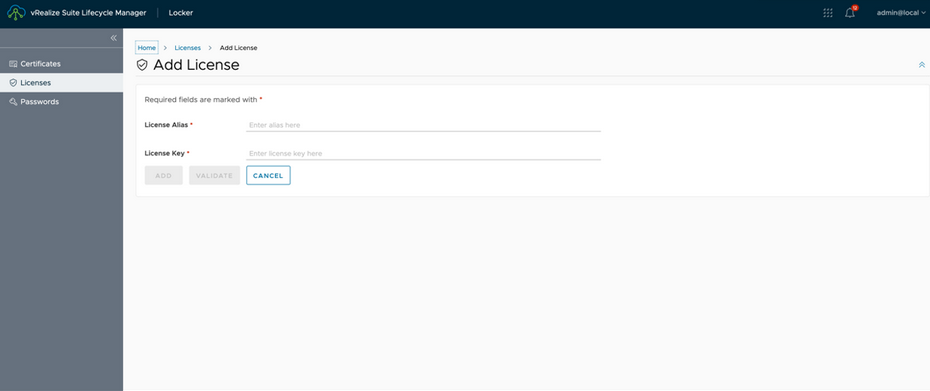
To manually add licenses, click ADD MANUALLY LICENSES.
Enter the License Alias and License Key, and then click VALIDATE.
Step 3: Activate VMware Aria Universal Suite Subscription Licenses Using the Simplified Import Flow
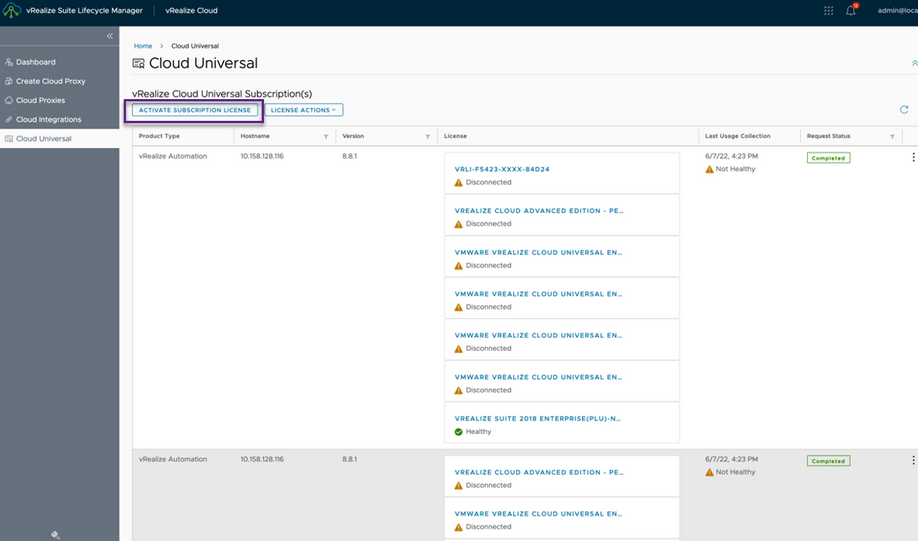
You must activate your VMware Aria Universal Suite subscription licenses to perform the available license actions.
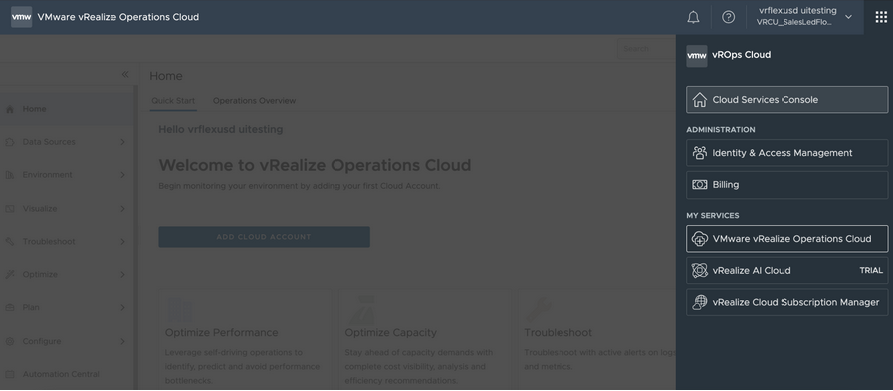
To activate a subscription license, navigate to the vRealize Cloud dashboard, and then click Cloud Universal.

Click Activate Subscription License.
Select the check box to confirm that the vRealize Suite products are on the required patches to proceed.
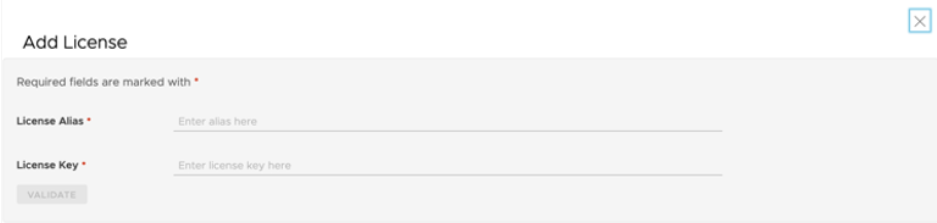
Select the plus (+) sign to add the license key details, and then click Validate.
 Note:
Note:The license key must be a VMware Aria Cloud Subscription. When you add a new license, you can view the license key under Locker in VMware Aria Suite Lifecycle.
After the license key is validated, click ADD. Click Next.
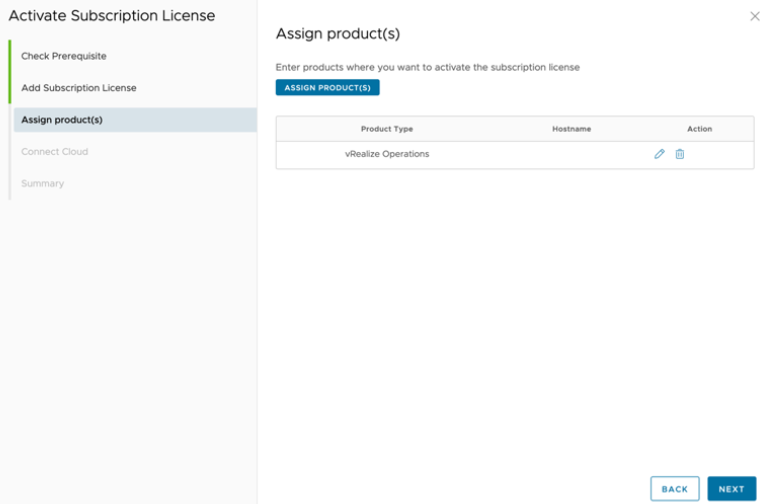
Select the Product Type and the Version.
Enter the FQDN/IP Address.
Based on the selected product, you can select the Admin Password or Root Password.
Select the check box to remove all the perpetual licenses from the selected product, if required.
Click Validate & Add. When the validation is complete, click Next.
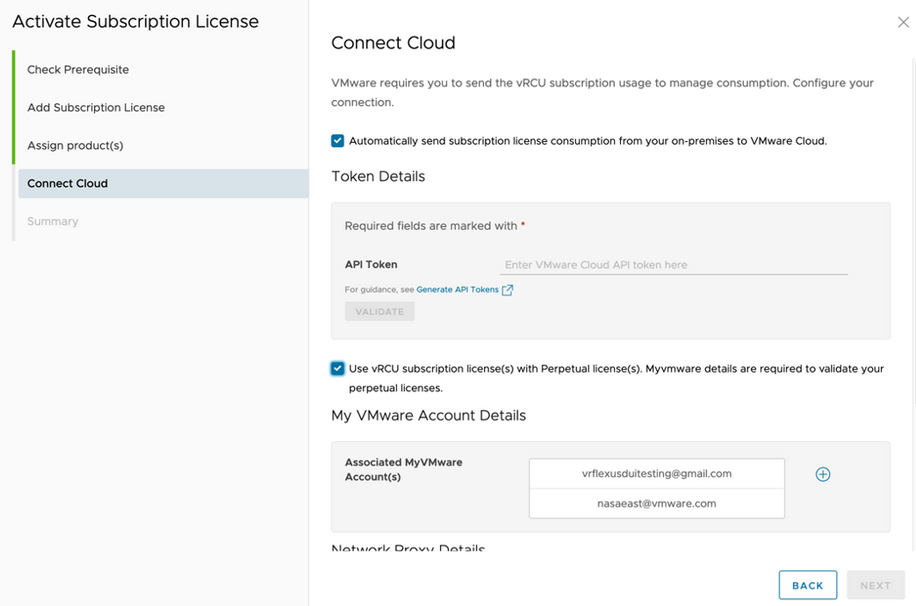
In the Cloud Connection Details page, you have two options.
Automatically send subscription license consumption from your on-premises to VMware Cloud: This check box allows you to send subscriptions to vRealize Suite Subscription Manager. If you select this check box, enter the API Token details.
Use vRCU subscription licenses with perpetual licenses: If you select this check box, enter your Associated MyVMware Account details.
If you select both the check boxes, you must enter the Network Proxy details.
Click Next.
You can validate the details in the Summary page, and then click Finish.
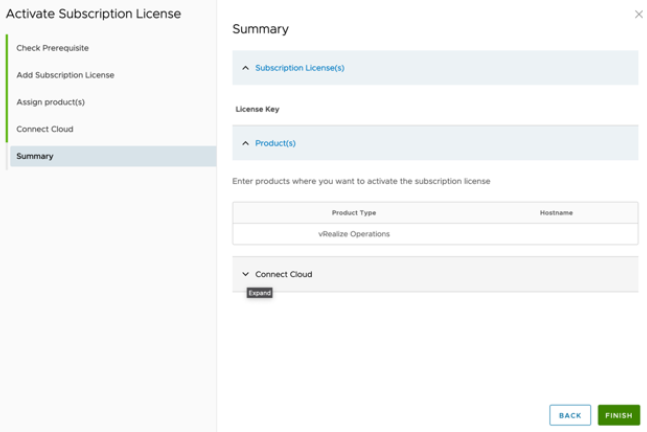
After your subscription license is activated, the on-premise usage is synced automatically.
Step 4: (Optional) Manually Upload VMware Aria Suite Lifecycle On-premise Usage to VMware Aria Subscription Manager
If you are unable to connect to the internet, VMware offers a manual upload for an air gapped and dark site system. You can manually upload your on-premise usage data to VMware Aria Subscription Manager.
Navigate to the vRealize Cloud dashboard, and then click Cloud Universal.
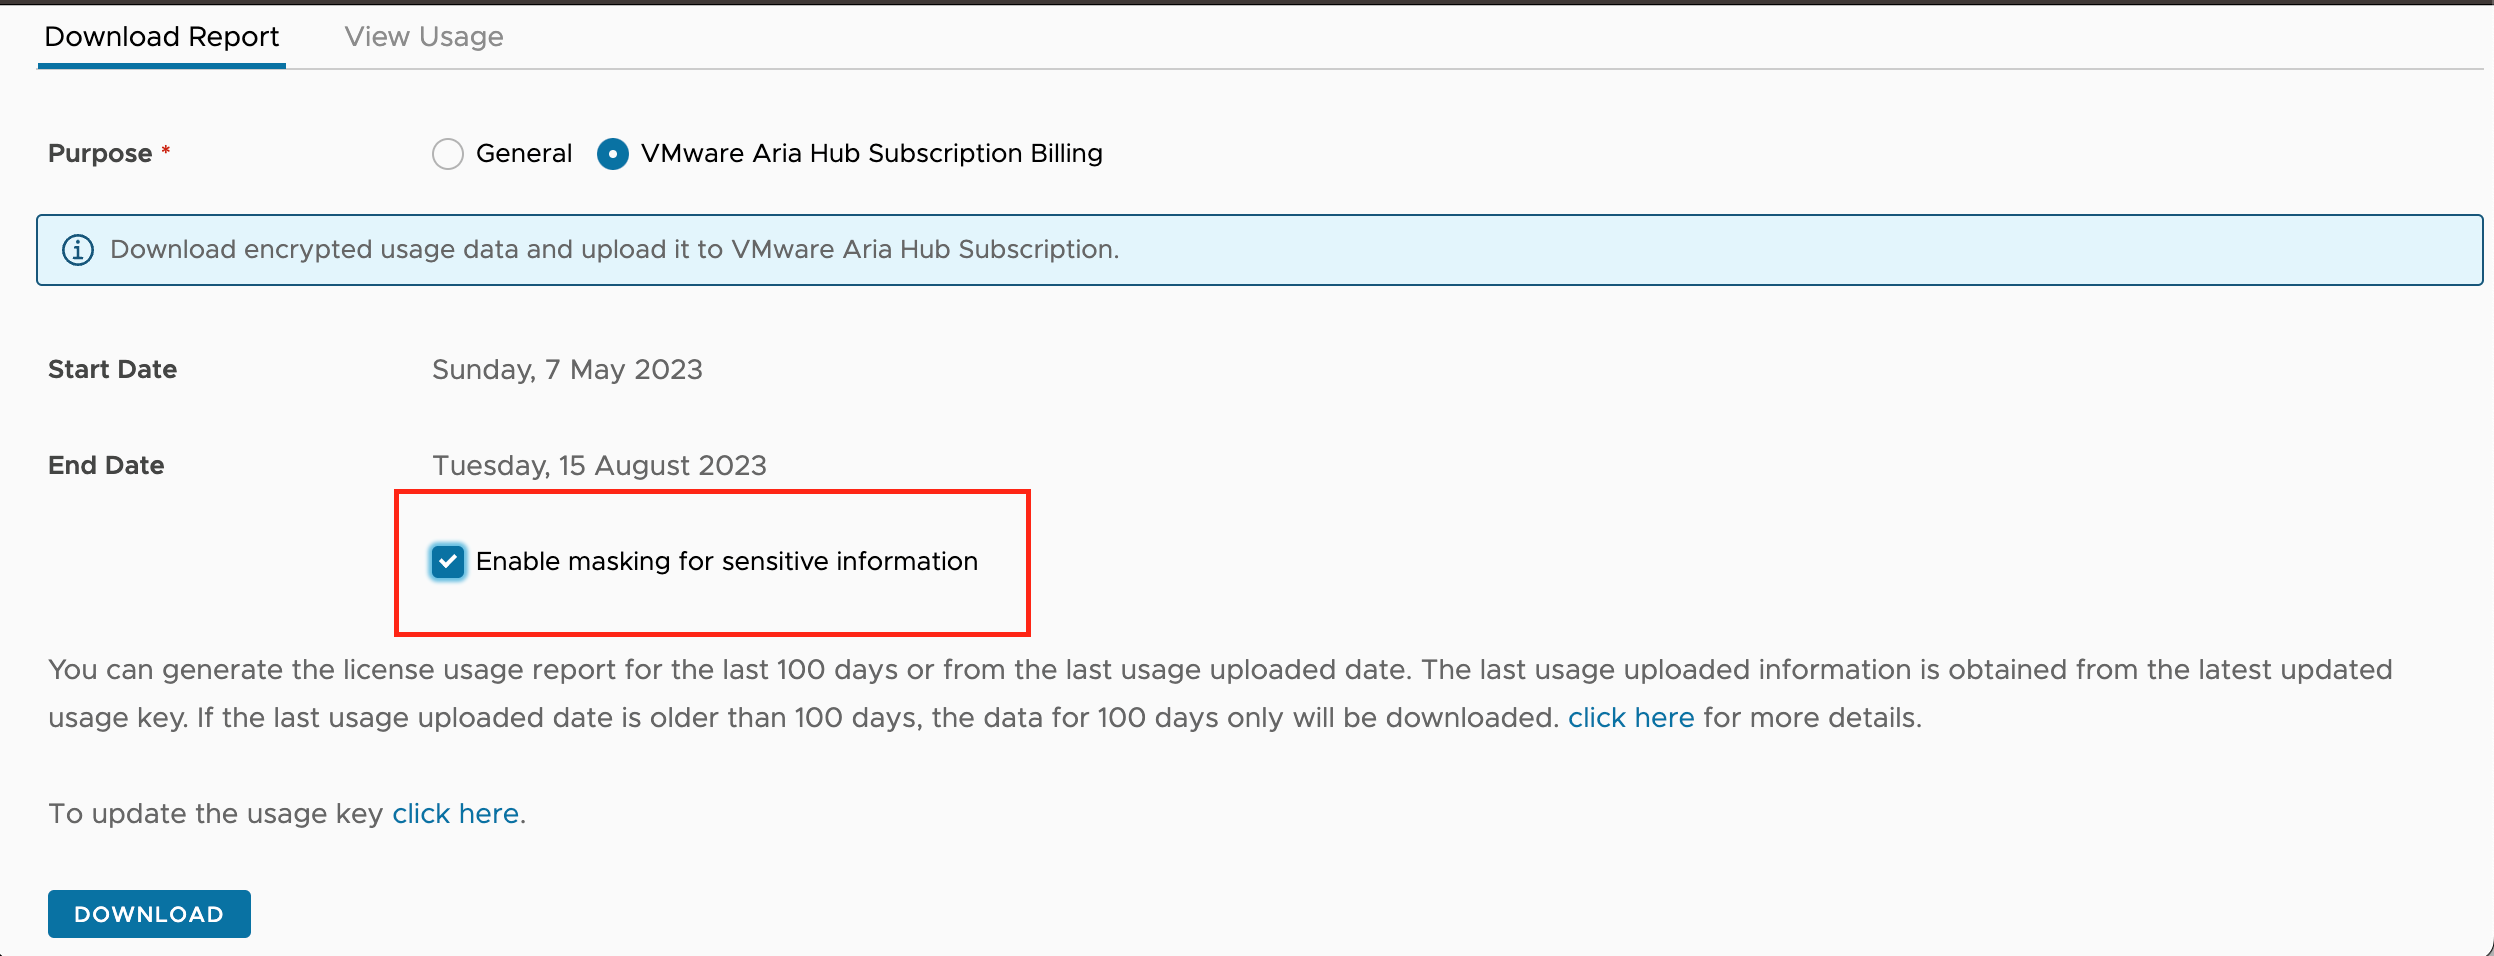
Click LICENSE ACTIONS, and then select Usage Bundle Download.

Select the License Key, Purpose, and Enable masking for sensitive information checkbox, and then click DOWNLOAD.
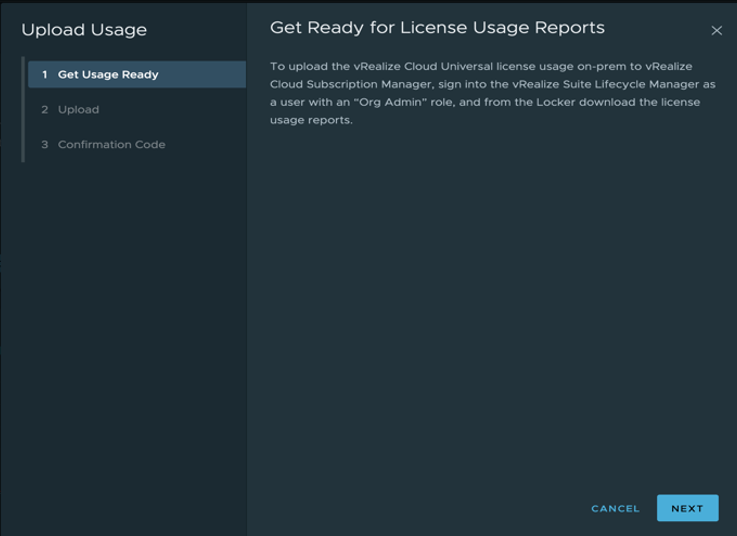
Log in to VMware Aria Subscription Manager. In the Home page, select Usage, and then click Import.
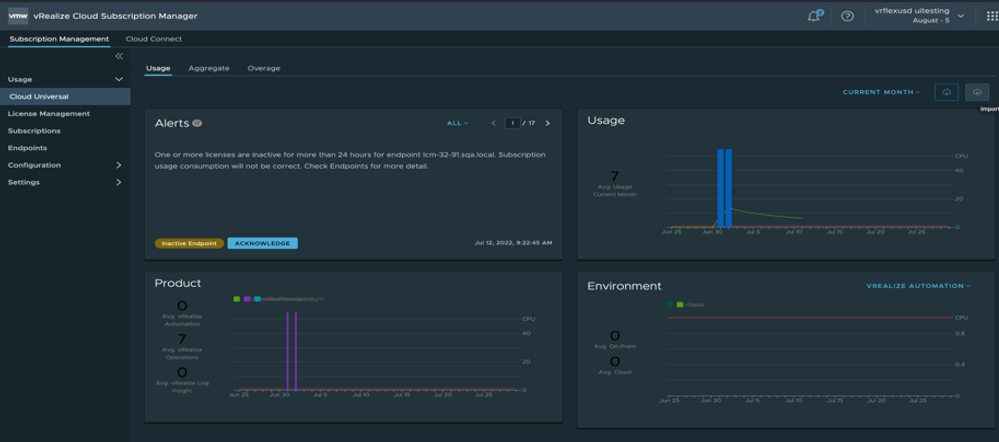
Upload the downloaded file and click NEXT.
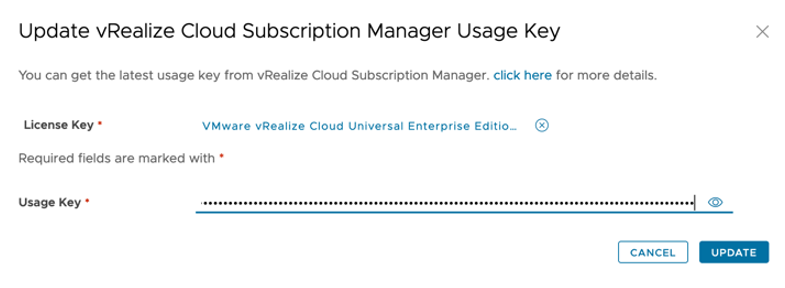
Copy the Usage Key details.
In VMware Aria Suite Lifecycle, select VMware Aria Cloud, and then click Cloud Universal.
Click LICENSE ACTIONS and select Update Usage Key.
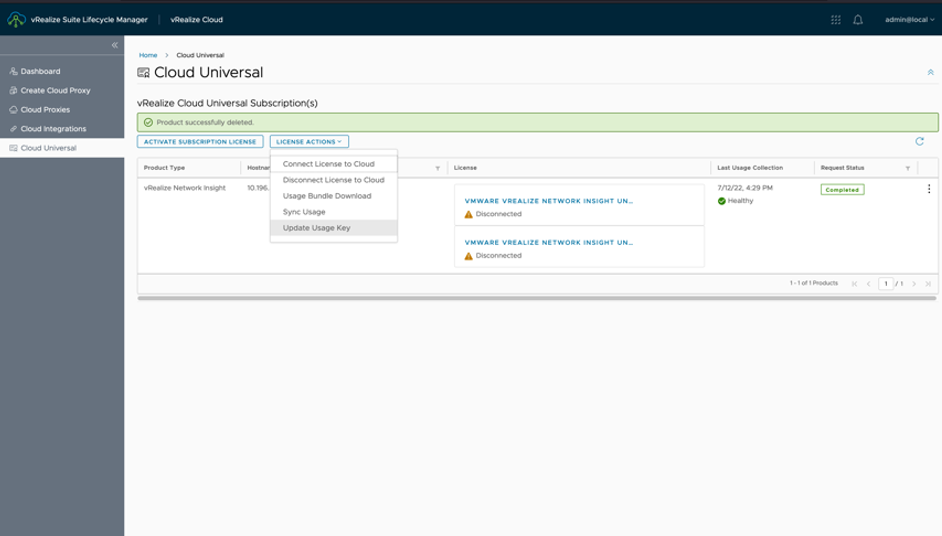
Select the license key and enter the usage key. Click UPDATE.