


This section elaborates the steps to enable Tenancy in AKO.
To enable Tenancy in AKO, follow the steps below:
Create a Tenant.
Create the Required Roles.
Assign Tenants and Roles to Users.
Procedure
- Creating a Tenant.
- From the UI, navigate to .
- Click Create.
- Enter the Name as billing.
- The New Tenant screen is as shown below:
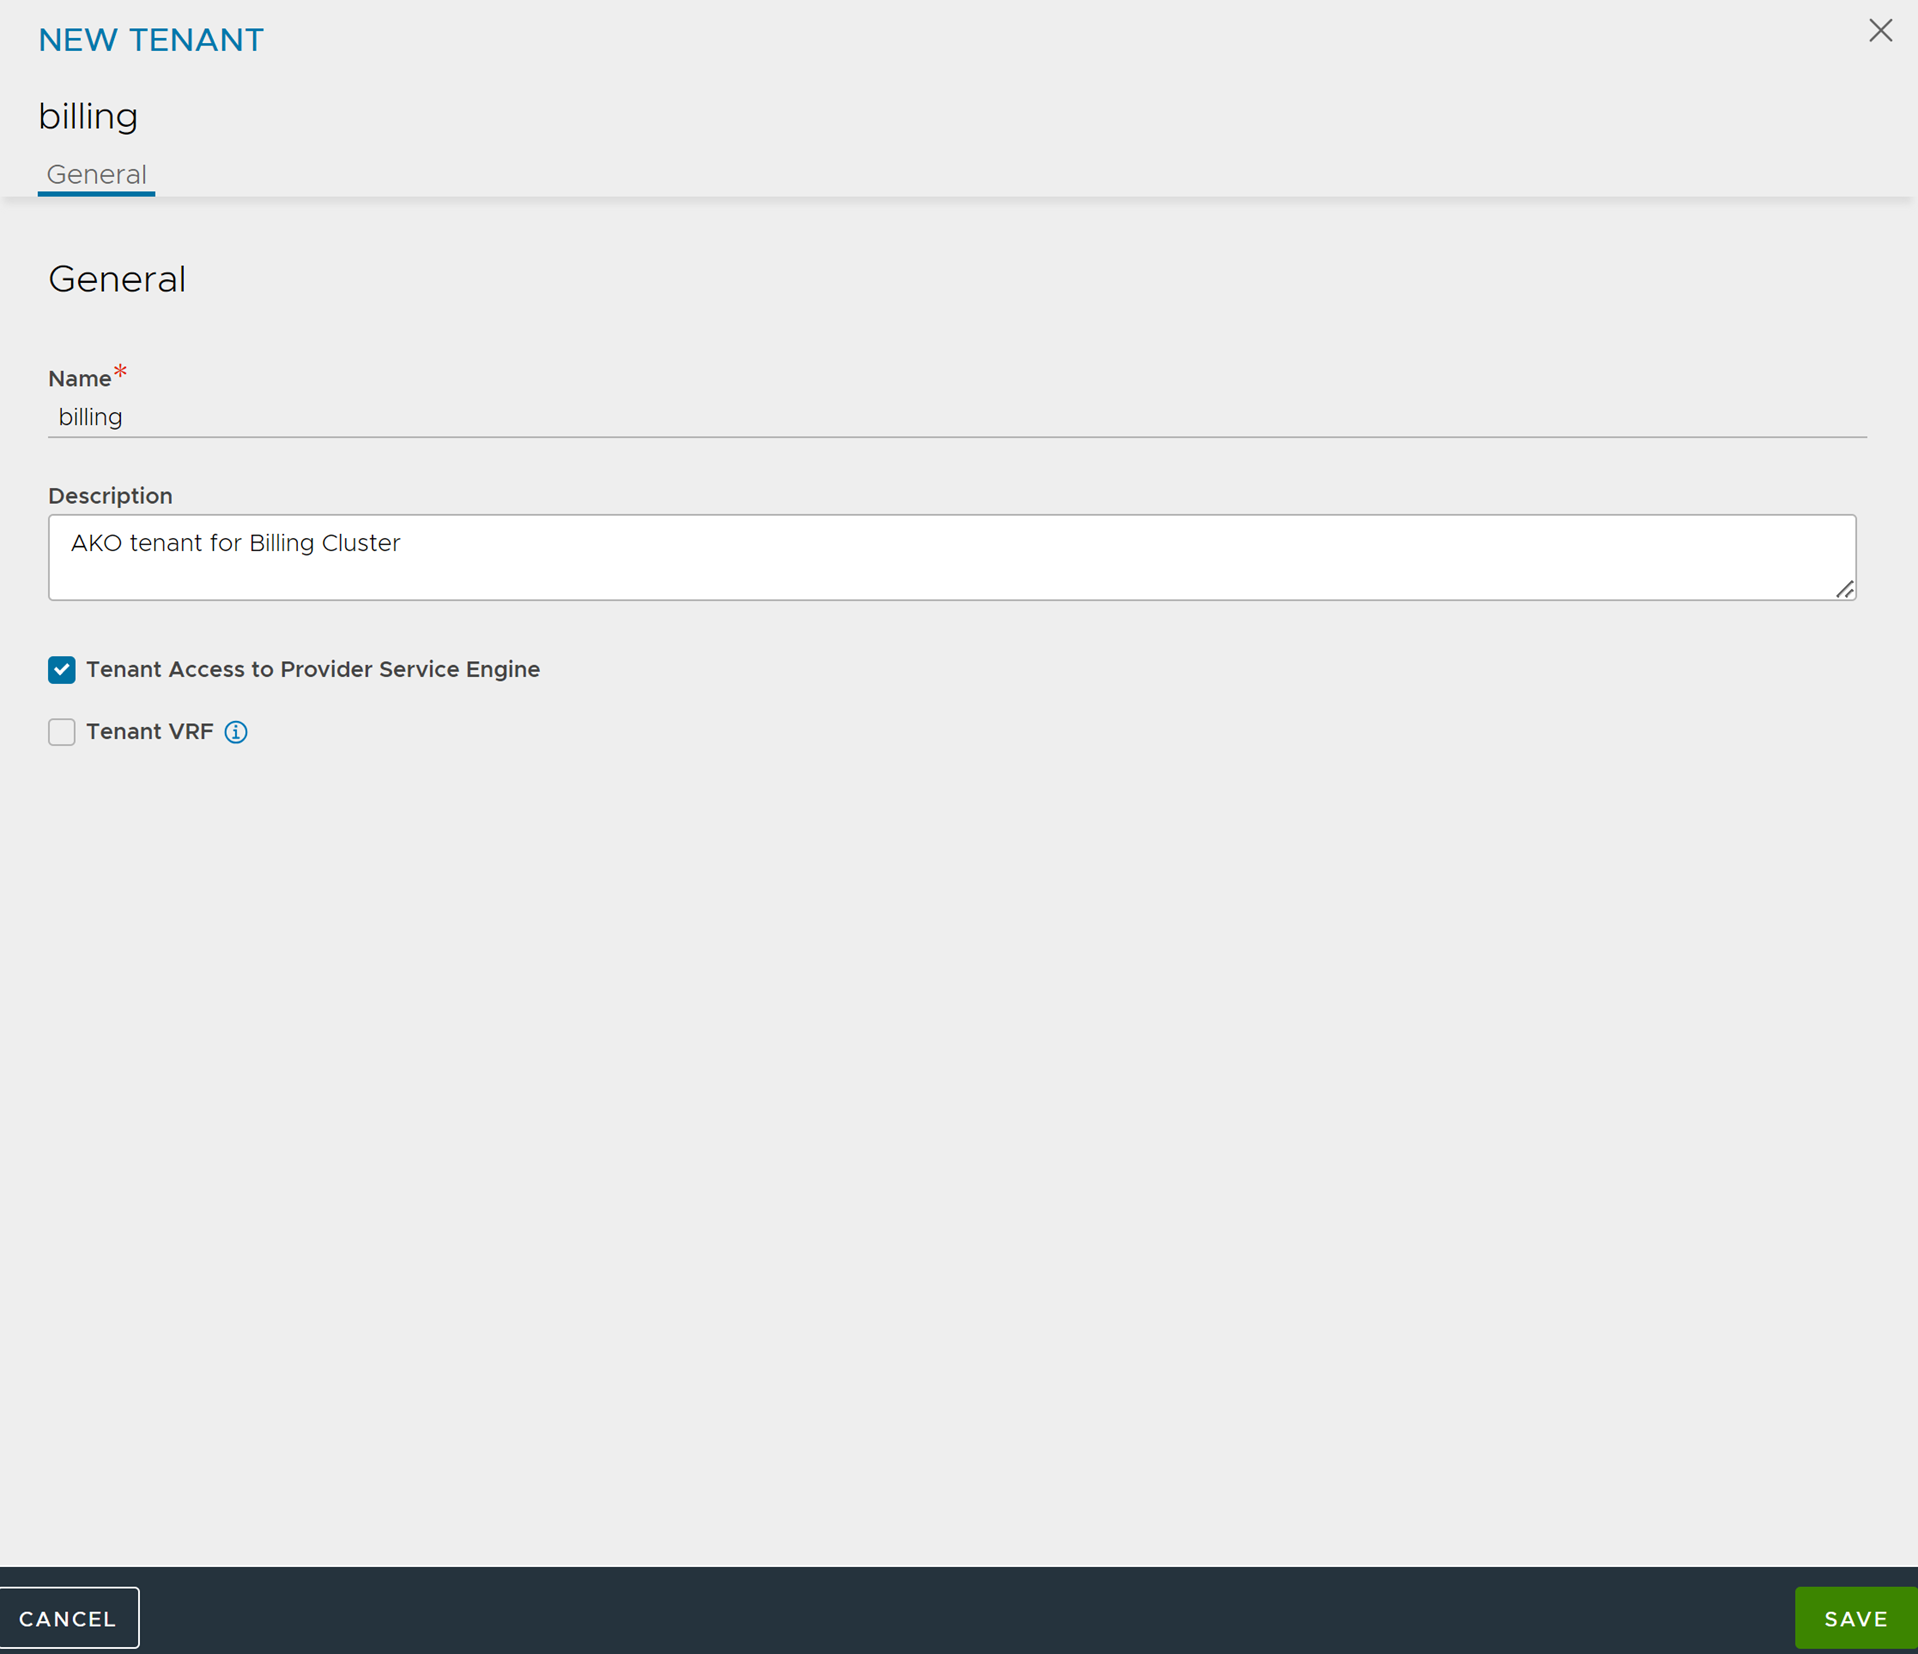
- Click Save.
- Creating Roles: Create the required roles with appropriate privileges to the ako user in the admin and the billing tenants. This can be created by POST to
/api/role.- Create the role
ako-admin. - Create the role
ako-tenant. - Navigate to .
The roles created are displayed as shown below:
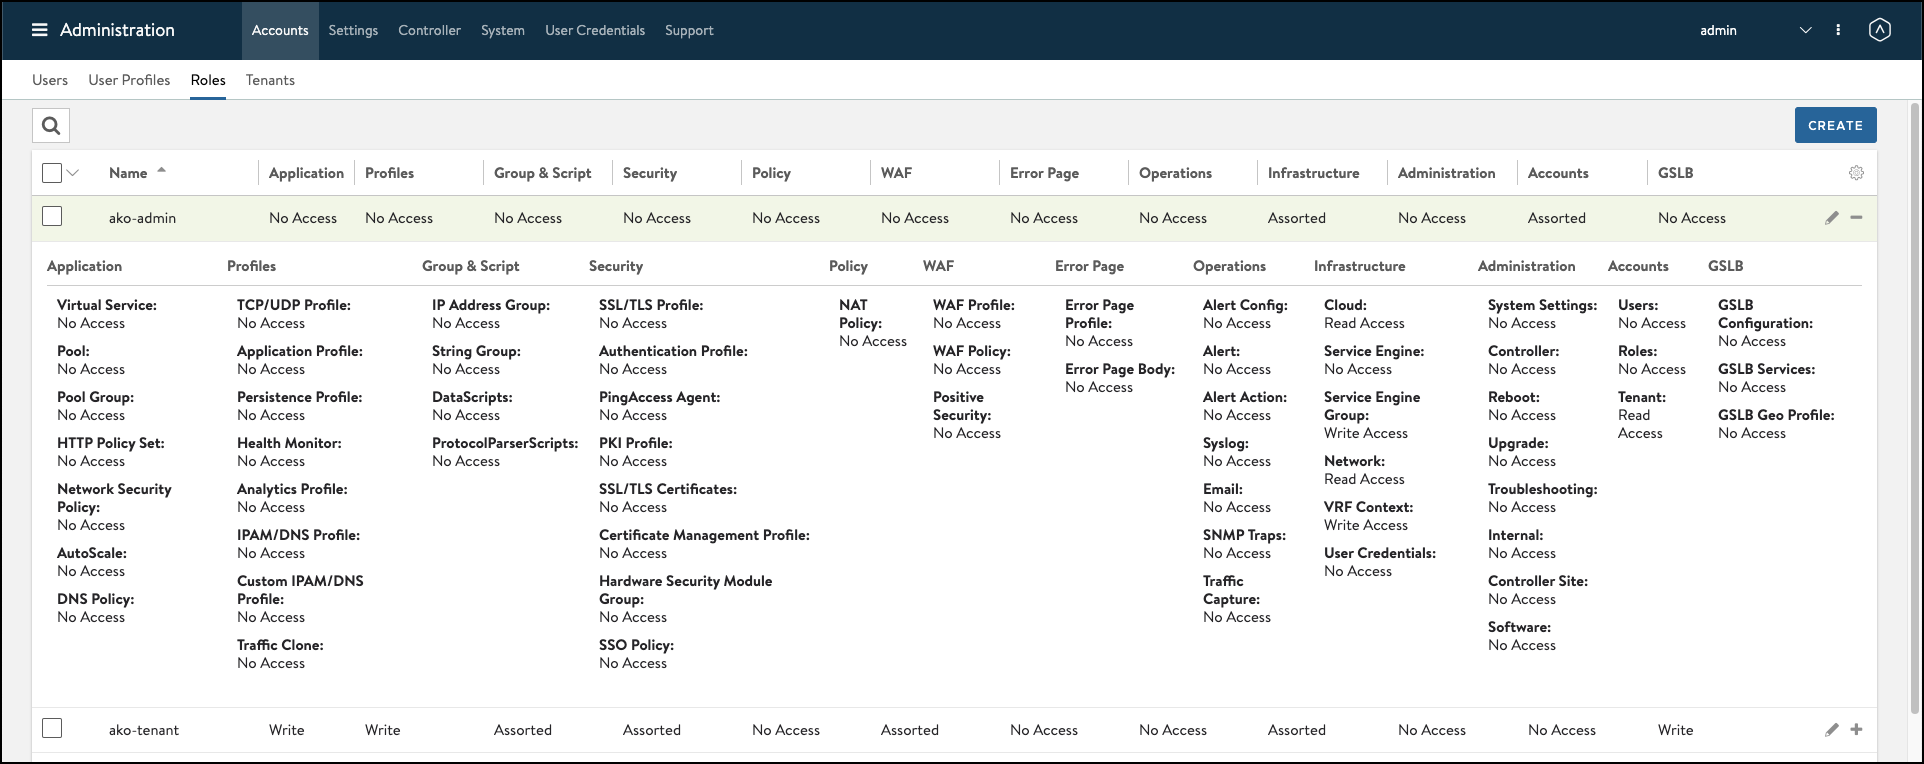
- Create the role
- Assigning Tenants: Create users and assign tenants as required. To create users,
- Navigate to .
- Click Create.
- Enter the User Information as required. In the Tenant & Role section, click Add and select the Roles.
- Under Individual Tenants, click Add and select the Tenant.
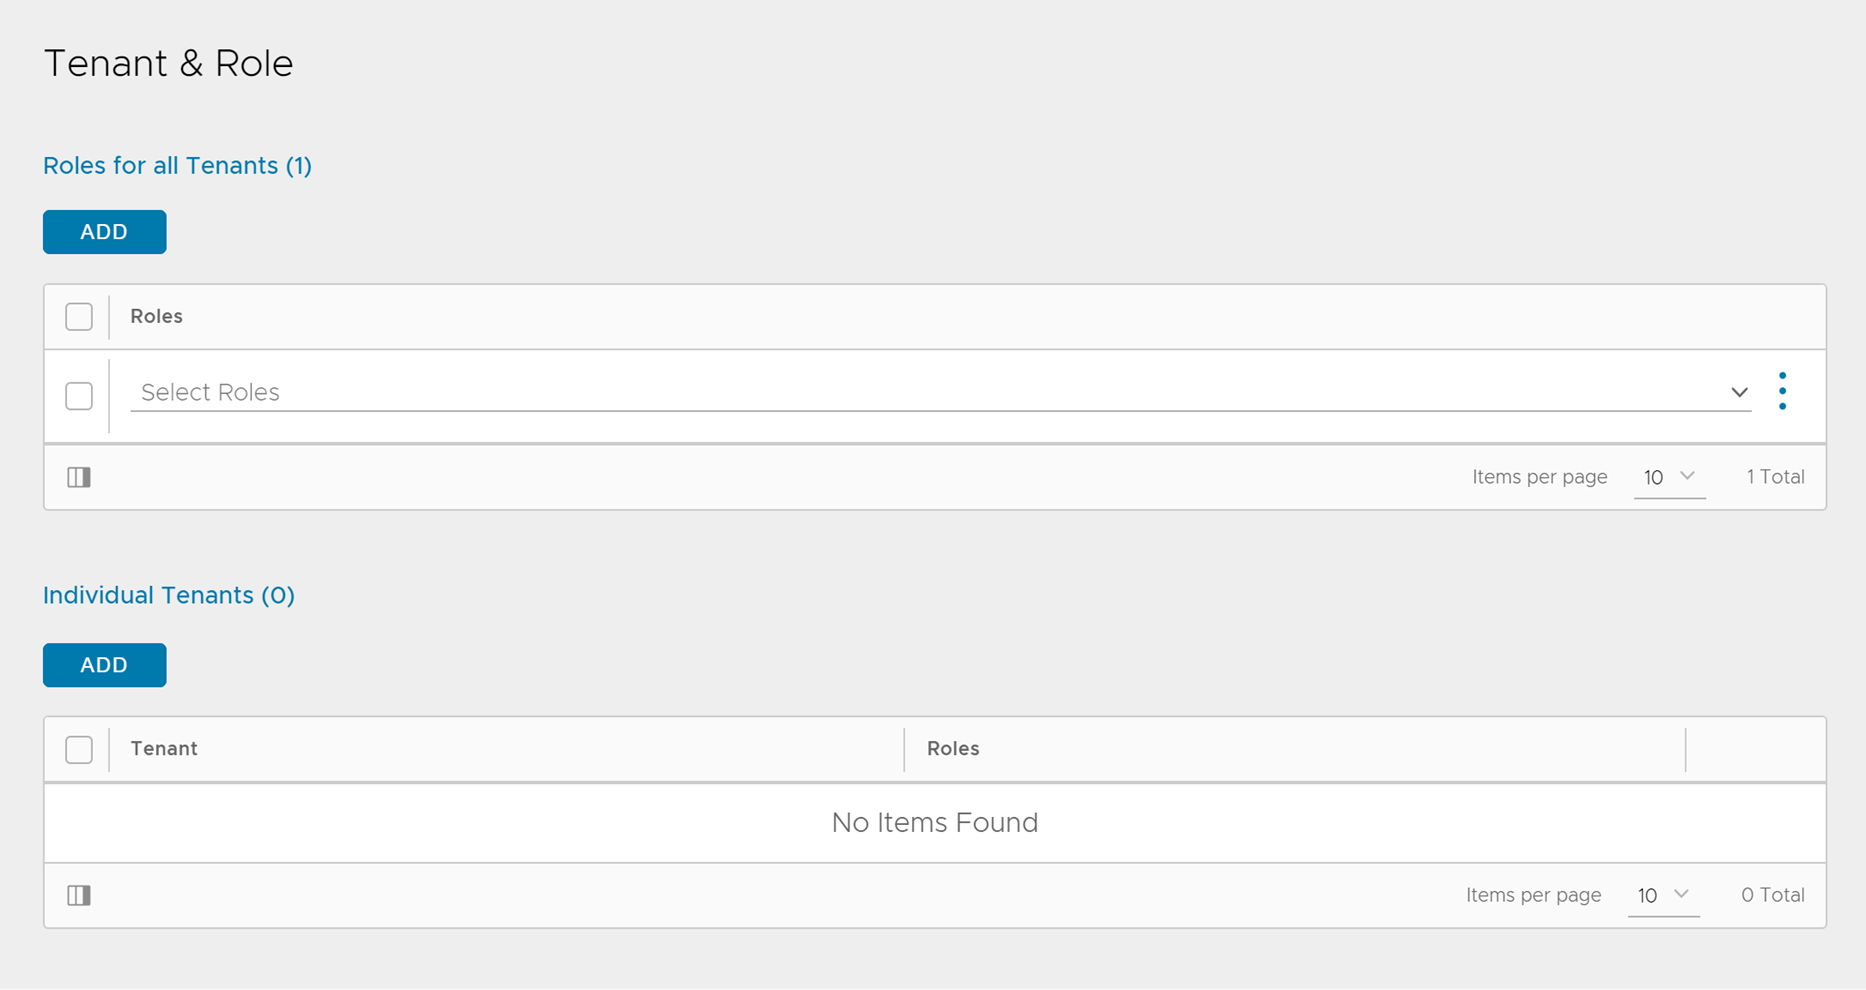
- Click Save.
What to do next
In AKO, configure the following:
Set the
ControllerSettings.tenantNameto the tenant created in the earlier steps.The
avicredentials.usernameandavicredentials.passwordto the user credentials created above.
Note:
In the NodePort mode of AKO (when L7Settings.serviceType is set to NodePort), VRFContext permissions are not required in the admin tenant in the Avi Load Balancer Controller.
