Before starting the migration process, make sure the following requirements are achieved:
Legacy Load balancer Cleanup
Complete and latest configuration files from F5 load balancer should be available to complete the migration activities.
F5 configuration file should be free from unused/decommissioned configuration.
Import options – details of cloud, tenant, VRF, and SE group required during migration.
See Deploy an OVF or OVA Template for detailed instructions for deploying the OVA into a vCenter server appliance.
For 1.9.3 release use this OVA Path : /mnt/builds/avi-migrationtools/1.9.3/ci-build-5122/avimigrationtools.ova
Follow the below steps to deploy the Avi Migration tool OVA.
Log in to the vCenter server through a vCenter the File menu, select Deploy OVF Template.
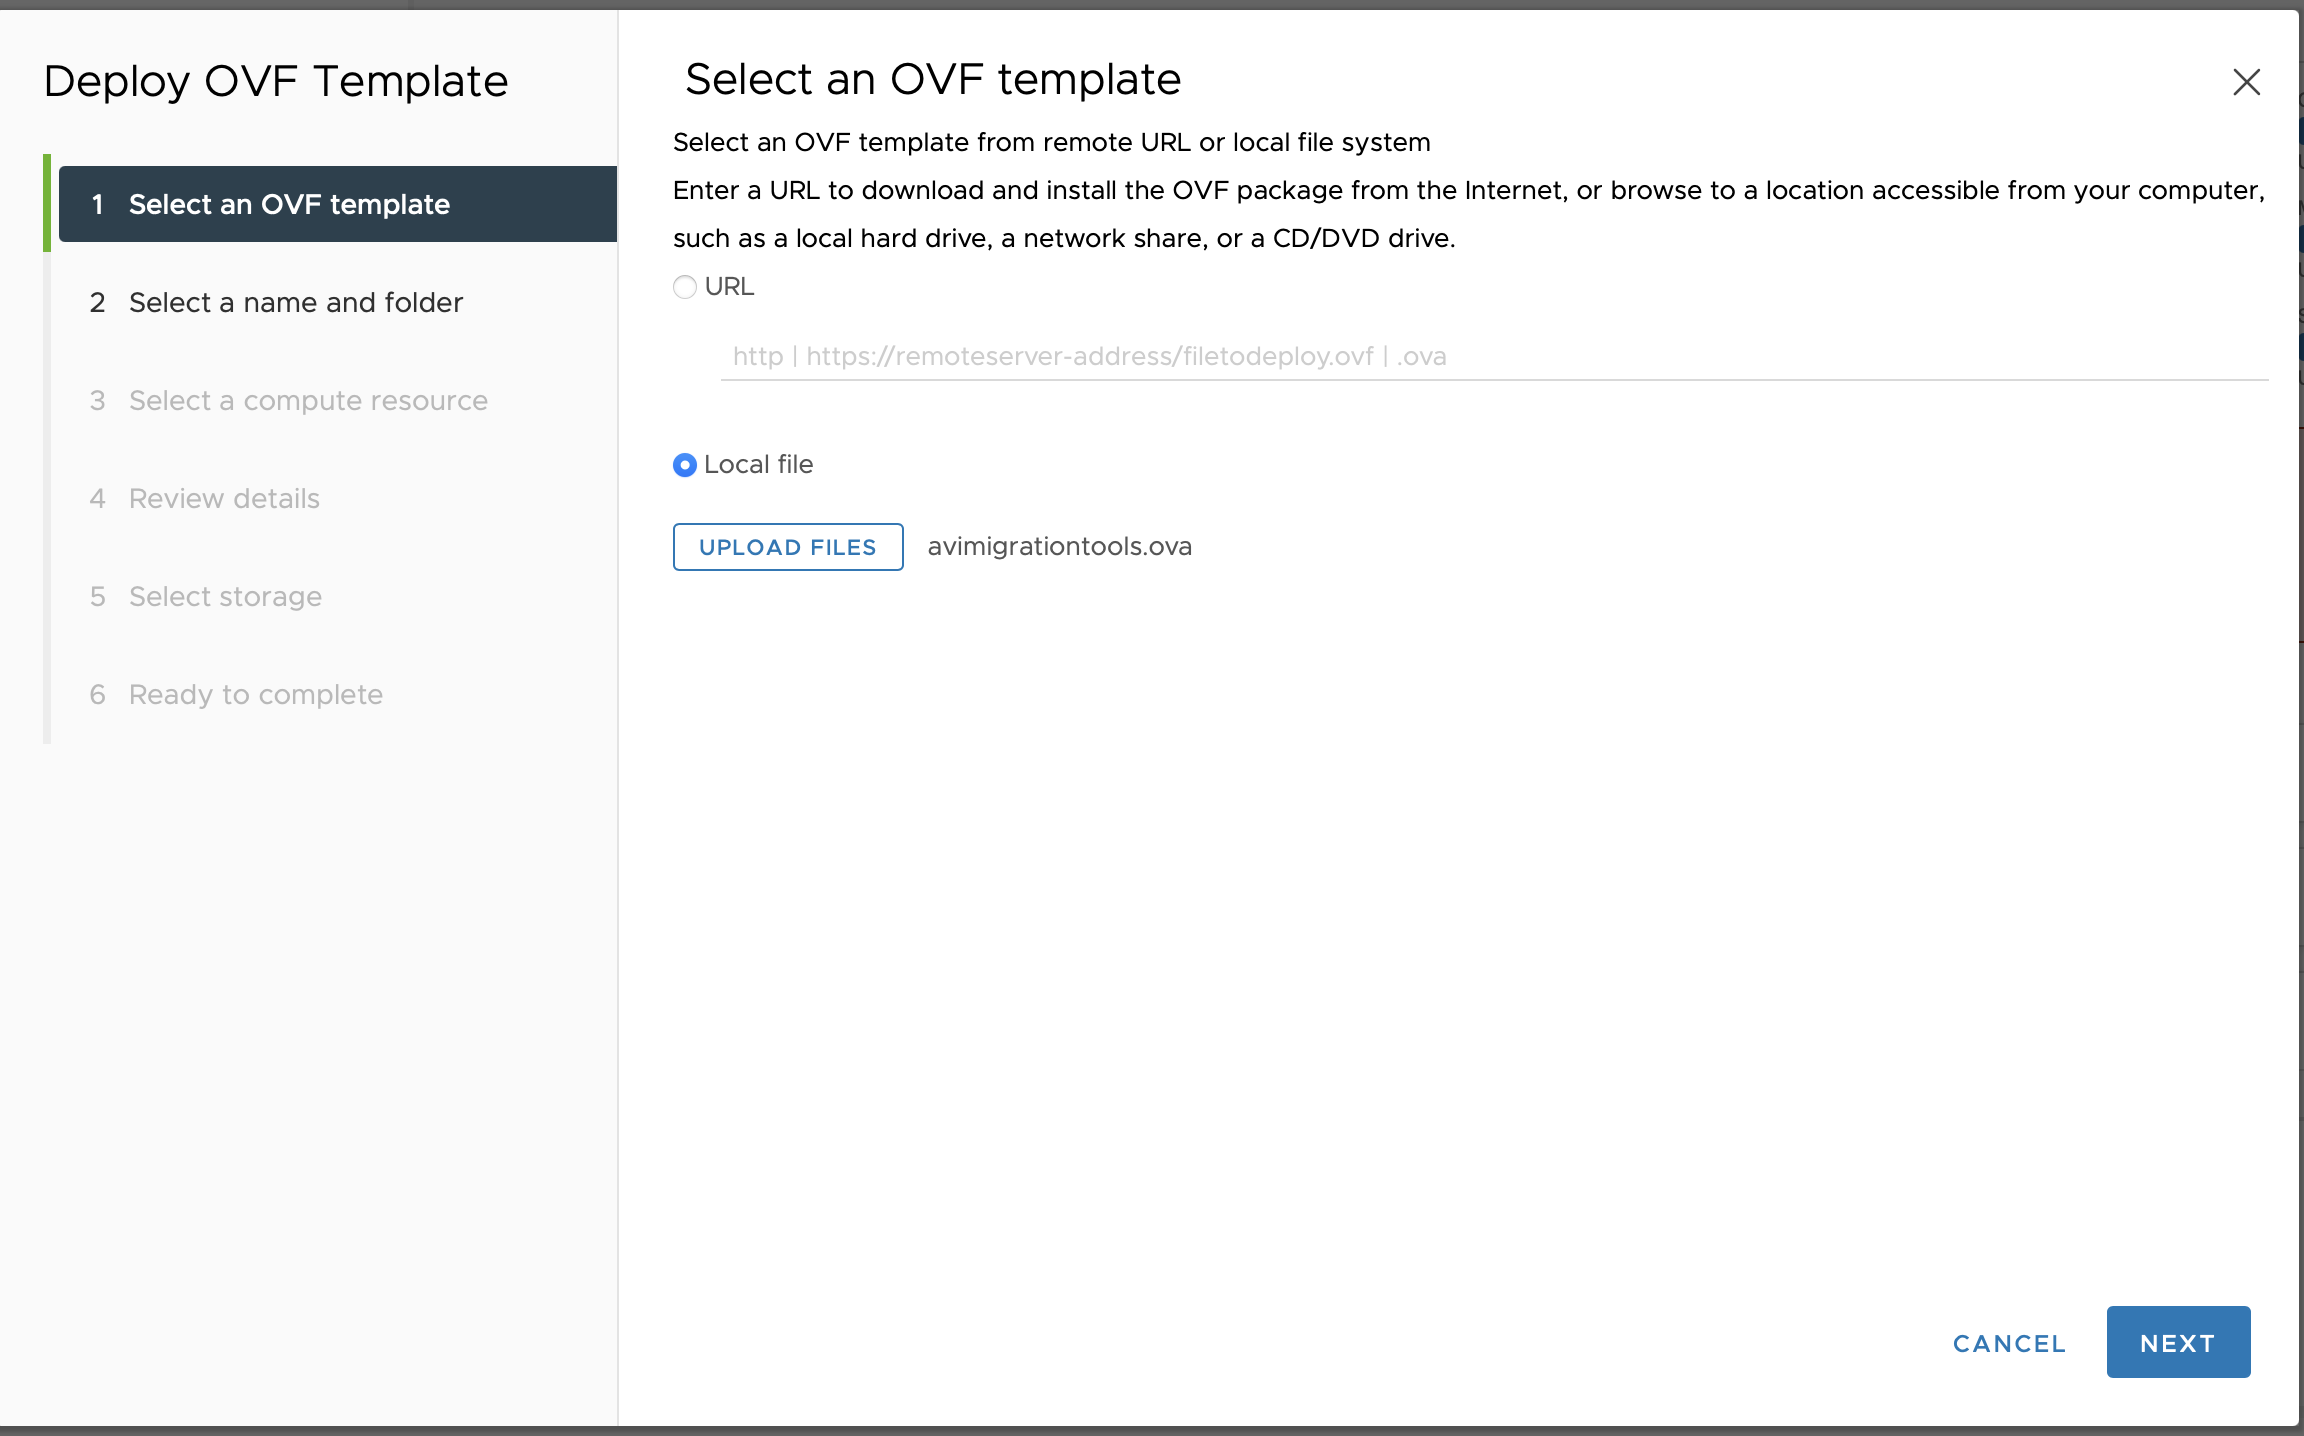
In the Deploy OVF Template wizard,
Select the avimigrationtools.ova file from your local machine.
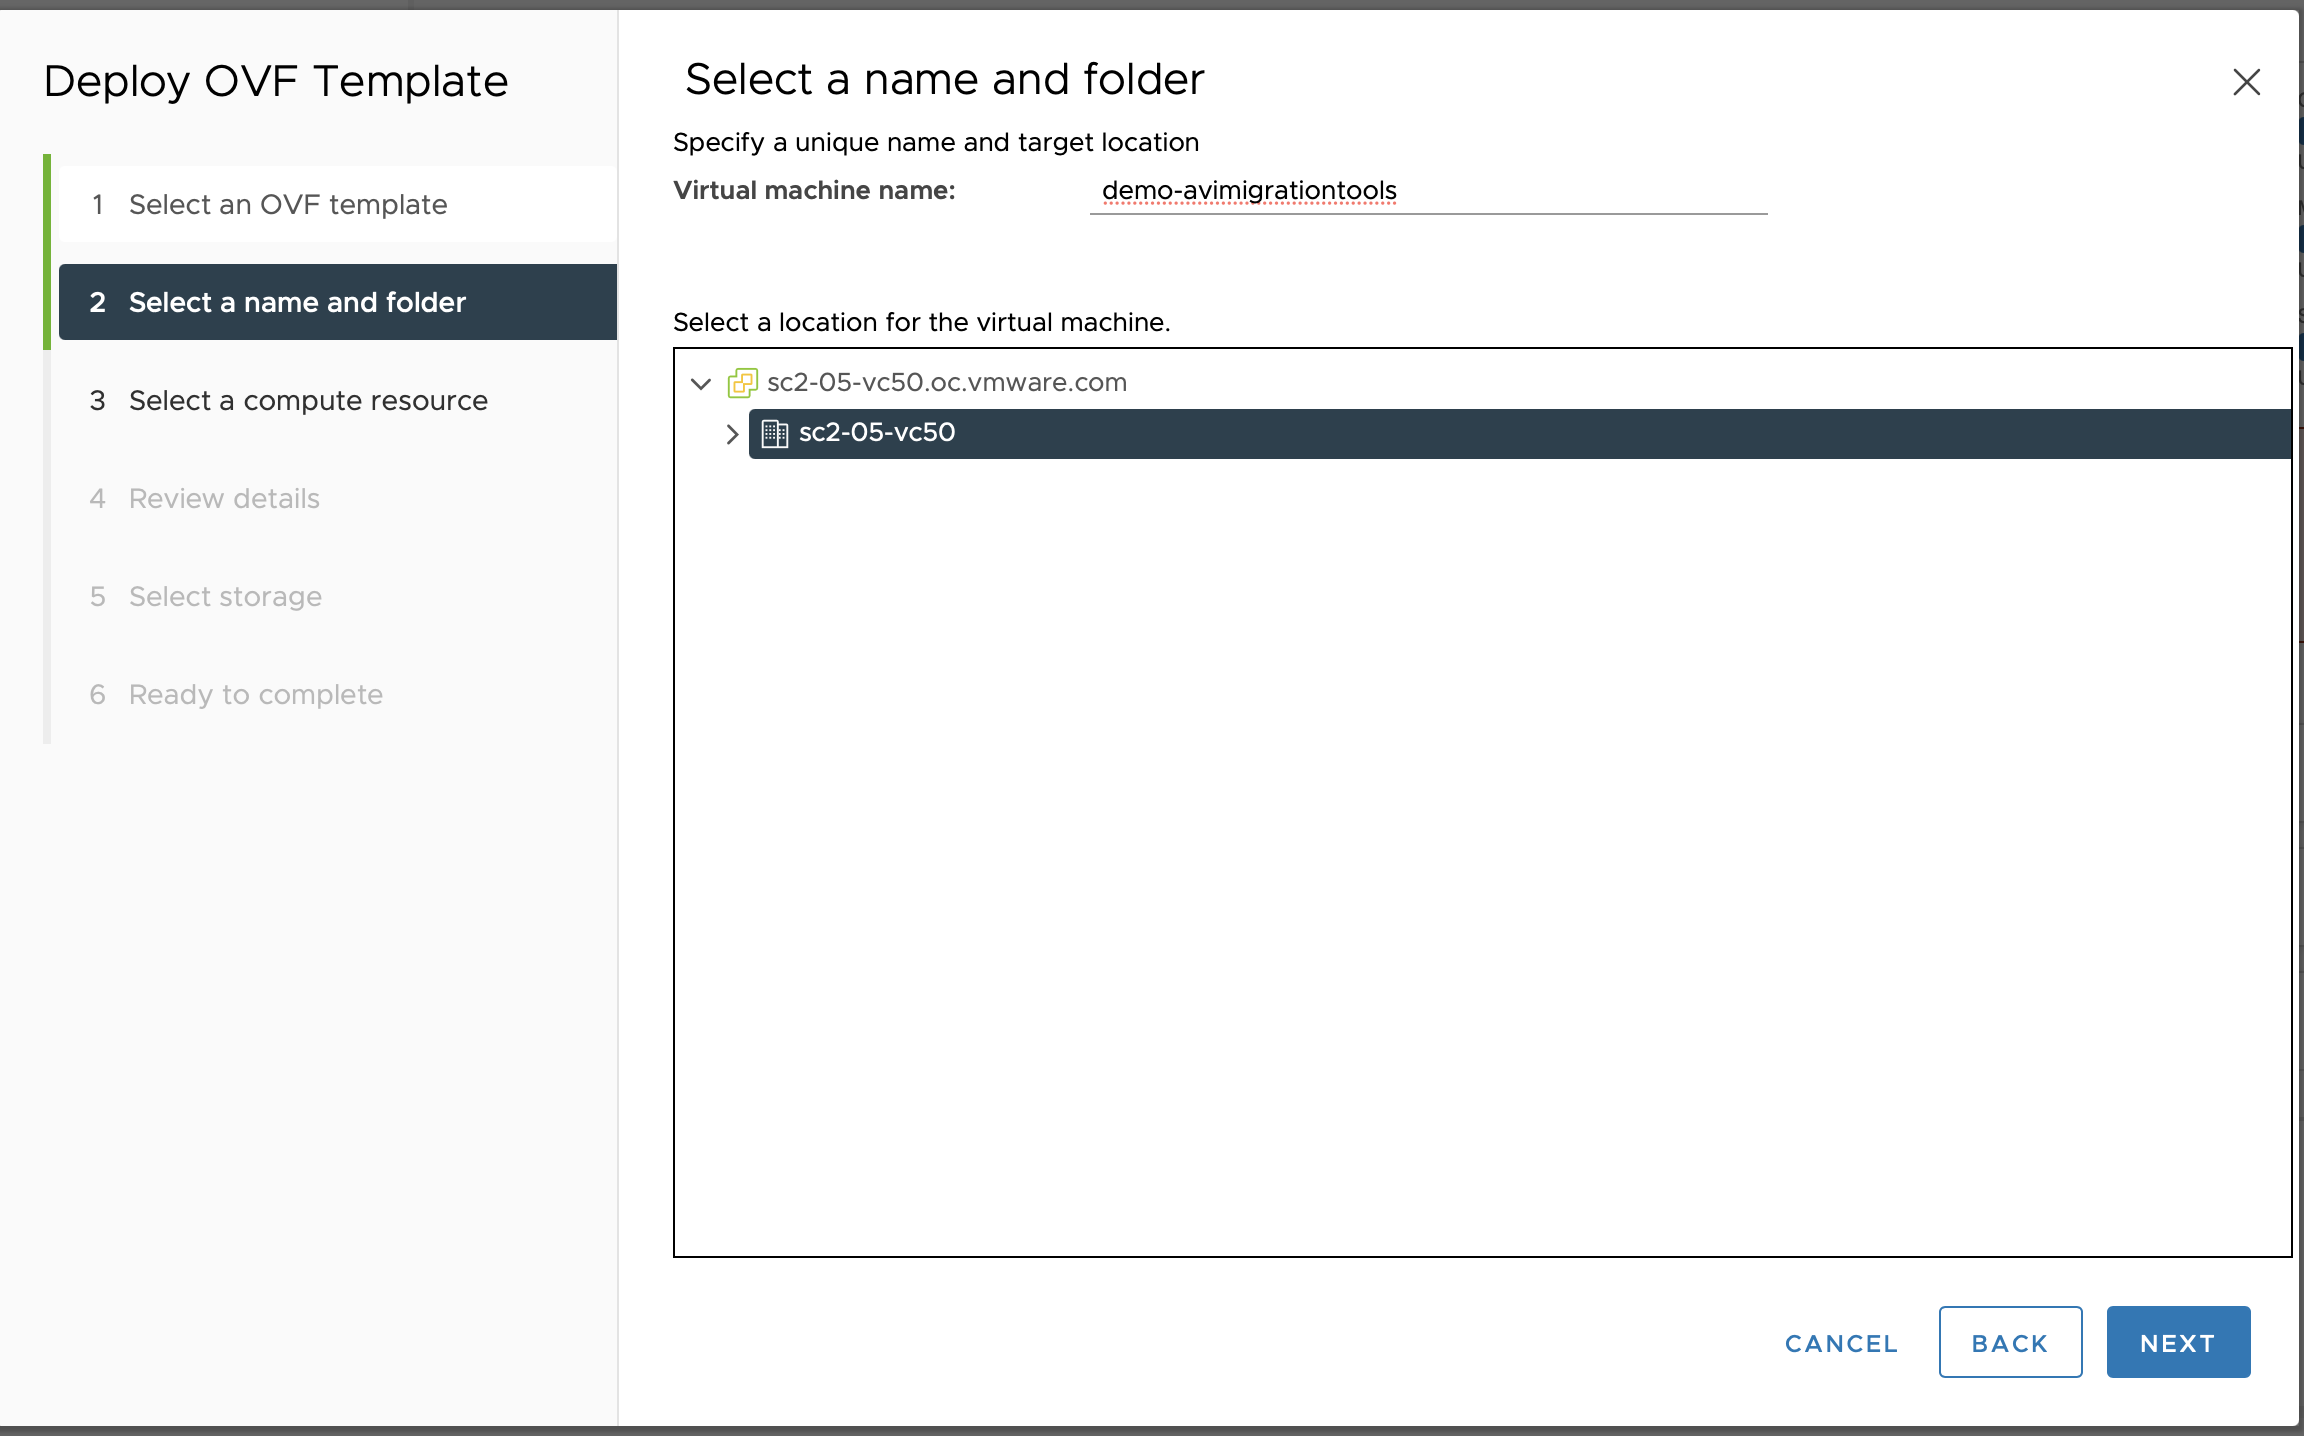
Select Name of VM and folder location to store.
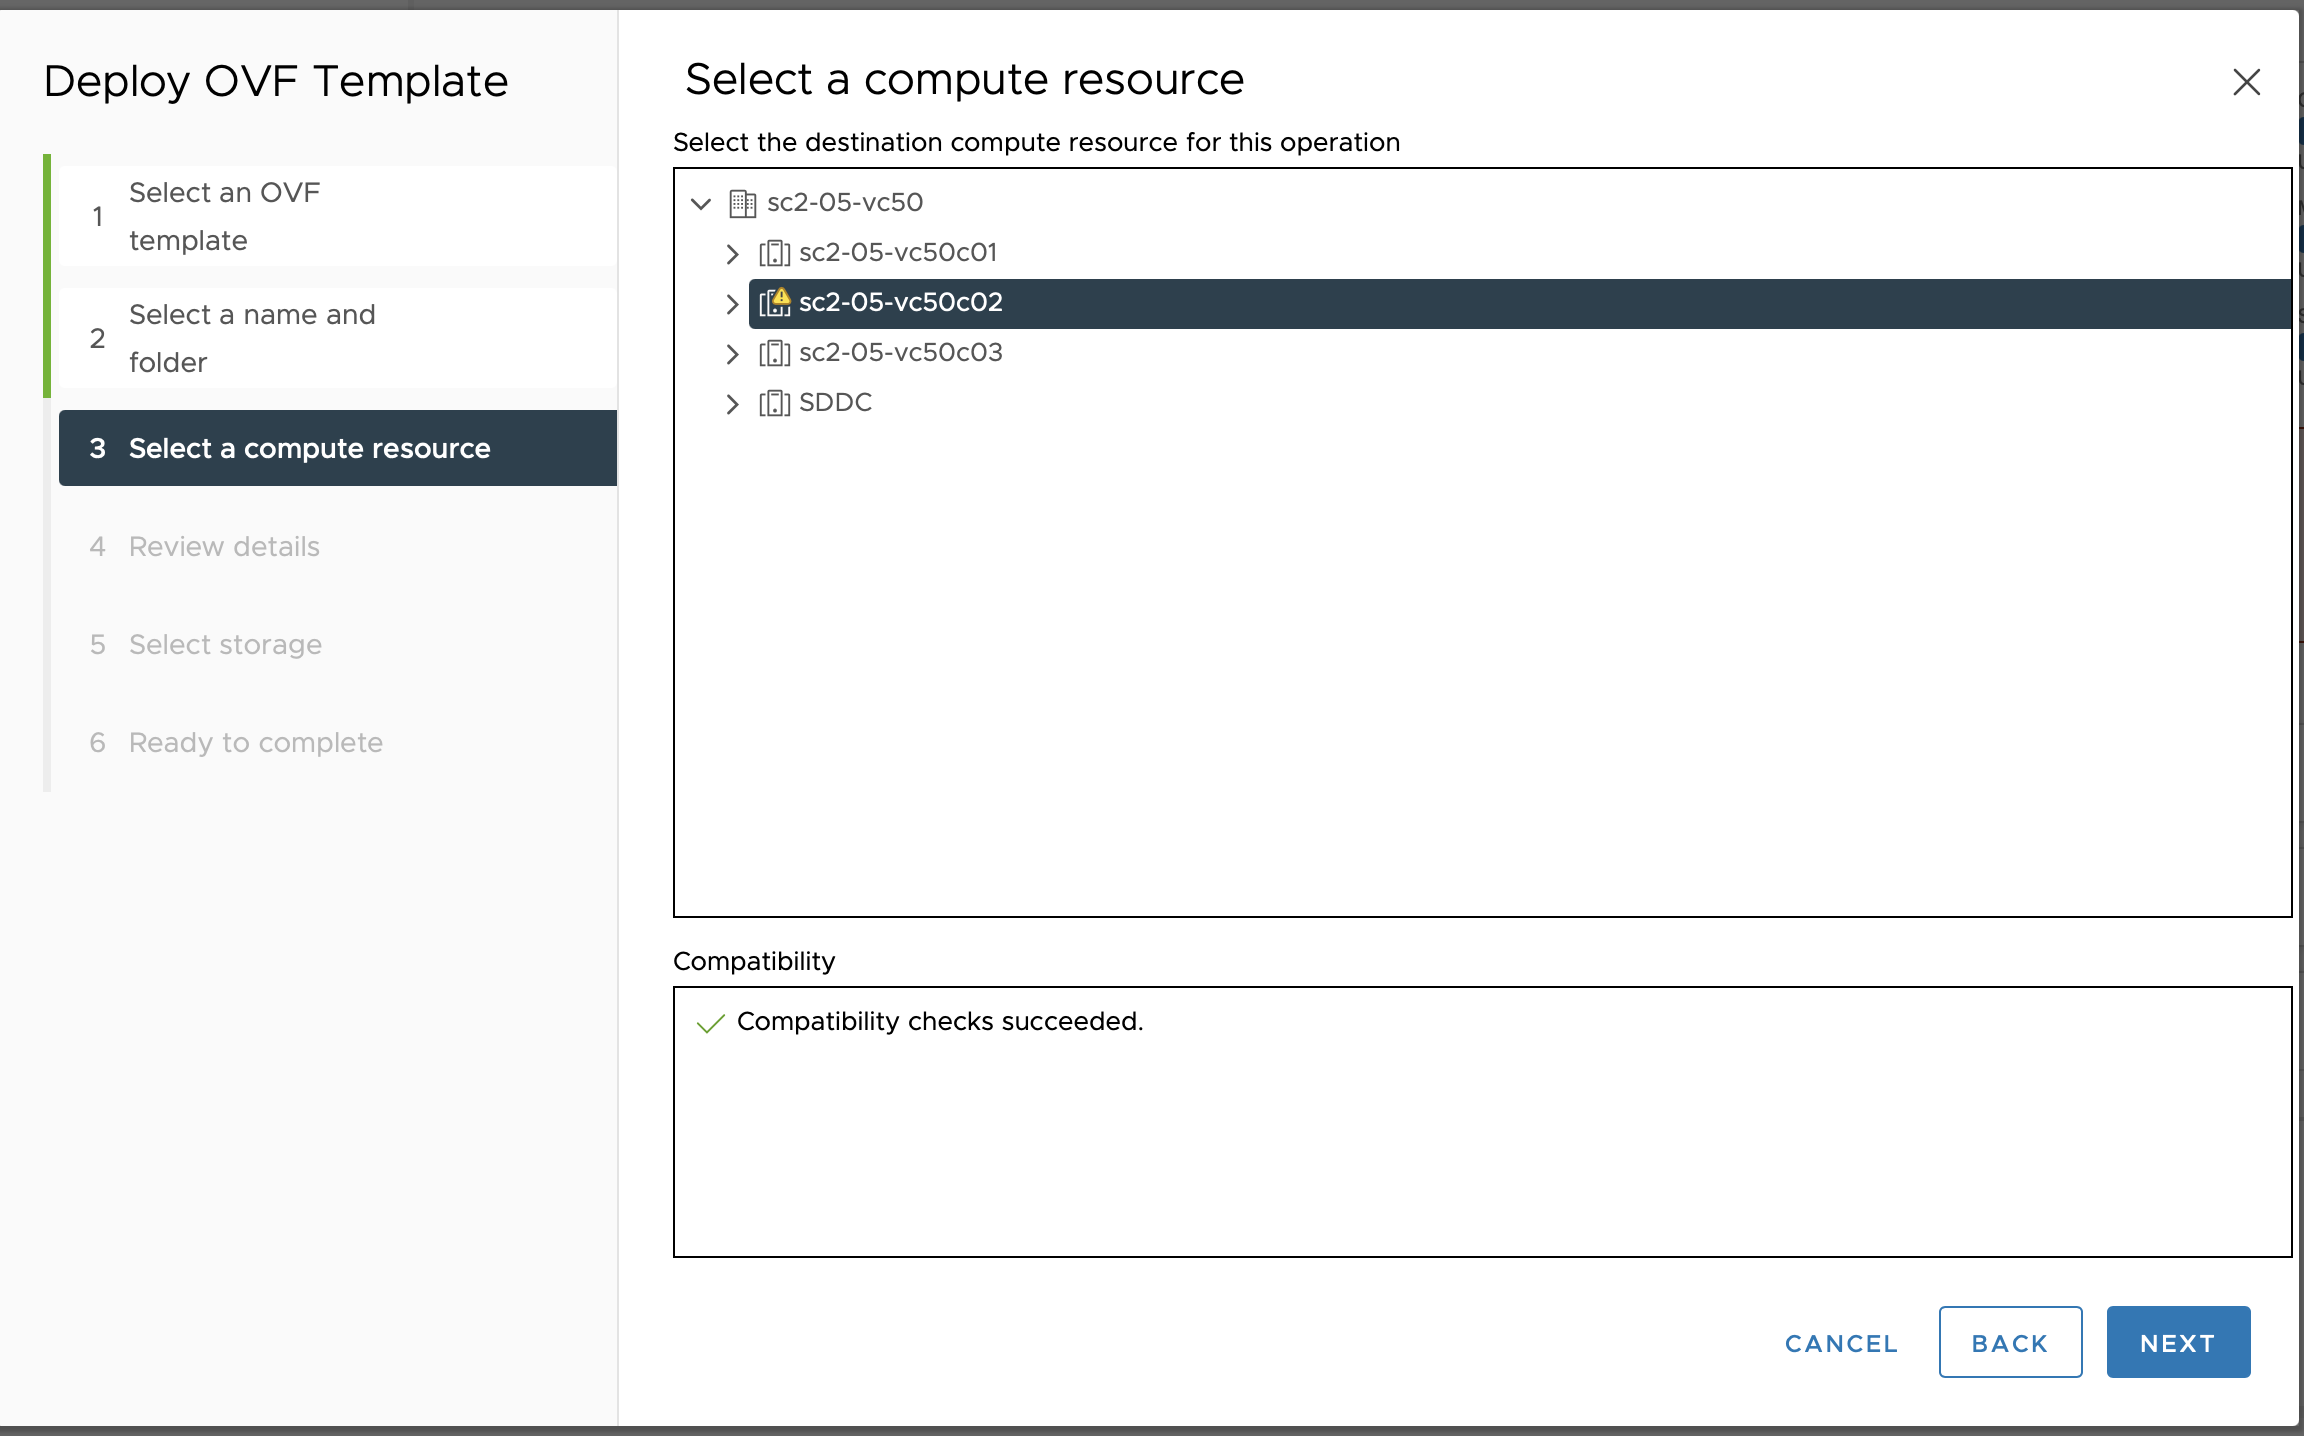
Select Compute resource and click next.
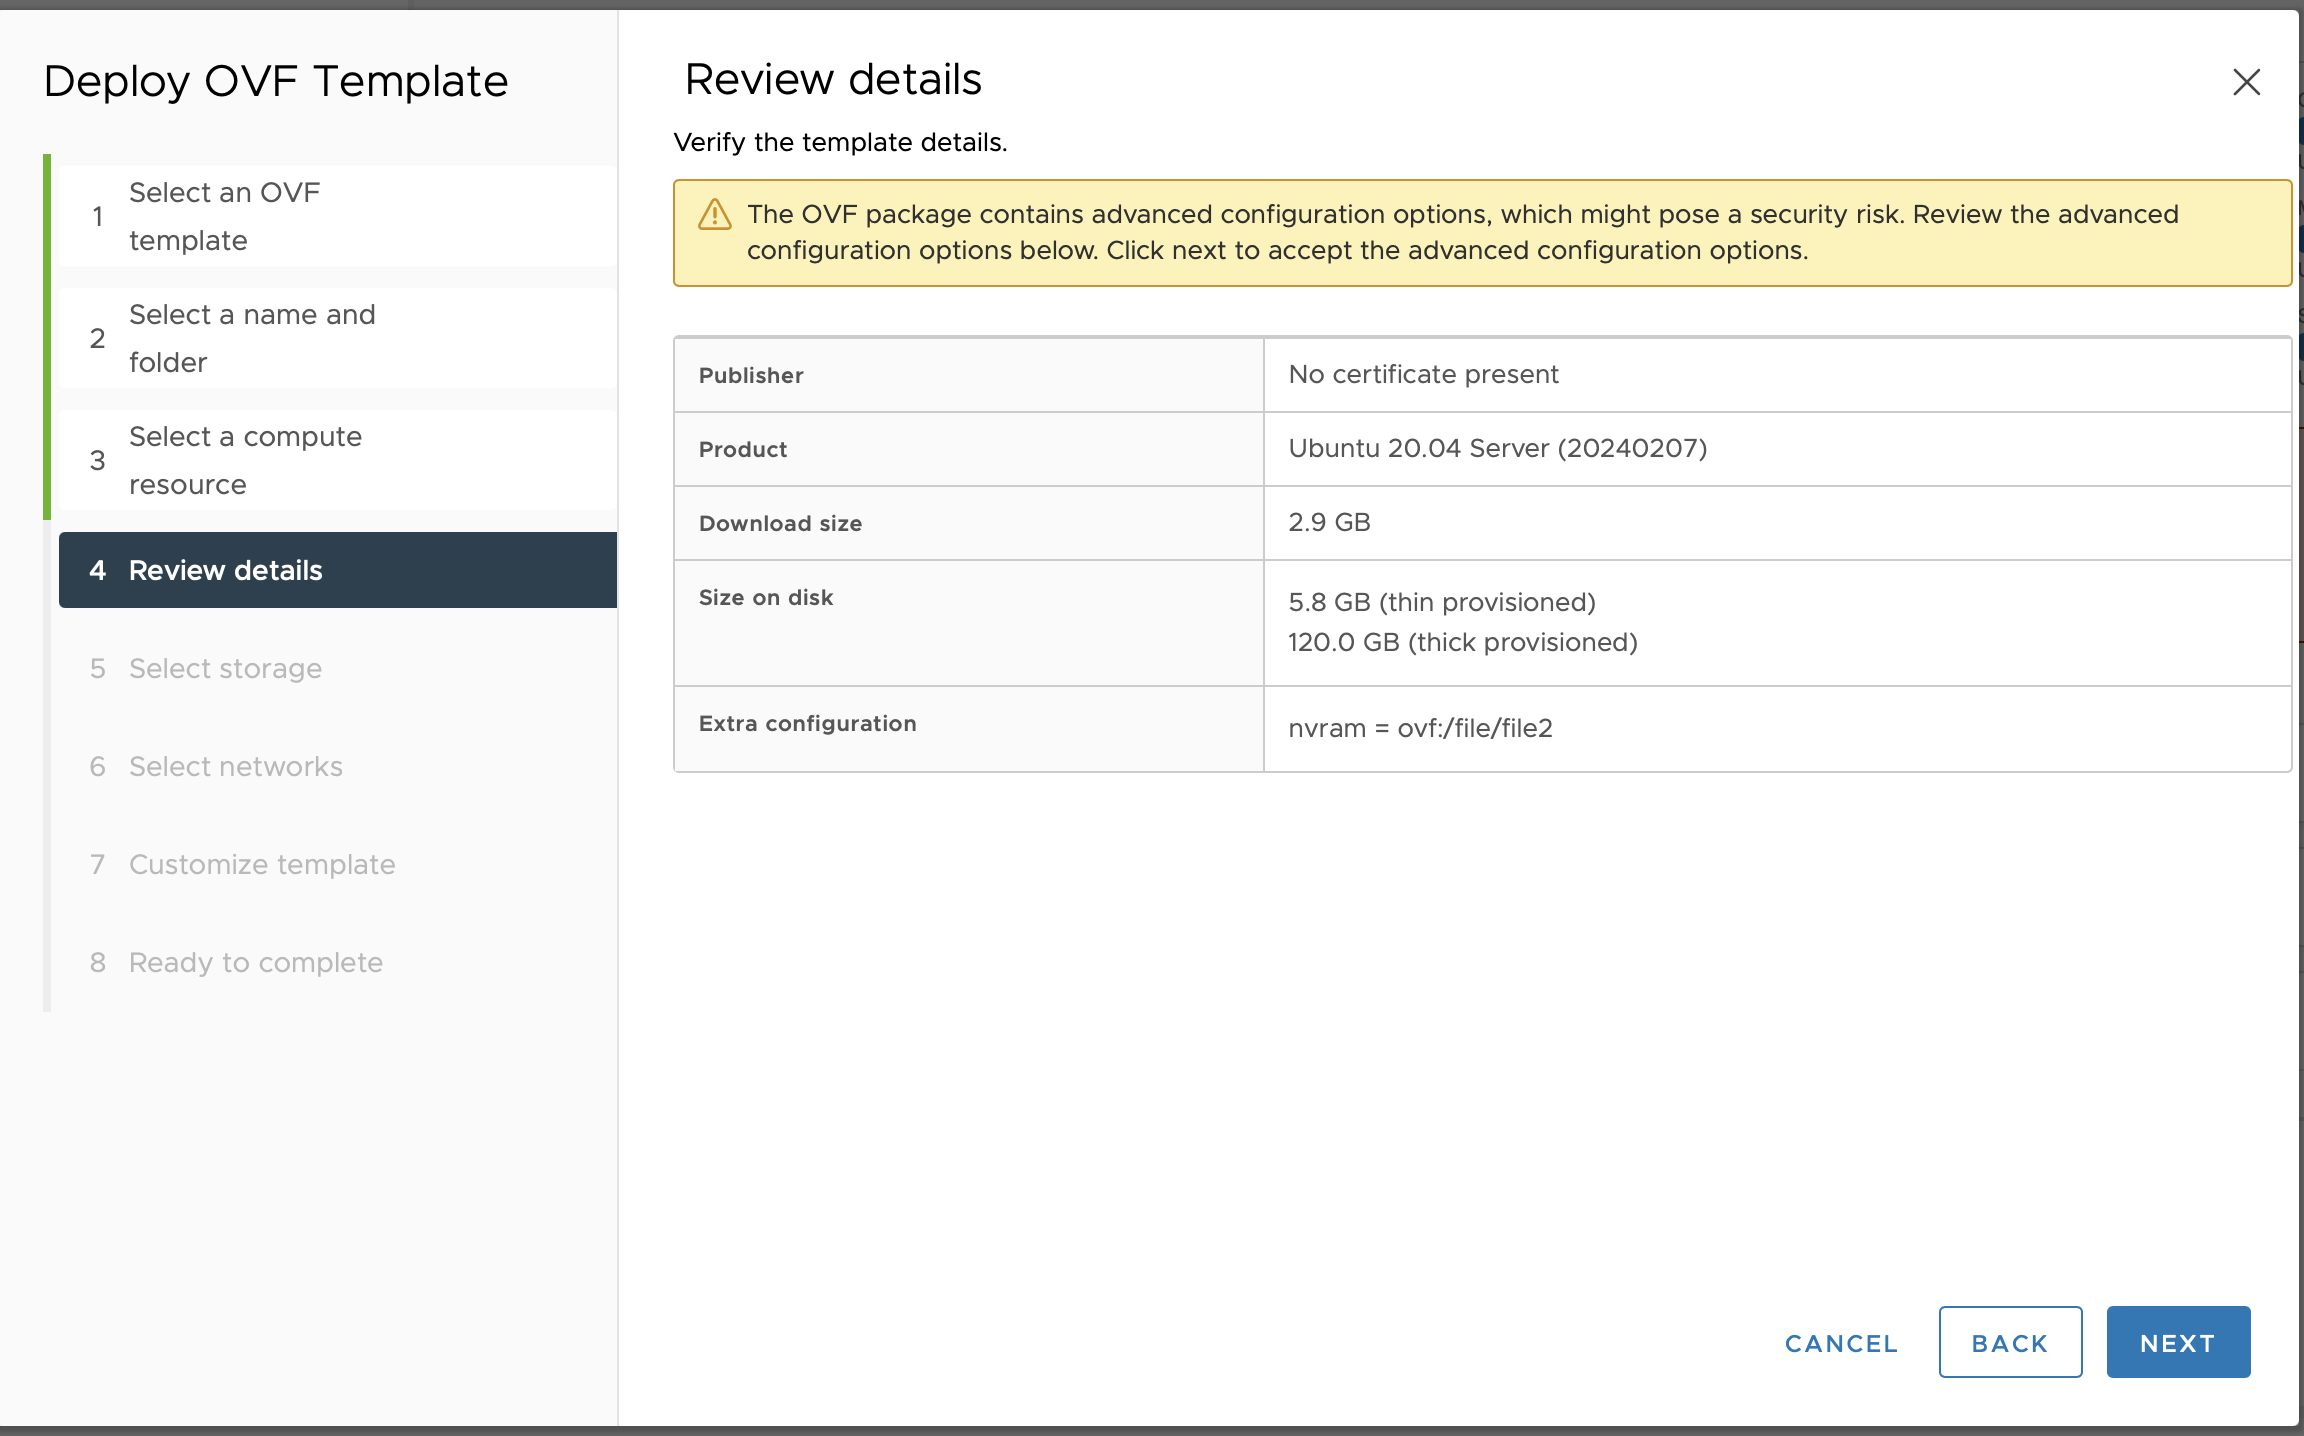
Review Details and go next.
Select storage.
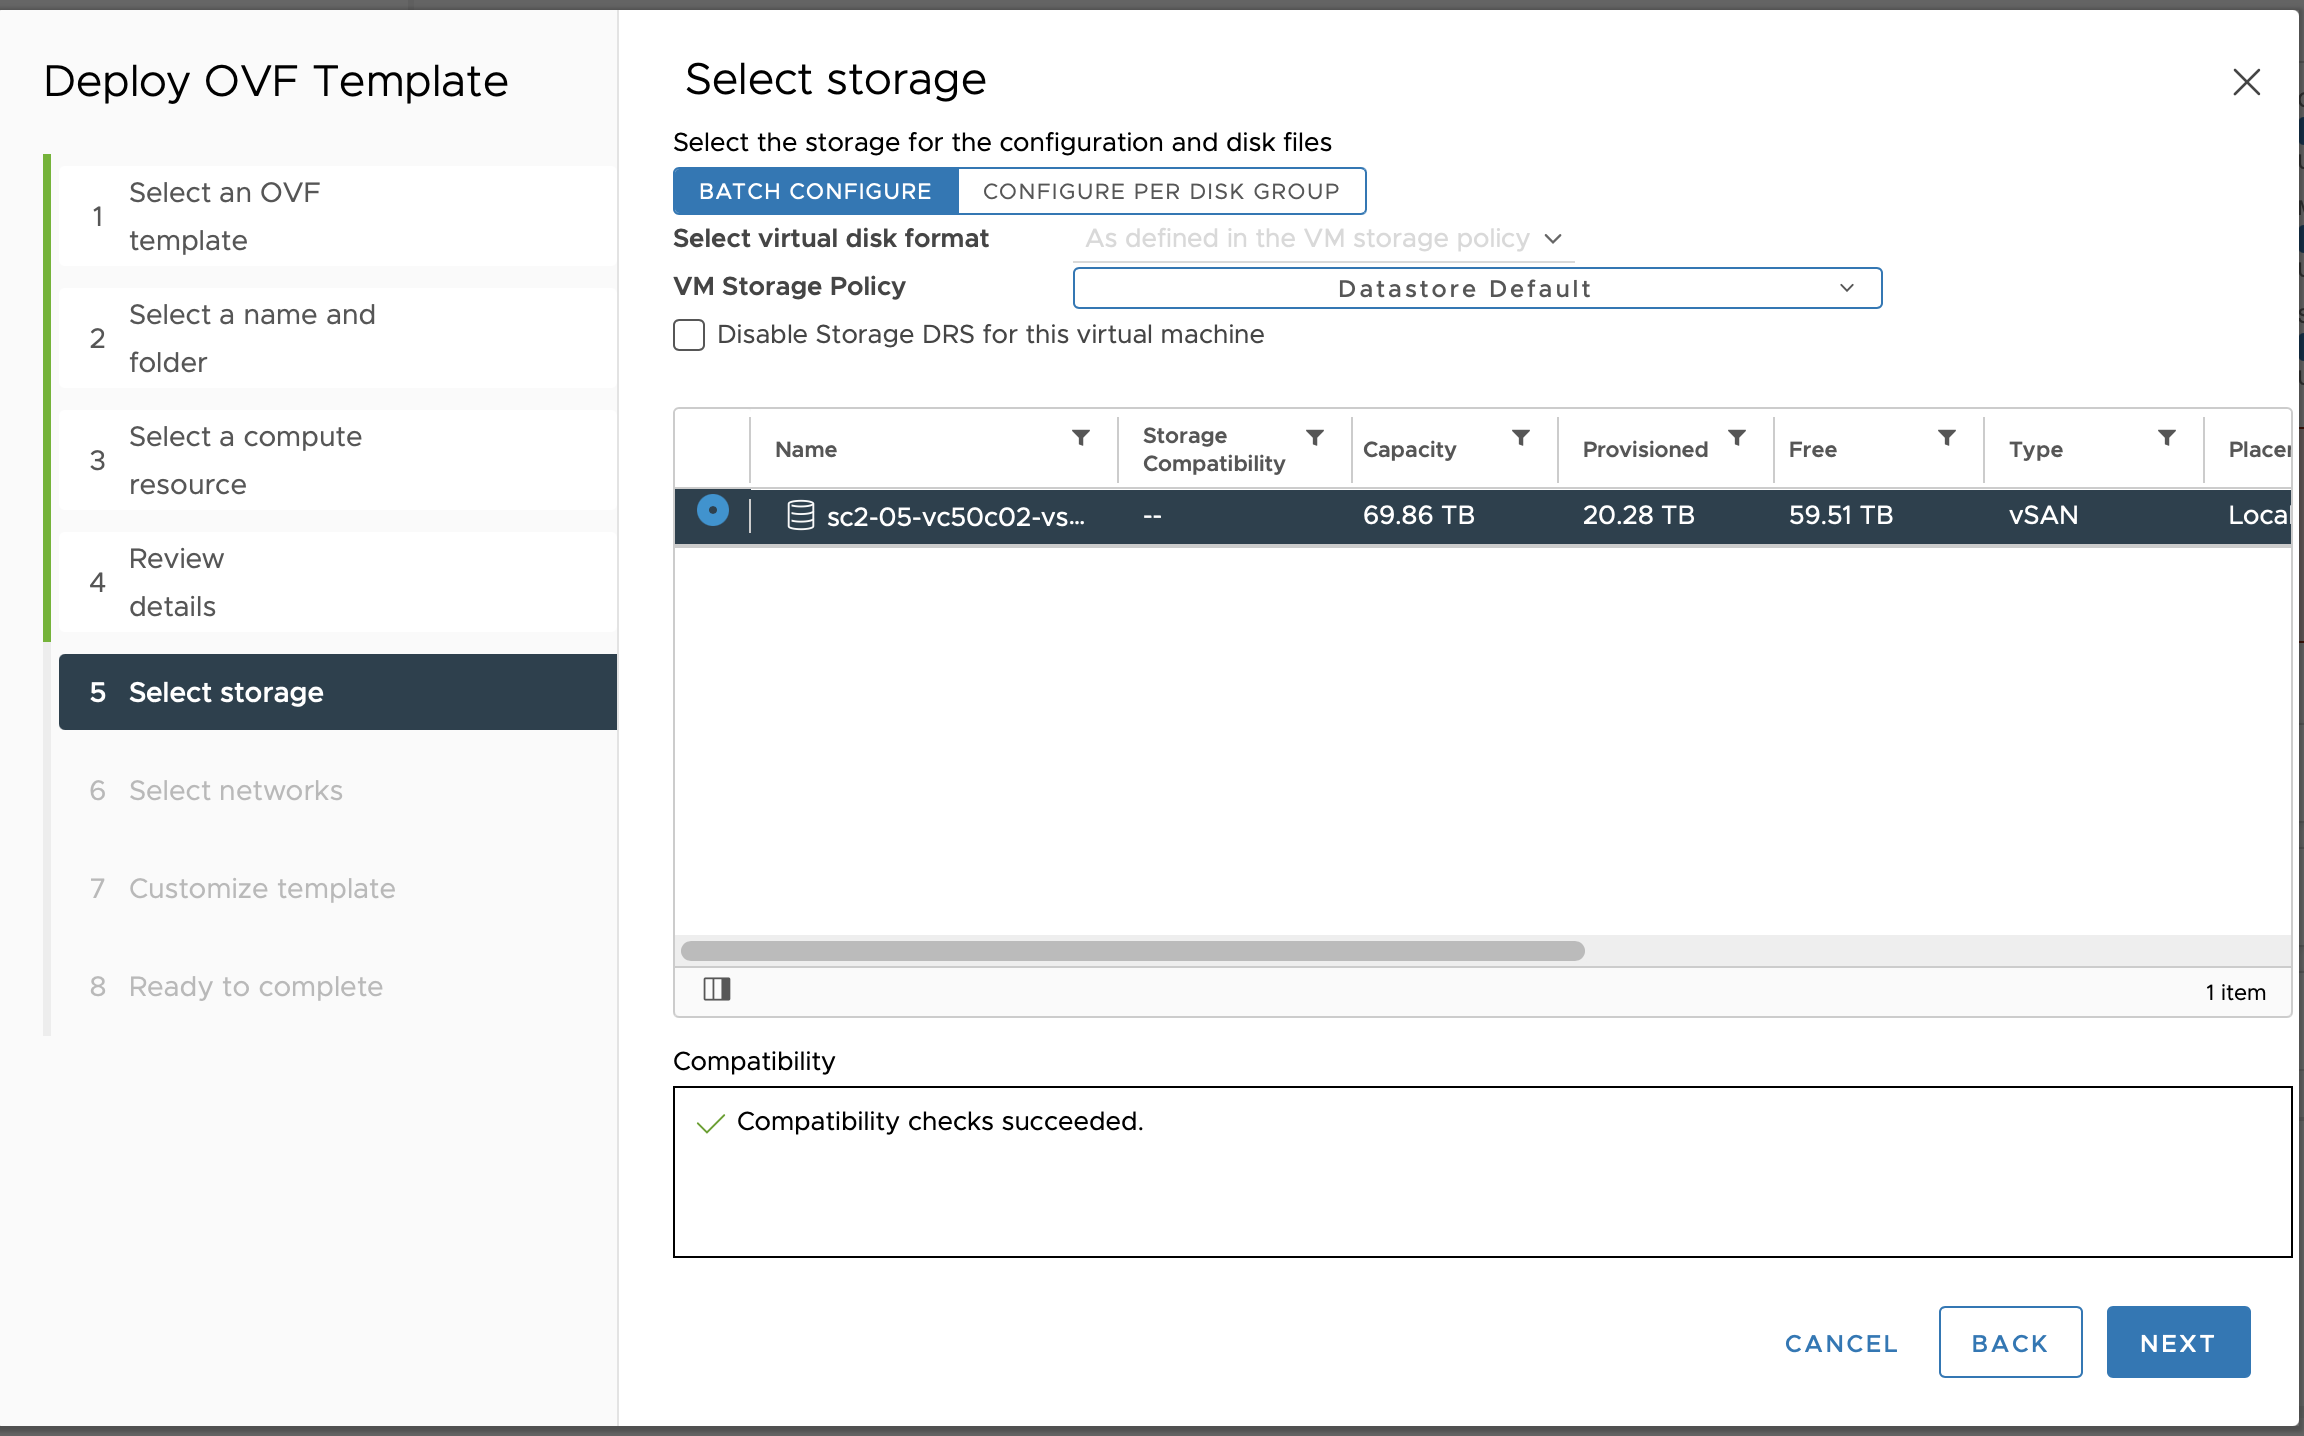
-
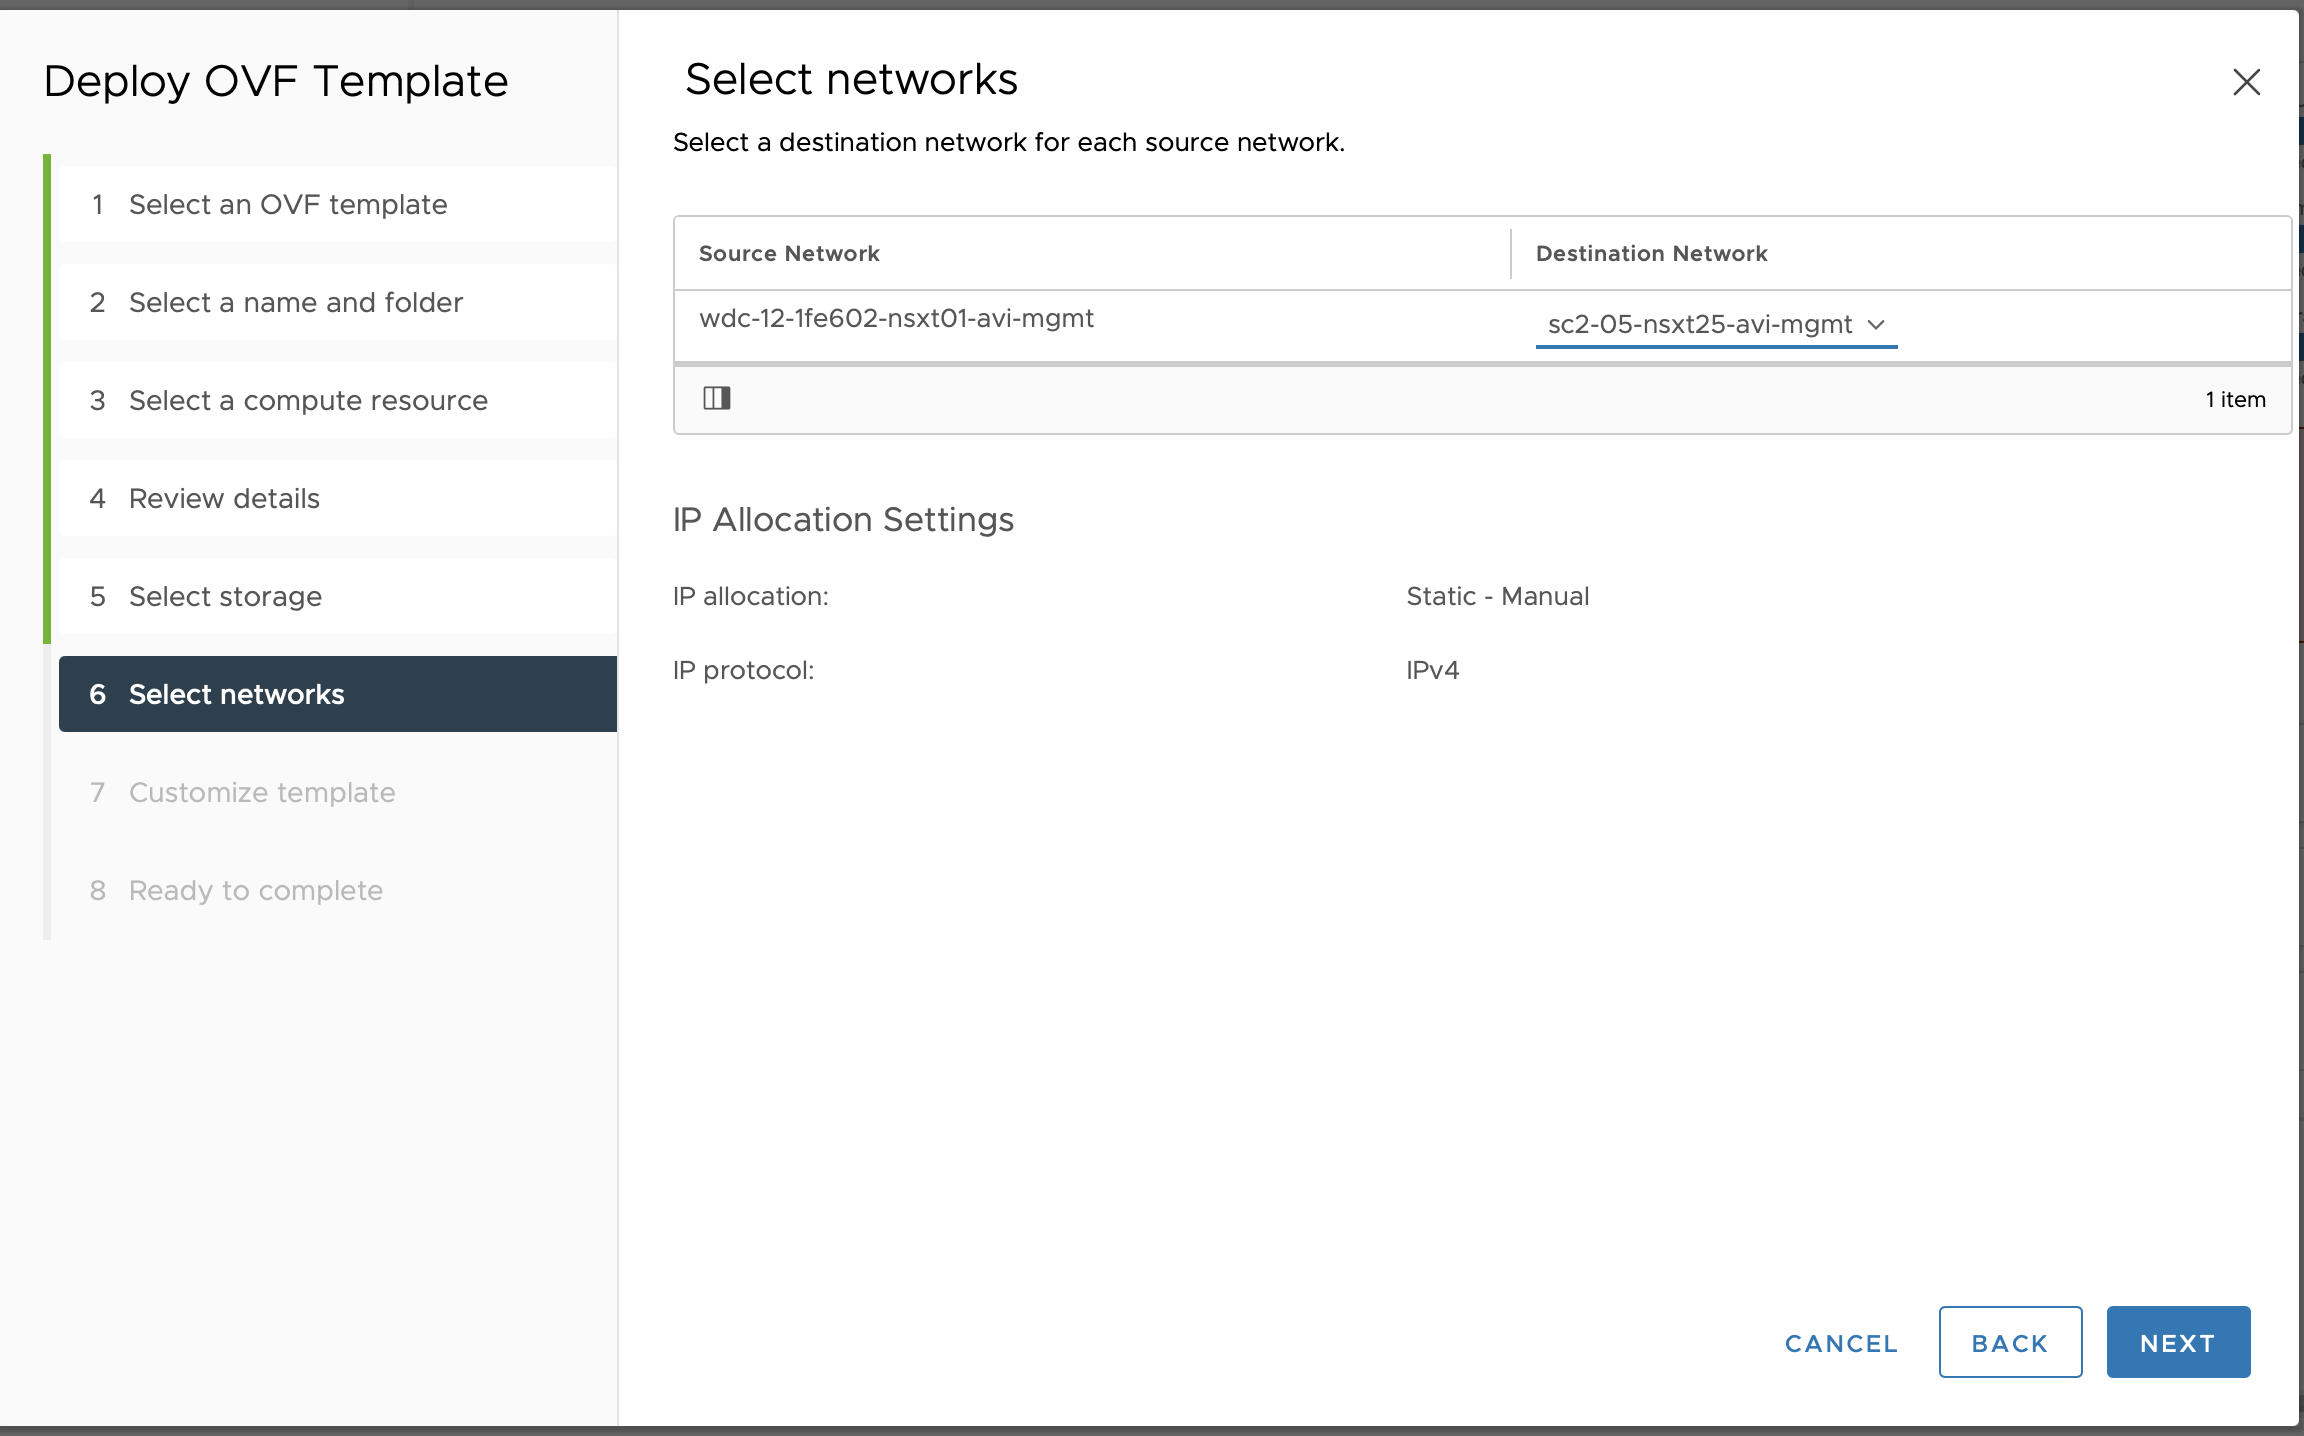
Choose a management network for the MigrationTools.
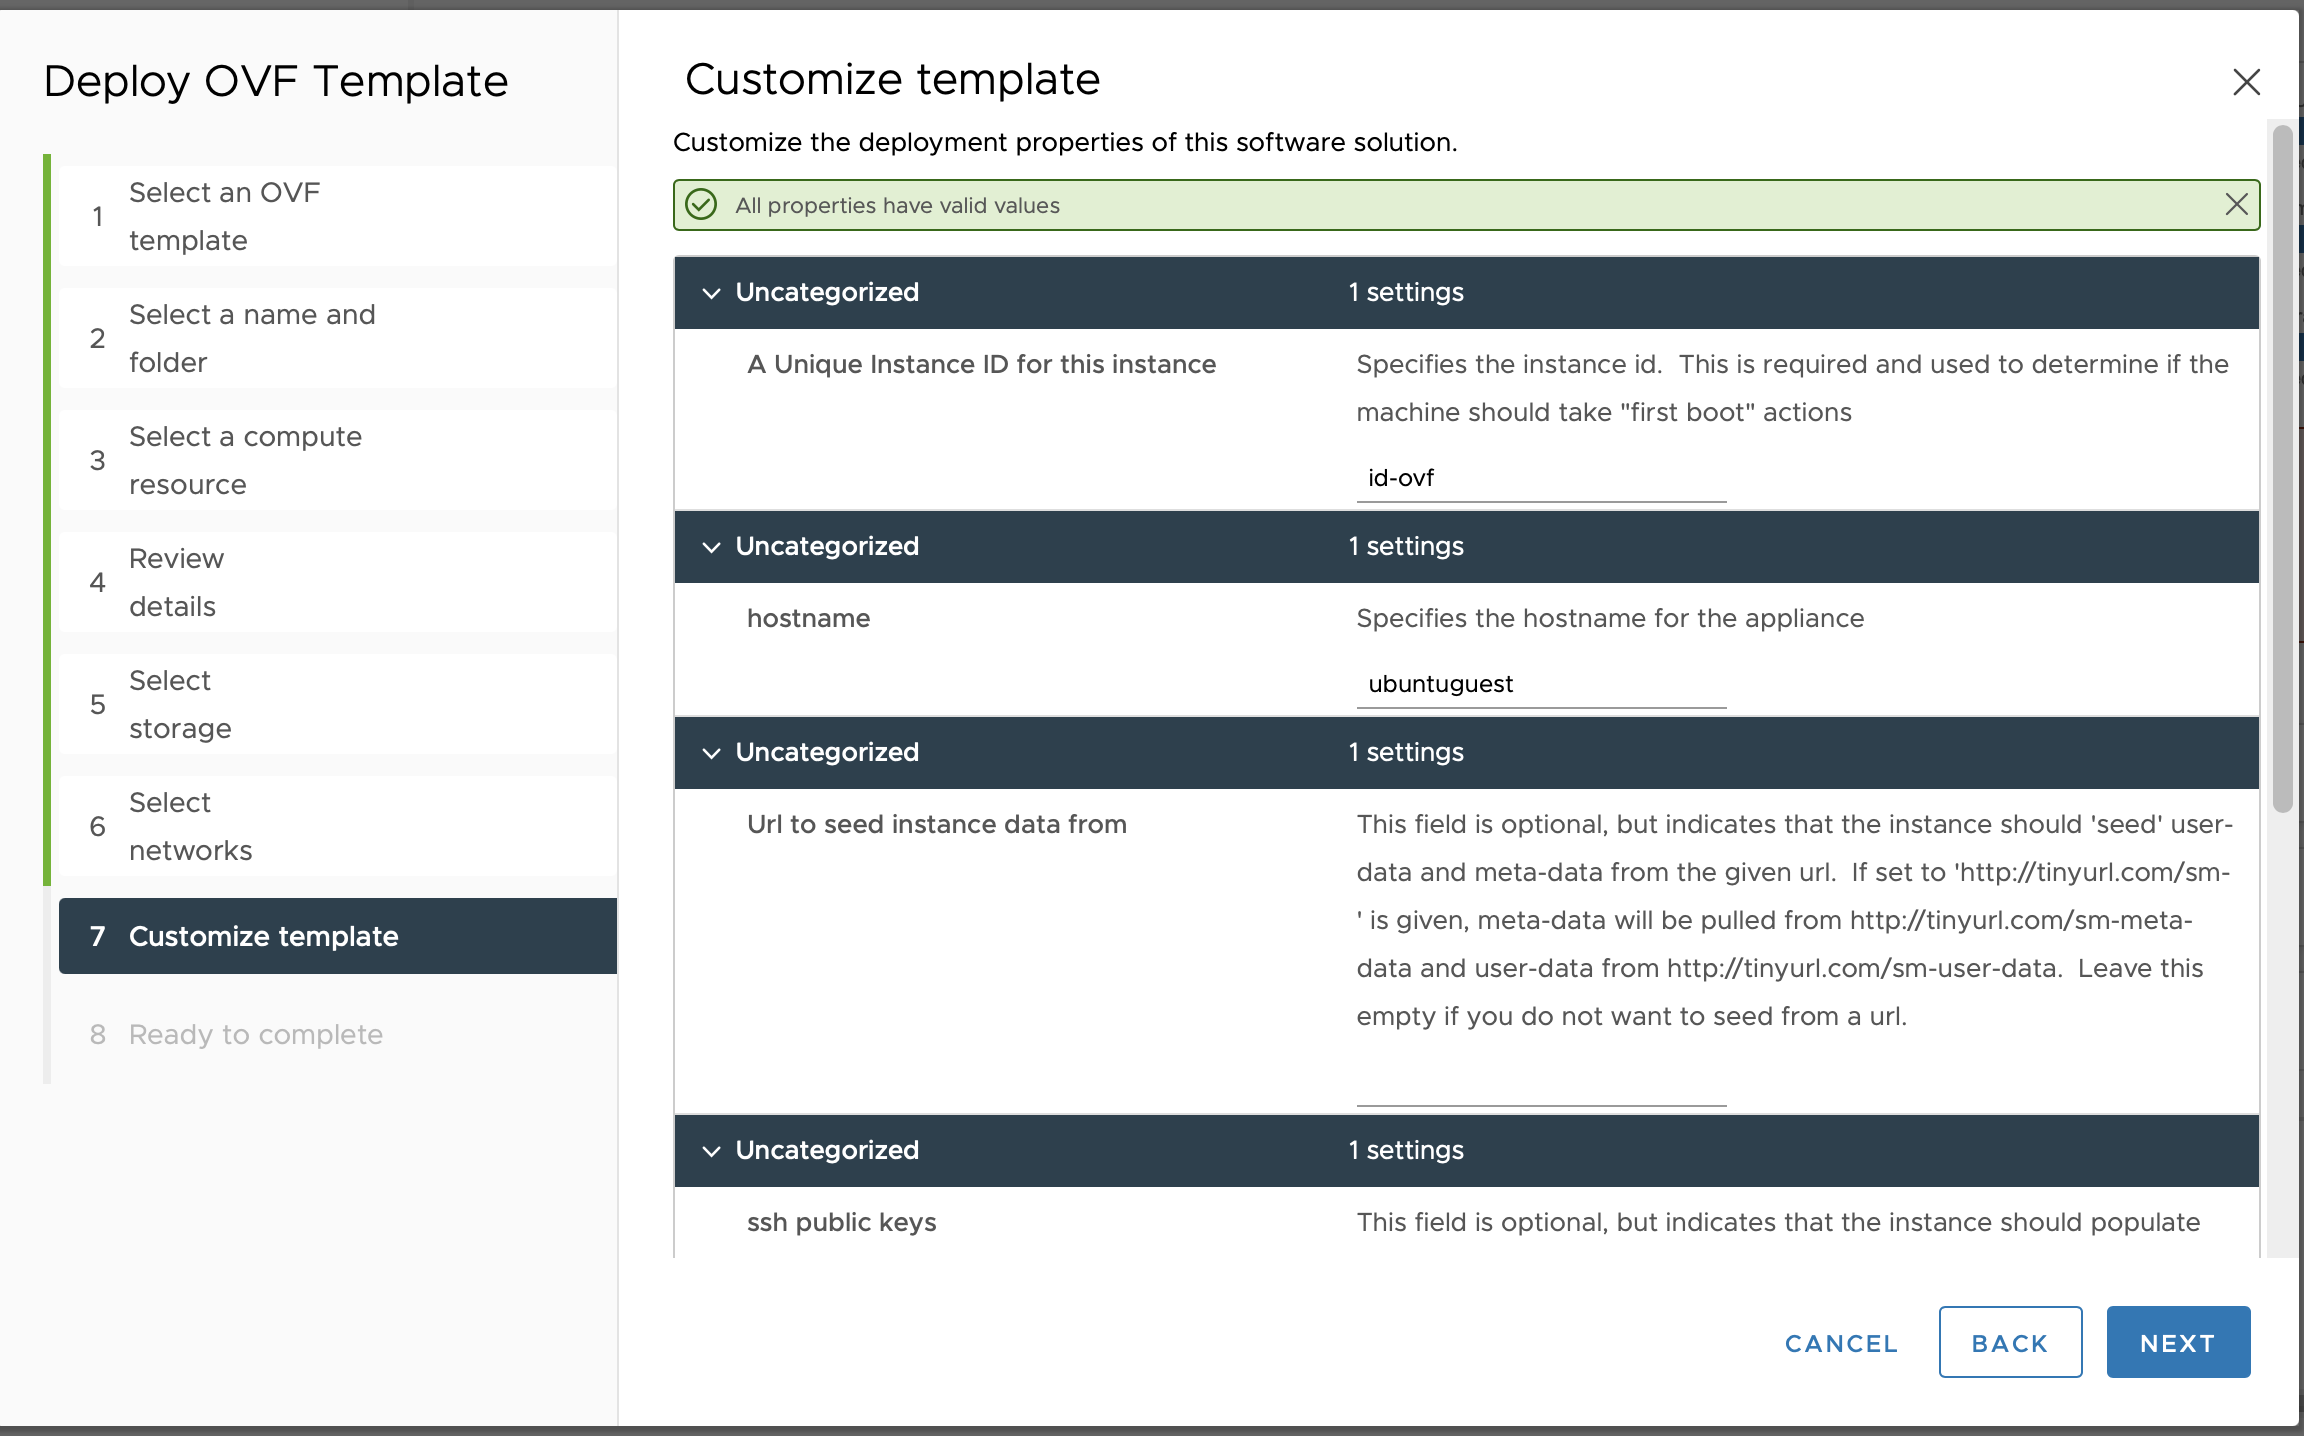
Customise the Template and go next.
You can pass your password here in Default User's password.
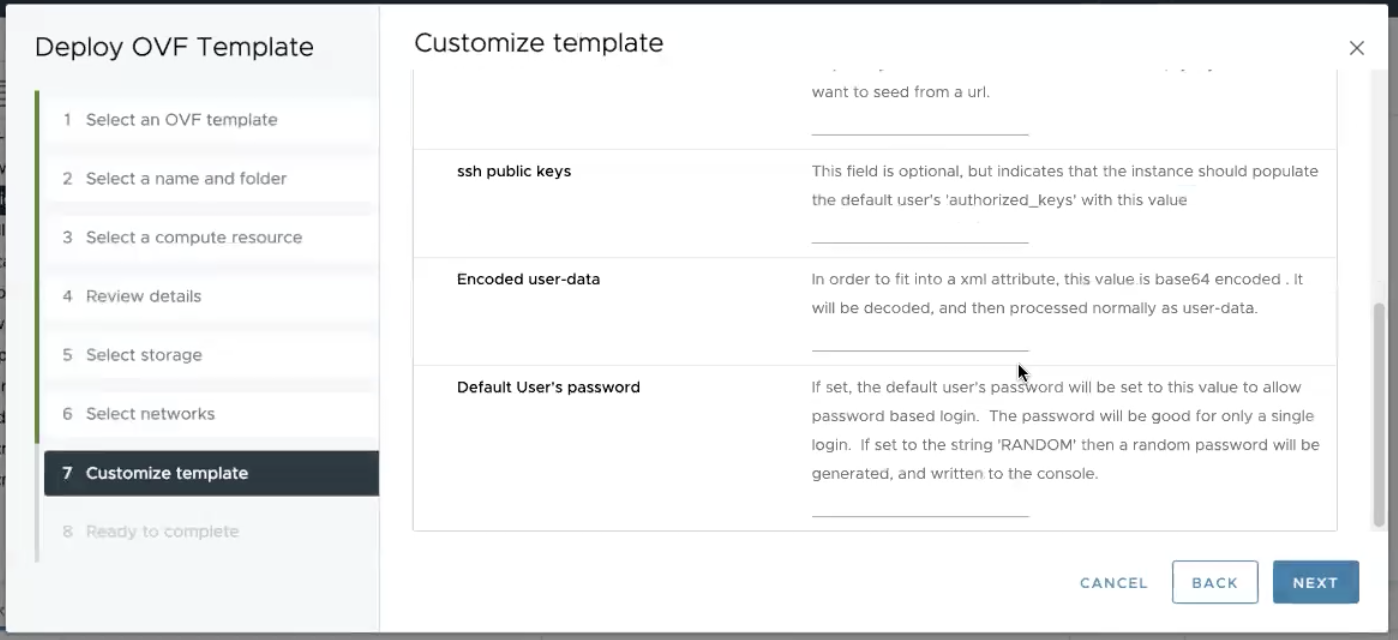
Review your selection and click finish.
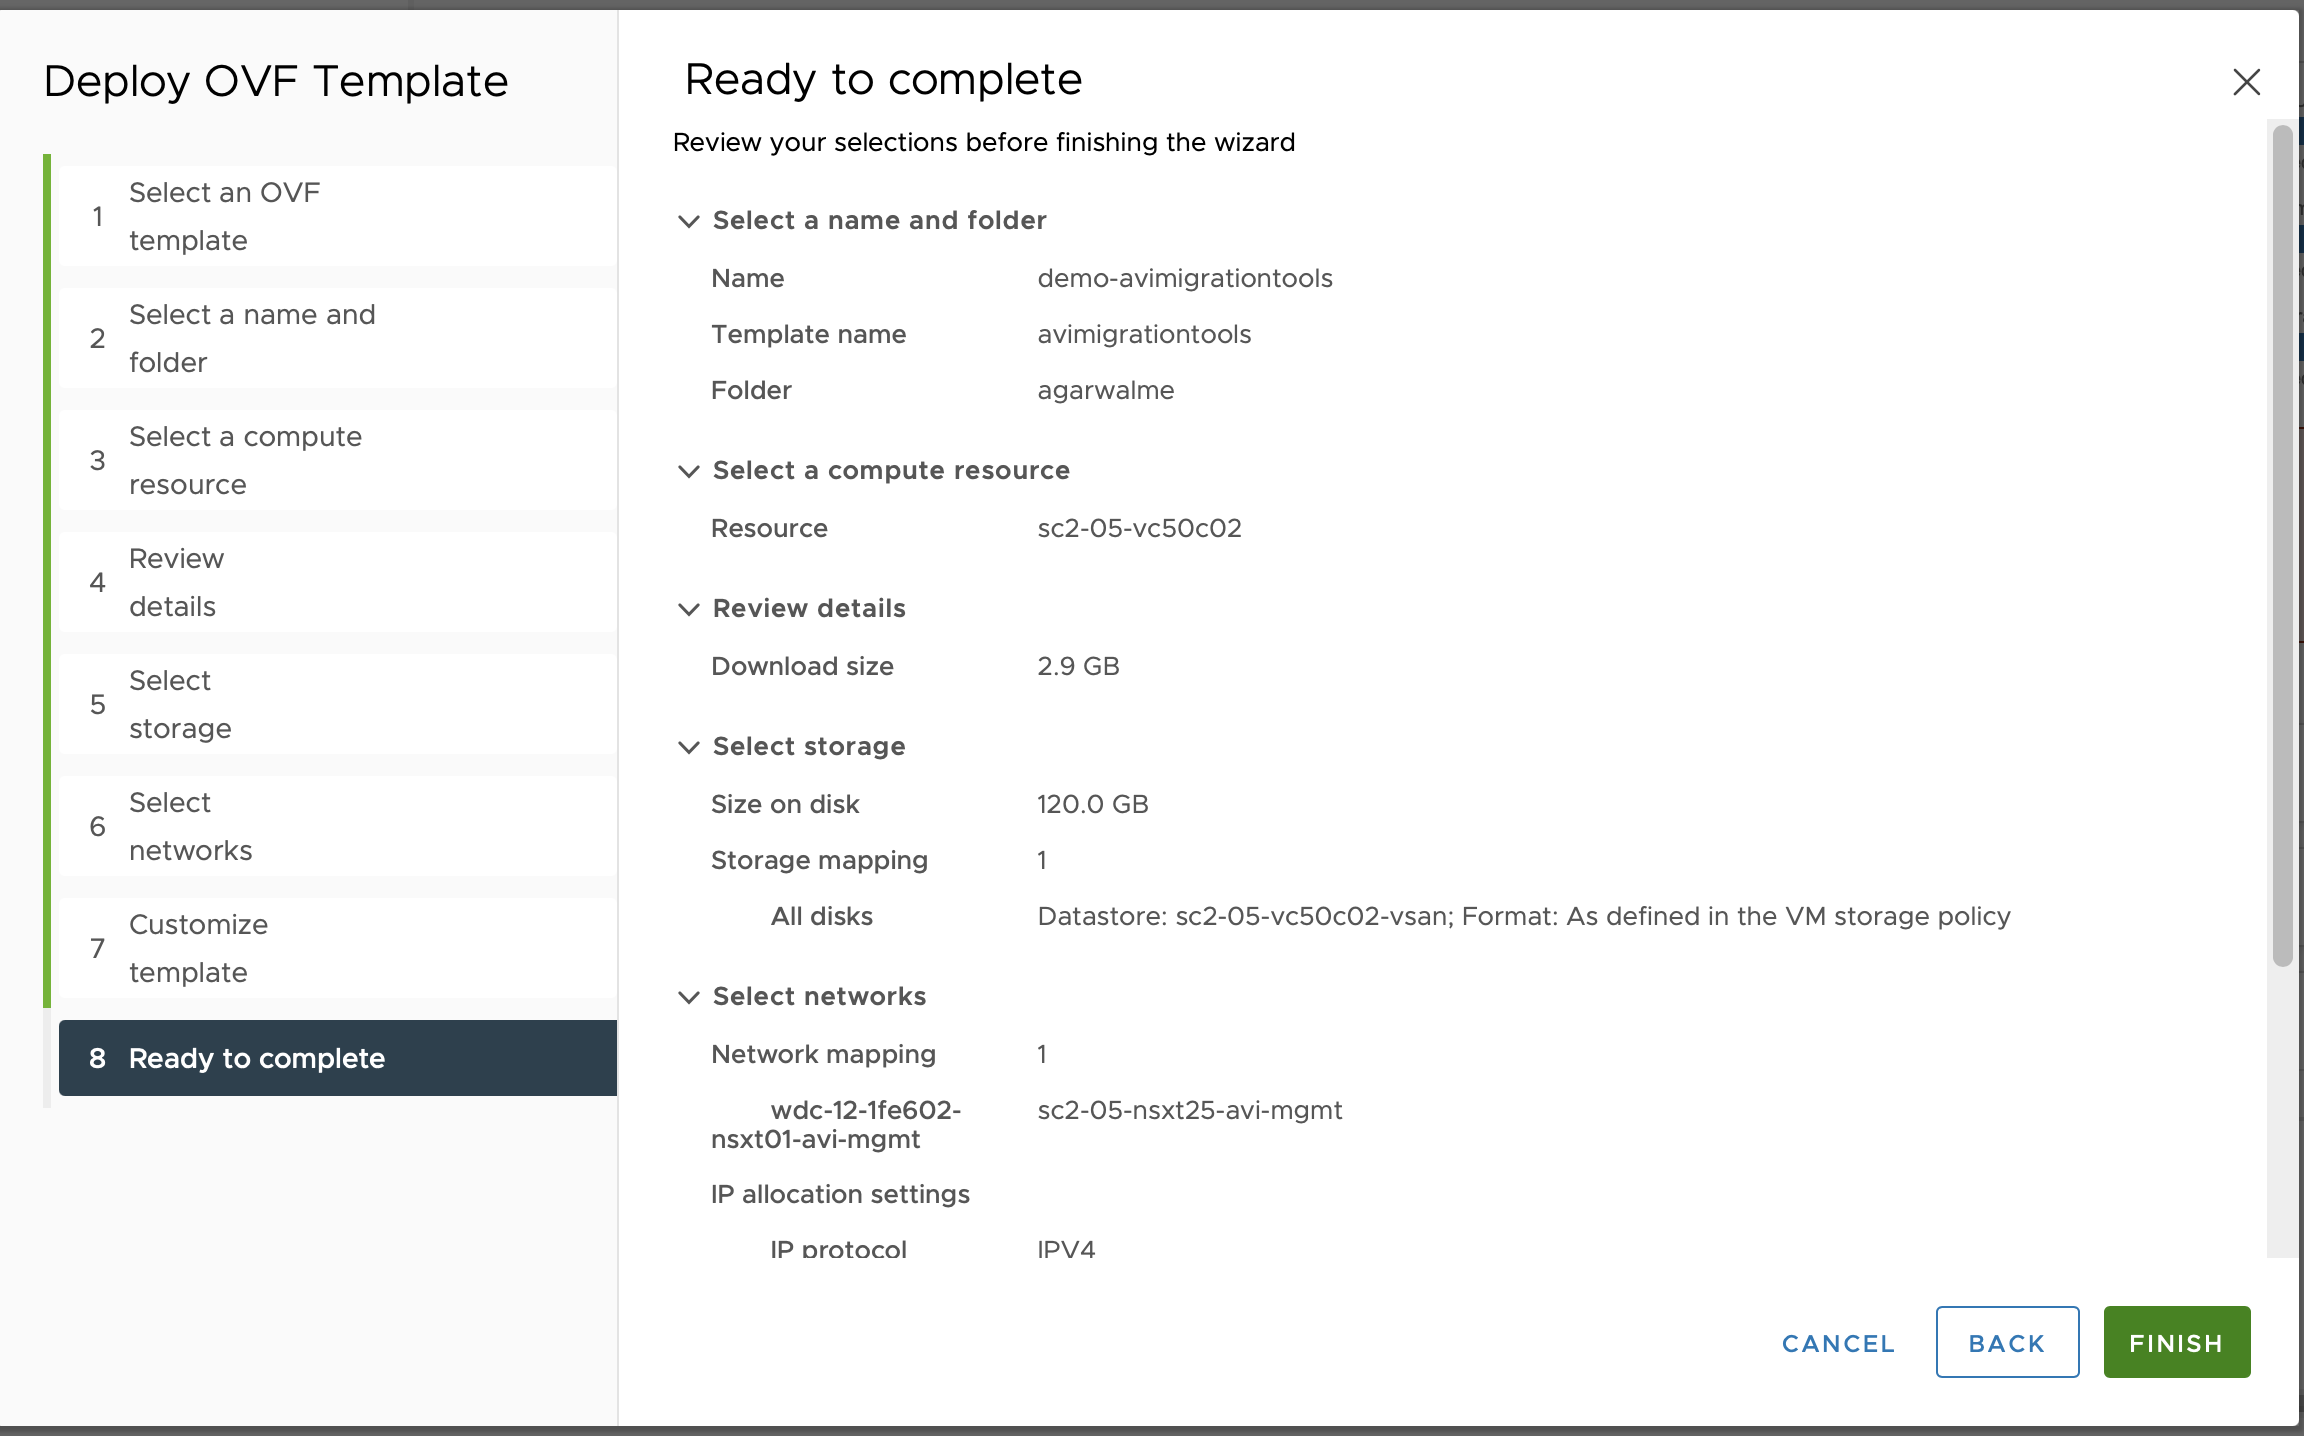
Note:For the recent releases, only DHCP is supported. Password can be changed for the ubuntu user using the template option.
.
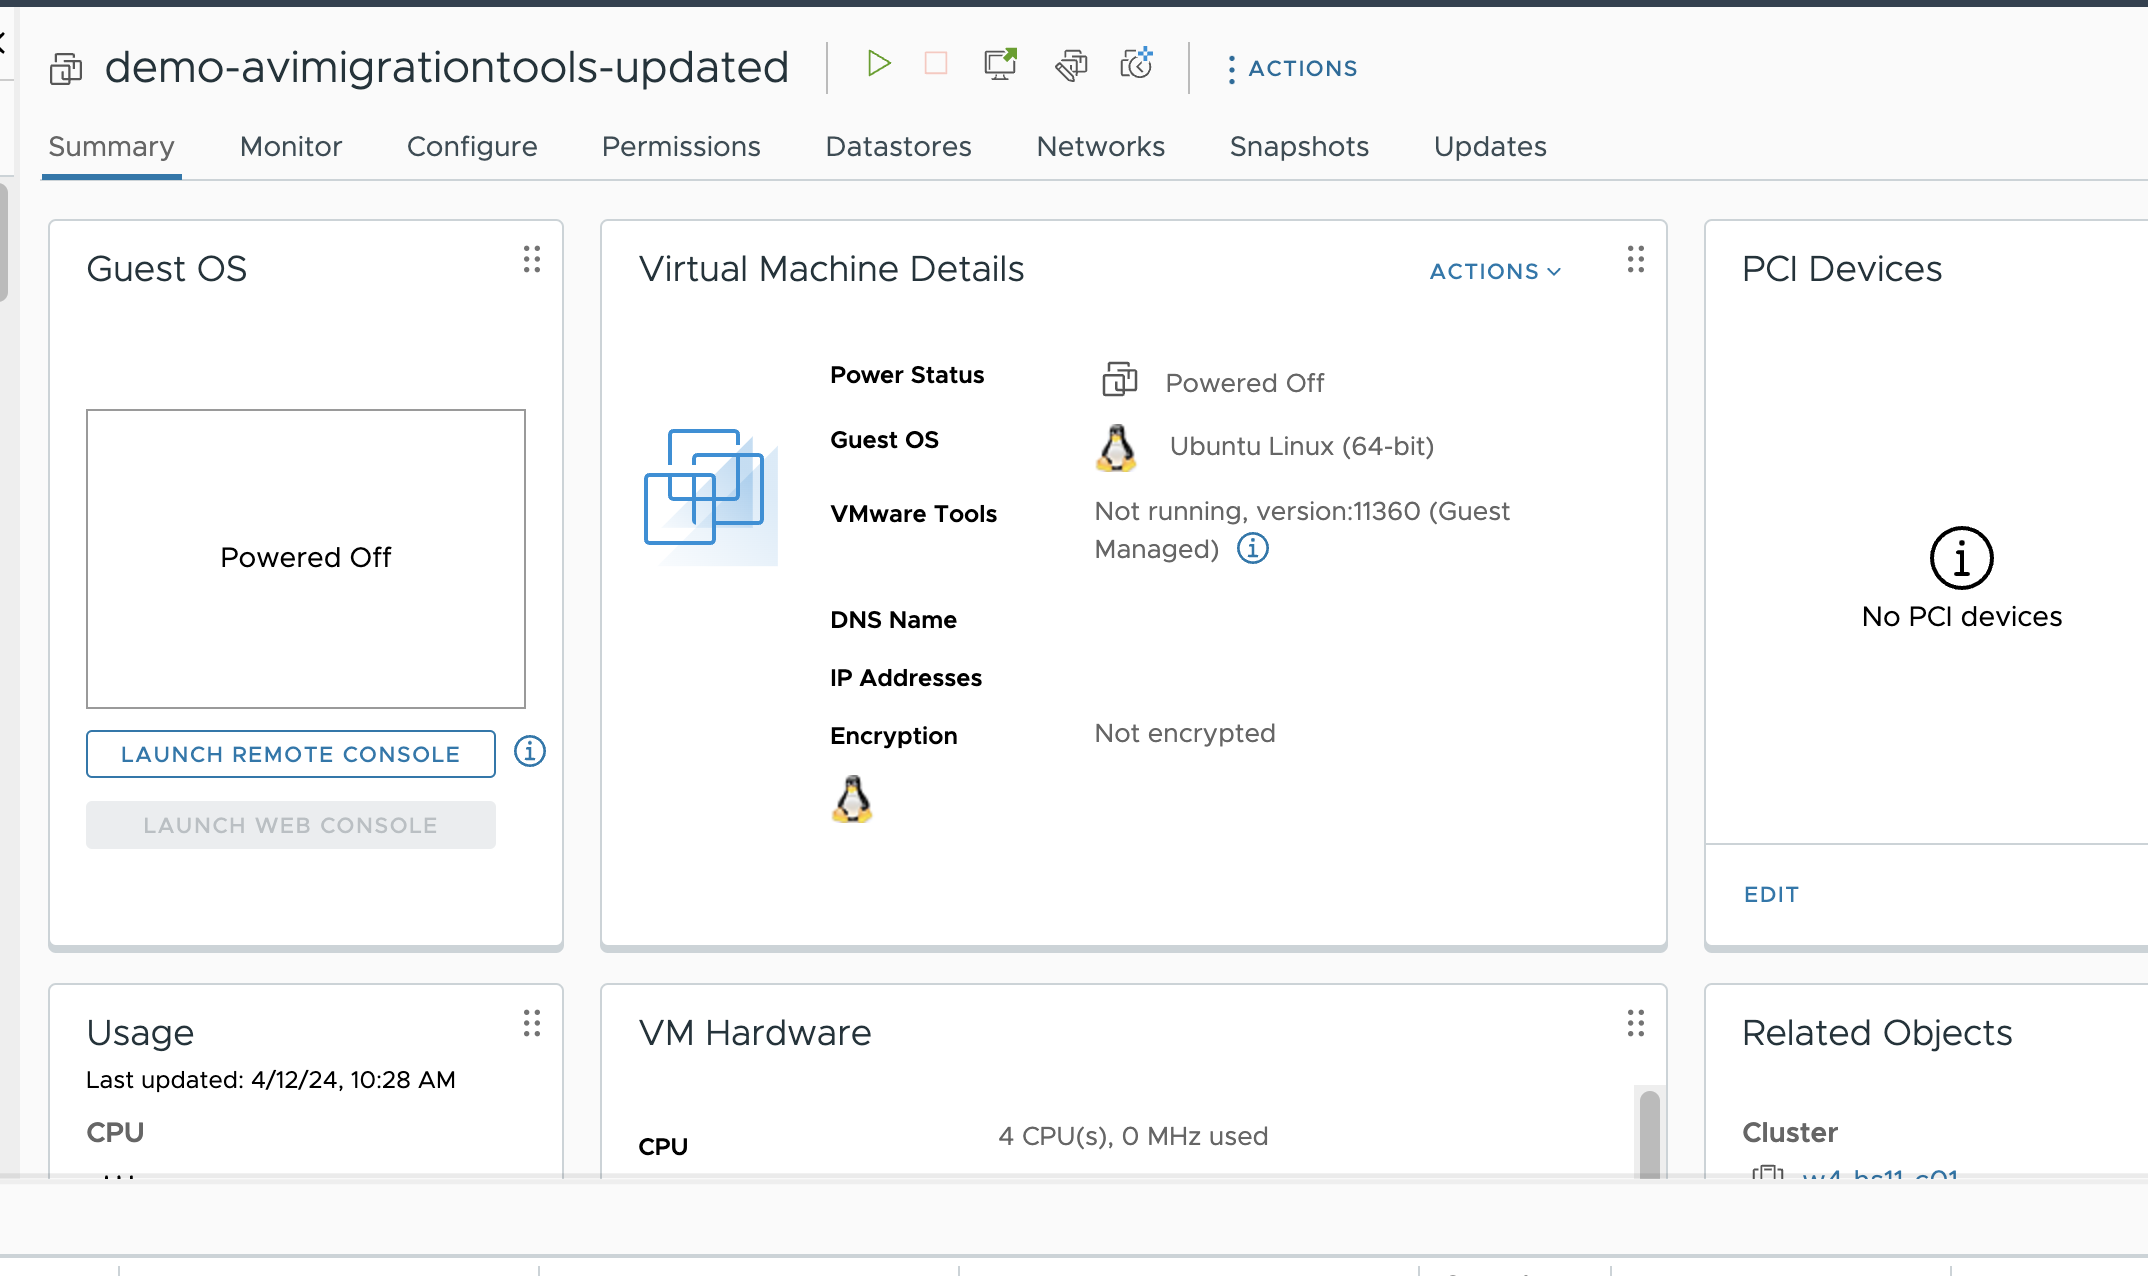
3. Once the above mentioned steps are finished, navigate to your VM. The VM will be in powered off state.
4. Power on the VM.
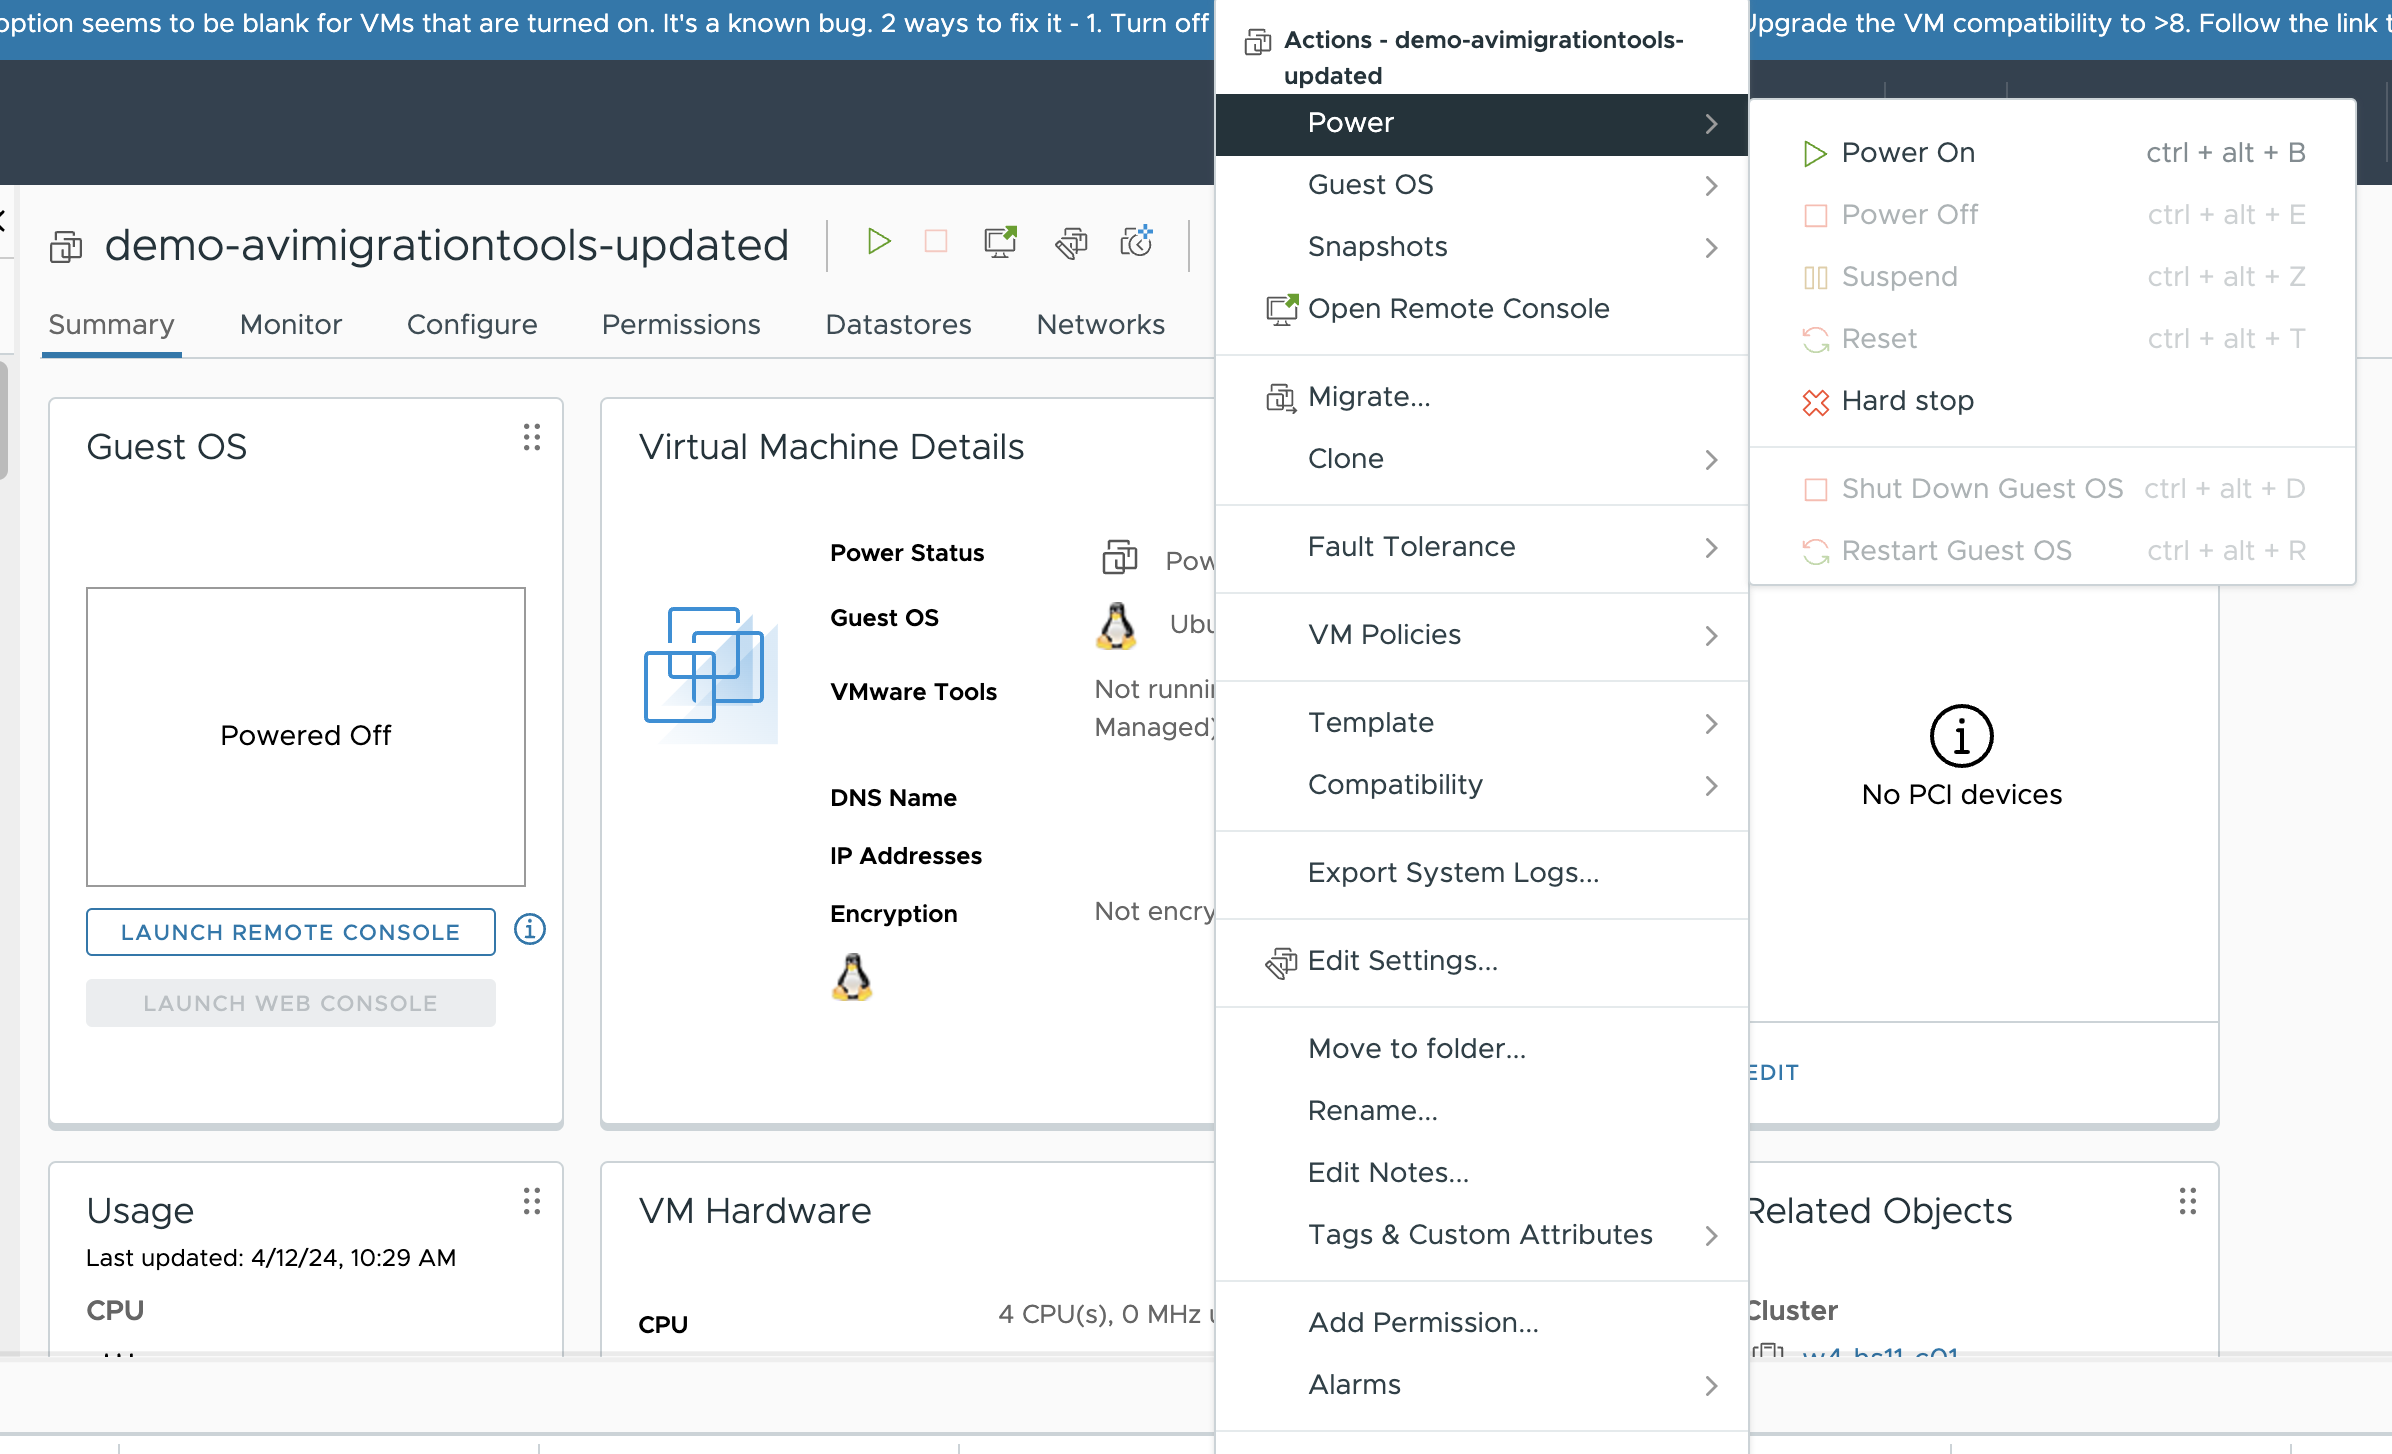
5. Once the VM is powered ON , it will get associated with an IP address.
6. Once the VM is associated with an IP address,
SSH to the VM IP address and update the VM password.


Check the docker container status.

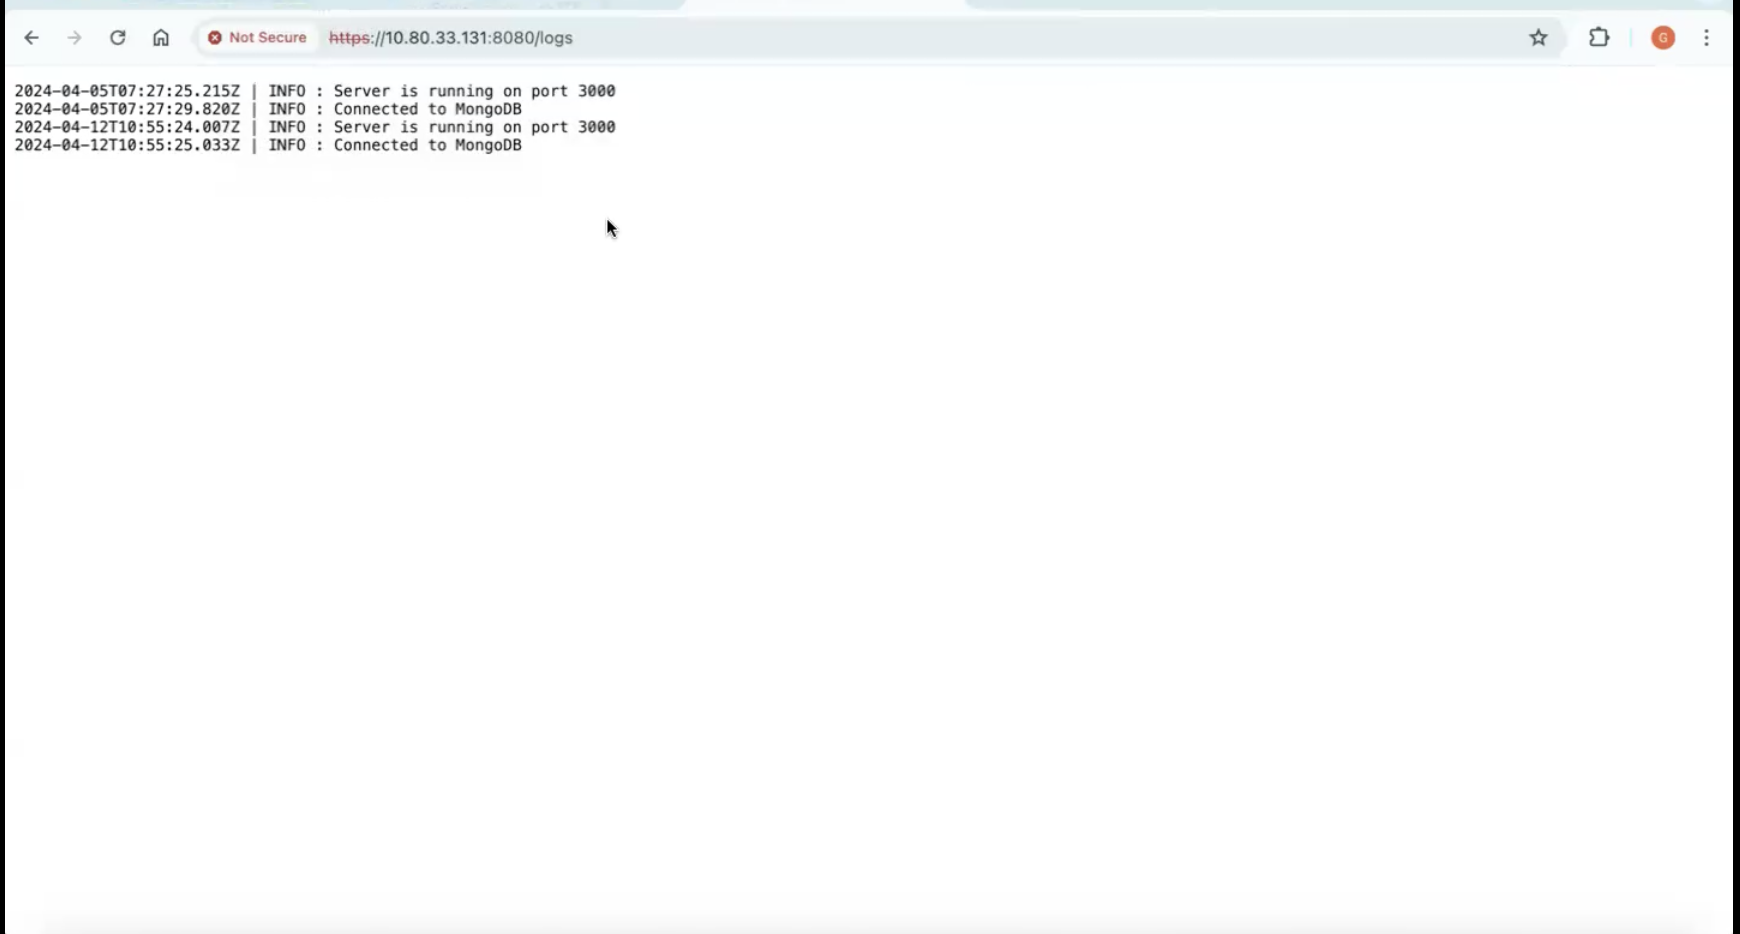
The Migration tools UI can be accessed at https:// <VMIP>:8080 and logs at https:// <VMIP>:8080/logs.
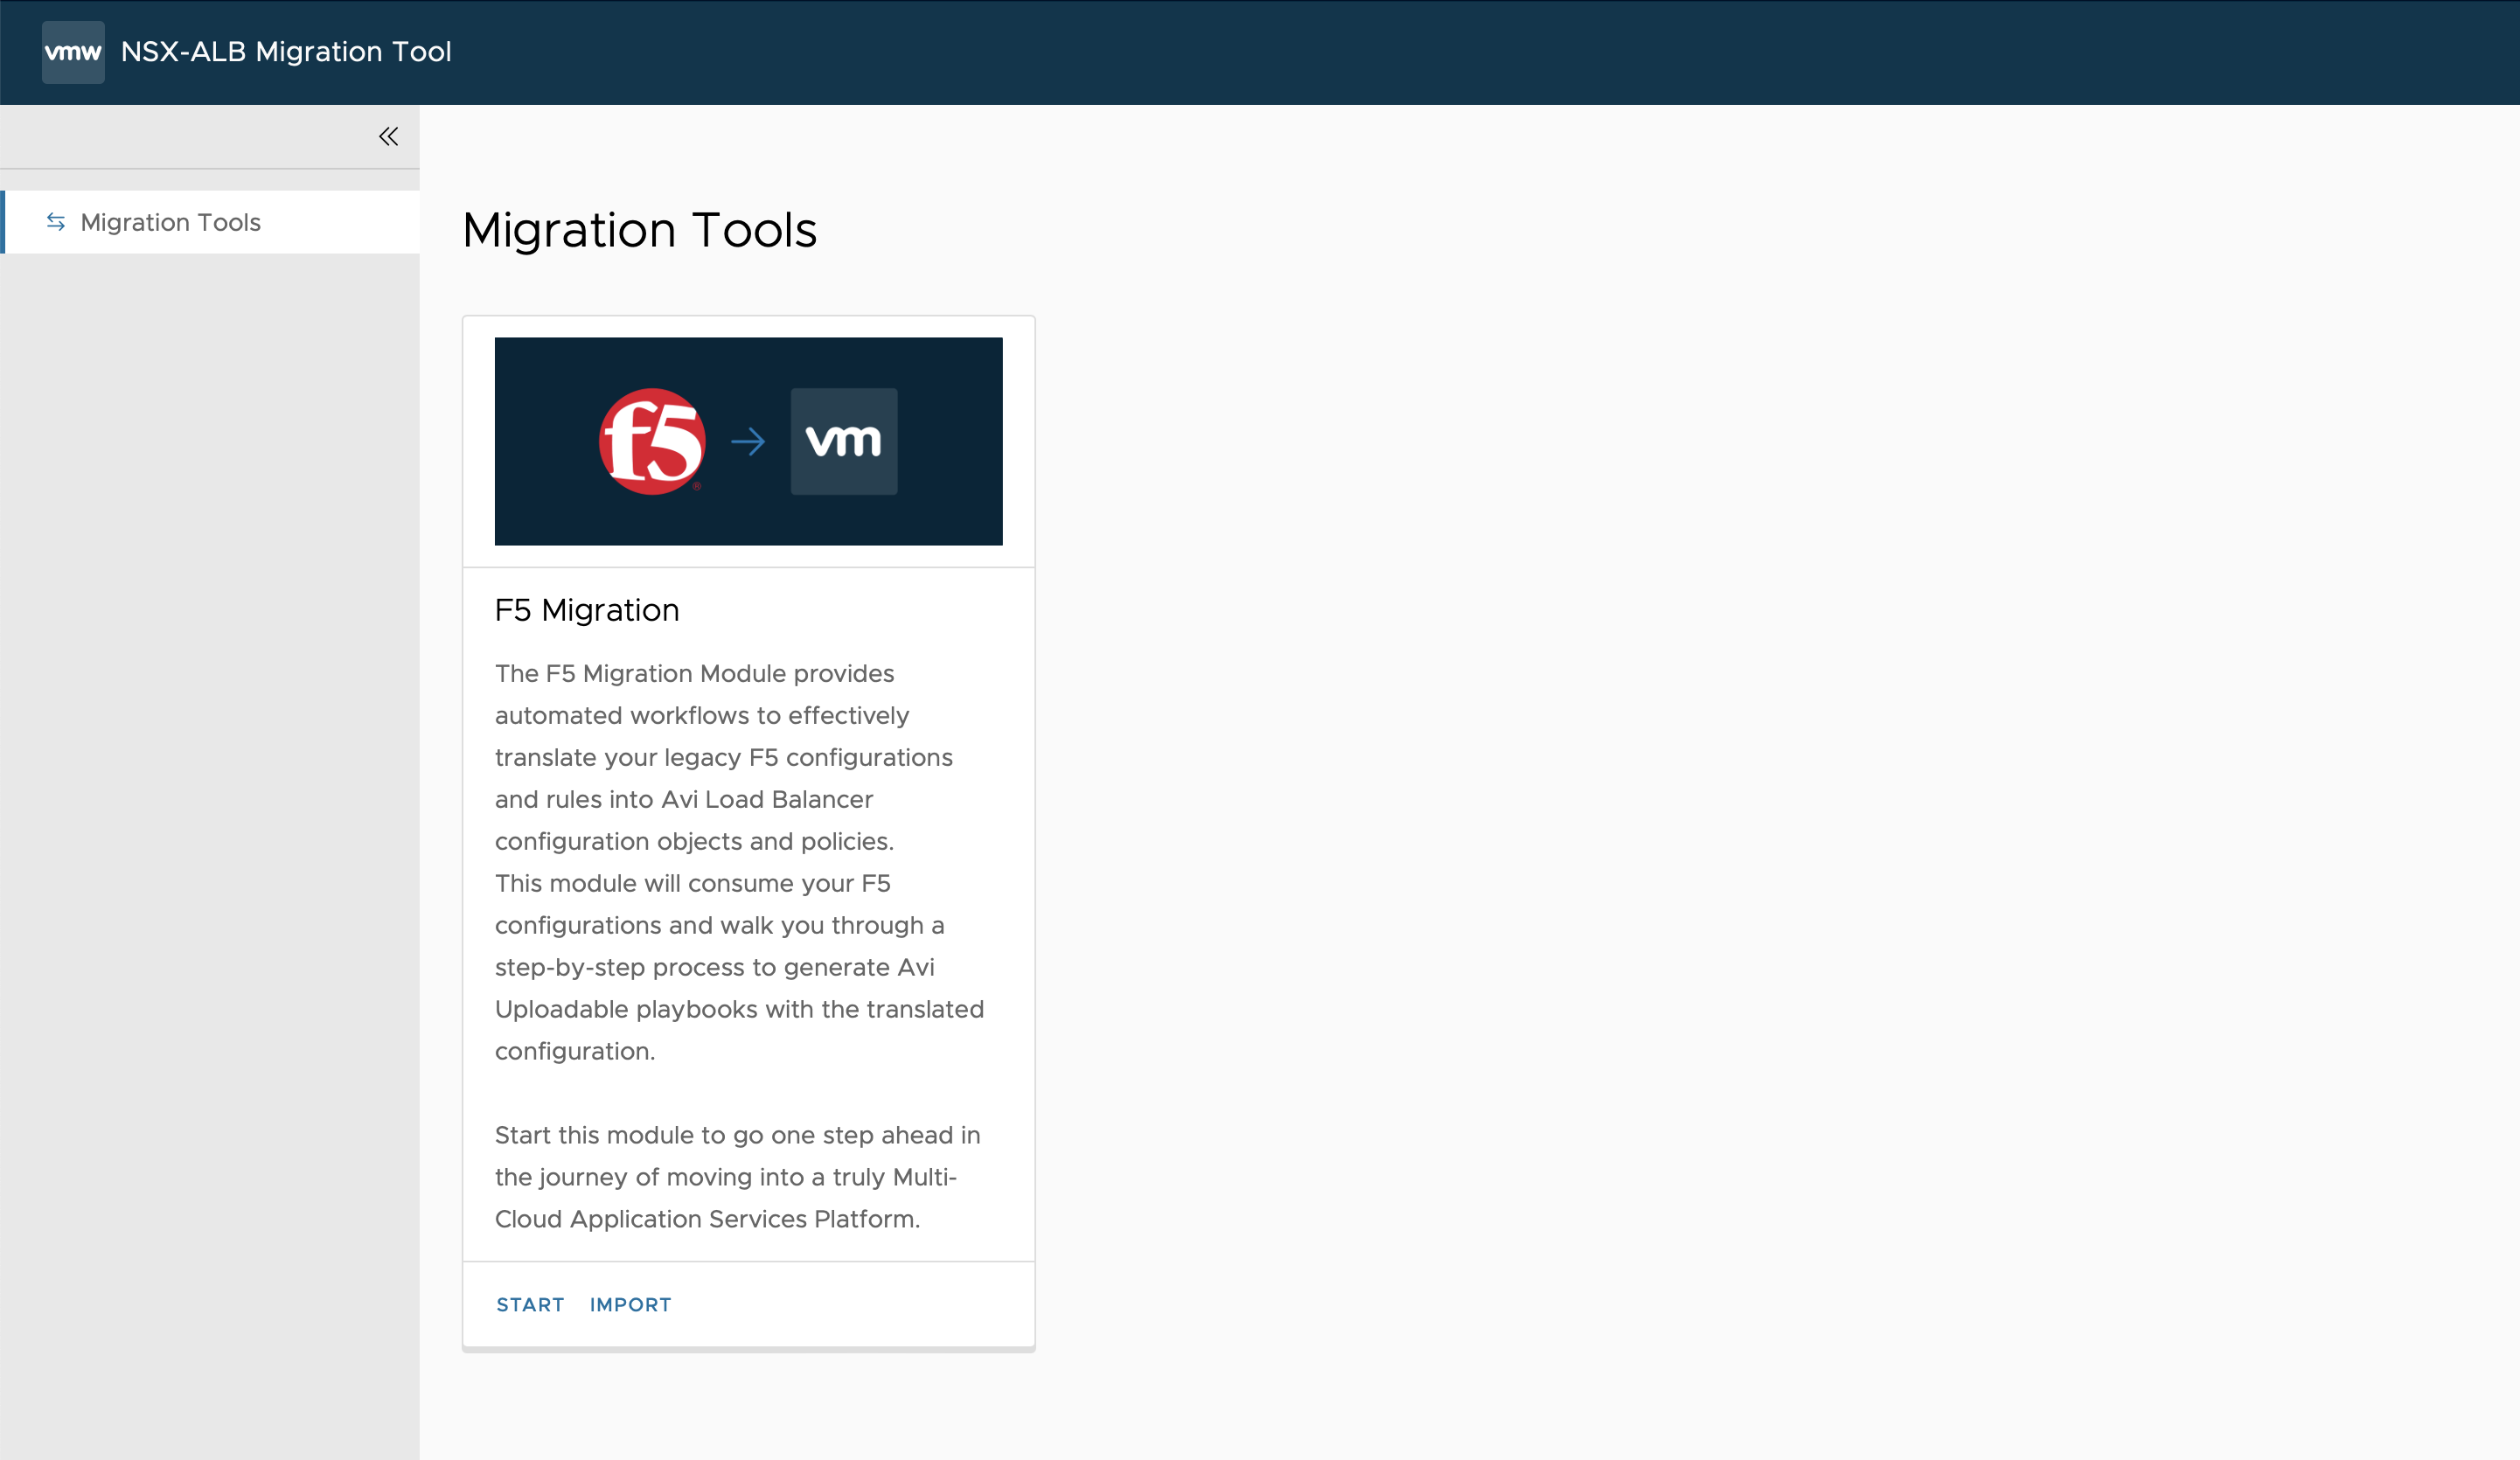
Now, you can proceed with the the Avi Migration.conversion workflow.