


If none of the pre-defined roles fit the access requirements for some user accounts, you can create custom roles according to the requirement.
Procedure
- Configure the access for each system area under Role Access. By default, all the roles are set to no access.
- To set access to all the resources within a system area, click the required access icon on the title row of the system row.
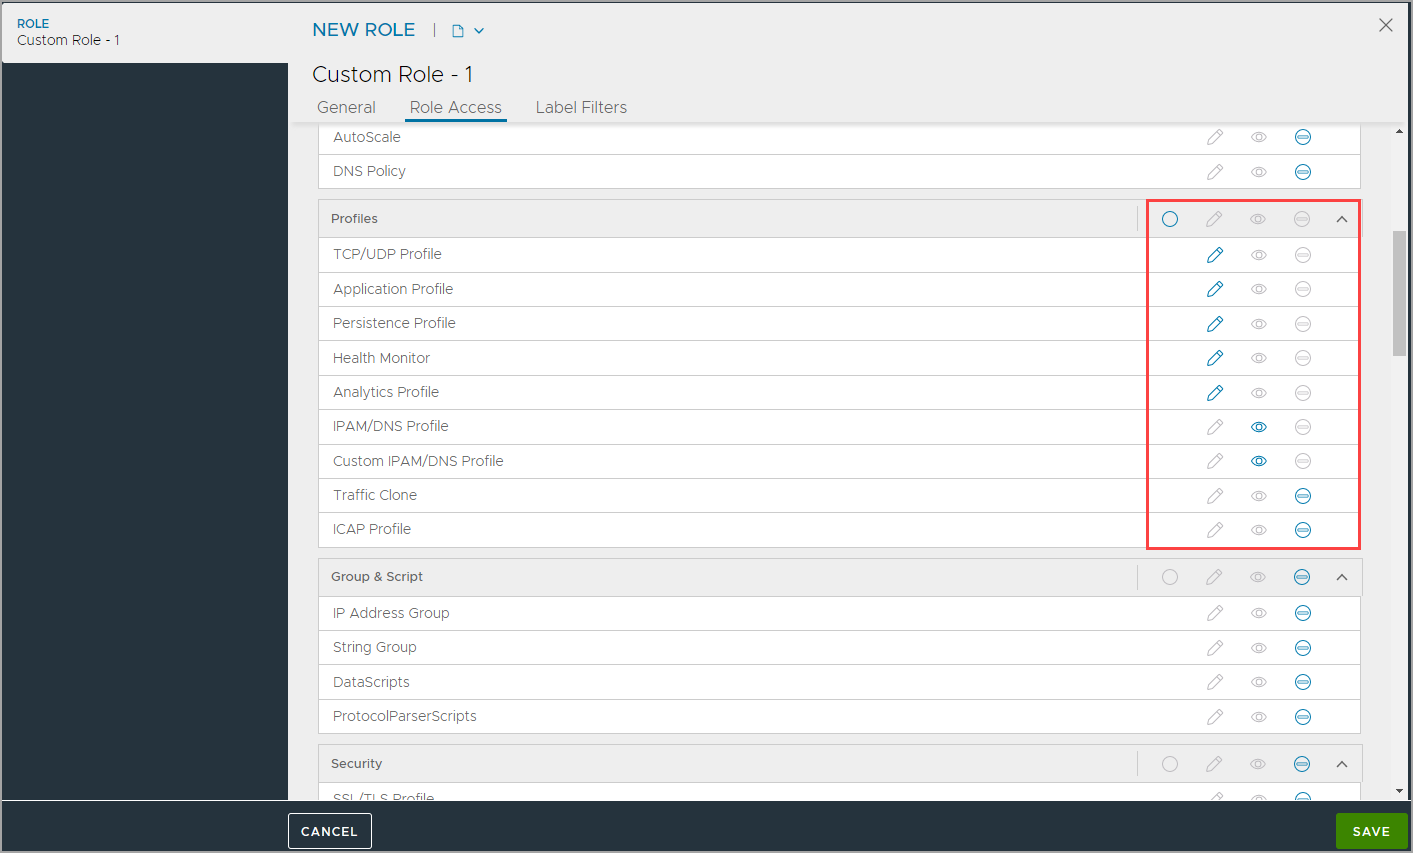
To provide write access to all the profiles, click the write icon on the title row of the Profiles system area:

- To give write, read, or no access for some resources, click the relevant icon for each resource. Automatically, the assorted access is enabled on the title row of the system area, indicating multiple types of access.
- To set access to all the resources within a system area, click the required access icon on the title row of the system row.
- Optionally, configure Label Filters for the role to provide object-based granular access.
- Click Add to open the LABEL FILTER sub-screen.
- Enter the Name for the filter.
- Select Enable Label Filter to apply the label.
- Enter the Key.
- Select the Criteria to match the key:value pair.
- Under the Values, click Add to add values.

- Click Save.
