


This section explains the steps to create PKI application profile using Avi Load Balancer UI and Avi Load Balancer CLI.
Creating PKI Application Profile Using Avi Load Balancer UI
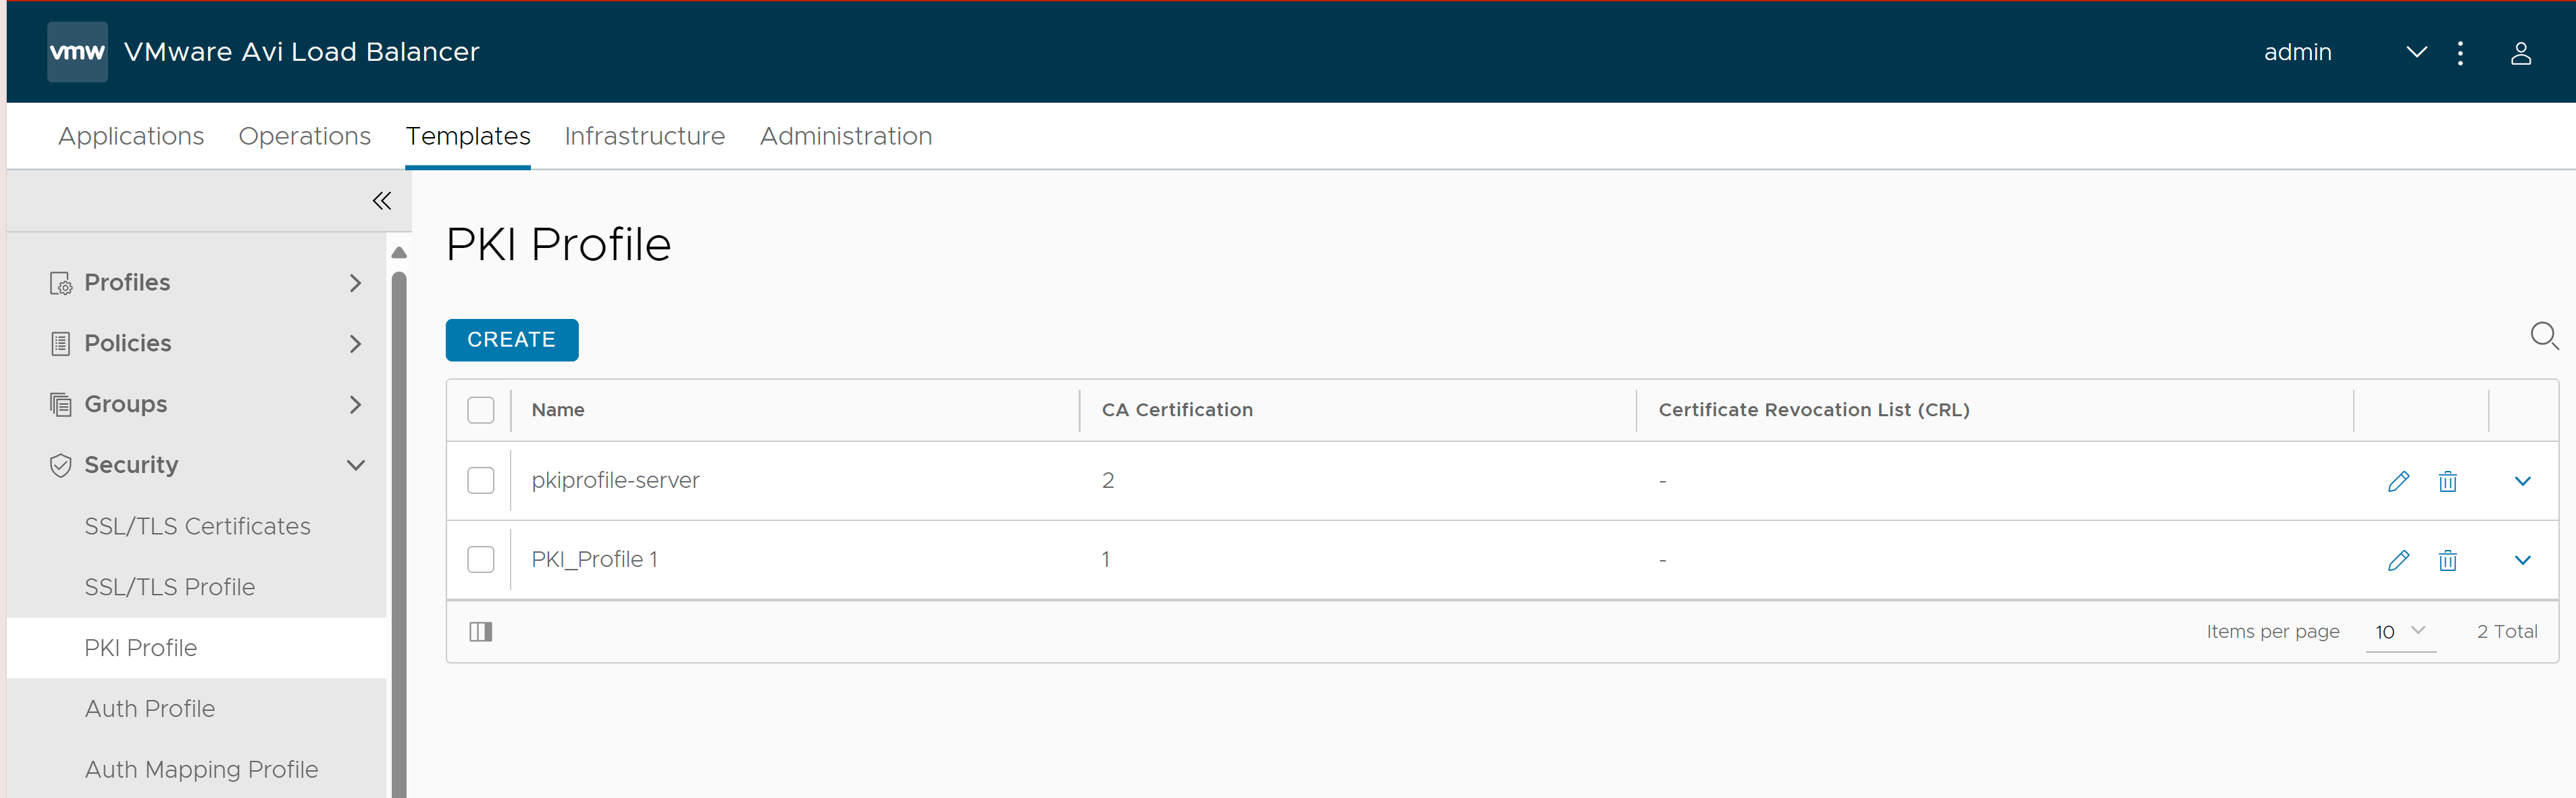
Navigate to . Click Create.
In this example, a new PKI profile is created. Under the General tab, configure the following options:
Enter the PKI profile Name.
Enable Ignore Peer Chain to exclude all intermediate and root certificates presented by the client and instead trust only the chain certificates configured in the Certificate Authority section. Each intermediate certificate is validated and matched against a CA certificate included in the PKI profile. If this option is not enabled, the certificate must present a full chain for validation, starting from the client or server presented certificate to the terminal root certificate.
Click Is Federated to make the PKI profile available across federation. If this option is not enabled, the object is visible only within the Controller cluster and the associated Service Engines.
Under the Certificate Authority (CA) tab,
Click Add to view the Add CA screen.
Click Import File to select the certificate file.
-
Click Upload. The uploaded certificate appears as shown below:
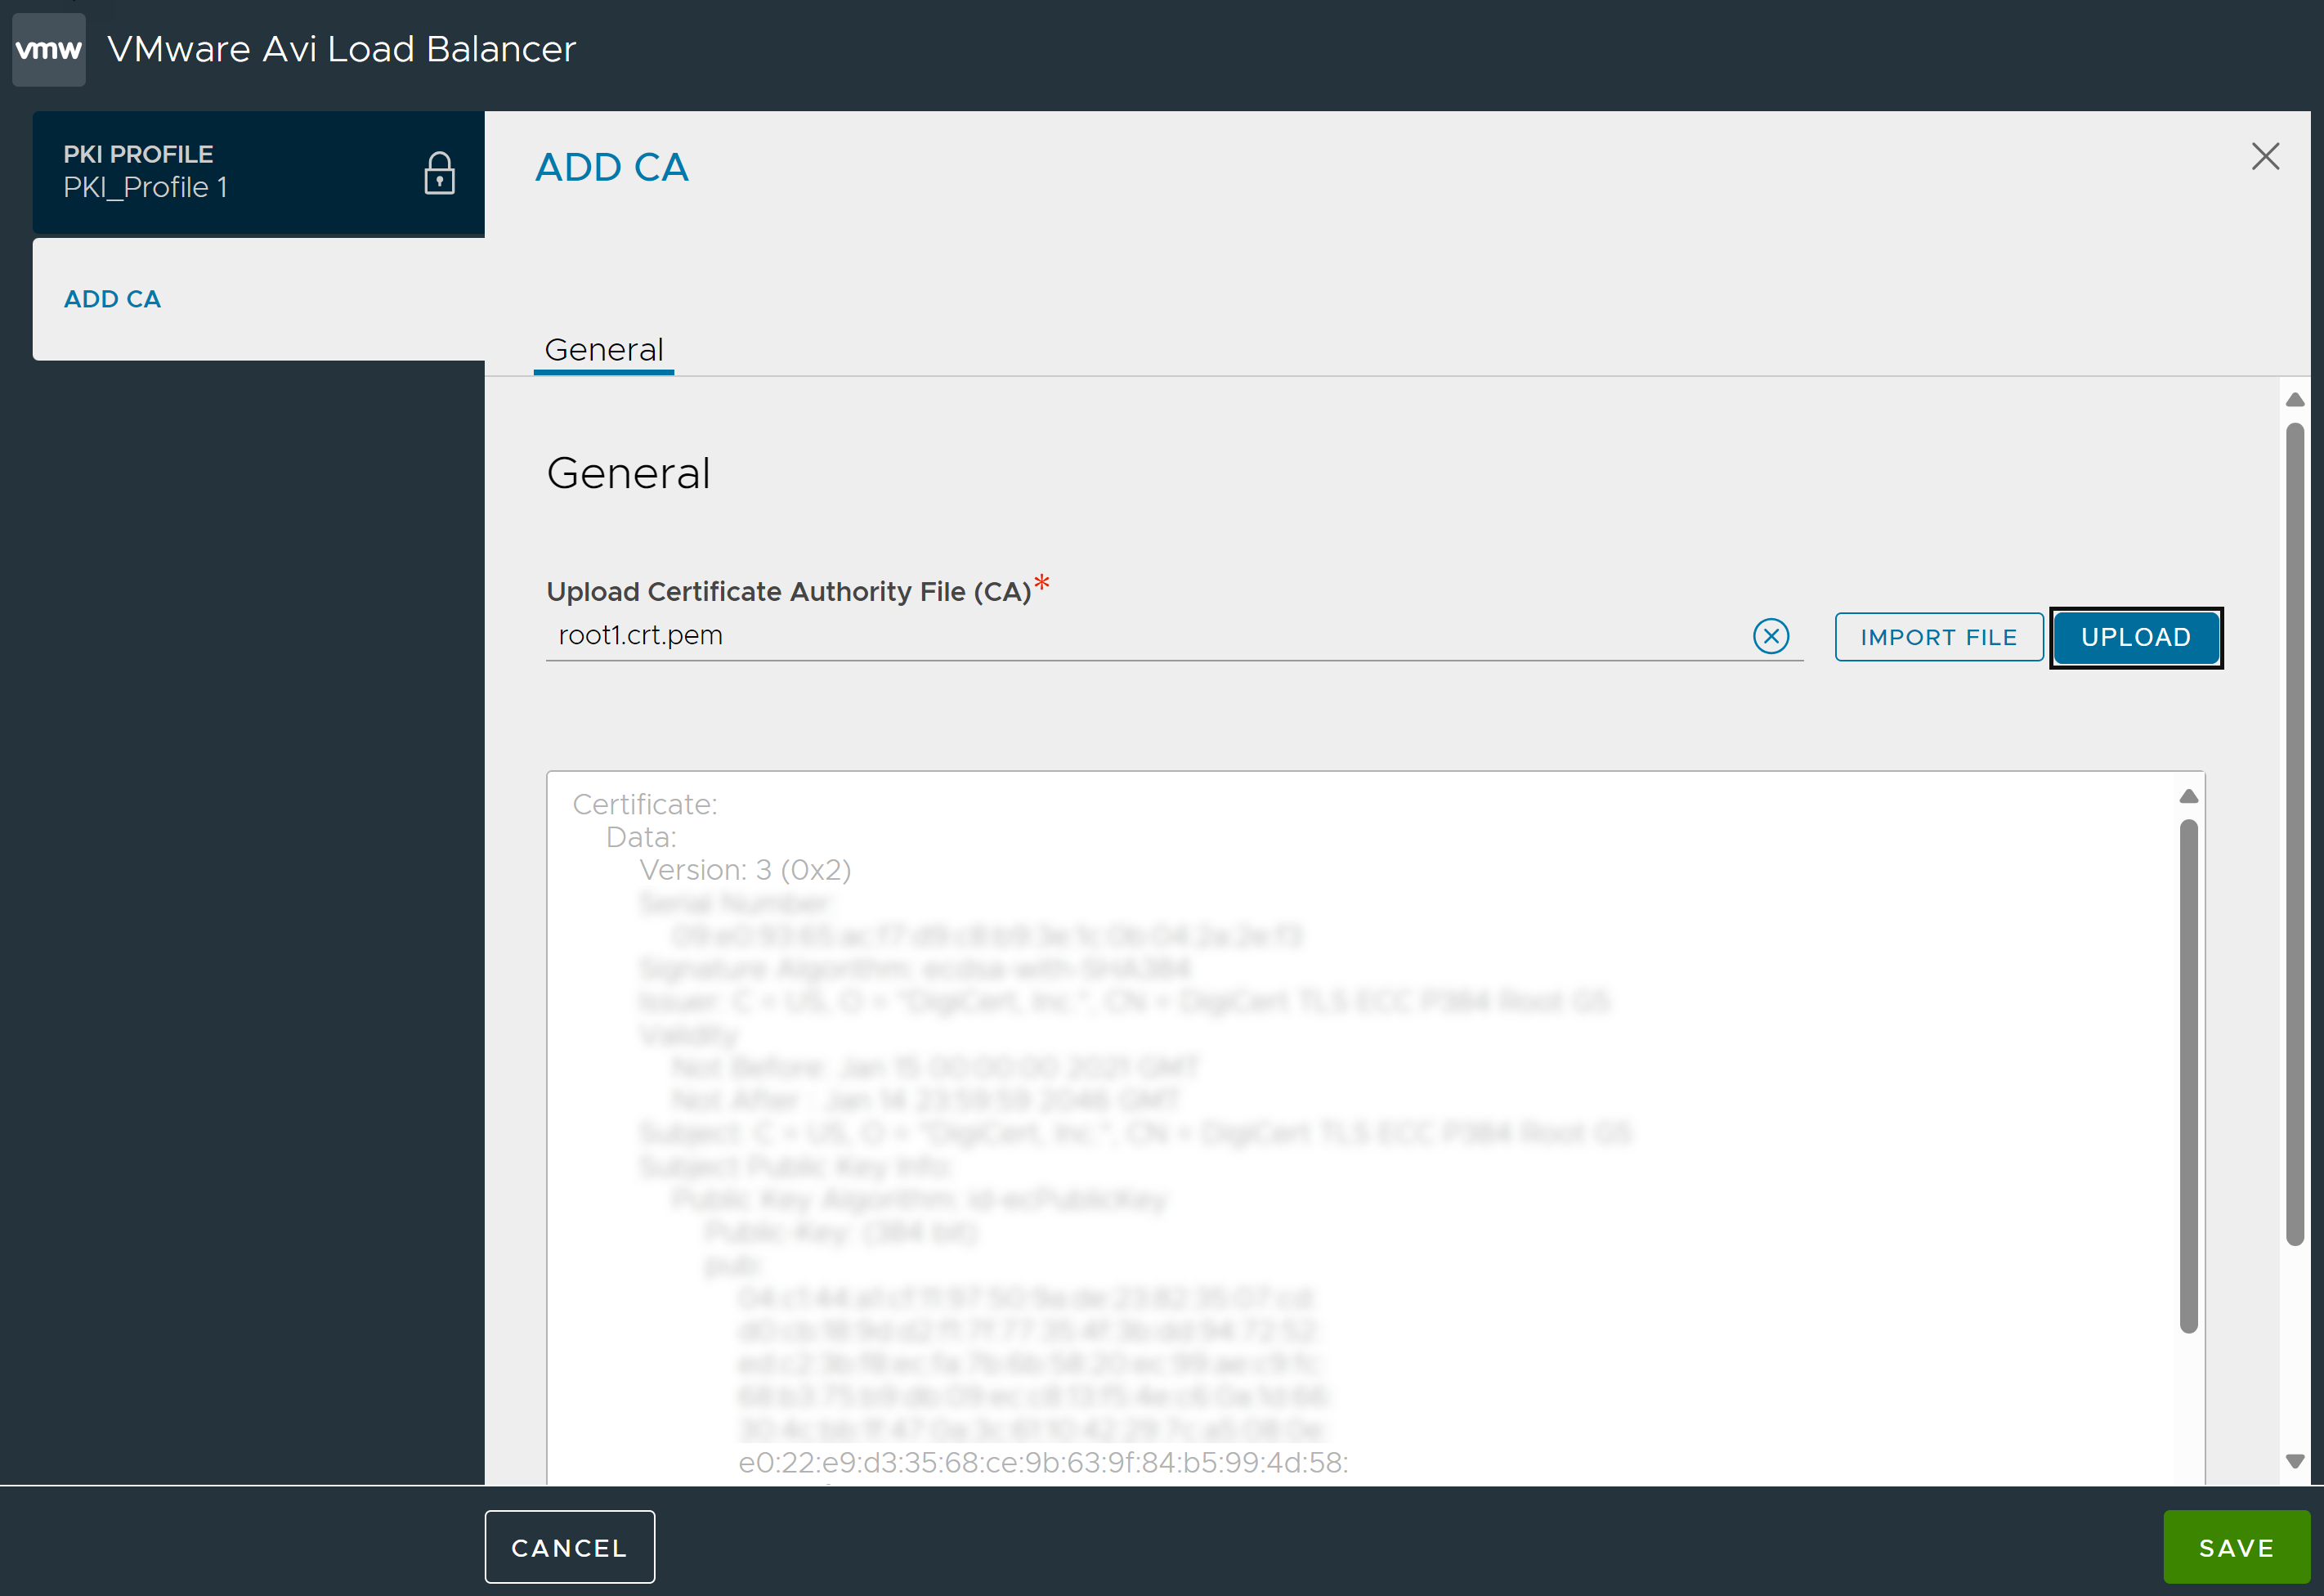
Click Save.
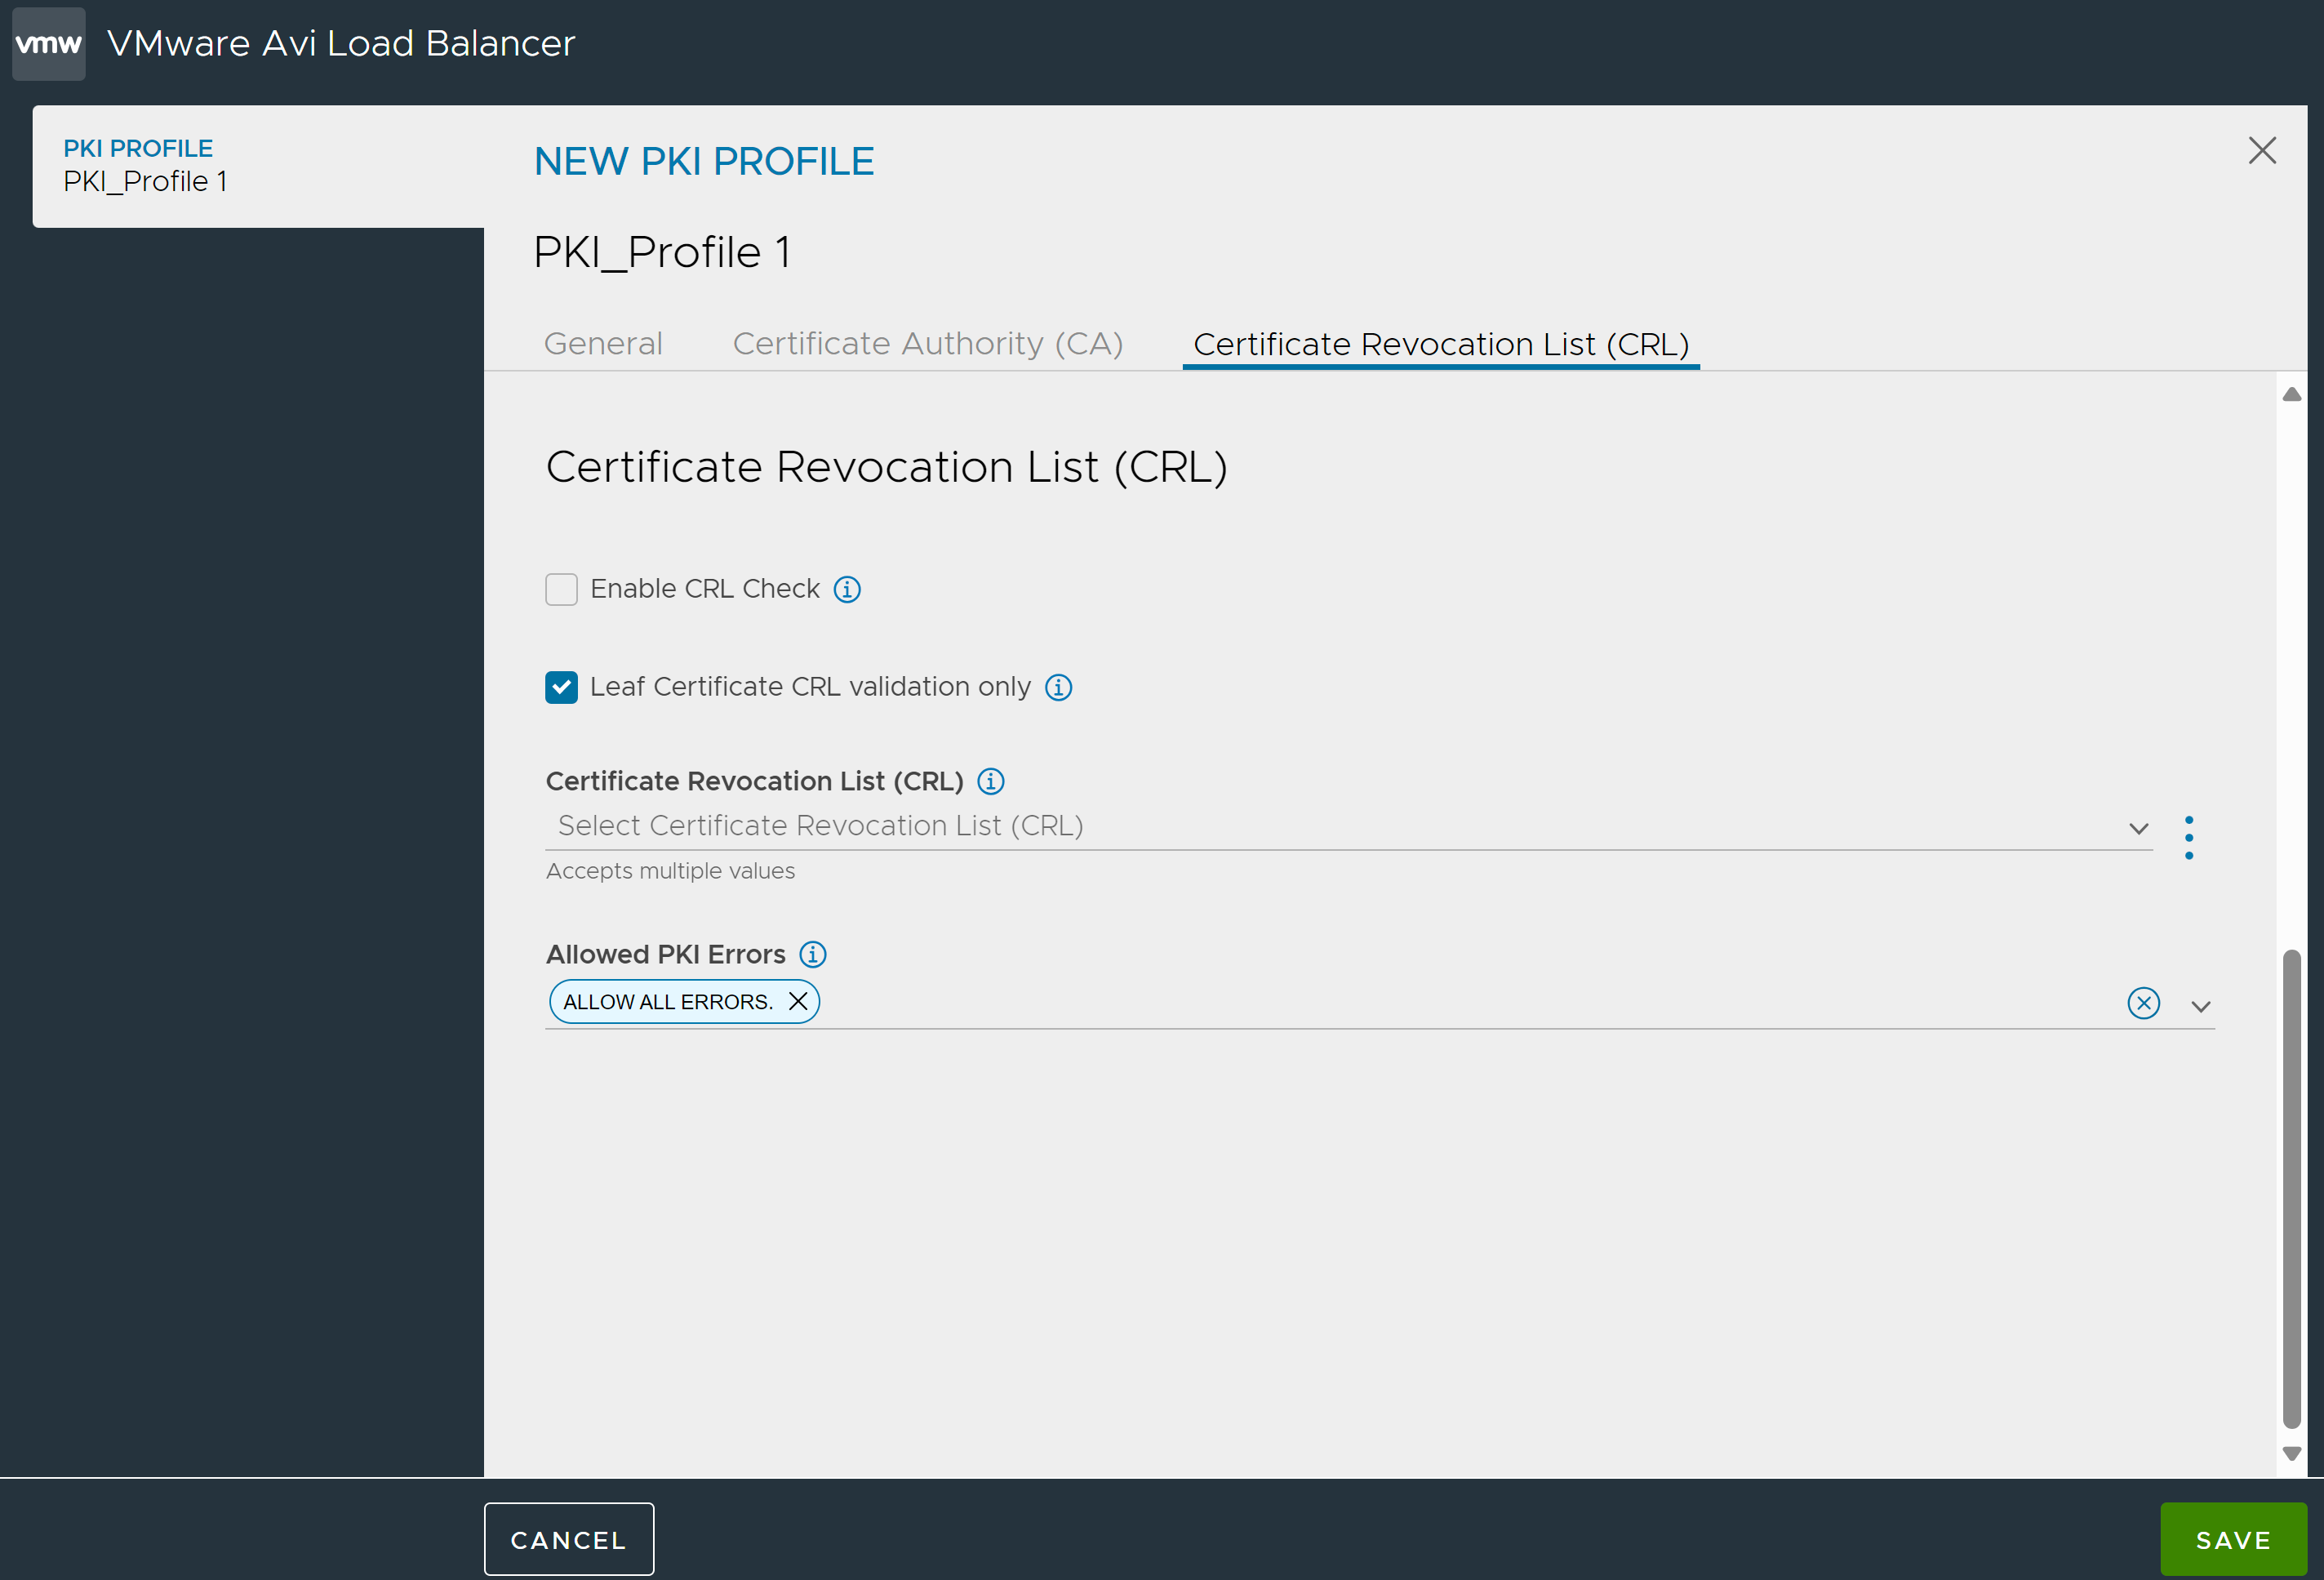
Under the Certificate Revocation List (CRL) tab,
Select Enable CRL Check to check the CAs and CRL(s) in the virtual service’s PKI profile to verify whether the client certificate is still valid. For a client to pass certificate validation, the profile must contain a CRL from each intermediate CA in the chain of trust, and the certificate cannot be listed in any of the CRLs as revoked. If the profile is missing a CRL for any of the intermediate CAs, or the certificate is listed as revoked in any of those CRLs, the client’s request for an SSL session to the virtual service is denied.
Enable Leaf Certificate CRL validation only to only validate the leaf certificate against the CRL. The leaf is the next certificate in the chain up from the client certificate. A chain may consist of multiple certificates. To validate all certificates against the CRL, disable this option. Deactivating this option means you need to upload all the CRLs issued by each certificate in the chain. Even if one CRL is missing, the validation process will fail.
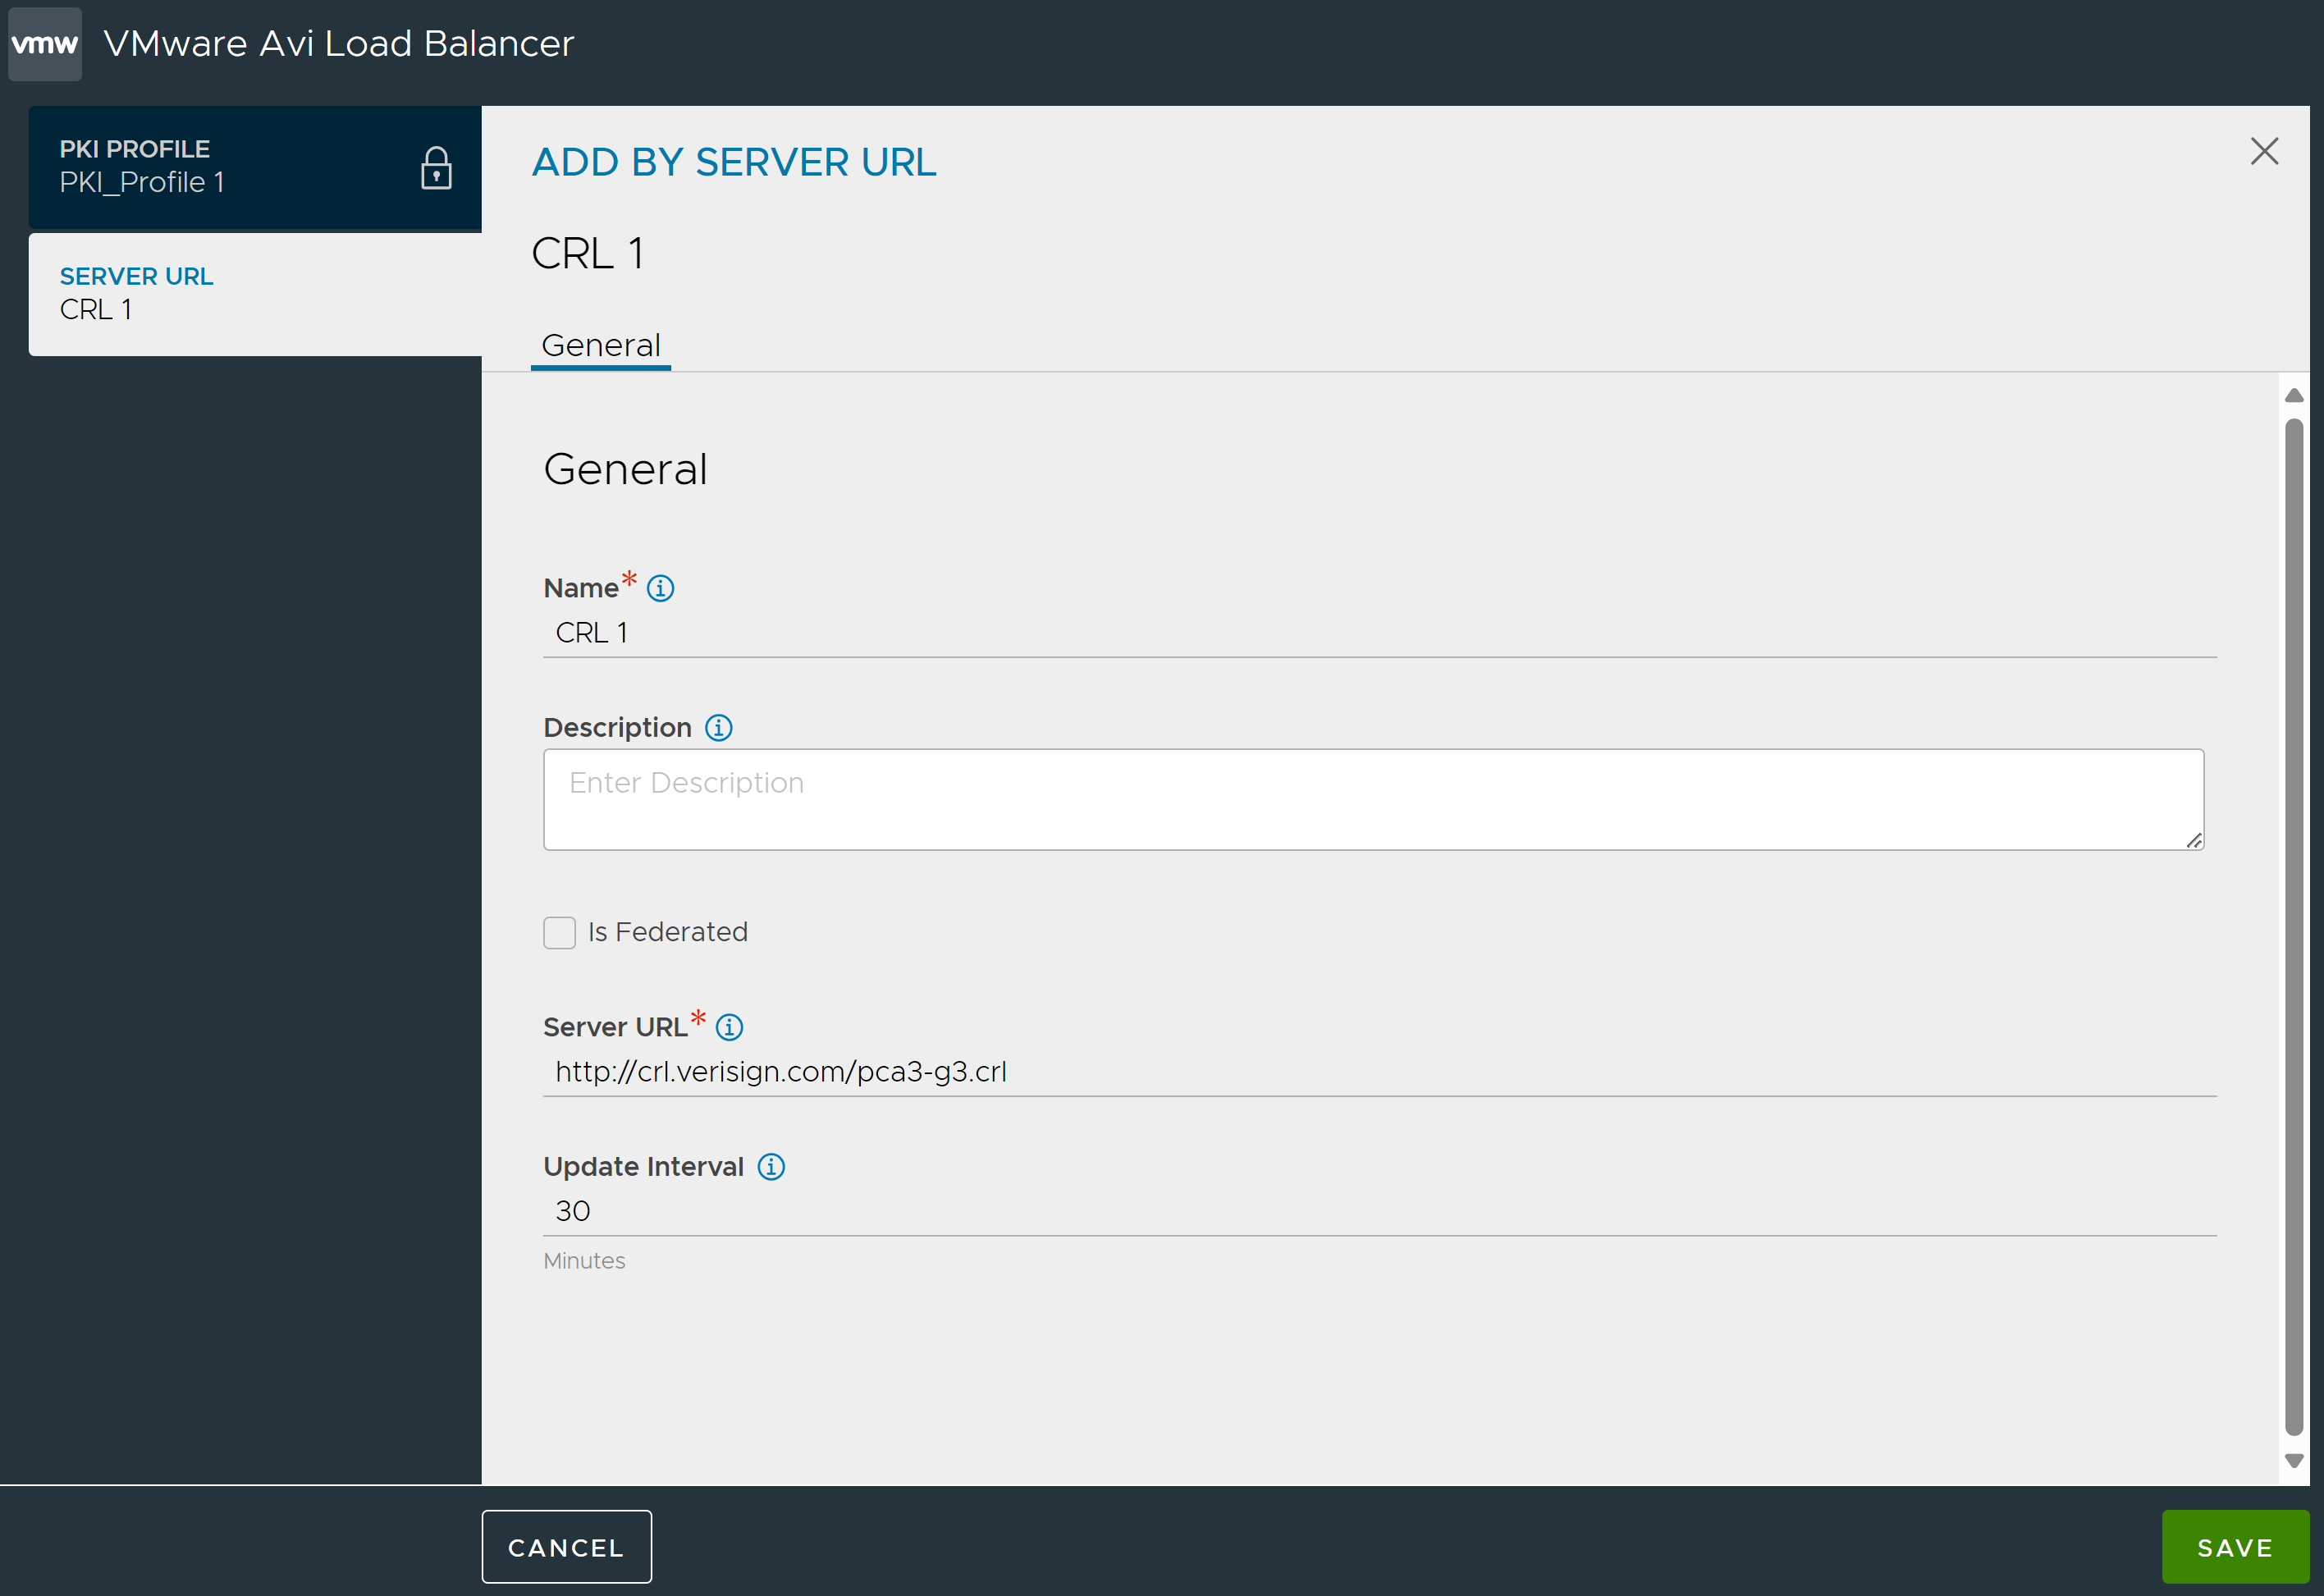
Under Certificate Revocation List (CRL), select the CRL from the dropdown list. You can also upload CRL files or provide a CRL Server URL to download the file. Click the ellipsis and choose either one of the options:
- Add by Server URL
-
Specify a Server URL from which CRL updates can be downloaded and enter Update Interval (in minutes), after which, Avi Load Balancer checks for a CRL update and automatically downloads an updated version of the CRL.
- Upload File
-
Click Import File, navigate to the CRL file and upload it.
Note:Configuring CRL is mandatory if Enable CRL Check is enabled.
In mutual authetication scenarios, in case of errors such as expired CRLs, invalid CRL, or expired Certificate, the Avi Load Balancer, by default goes into fail close mode. With the Allowed PKI Errors field, you can choose between fail-open or fail-close modes. You can choose to discard all errors during certificate verification, allowing traffic to proceed despite any errors, or selectively ignore only the expired CRL error while enforcing validation for other errors using the following options:
- ALLOW ALL ERRORS
-
If this option is selected, the PKI profile has more than one errors, the mutual authentication is still completed and the significant log displays all the errors as shown in the example below:

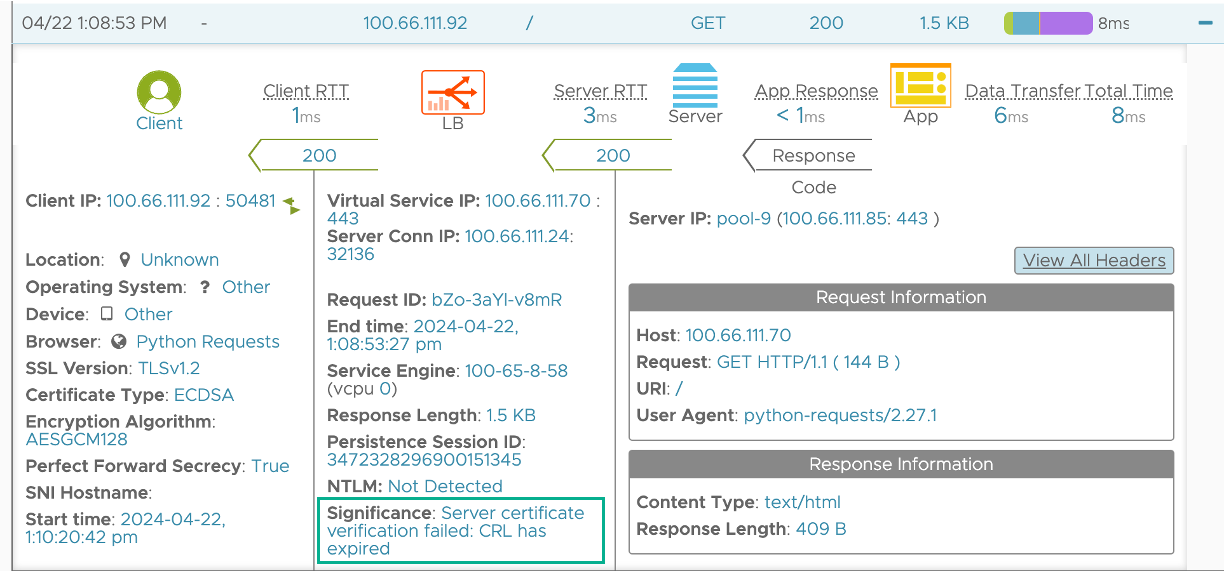
- ALLOW EXPIRED CRL
-
If this option is selected, then mutual authentication gets completed but the significant logs indicate that the CRL has expired as shown in the example below:
The New PKI Profile is as shown below:
Click Save. The PKI Profile created is listed as show below:
CRL files that are not used in any PKI Profiles will be removed during events like upgrade or disaster recovery.
When a file is generated during upgrade, or when a client is at a version lower than 30.2.1, and is creating a PKI profile or sending a PUT request, the file naming convention uses the file URL path.
For example,
https://domain1.com/acme.crl → domain1_acme.crl_XXXXXXXX
https://domain2.com/acme.crl → domain2_acme.crl_XXXXXXXX
Creating PKI Application Profile using the Avi Load Balancer CLI
[admin:My-Avi-Controller-17.2.10]: > configure pkiprofile test
[admin:My-Avi-Controller-17.2.10]: pkiprofile> ca_certs
New object being created
[admin:My-Avi-Controller-17.2.10]: pkiprofile:ca_certs> certificate --
Please input the value for field certificate (Enter END to terminate input):-----BEGIN CERTIFICATE-----   <————————— Paste cert here
MIIFAzCCA+ugAwIBAgIEUdNg7jANBgkqhkiG9w0BAQsFADCBvjELMAkGA1UEBhMC
VVMxFjAUBgNVBAoTDUVudHJ1c3QsIEluYy4xKDAmBgNVBAsTH1NlZSB3d3cuZW50
cnVzdC5uZXQvbGVnYWwtdGVybXMxOTA3BgNVBAsTMChjKSAyMDA5IEVudHJ1c3Qs
r2RsCAwEAAaOCAQkwggEFMA4GA1UdDwEB/wQEAwIBBjAP
jbEnmUK+xJPrSFdDcSPE5U6trkNvknbFGe/KvG9CTBaahqkEOMdl8PUM4ErfovrO
GhGonGkvG9/q4jLzzky8RgzAiYDRh2uiz2vUf/31YFJnV6Bt0WRBFG00Yu0GbCTy
BrwoAq8DLcIzBfvLqhboZRBD9Wlc44FYmc1r07jHexlVyUDOeVW4c4npXEBmQxJ/
B7hlVtWNw6f1sbZlnsCDNn8WRTx0S5OKPPEr9TVwc3vnggSxGJgO1JxvGvz8pzOl
u7sY82t6XTKH920l5OJ2hiEeEUbNdg5vT6QhcQqEpy02qUgiUX6C
-----END CERTIFICATE-----                   <—————————  Press Enter key after pasting cert
END                                         <—————————  Type END and press Enter key
[admin:My-Avi-Controller-17.2.10]: pkiprofile:ca_certs> save
[admin:My-Avi-Controller-17.2.10]: pkiprofile> no crl_check      <—————————  Optional for testing
[admin:My-Avi-Controller-17.2.10]: pkiprofile> save
