


The default certificate on Avi Load Balancer is self-signed. This section explains how to replace the default certificate when the certificate is expired or is about to expire. The following steps can also be used to replace the self-signed certificate with a third-party signed certificate.
Prerequisites
OpenSSL 1.1.x or later.
Configure using Avi Load Balancer UI
Navigate to and click the Export icon (right) of System-Default-Cert entry.

Copy data from the Key and Certificate fields to two new files using the COPY TO CLIPBOARD option. Name the new files as
system-default.keyandsystem-default.cer, respectively.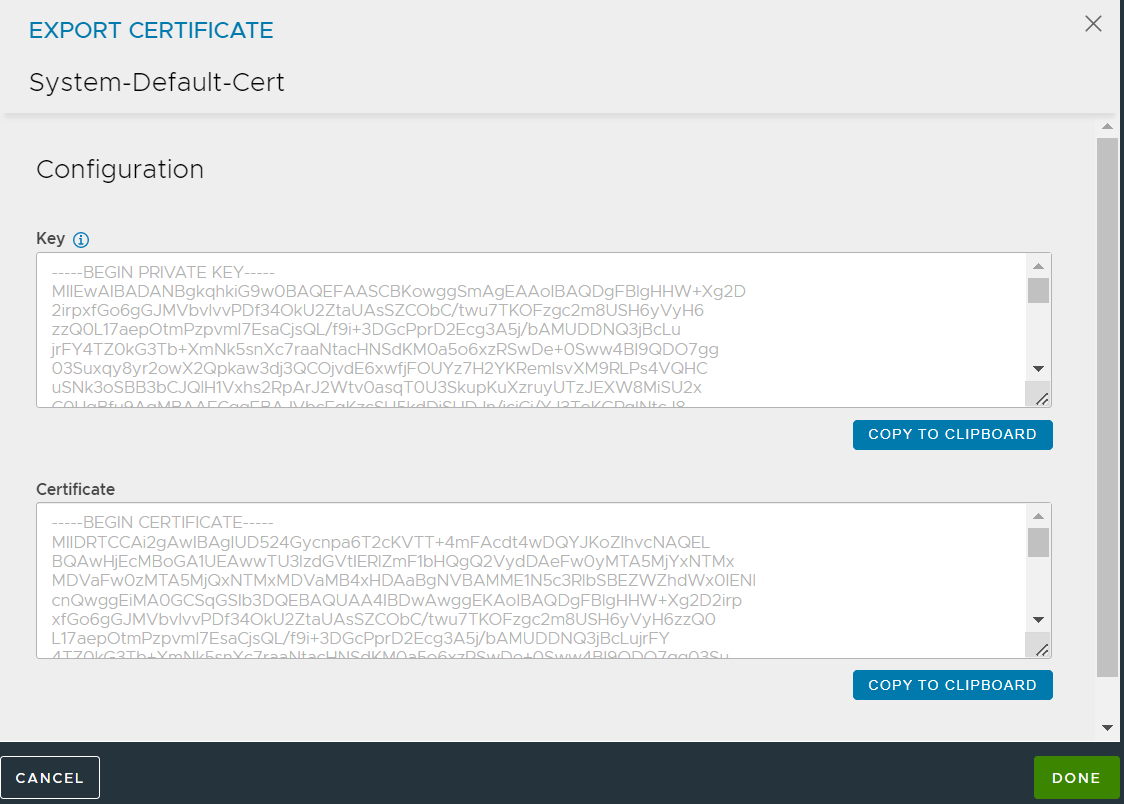
Configure using OpenSSL
Run the following command in OpenSSL to check the expiration date of the certificate.
openssl x509 -in system-default.cer -noout -enddate
Run the following command to generate a new CSR with the
system-default.key.openssl req -new -key system-default.key -out system-default.csr
Run the following command to generate a new certificate with the new expiration date. In this example, the new certificate is named as
system-default2.cer.openssl x509 -req -days 365 -in system-default.csr -signkey system-default.key -out system-default2.cer
Verify the expiration date on the new certificate
(system-default2.cer).openssl x509 -in system-default2.cer -noout -enddate
Configure using Avi Load Balancer CLI and UI
Copy the
system-default2.cerand thesystem-default.keyto the Controller.Optional Step: Before performing the next steps, you can deactivate any virtual services that are configured to use the
System-Default-Cert.Log in to the CLI, and execute the following command to perform the changes for the default certificate on Avi Load Balancer (System-Default-Cert).
[admin:cntrl1]: > configure sslkeyandcertificate System-Default-Cert
Execute the certificate command and click Enter. Run certificate file <path to system-default2.cer>/system-default2.cer. Enter the save command to save the changes.
[admin-cntrl1]: sslkeyandcertificate> certificate
[admin-cntrl1]: sslkeyandcertificate:certificate> certificate file:<path to system-default2.cer>/system-default2.cer
[admin-cntrl1]: sslkeyandcertificate> save
Enter the key file <path to system-default.key>/system-default.key. Enter the save command.
[admin-cntrl1]: sslkeyandcertificate> key file:<path to system-default.key>/system-default.key
[admin-cntrl1]: sslkeyandcertificate> save
Enable the virtual services if they were deactivated before the changes (optional).
Log in to the UI, navigate to and check the expiry date for the renewed certificate.
