This section explains the steps to create Avi Load Balancer cloud of type Google Cloud Platform (GCP). It spawns the Service Engines in the configured GCP project, zone, and VPC. The Service Engines will start load balancing the workloads in GCP.
To create the Avi Load Balancer Cloud of type GCP,
Procedure
- Log in to the Controller using your credentials.
- From the Avi Load Balancer UI, navigate to .
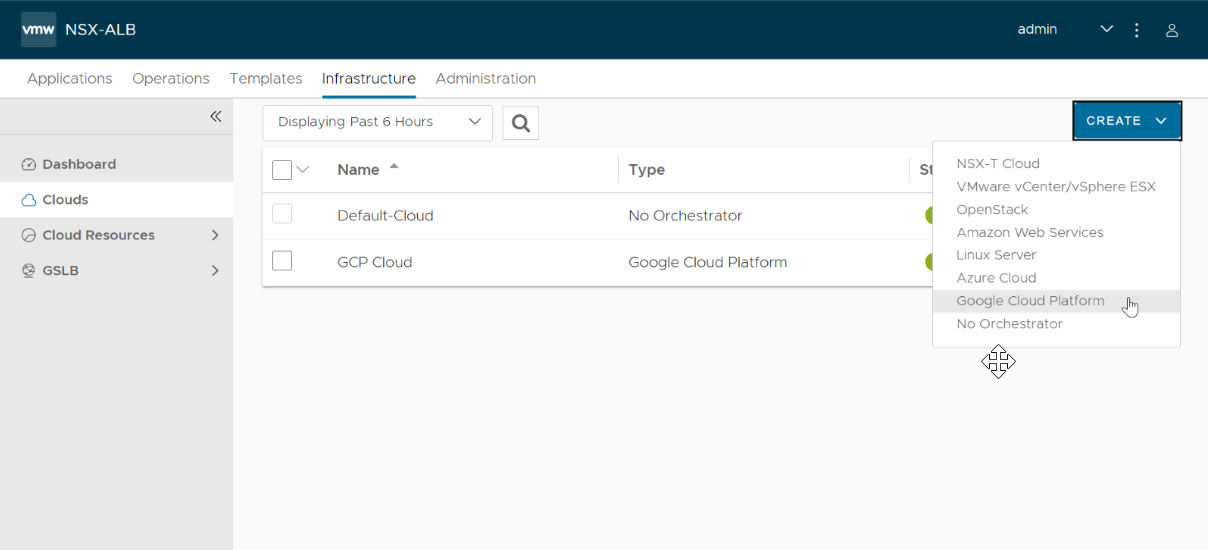
- Click Create and select the cloud.
- Under Step 1: Select Cloud tab,
- Enter a Name for the cloud.
- Select Google Cloud Platform as Cloud Infrastructure Type.
- Click Next.
Starting with Avi Load Balancer version 22.1.3, the following UI is available:
- Navigate to and click .
- Under Step 2: General tab in the New Cloud screen, enter information related to the GCP Service Engine project, service account, and IPAM configuration for allocation of VIPs.
To create an IPAM provider which will be required to allocate VIP from the Avi Load Balancer internal network, refer to Creating an IPAM Provider.
- Enter the Service Engine Project ID. This is the GCP project ID where the Service Engines will be created. If you are using the Controller virtual machine service account, click Use Controller Virtual Machine Service Account box.
- Select the credentials from the Google Cloud Credentials drop-down list to configure GCP API Access. You can also create a new credential.
- Click Next.
- Under Step 3: Location/Network tab, configure the region and zones where Service Engines must be deployed. Configure the Service Engine image and the network settings as shown below:
- Select the GCP Service Engine Region where the Service Engines will be deployed.
- Select the Zones from the selected region. The Service Engines will be distributed among the selected zones.
Note:
It is recommended to have more than one zone for Service Engine High Availability.
- Enter the GCP project ID where the VPC is present, in the VPC Project ID field. By default, the Service Engine Project ID is used.
- Select the VPC network in the network project.
- Select the subnet (from which the management IP of Service Engines will be allocated) in the VPC network.
- Firewall Target tags will be applied on the Service Engine virtual machines to allow the ingress and egress traffic to the Controller, other Service Engines, and virtual services.
- Enter Cloud Storage Project ID in which Avi Load Balancer will create the bucket to upload the SE image in GCP.
Note:
By default, the Service Engine Project ID is used.
- Enter the Cloud Storage Bucket Name.
Note:
Cloud Storage Bucket Name is required only in the cases where the service account does not have the permissions to create a bucket in the Google Storage Project.
If the service account has permissions to create the bucket in the Google storage project as described in the Authentication section, the Avi Load Balancer creates the bucket while creating the SE image in GCP and deletes the bucket once the image is created.
- Click Complete.
Results
The Controller validates the configuration and starts creating the Service Engine image in the SE project. After the image is successfully uploaded, the Avi Load Balancer cloud becomes ready for virtual service creation.


