


You can change or customize settings following initial deployment using the Avi Load Balancer Controller’s web interface.
Navigate to the Controller on your browser, and follow the steps below.
While the system is booting up, a blank web page or a 503 status code may appear. Wait for about 5 to 10 minutes, and then follow the instructions below:
Step 1: Configure the Basic System Settings
Configure the basic system settings as follows:
Administrator account
DNS and NTP server information
Email or SMTP information
Multi tenant information
After specifying the necessary details, click Save. The Controller window will be displayed.
Step 2: Configure the VMware vCenter/ vSphere ESX Cloud
Configure the VMware vCenter/ vSphere ESX cloud by navigating to . Click CREATE and select VMware vCenter/vSphere ESX option from the drop-down menu.
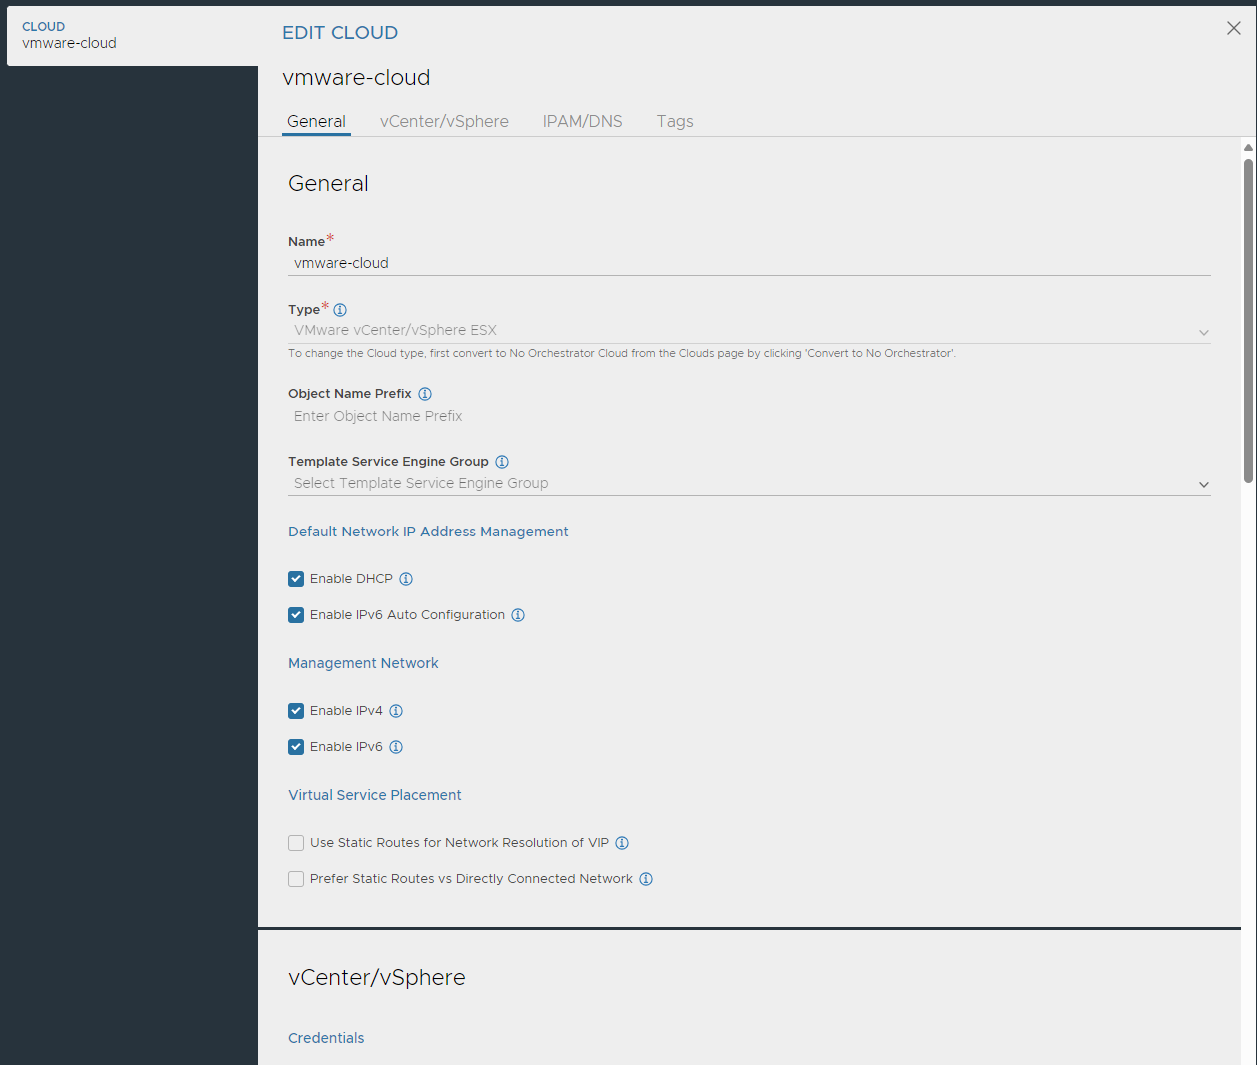
Name: Specify the name of the cloud.
Type: The system displays the name of the selected cloud. You can amend the type by selecting the required cloud from the drop-down menu.
Object Name Prefix: Specify the default prefix for all the objects created in this cloud. This prefix can be overridden by the SE Group template.
Default Network IP Address Management
Select Enable DHCP and Enable IPv6 Auto Configuration checkbox accordingly.
Management Network
Select Enable IPv4 checkbox to enable IPv4 on the management interface of the Service Engine.
Select Enable IPv6 checkbox to enable IPv6 on the management interface of the Service Engine.
v6 IPAM for SE Management Network is supported.
Virtual Service Placement
Select Use Static Routes for Network Resolution of VIP checkbox to use static routes for VIP side network resolution during virtual service placement.
Select Prefer Static Routes vs Directly Connected Network checkbox to prefer static routes over interface routes during virtual service placement.
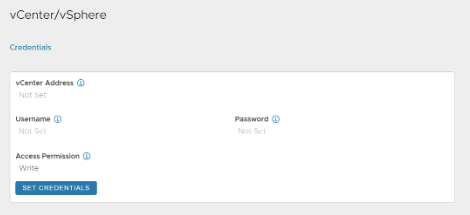
vCenter/ vSphere: Configure vCenter credentials by specifying the vCenter address, user name and password. Click Connect and then specify the data center value.
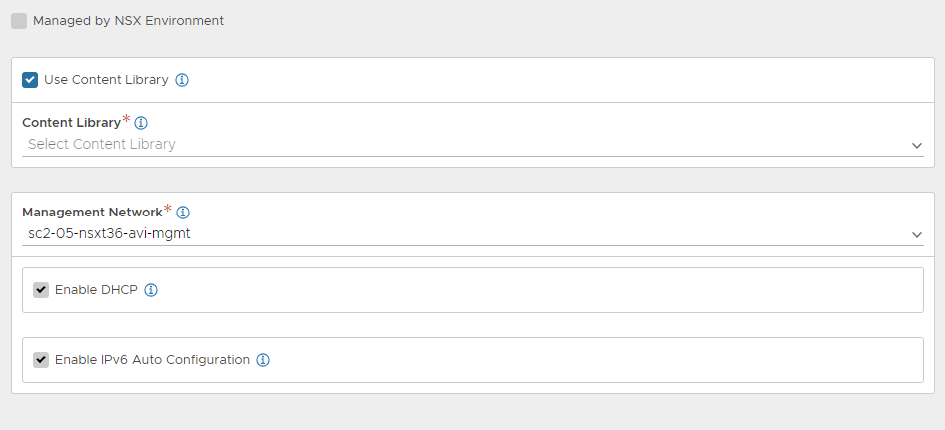
Select the Content Library checkbox and click SAVE & RELAUNCH.
The Management Network will be enabled after saving and relaunching.
You cannot edit the network object. You can add the default gateway on the management VRF context object. Any change in the network object needs to be done through the Networks modal.
Select the network which is already discovered. The Enable DHCP and Enable IPv6 Auto Configuration fields will be selected. You cannot amend these two fields.
If Enable DHCP field is not selected, then the option to enter an IPv4 default gateway will be displayed. Similarly, if Enable IPv6 Auto Configuration is not selected, then the option to enter the IPv6 default gateway will be displayed.
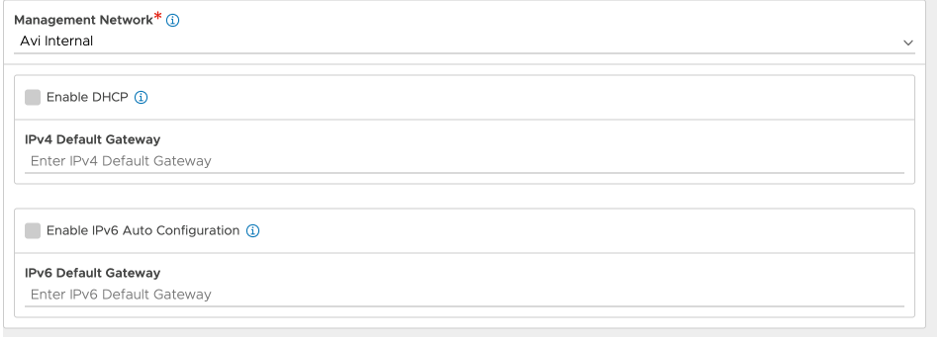
You can choose to configure either the IPv4 default gateway or just the IPv6 default gateway or both.
You can also provide the IPAM and DNS details as per configuration requirements.
Click Save.
One vNIC out of the 10 Avi Load Balancer Service Engine vNIC is for management network connection. The other nine vNICs are data vNICs.
For a new Service Engines deployed, the nine data vNICs will also be attached to the management port-group (Network) in the disconnected state.
Avi Internalport-group will not be used for new Service Engines. The Service Engines upgraded from earlier versions to 22.1.1 will still retain theAvi Internalport-group, but post any vNIC update (removal/ additional), the updated vNIC will be attached to Avi Load Balancer SE management port-group (Network).Ensure that you have appropriate number of unused ports in the port-group allocated as Service Engine Management Network.
For IP allocation method, enter a subnet address and a range of host addresses within the subnet, in the case of static address assignment. Avi Load Balancer will assign addresses from this range to the Avi Load Balancer Service Engine data interfaces.
If the management and pool networks use DHCP, the deployment procedure is complete with this step. For static IP address allocation, you need to configure an IP address pool.
