This section explains the configuration required in the IPv6 VIP with IPv6 and IPv4 Backend.
Procedure
Navigate to Applications > Virtual Services.
Click Create Virtual Service (Advanced Setup).
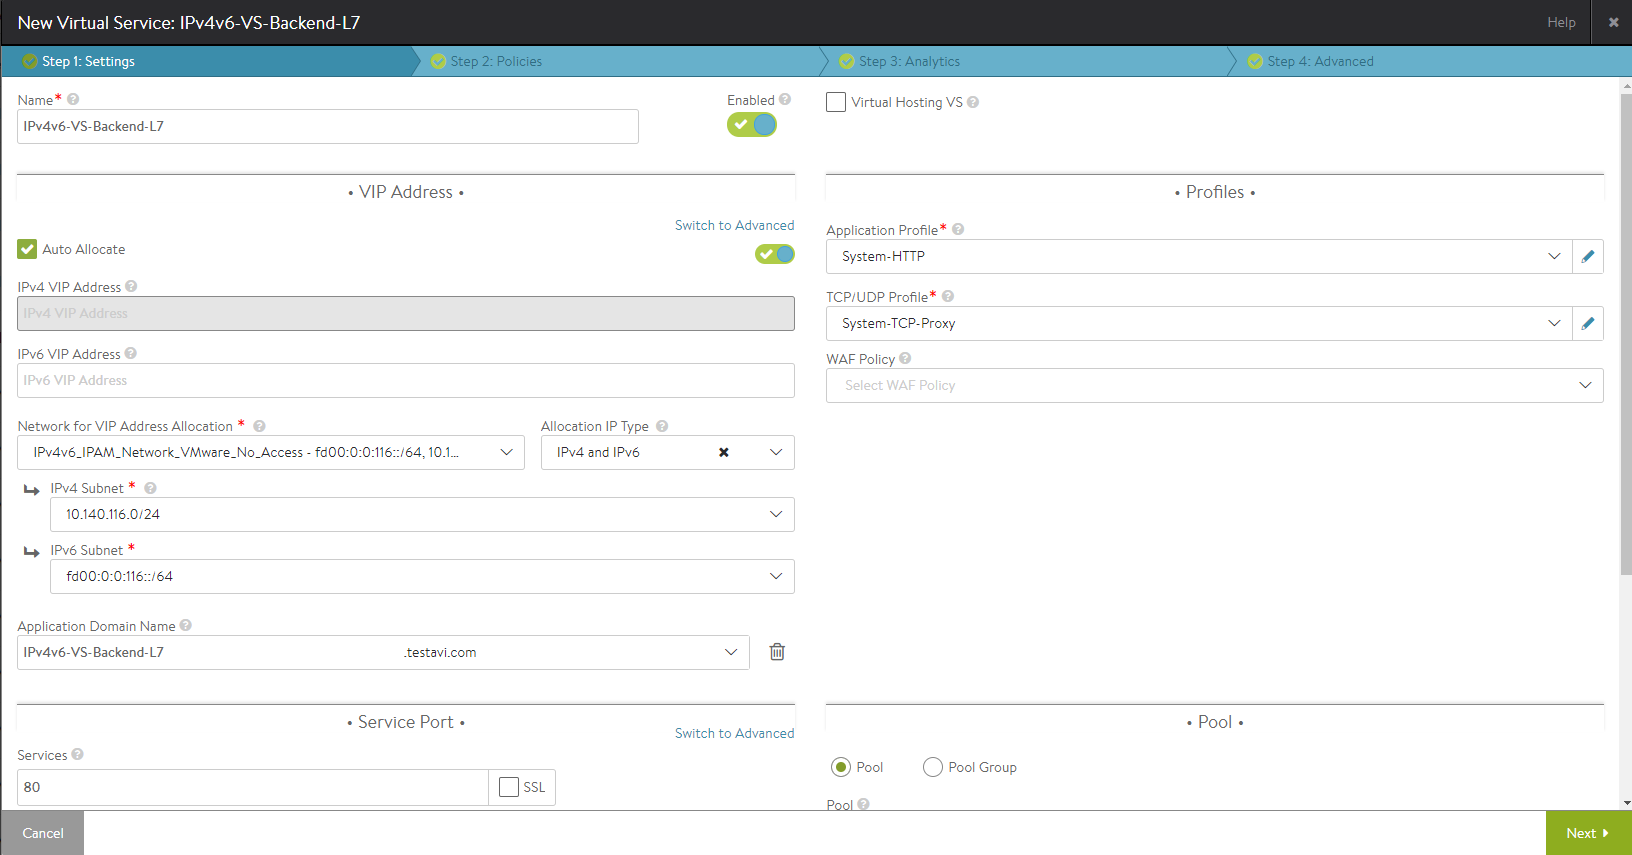
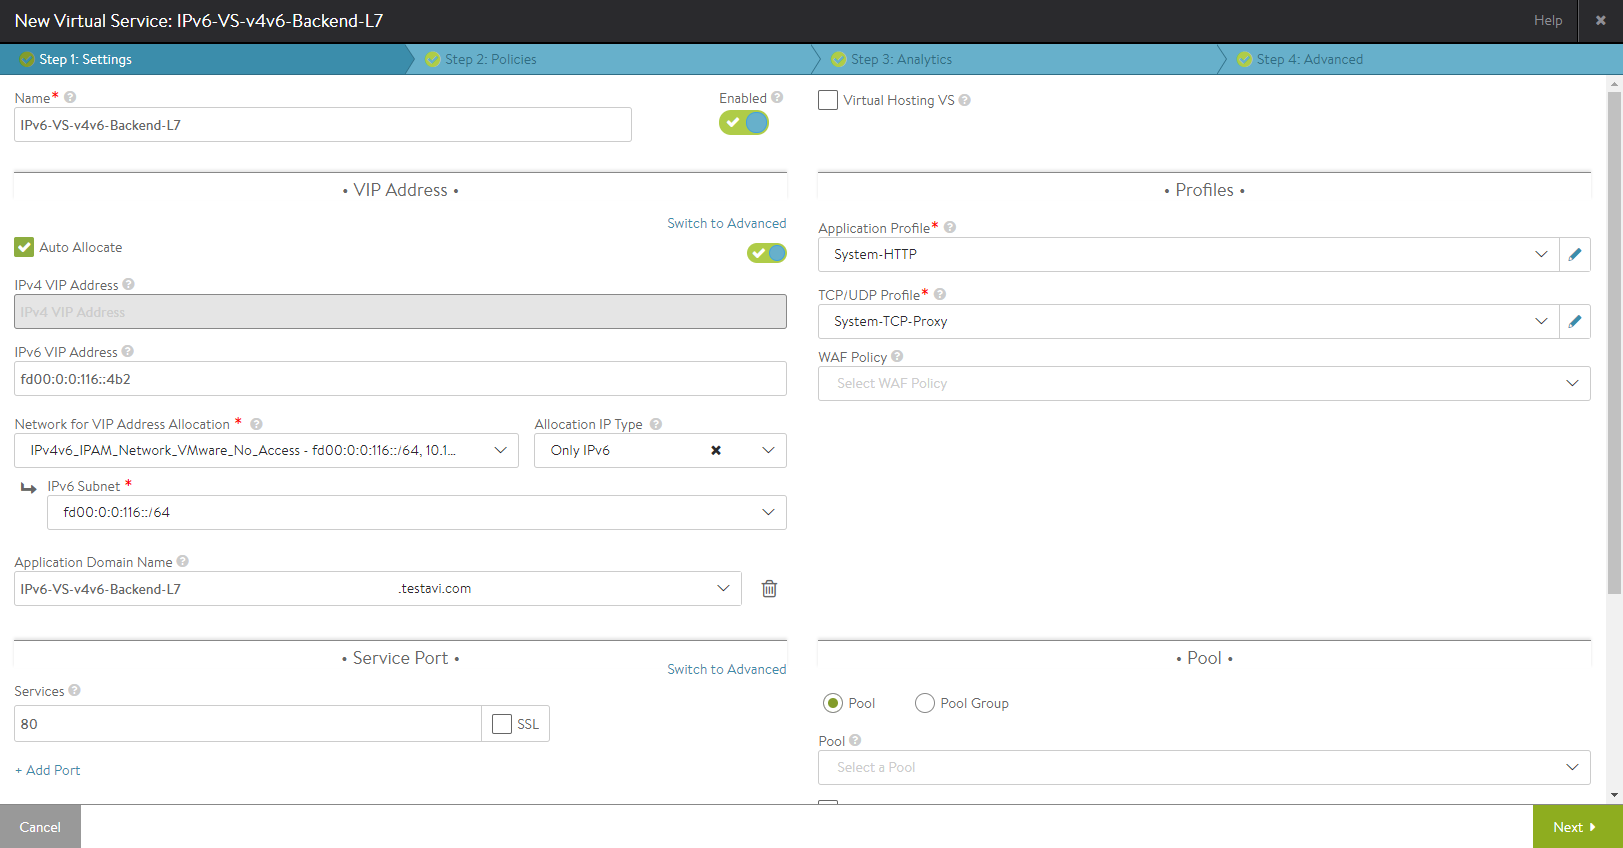
Choose the appropriate cloud and configure the virtual service details.
On choosing Auto Allocate, select Only IPv6 from the dropdown list for Allocation IP Type.
Select an appropriate network from the dropdown menu for Network for VIP Address Allocation.
Alternatively, without choosing Auto Allocate, you can manually enter the VIP address under the IPv6 VIP Address field.
Navigate though rest of the tabs and complete the configuration.
To configure an IPv4 and IPv6 backend pool:
Select Create Pool from the dropdown menu for Pool under the Pool section in the Settings tab for virtual service configuration (or)
From the main menu, navigate to Applications > Pools > and click Create Pool.
Choose the appropriate cloud and configure the pool details.
Under the Servers tab, enter the IPv4 server IP address under Server IP Address and click Add Server.
Additionally, enter the IPv6 server IP address and click Add Server.
Click on Next to navigate through rest of the tabs and complete the configuration.
Results
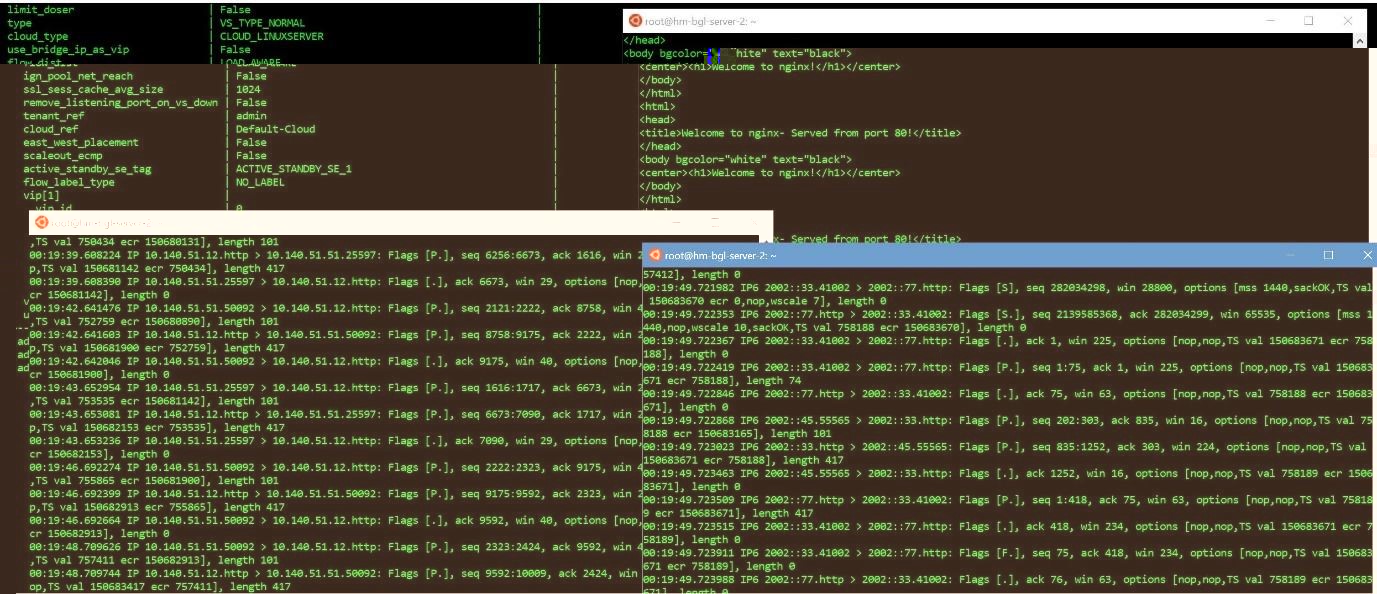
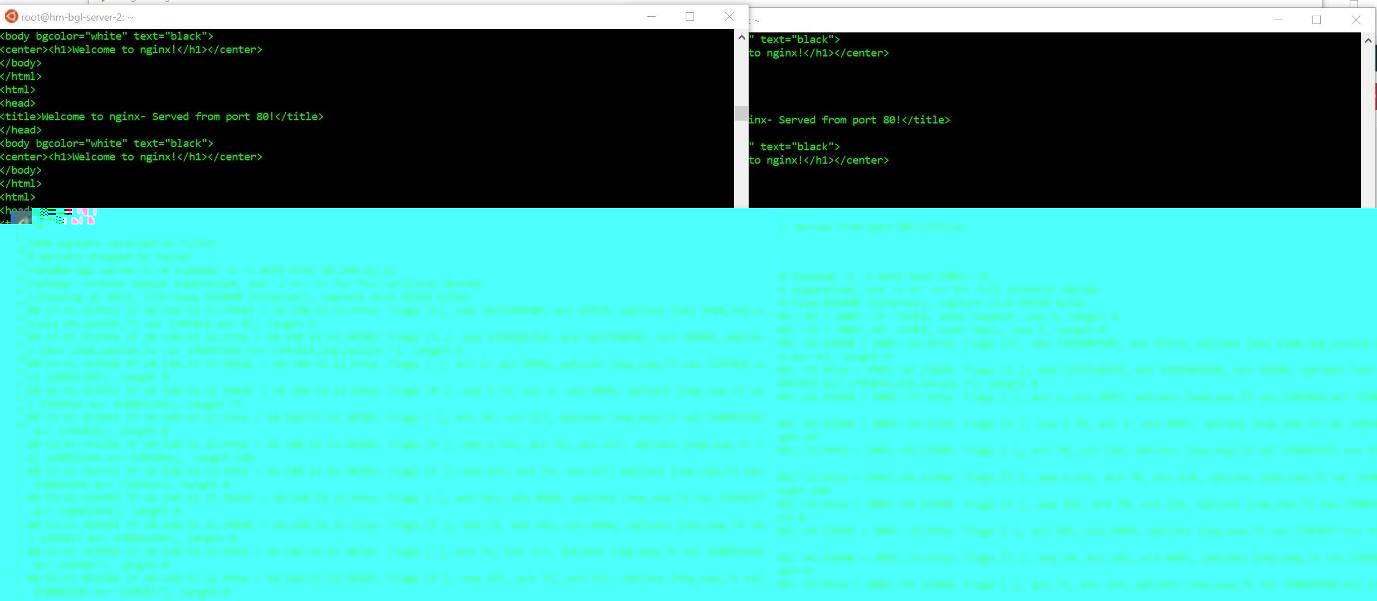
Now the virtual service should be up and you would be able to send traffic (ICMP, ICMPv6, Curl) to it from the clients.
Figure 1. Curl traffic to the virtual service. Servers are load balancing the traffic in a round robin fashion (for IPv6 VIP Type)
Figure 2. Associated health monitors seen on the right side with echo request and reply for ICMPv6