


Use the following steps to deploy an Aamzon EC2 instance.
Procedure
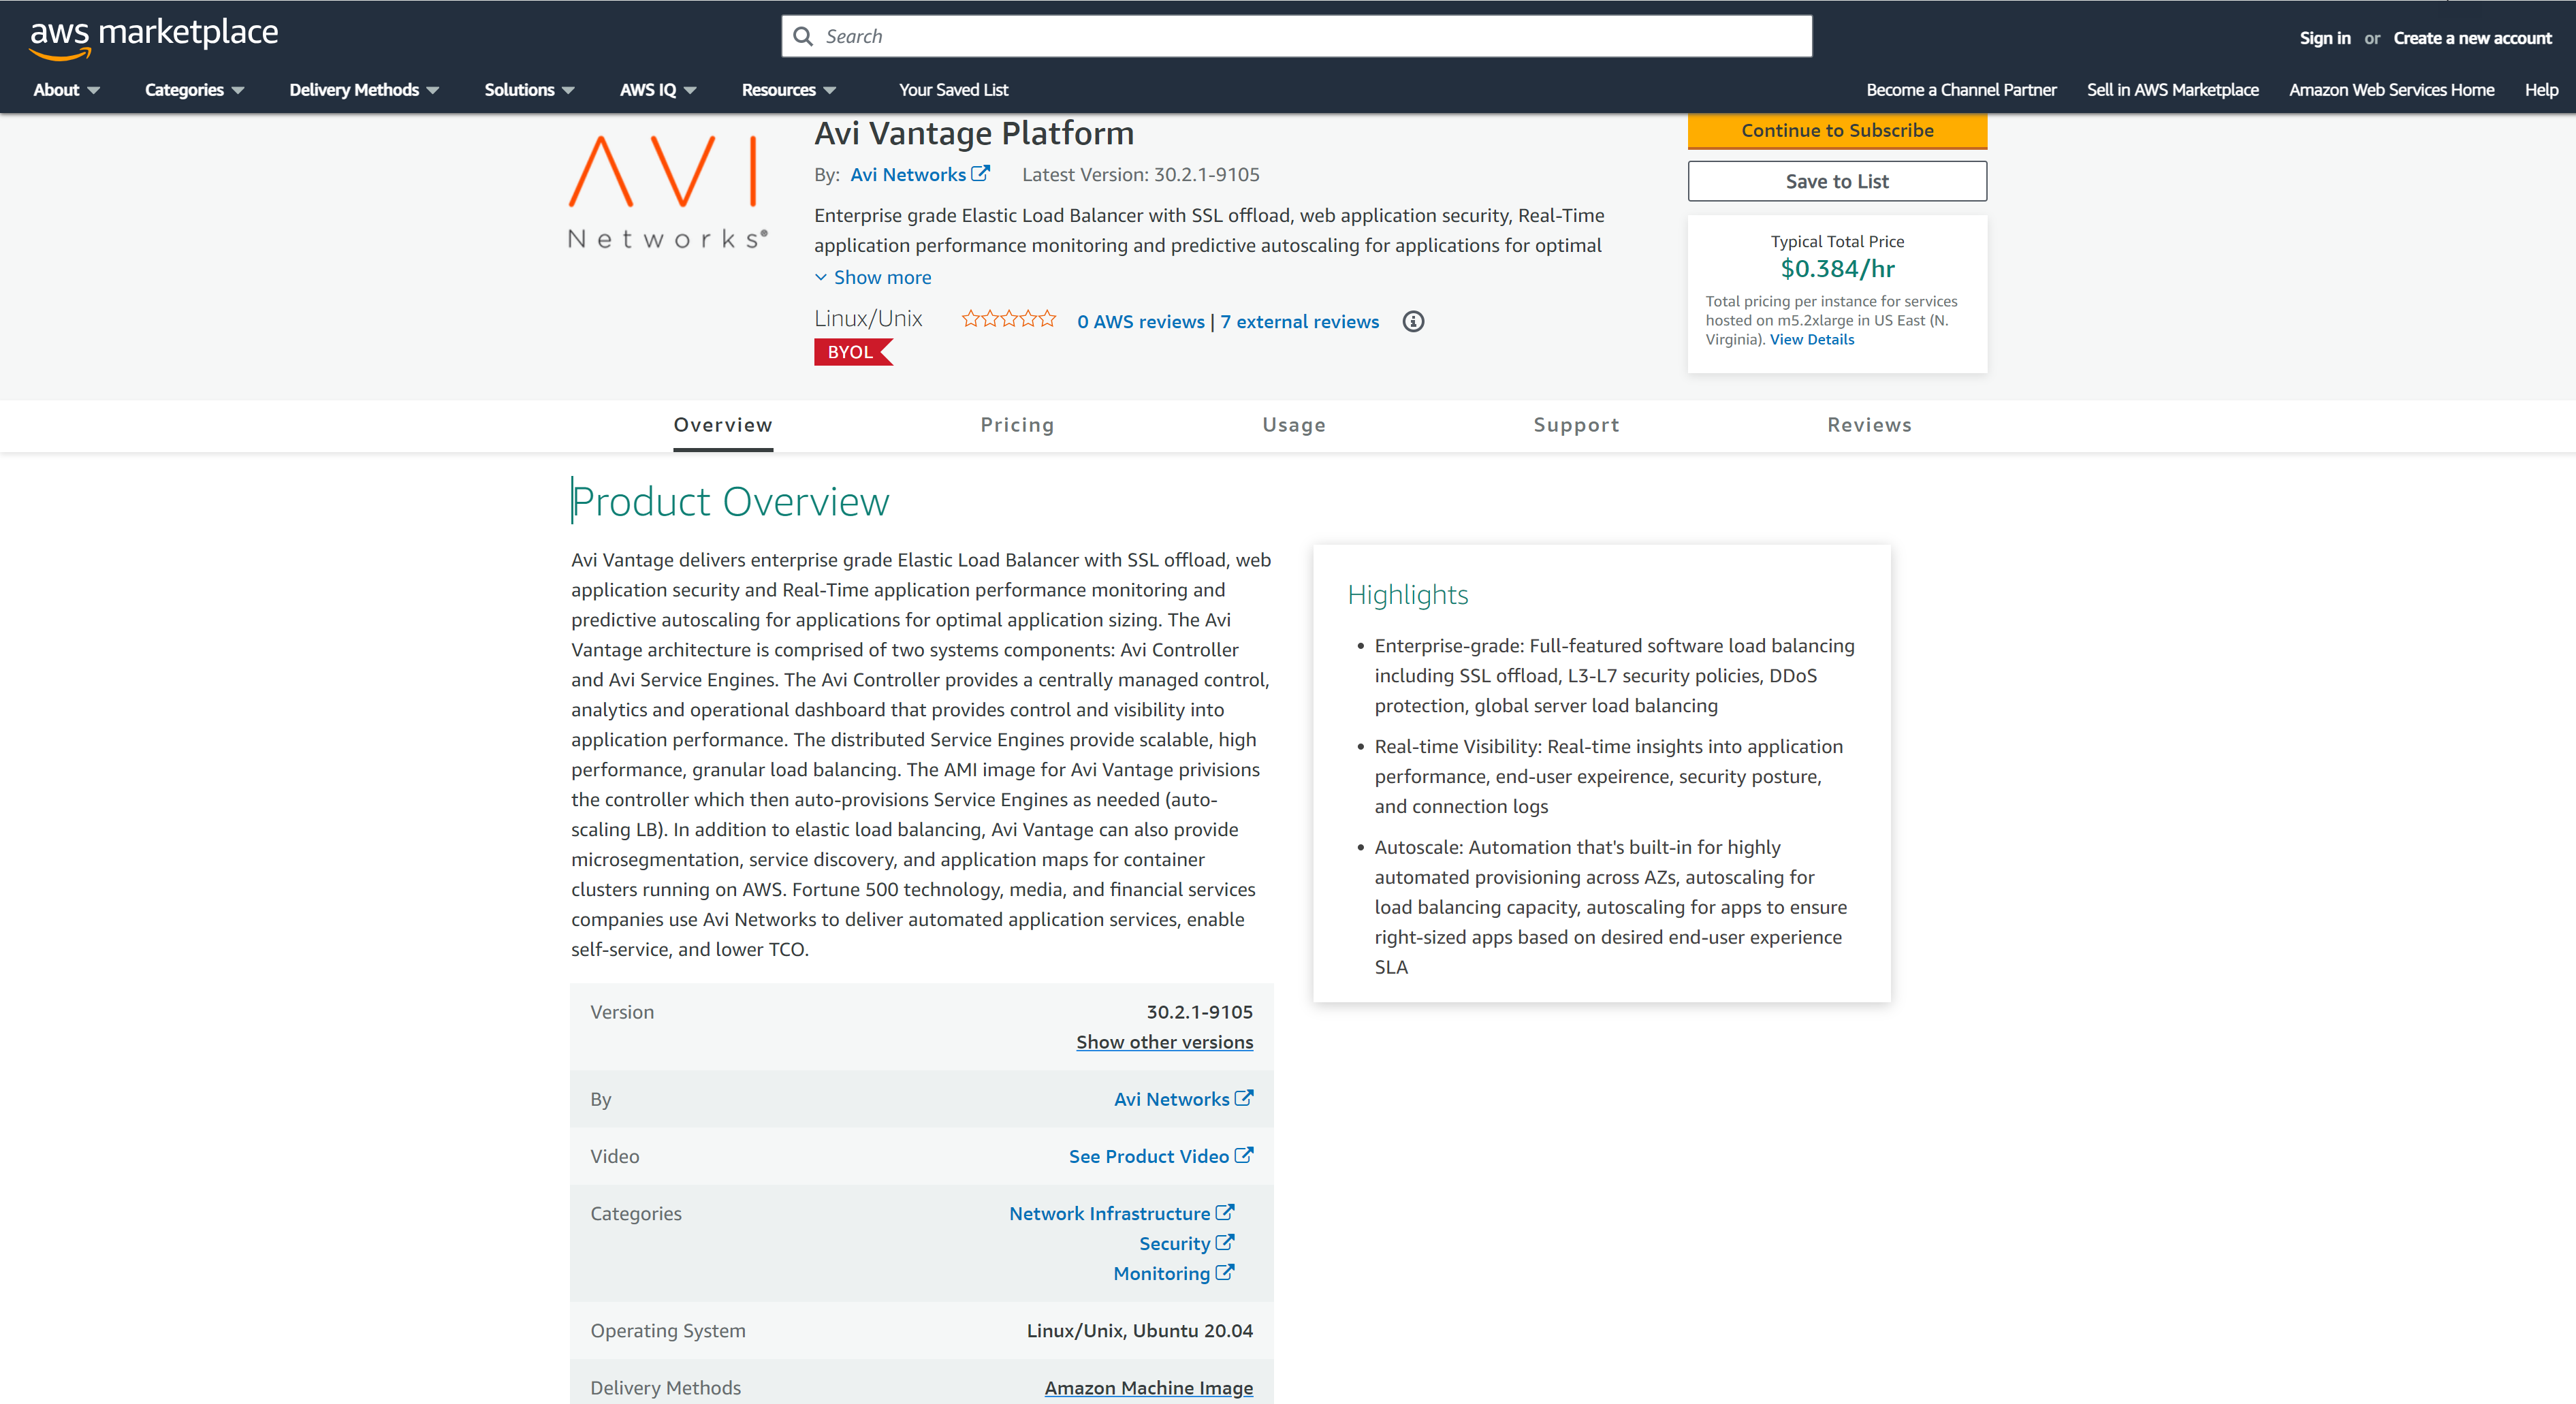
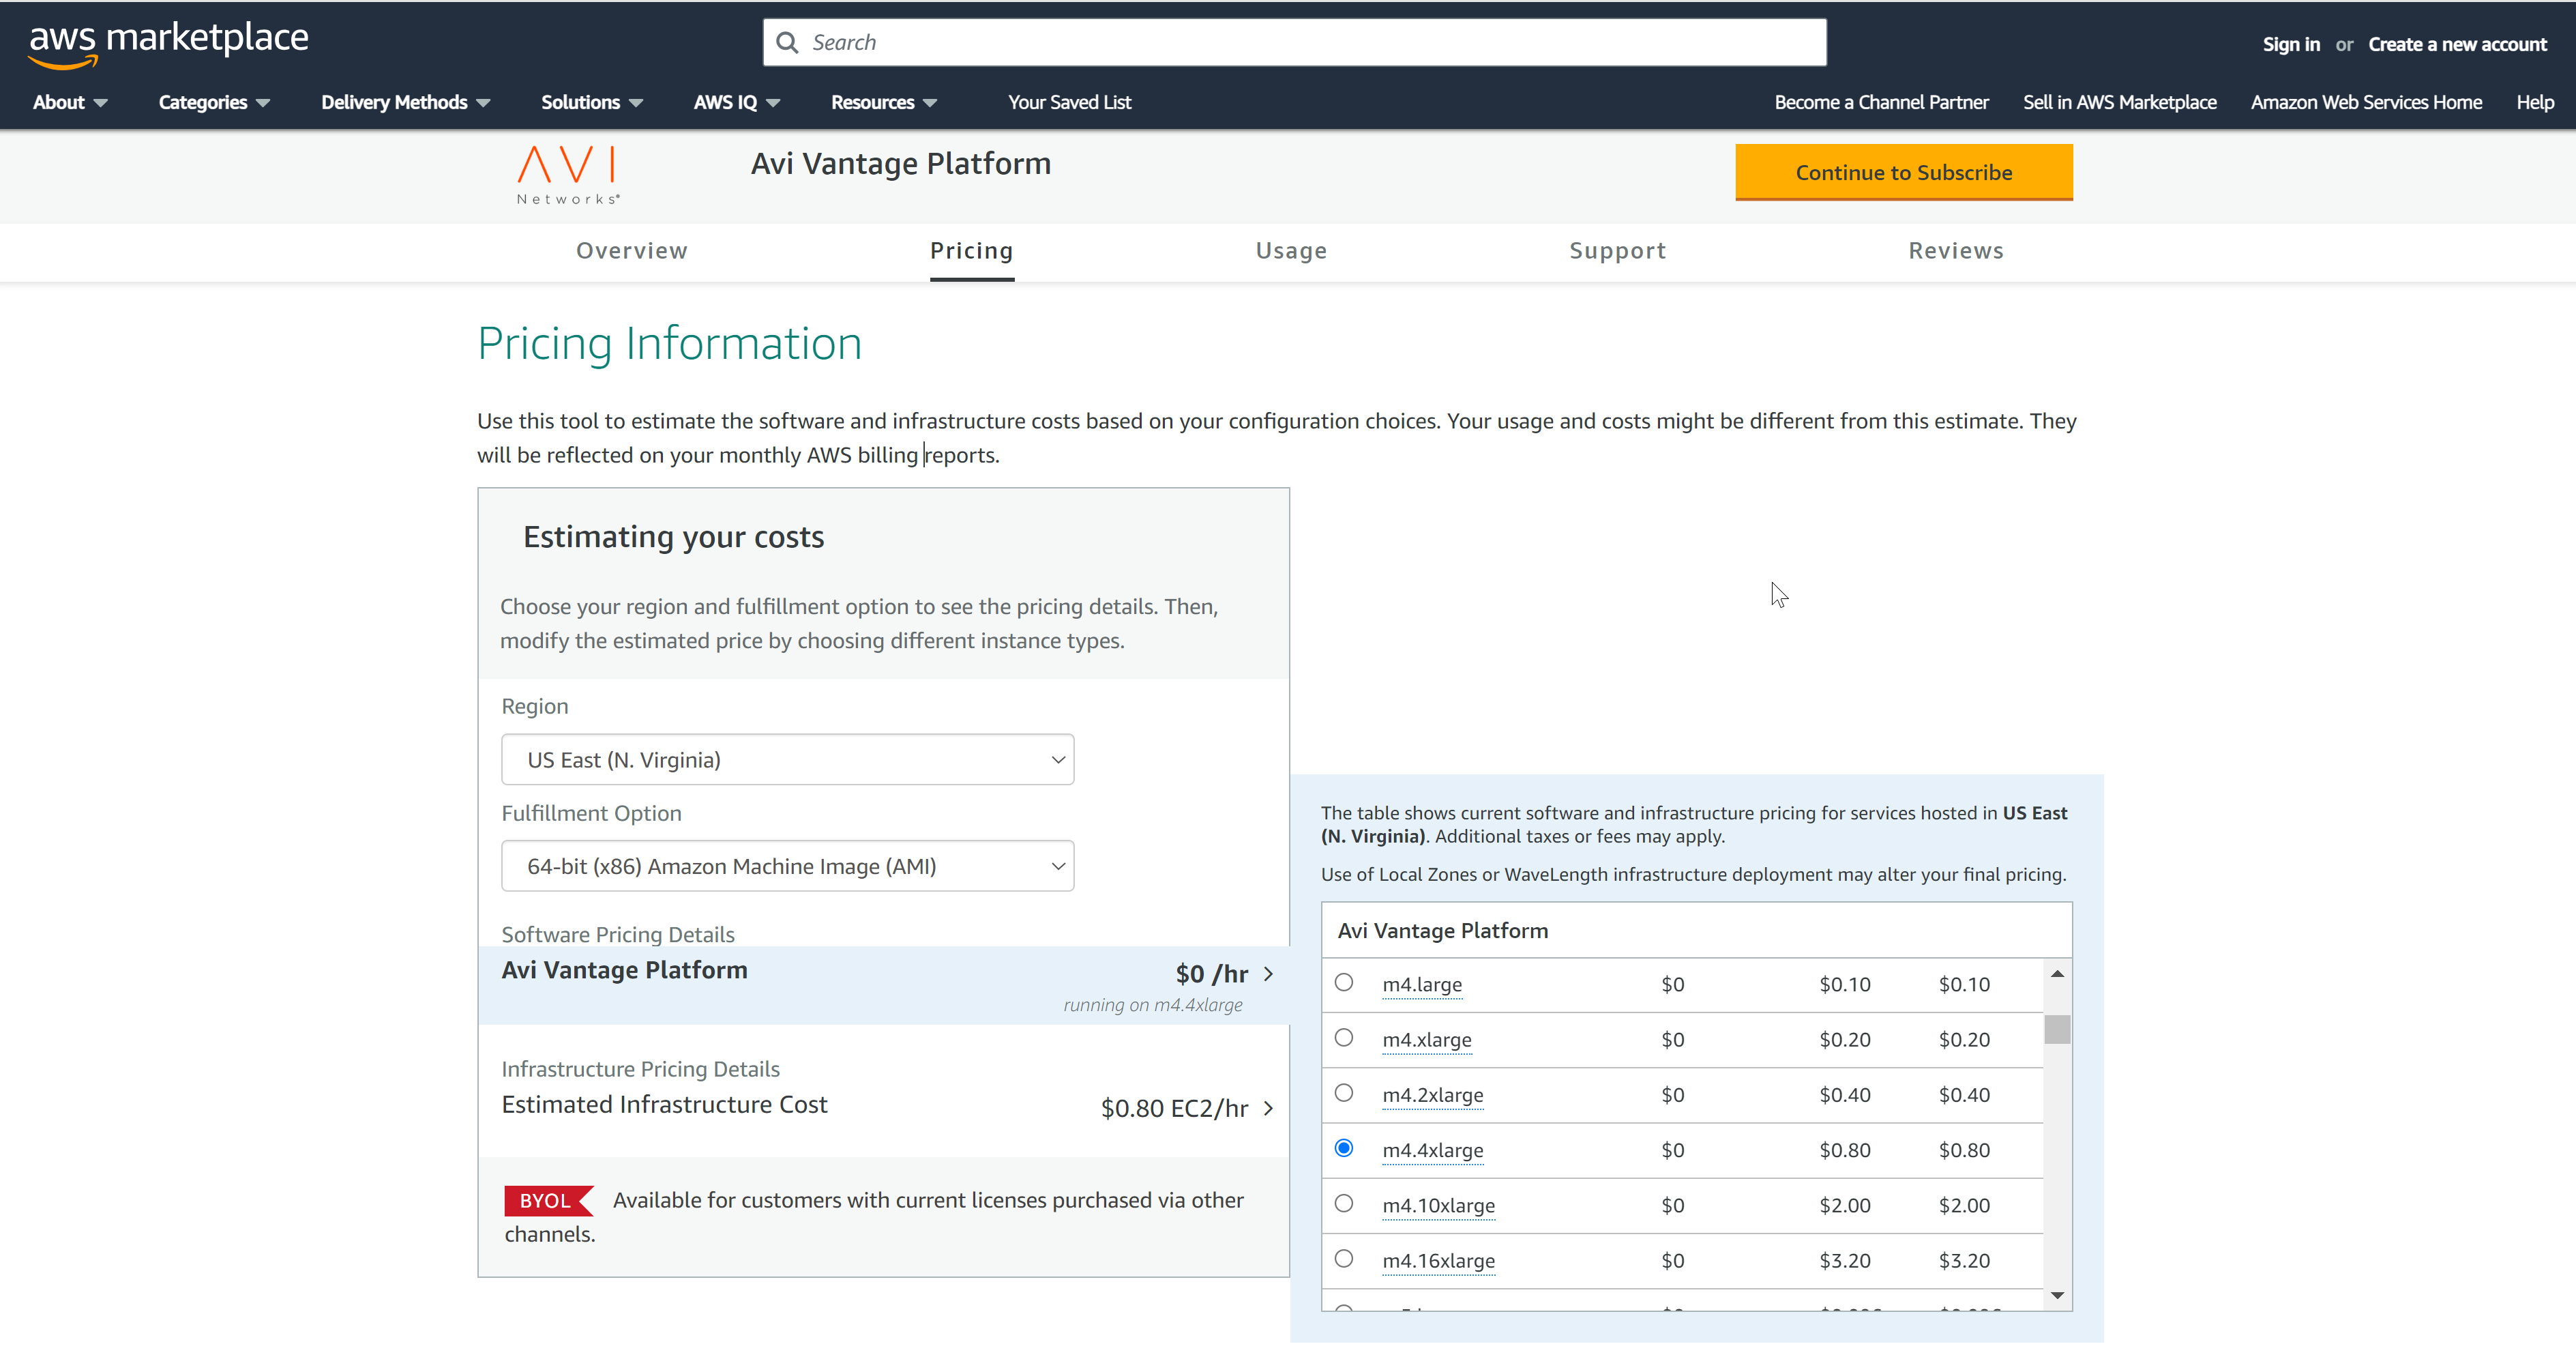
- Go to the Avi Load Balancer page on AWS Marketplace. Click Continue to start the AMI deployment process.
- You can either perform a 1-Click launch or a Manual Launch via the EC2 console, API, or CLI.
- Navigate to .

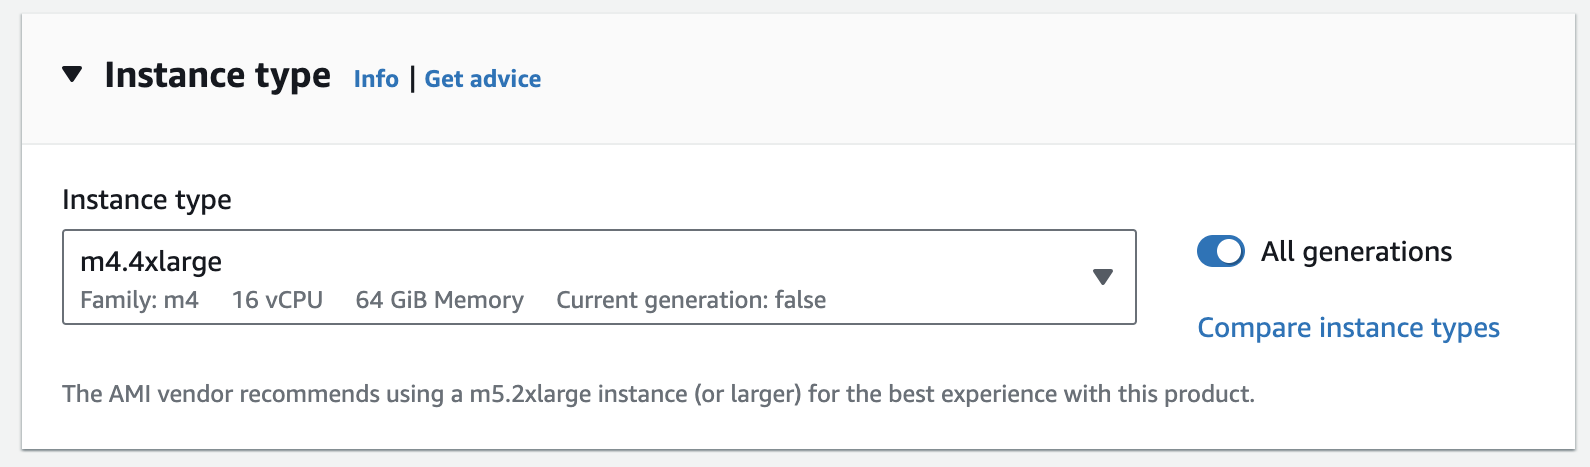
- Based on the deployment scale considerations, choose an appropriate instance type. Refer to the System Requirements section for minimum requirements and recommendations, and Avi Load Balancer Controller Sizing.
Note:
Starting with Avi Load Balancer 22.1.3, AWS IMDSv2 is supported for the deployment.
- Select the Key pair (login).
- If you do not have key pair, Click Create new key pair. Enter the details and click Create Key pair to download the key pair and change the permissions to “400” (chmod 400 “.pem”) to do SSH.
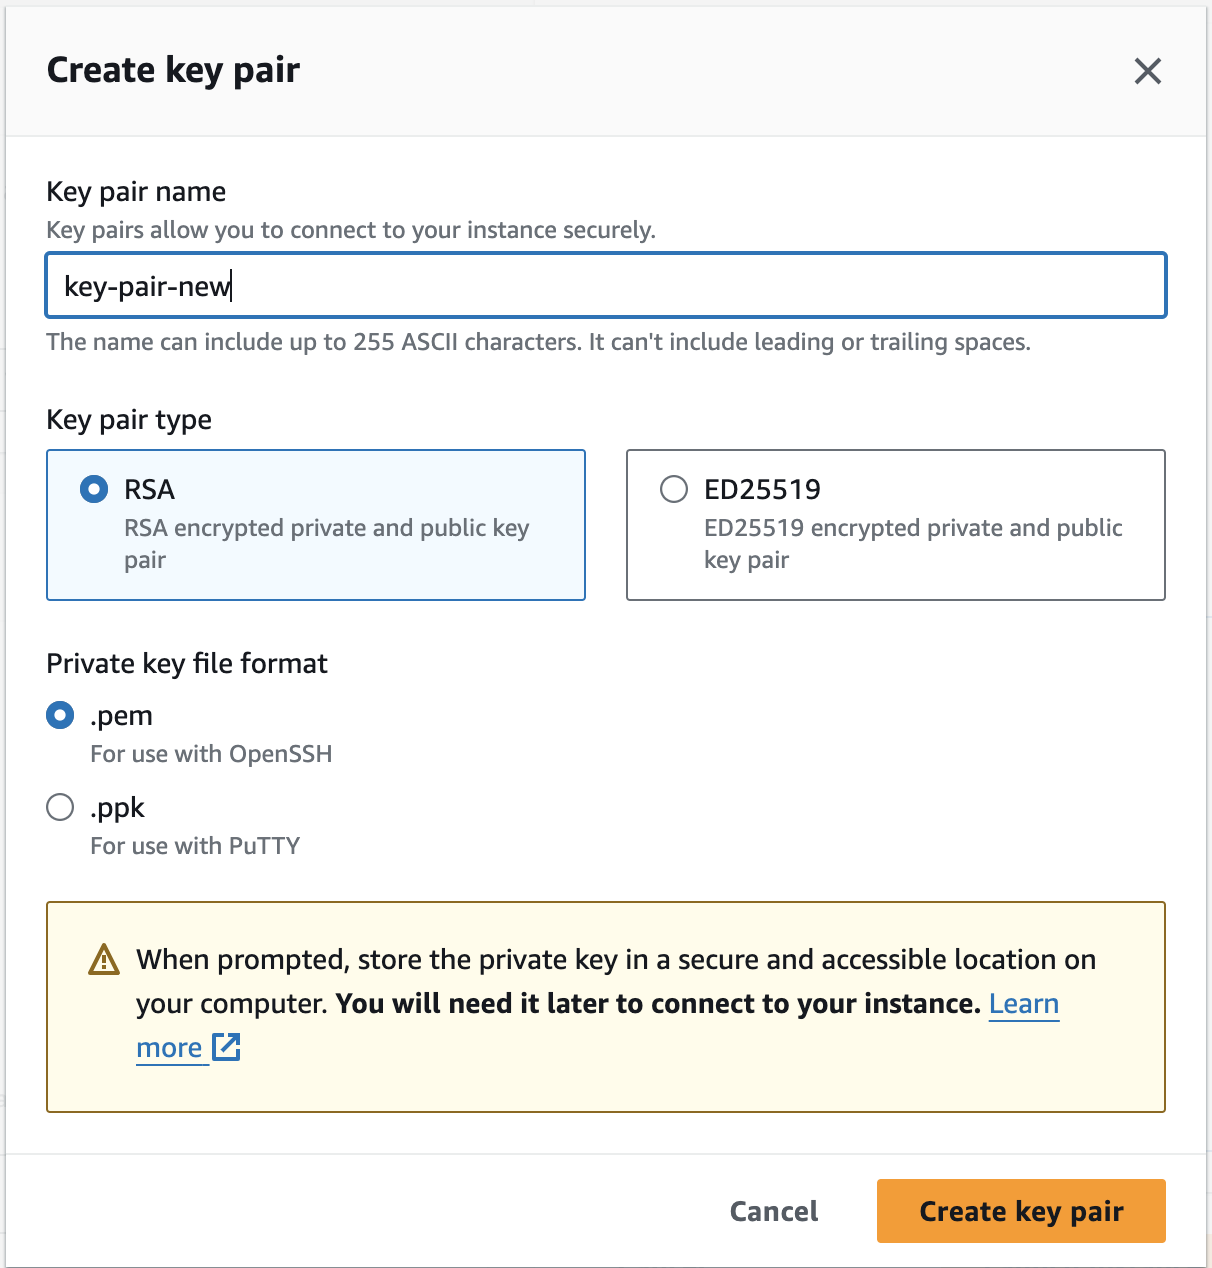
- If you have key pair, select a key pair name for AMI authentication.

- If you do not have key pair, Click Create new key pair. Enter the details and click Create Key pair to download the key pair and change the permissions to “400” (chmod 400 “.pem”) to do SSH.
- Under Network settings, select the appropriate VPC from the Network drop-down menu and select the network from the Subnet drop-down menu. This is the subnet in which the Controller will get the IP address for the management NIC. Also, select the Enable termination protection option.
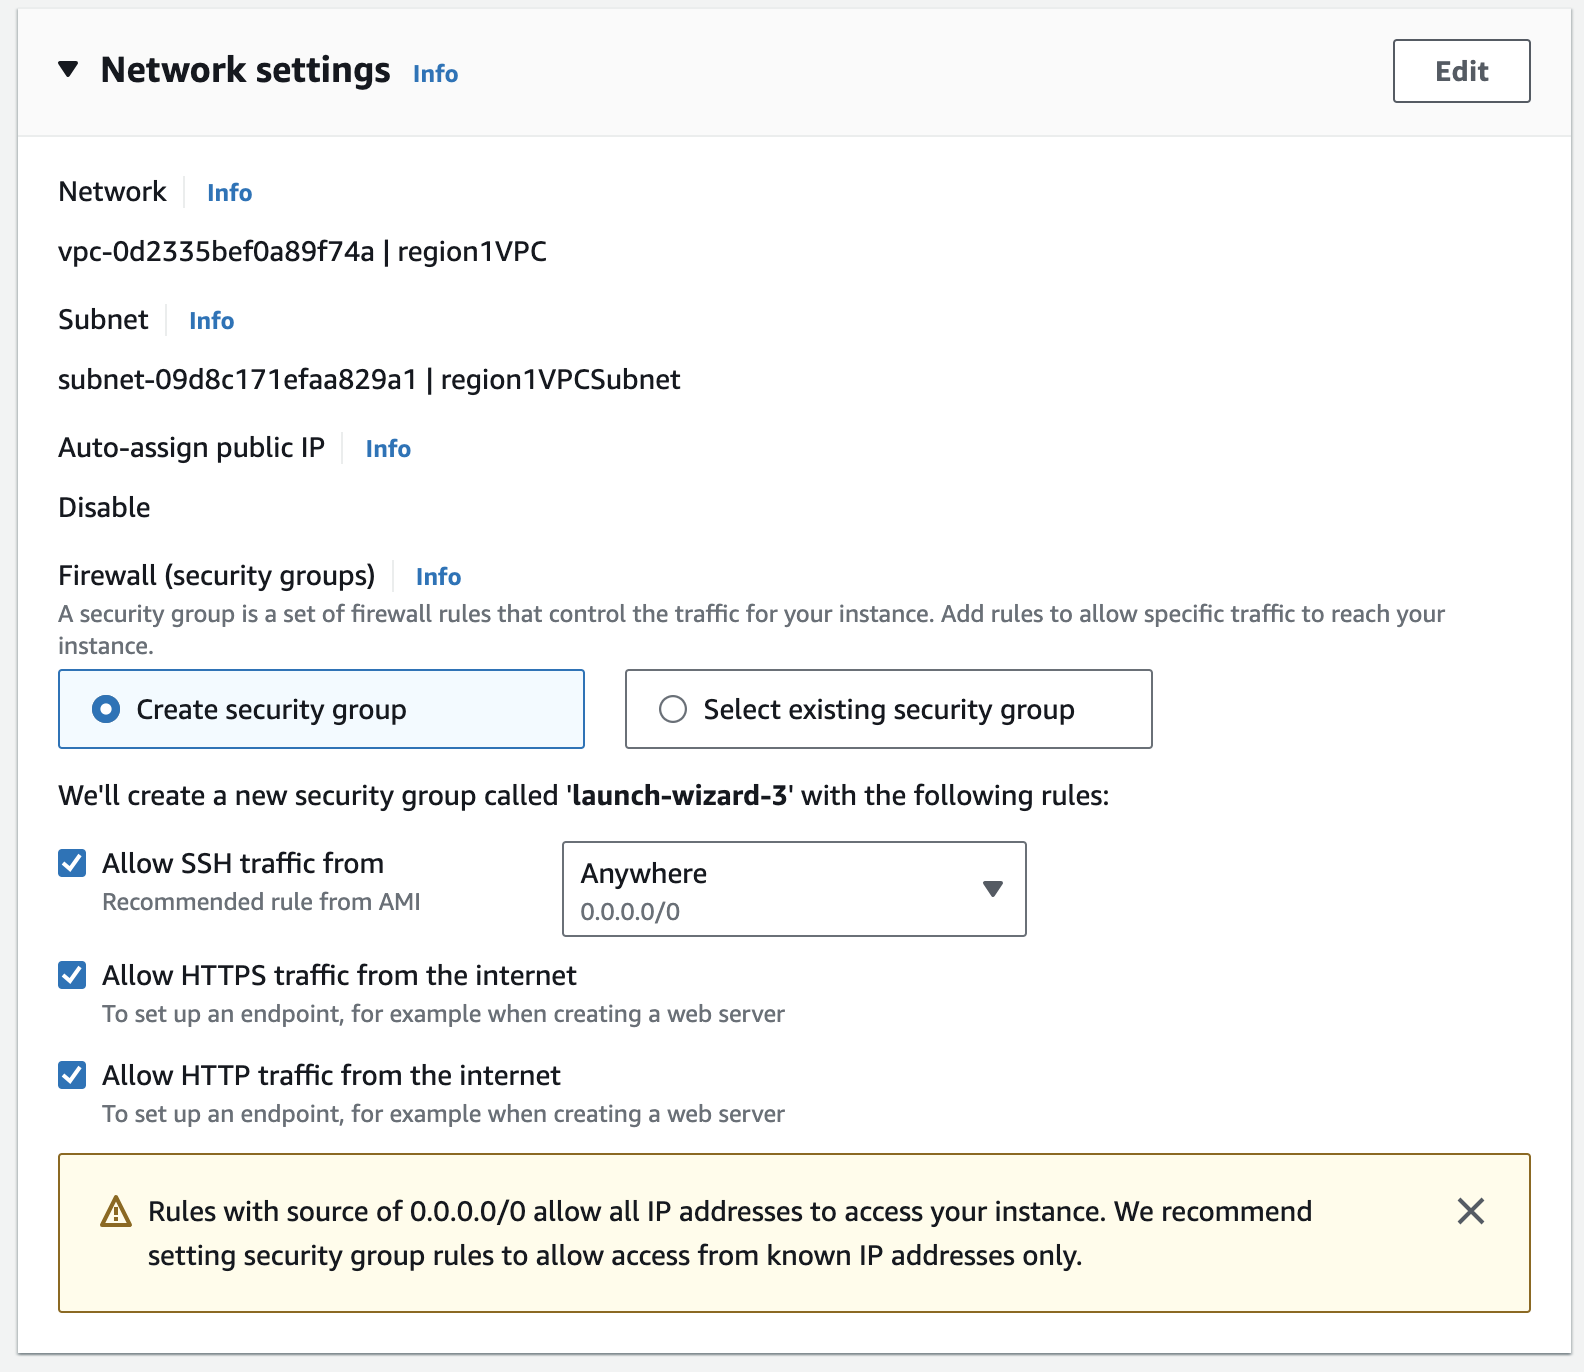
Note:If installing with an IAM role instead of an AWS customer account key, select IAM role if you have created as explained in Credential Method.
- Select Create security group or Select existing security group to allow traffic through the firewall and to allow communication between the Controller and the Service Engines (SEs). To know more, see Security Groups in AWS.
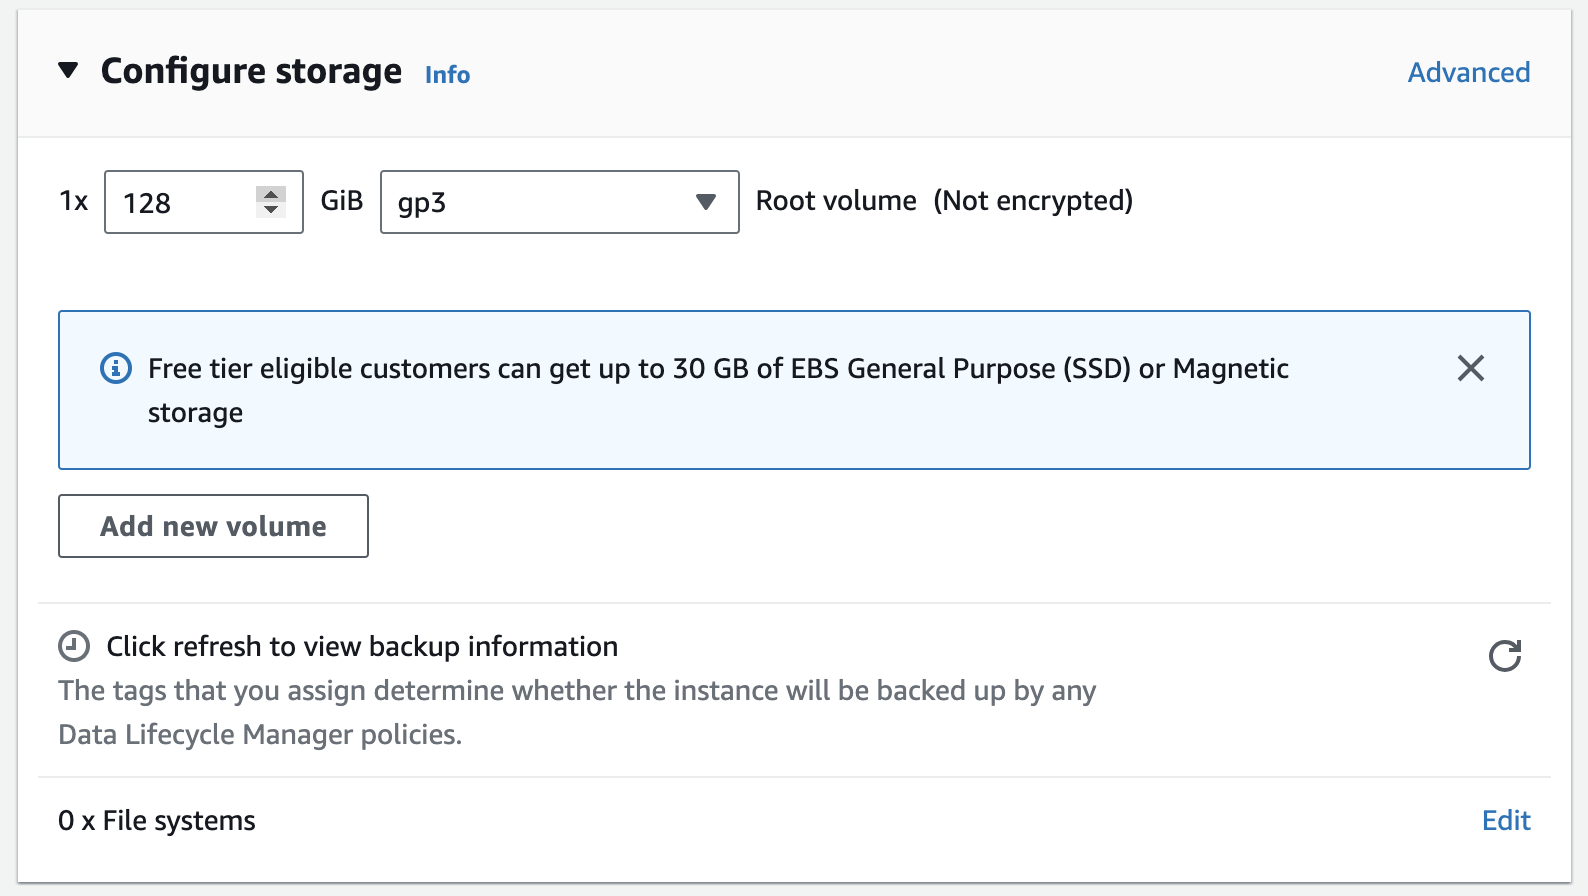
- In the Size (GiB) field, enter 128 to allocate 128 GB to the Controller instance. The value (128) depends on the Controller flavour and scale. Selecting SSD as the storage type enhances the responsiveness of the Controller web interface.
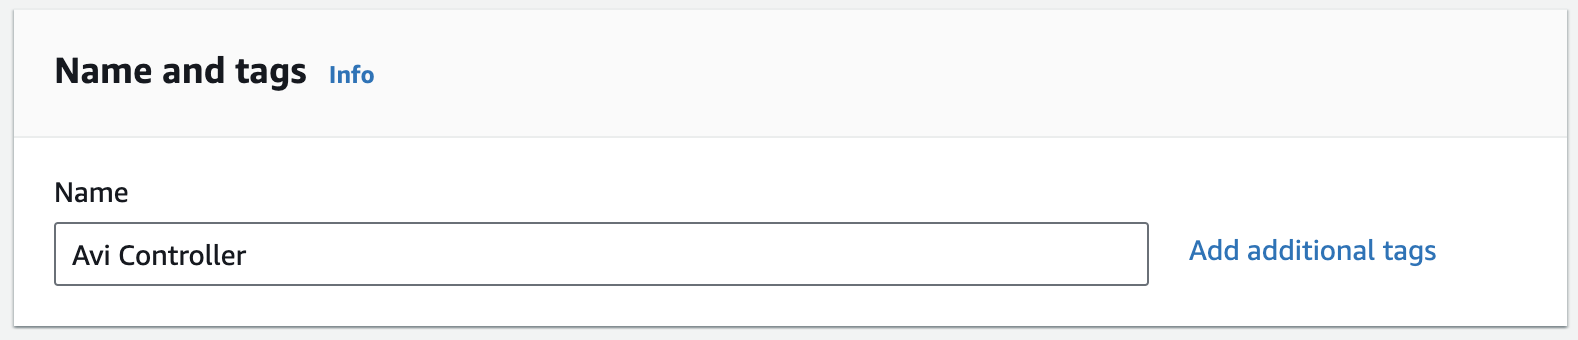
- Under Name and tags, enter a name for this Controller instance.
- Under Summary, review your EC2 instance, and click Launch instance.

