Load balancing for app volume manager can be achieved by configuring an L7 virtual service with HTTPS application profile.
App Volumes servers do not support connections for the same client originating from different source IP addresses. In the case where the virtual service is deployed as an Active/Active scale out, it is possible that multiple connections from the same client are processed by different Service Engines. As each Service Engine uses a distinct SNAT IP, the servers may see multiple connections for the same client with a different source IP, resulting in authentication failures. To address this issue, use either one of the options given below:
Use an Active/Standby Service Engine group when load balancing App Volumes
If native scale out is being used, configure the flow distribution algorithm to be based only the client IP address rather than the client IP and port through the CLI:
configure virtualservice <appvol-vs-name>
flow_dist flow_dist consistent_hash_source_ip_address
save
This option is only applicable in the case of native scale out. In the case where ECMP scaleout is used (for example with BGP), the distribution of flows across Service Engines is dependent on the ECMP hash algorithm used by the upstream router. If that hash is based on the full 5-tuple (source/destination IP/port/protocol), then this issue will be encountered.
Creating the App Volume Manager Pool
To create the pool,
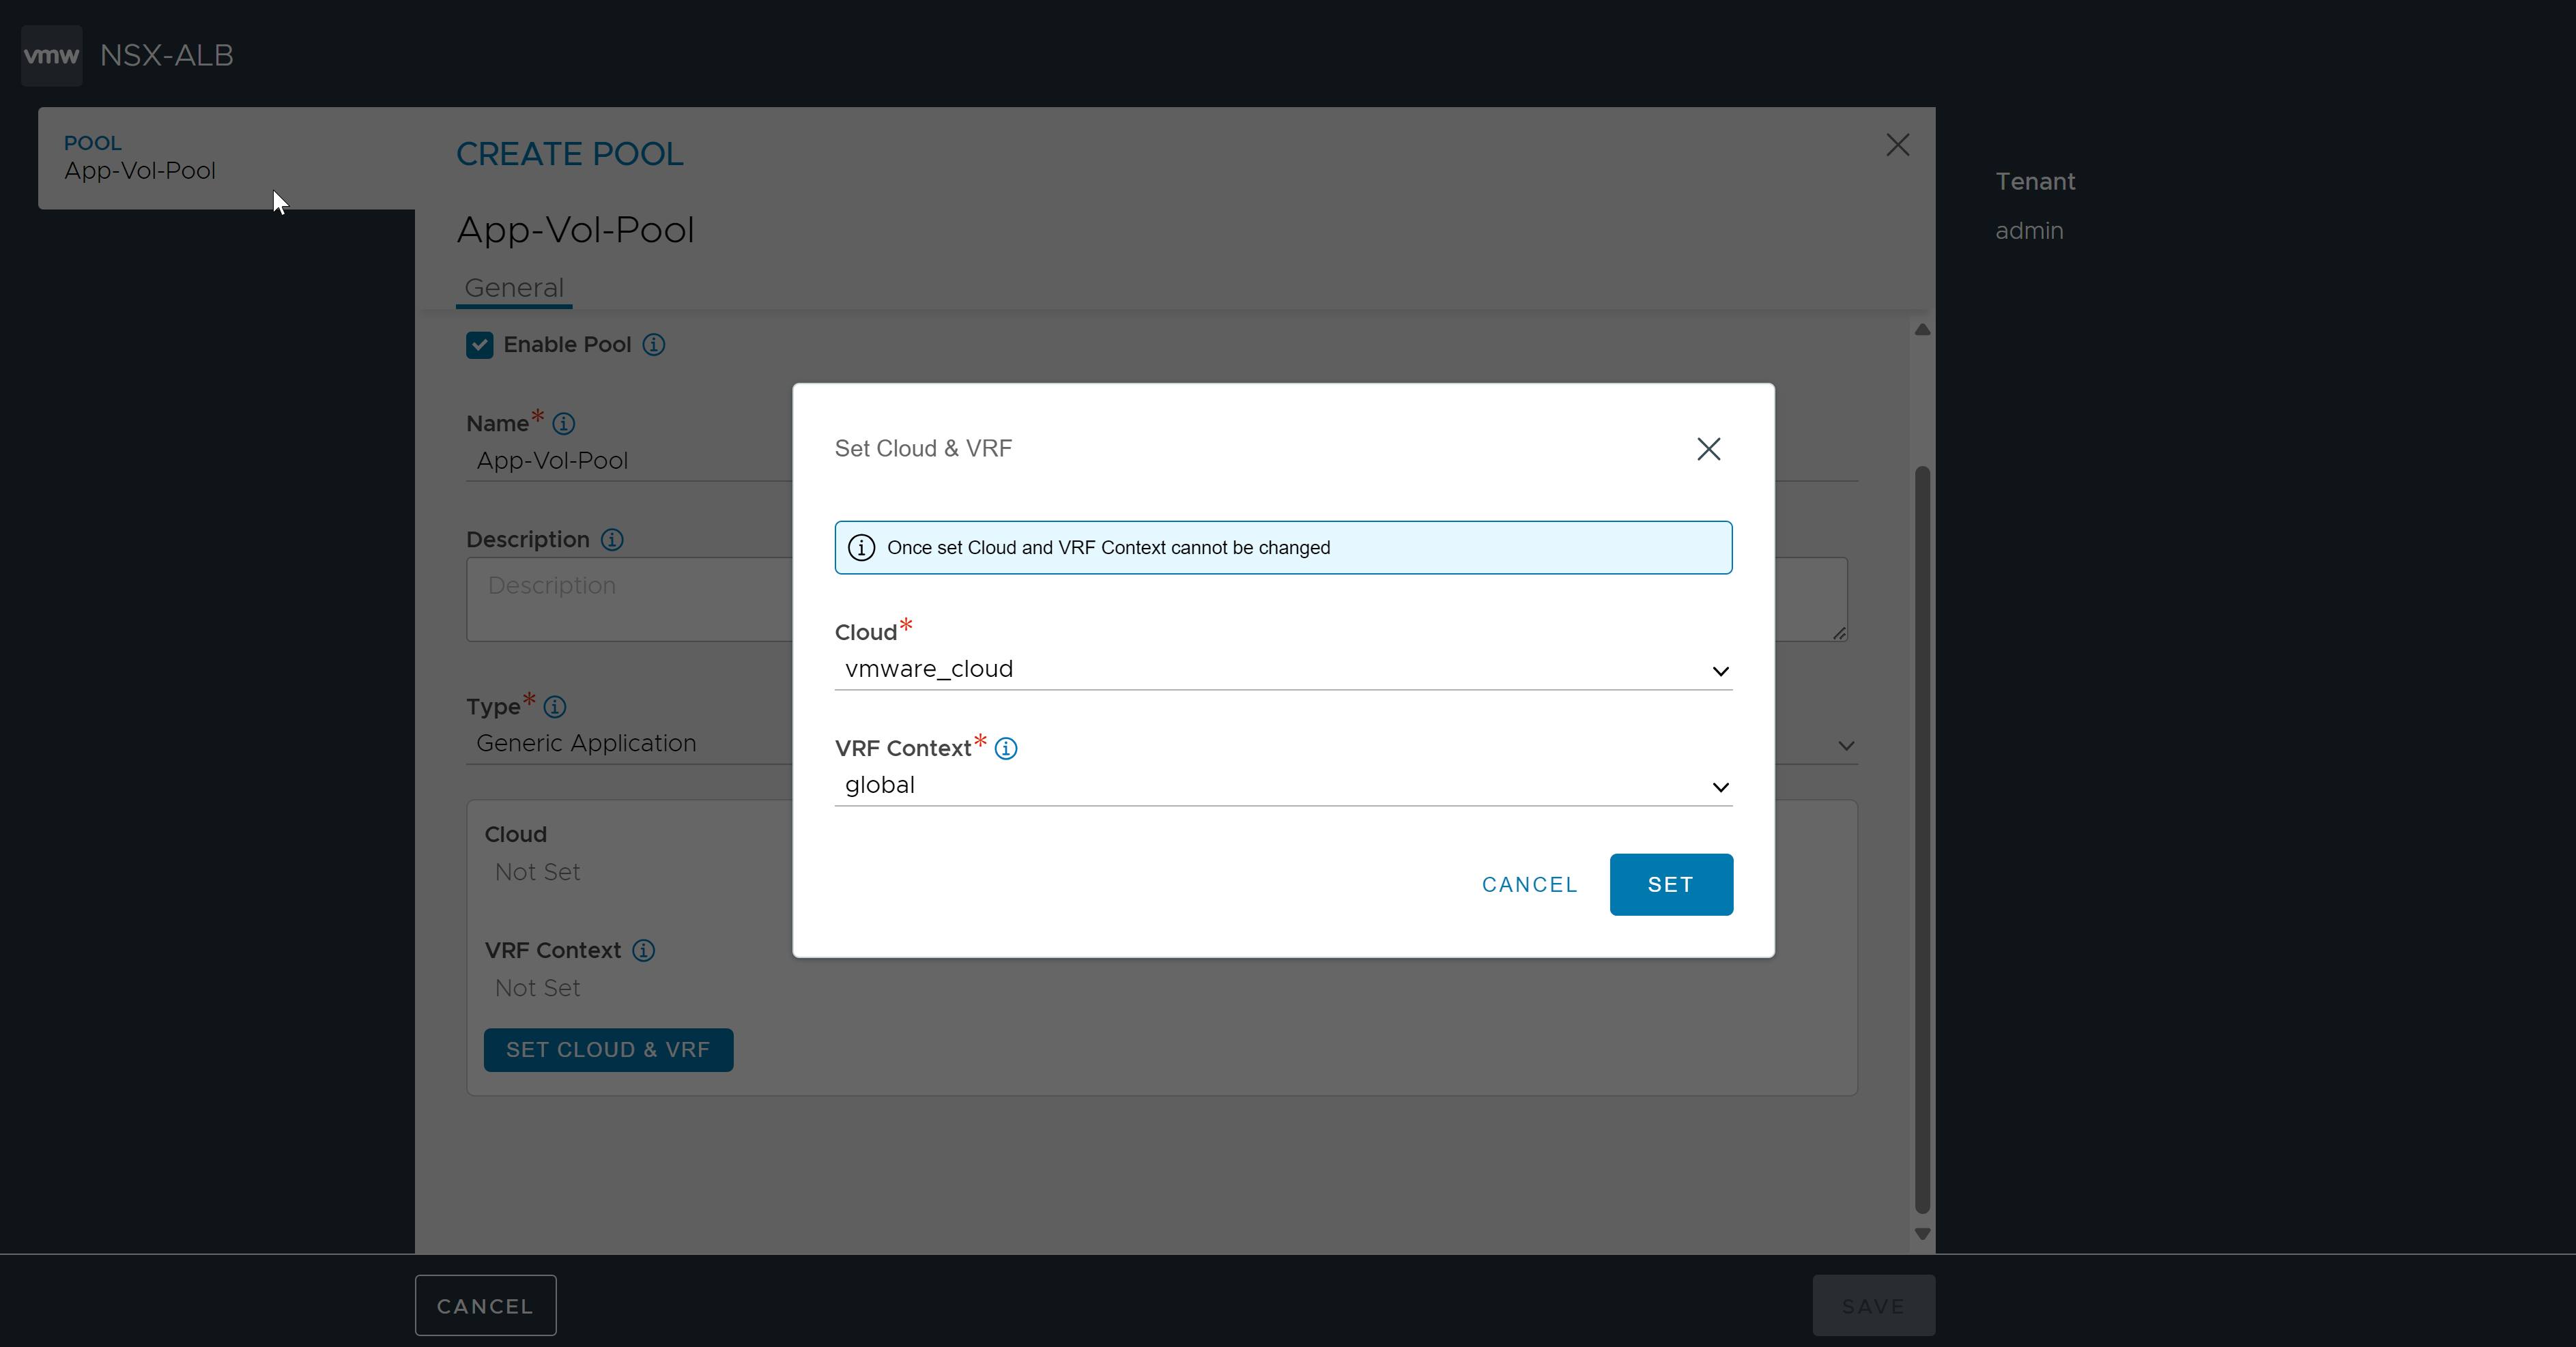
1. From the Avi UI, navigate to .
2. Click Create Pool.
3. Under the General tab, enter the Name and select the Type asGeneric Application.
4. Click SET CLOUD & VRF. Select the vCenter cloud and the VRF context as required.

5. Enter the Default Server Port as 443.
6. Select Round Robin as the Load Balance Algorithm.
7. Under the Servers tab, enter the Server IP address and click Add.

8. Select Append Port To Host Name as Non Default (80, 443).
9. Under theHealth Monitor tab, click Add and select a HTTPS health monitor.
10. Under Profiles/ Policies, select System-Analytics-Profile as the Analytics Profile.
11. Under the SSL tab, selectSystem-Standard as the SSL Profile.
12. Click Save.
Creating Application Profile
1. From the Avi UI, navigate to Templates > Profiles.
2. Click CREATE. Enter the Name of the profile.
3. Select the Type as HTTP.
4. Ensure Connection Multiplex is disabled.
The New Application Profile screen is as shown below: