Moving a computer into a different policy is a convenient way to change its protection without creating a new policy. From the Computers table, you can select and move computers into different policies.

If you have enabled AD-based policy assignment, you can move computers from manual to automatic policy assignment, and back again.
Note:

Changing AD mapping rules does not immediately change the policy for an affected computer. The change takes place the next time that computer re-registers with the App Control Server. The section Assigning Computers to a Policy lists events that trigger agent computer registration.

In addition to the methods described in this section, you can use the Change Policy portlet on the console Home Page.

Procedure

  1. In the console menu, choose Assets > Computers. The Computers Page appears.
  2. In the Computers table, locate the computer(s) you want to move (using filters or Saved Views, if helpful) and check the associated check box for each computer.
    The Computers page showing the computers table with a computer selected
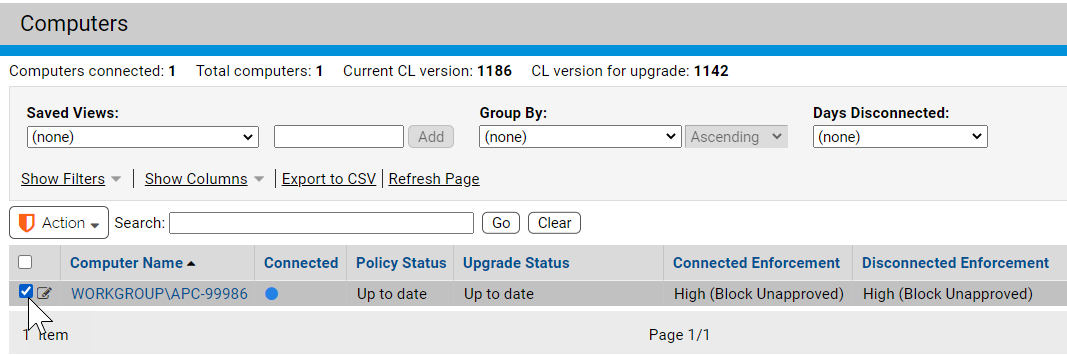
  3. Click the Action button to see the Action menu. The move options begin approximately halfway down the menu.
    The Action button and the action menu
  4. On the Action menu, choose the option that shows the move you want to make. In the confirmation dialog box, choose OK to reassign the computer to the selected policy. The computer moves to the policy you selected, and if you moved it from Automatic, the policy assignment becomes manual.
    Note:
    • You also can change a computer’s policy by clicking on the computer name in the table and using the Change Policy menu on the Computer Details page.
    • In addition, Event Rules may be created that will automatically change a computer’s policy when certain events occur.