Use this procedure to make a point-in-time copy of a computer and convert that copy to a template.
Use this method if using Instant Clones. You can perform this procedure on a powered on, online computer. You can continue using the computer after using it as the source of the template.
Prerequisites
This method requires Windows Agent 8.7 and above.
Procedure
- On the computer you plan to use as a template, install the platform, application, and other files you want in the template image.
- On the computer, install (or upgrade to) a supported Carbon Black App Control Agent.
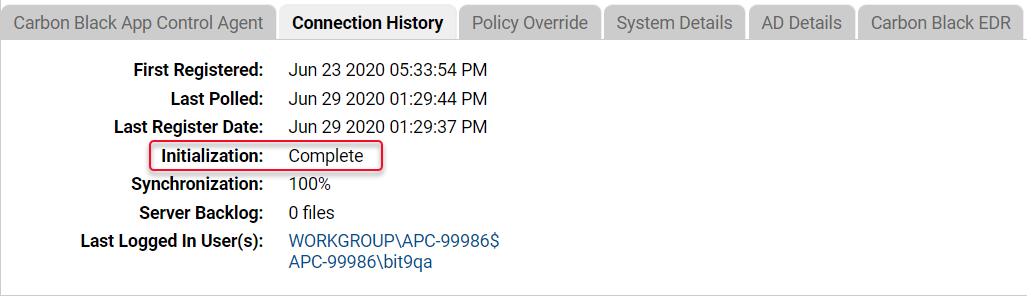
- After App Control Agent installation, make sure the computer is connected to the Carbon Black App Control Server and let it fully initialize. You can monitor initialization progress by choosing Assets > Computers on the console menu and clicking on the View Details button next to the name of the computer. Initialization progress is on the Connection History tab of the Computer Details page.
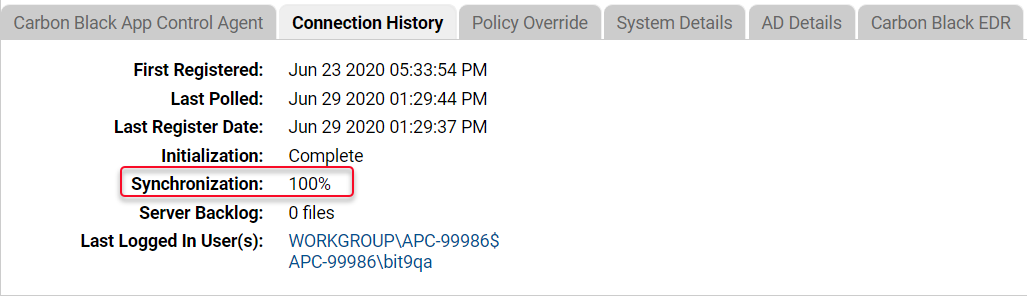
- When initialization shows as Complete, also make sure that Synchronization is at 100%. Files added to the template computer after the Carbon Black App Control Agent is installed will be included in synchronization, not initialization.Ensure that both initialization and synchronization are completed before proceeding to the next steps.
- OPTIONAL: It is recommend that you take a snapshot of the computer at this time. If your virtualization environment can create clones from a snapshot, then this snapshot should be used as it will match the state of the new template.
- Go to the Computer Details page for the computer, and in the right pane, click Create Template Image on the Advanced menu.
A prompt displays:
" Warning: This will create a point-in-time template copied from this computer to be used by cloned virtual machines. No change will be made to this computer during this operation.
You should take a snapshot of your VM to be used as your clone's image at the same time you perform this operation to ensure they are consistent.
After confirming, you will be taken to the templates details page.
Are you sure you want to proceed?
- At the prompt:
- Click OK to proceed with the creation of the template.
- Click Cancel to halt the creation process.
- After creating the template, the Template Details page for the new template is opened.
The template name is identical to the original computer except it is appended with _template.
Note: Subsequent templates of the same original host will be named _template (1), _template (2), and so forth.
Note: At this point, the template has been saved. The
Template Details page opens by default and if you have no changes to make to the template, you may click Cancel to return to the
Computers page, or navigate to another page.
- In the Template Details page:
- When you are satisfied with the configuration on the Template Details page, click Save.
The template displays in the
Computers table.
- Create clones from the computer using your virtualization software. They will appear as new computers in the console.