


To add a cluster to the console and install the Kubernetes Sensor into that cluster, perform the following procedure.
Prerequisites
Before you begin, open both the console and a terminal window.
Procedure
- Add the Cluster Detail information.
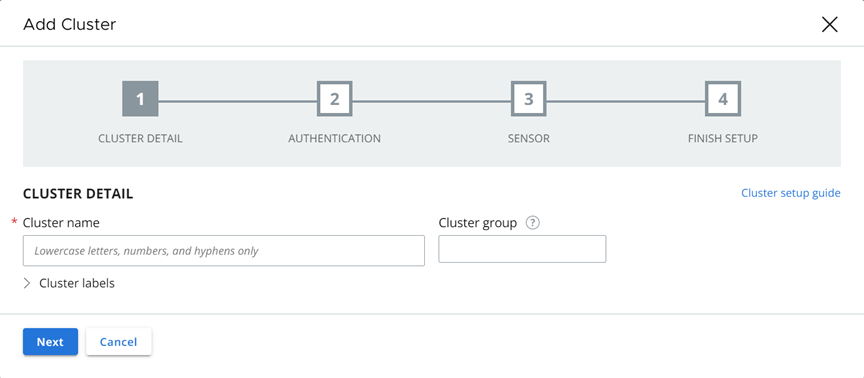
- Enter a unique cluster name using lowercase letters, numbers, and hyphens. The name cannot contain a colon (:) symbol.
- Type or select an existing cluster group to help specify resources in scopes and policies. The cluster group is also used for observing the network activity map of your clusters.
When no group is provided, the cluster is added to the default group.
- Optionally add cluster labels. A label consists of a key and a value. You can add multiple labels.
- Provide a dedicated API key to establish the communication between your Kubernetes cluster and the console.
- Click Generate a new API key and enter an API key name that is unique to your Carbon Black Cloud organization.
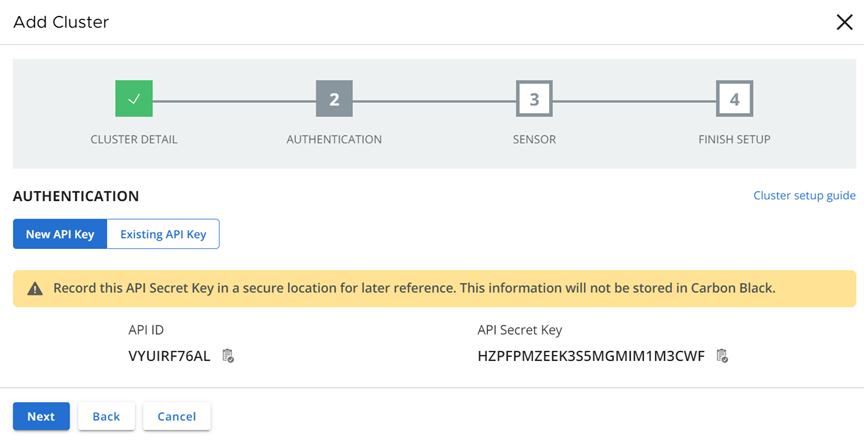
- Click Use existing API key and select an existing API key.
Important:Do not reuse keys between clusters. Use a separate Carbon Black Cloud API key for each cluster.
- Click Generate a new API key and enter an API key name that is unique to your Carbon Black Cloud organization.
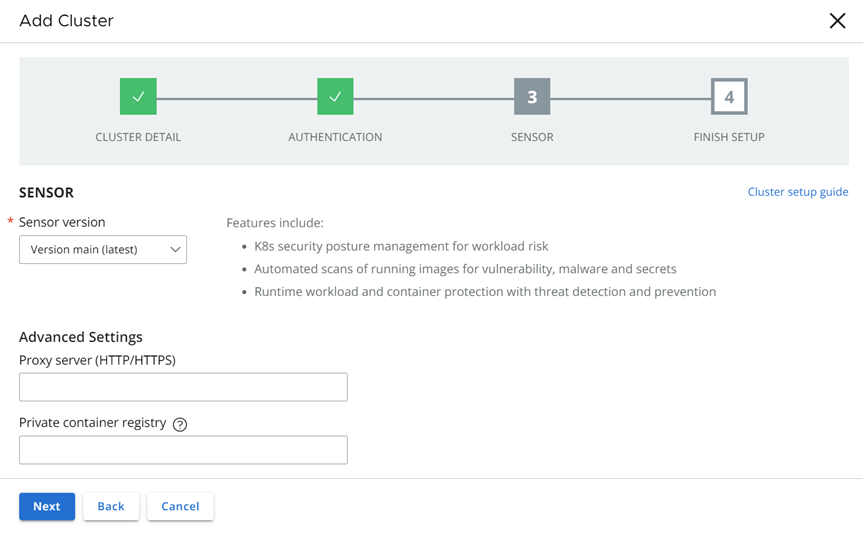
- Under Advanced Settings, optionally set up a proxy server or a private container registry.
- Proxy server can include a proxy URL or remain empty. The field is empty by default.
- Private container registry can include a private registry URL or remain empty. The field is empty by default. For important information about using a private container registry, see Private Container Registry.
 Note:
Note: - Copy and run each command in sequence into your terminal:
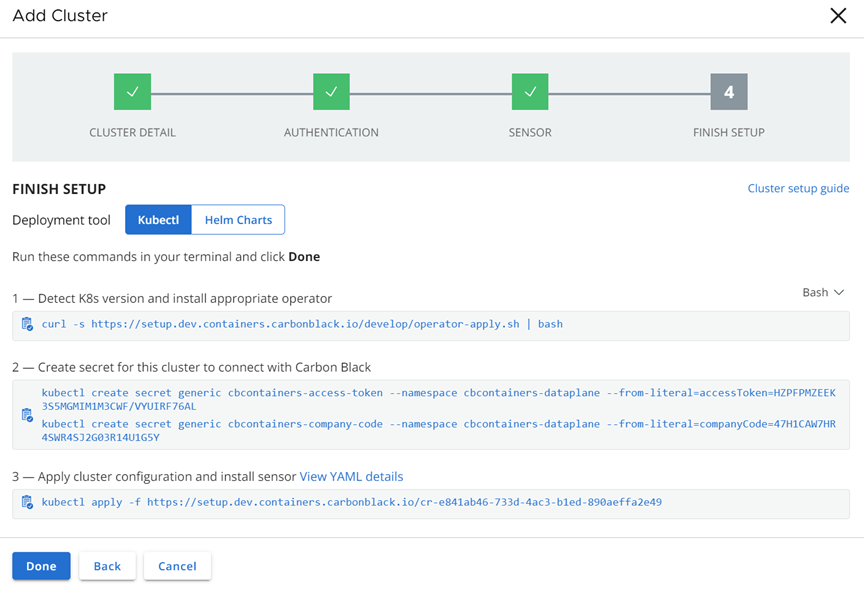
Results
After completing the setup procedure successfully, the status changes to Running.
