


Snapshots preserve the state and data of a virtual machine (VM) at the time you take the snapshot. When you take a snapshot of a VM, the VM is not affected and only an image of the VM in a given state is copied and stored. Snapshots are useful when you must revert repeatedly to the same VM state, but you do not want to create multiple VMs.
Snapshots are useful as a short-term solution for testing software with unknown or potentially harmful effects. For example, you can use a snapshot as a restoration point during a linear or iterative process, such as installing update packages, or during a branching process, such as installing different versions of a program.
You might want to use a snapshot when upgrading the operating system of a VM. For example, before you upgrade the VM, you take a snapshot to preserve the point in time before the upgrade. If there are no issues during the upgrade, you can choose to remove the snapshot, which will commit the changes you made during the upgrade. However, if you encountered an issue, you can revert to the snapshot, which will move back to your saved VM state prior to the upgrade.
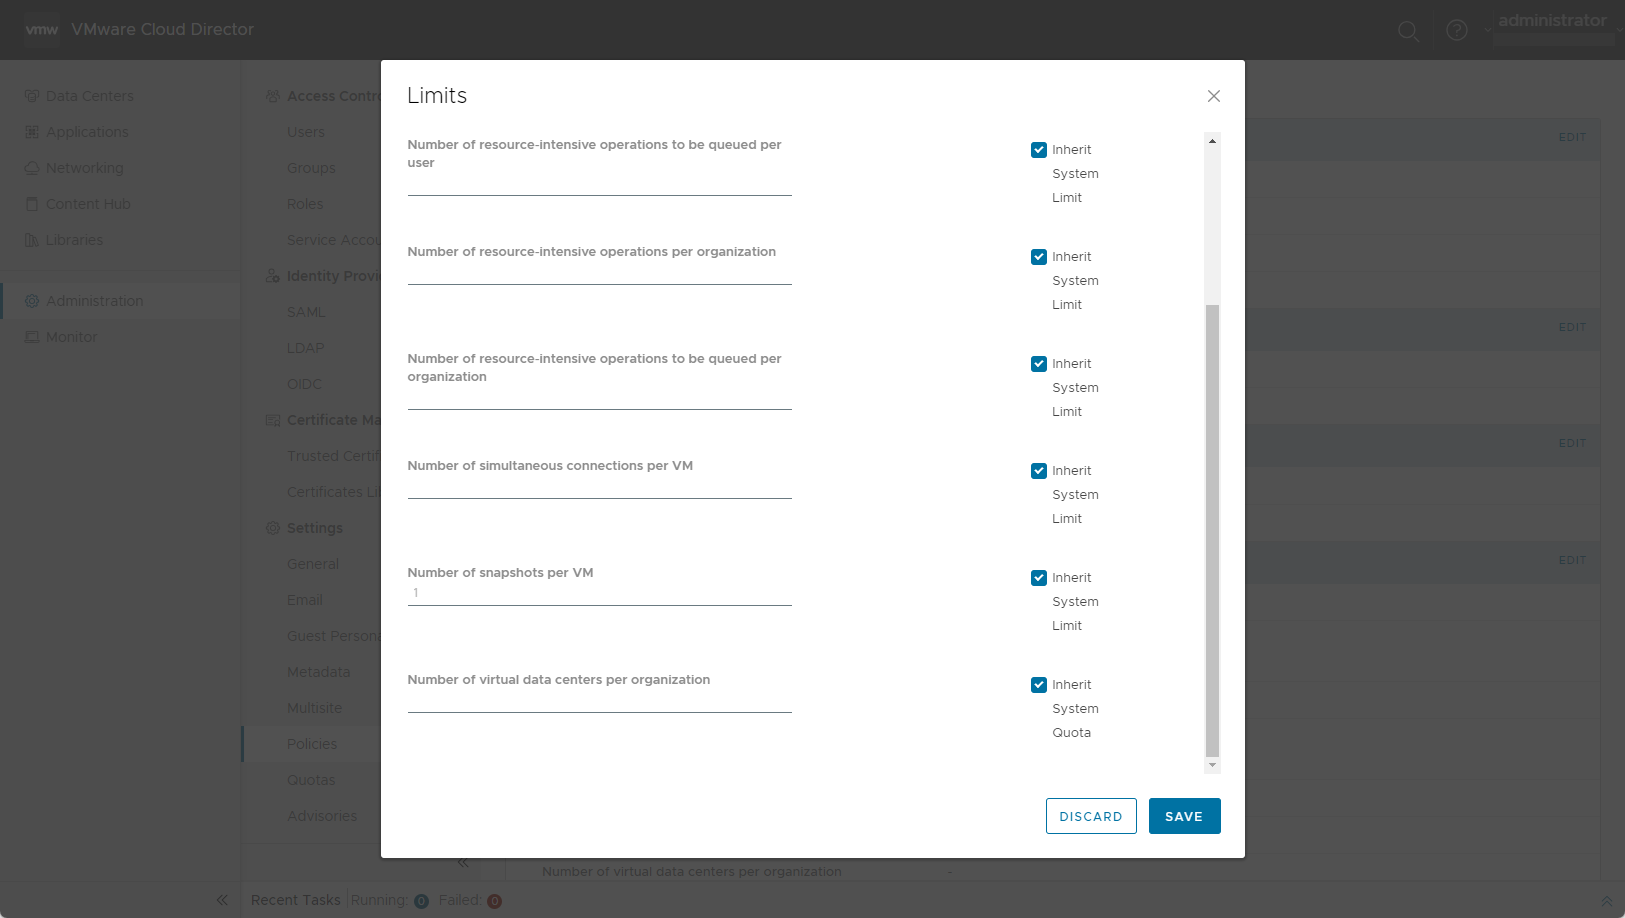
Staring with VMware Cloud Director 10.6, you can take multiple snapshots of a VM. The maximum number of snapshots per VM is 32, and you can limit that number further.
Change the Maximum Number of Snapshots per VM Using the VMware Cloud Director Tenant Portal
Procedure
Take a Snapshot of a Virtual Machine in the VMware Cloud Director Tenant Portal
Prerequisites
Verify that the VM is not connected to a named disk.
Procedure
- Click
 to view the list in a card view and, optionally, arrange the list of VMs from the Sort by drop-down menu.
What to do next
Revert a Virtual Machine to a Snapshot in the VMware Cloud Director Tenant Portal
Prerequisites
Verify that the VM has a snapshot.
Procedure
- On the Virtual Data Center dashboard screen, click the card of the VDC you want to explore and from the secondary left panel, select Virtual Machines.
- Click to view the list in a card view and, optionally, arrange the list of VMs from the Sort by drop-down menu.
- Select the VM which you want to revert to a snapshot, and from the left page navigation panel, select Snapshots
- Select the snapshot you want to revert to, and click Revert.
- Confirm the revert operation.
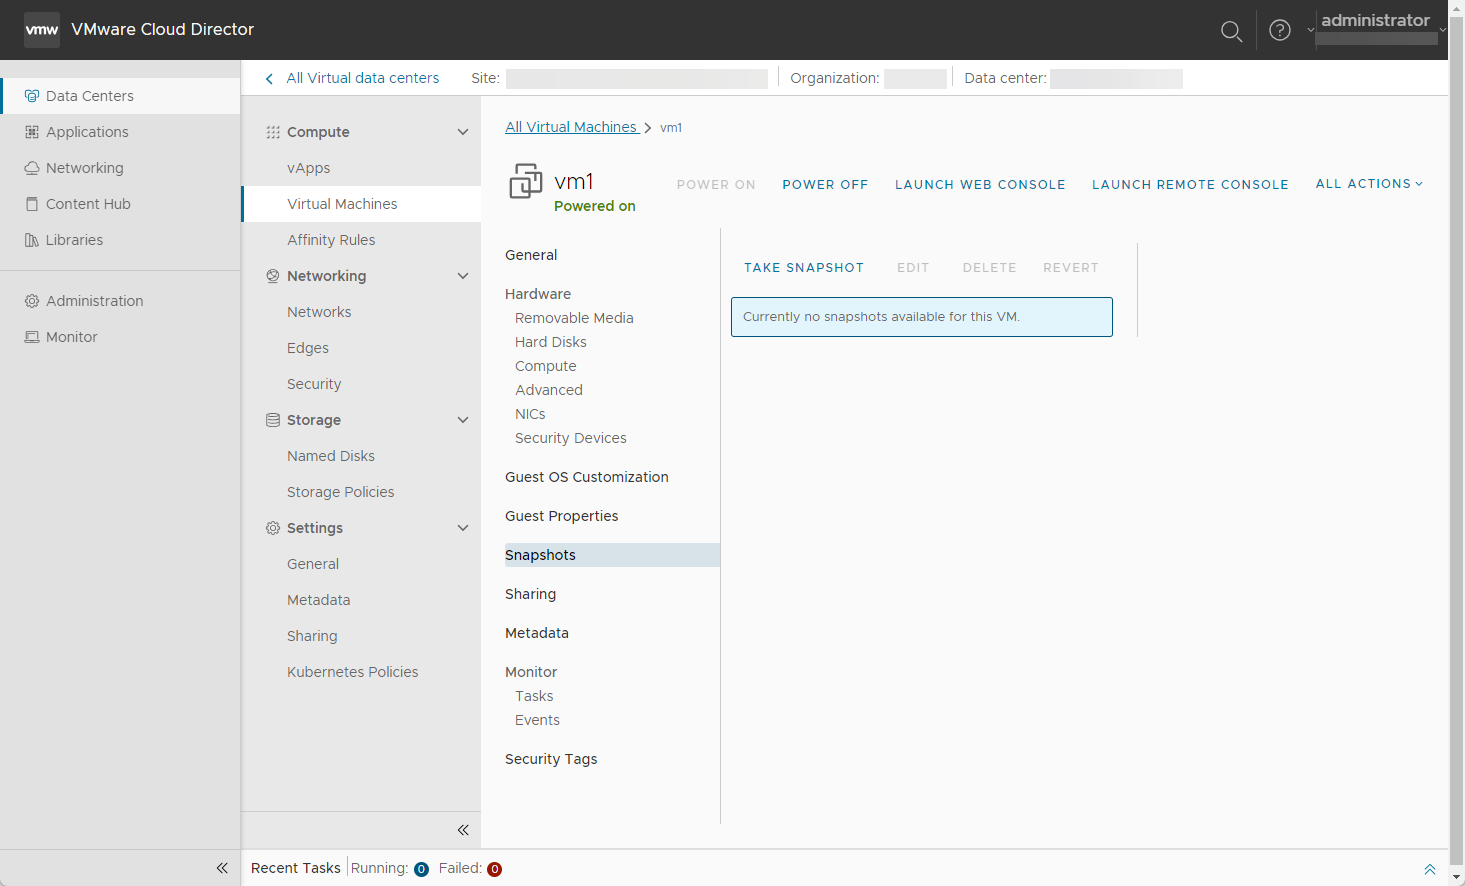
Delete a Snapshot of a Virtual Machine in the VMware Cloud Director Tenant Portal
When you remove a snapshot, you delete that state of the VM that you preserved, and you can never return to that state again. Removing a snapshot does not affect the current state of the VM.
Prerequisites
Verify that the VM has a stored snapshot.
Procedure
- On the Virtual Data Center dashboard screen, click the card of the VDC you want to explore and from the secondary left panel, select Virtual Machines.
- Click to view the list in a card view and, optionally, arrange the list of VMs from the Sort by drop-down menu.
- Select the VM of which you want to delete a snapshot, and from the left page navigation panel, select Snapshots
- Select the snapshot you want to remove, and click Delete.
- Confirm the deletion of the snapshot.
