


vSphere Lifecycle Manager images are created using the vSphere Client. You can create an image either on the management domain vCenter Server, or a vCenter Server external to VMware Cloud Foundation.
You first create an empty cluster in vSphere Client and then configure a vSphere Lifecycle Manager image on that vSphere cluster. During the creation of an image, you define the ESXi version and can optionally add vendor add-ons, components, and firmware.
Note: The default cluster in the management domain is not vSphere Lifecycle Manager enabled, so you cannot use this for creating an image.
Prerequisites
If you want to add firmware to the Sphere Lifecycle Manager image, you must install the Hardware Support Manager from your vendor. See Firmware Updates.
Procedure
- Create an empty cluster for the vSphere Lifecycle Manager image. You do not need to add any hosts to this cluster.
- In the vSphere Client, click .
- In the navigation pane, click .
- Right-click the datacenter and click New Cluster.
- Enter a name for the cluster.
As a best practice, name this cluster ClusterForImage. You can keep this cluster for creating additional vSphere Lifecycle Manager images for upgrades.
- Select Manage all hosts in this cluster with a single image and choose Compose a new image.
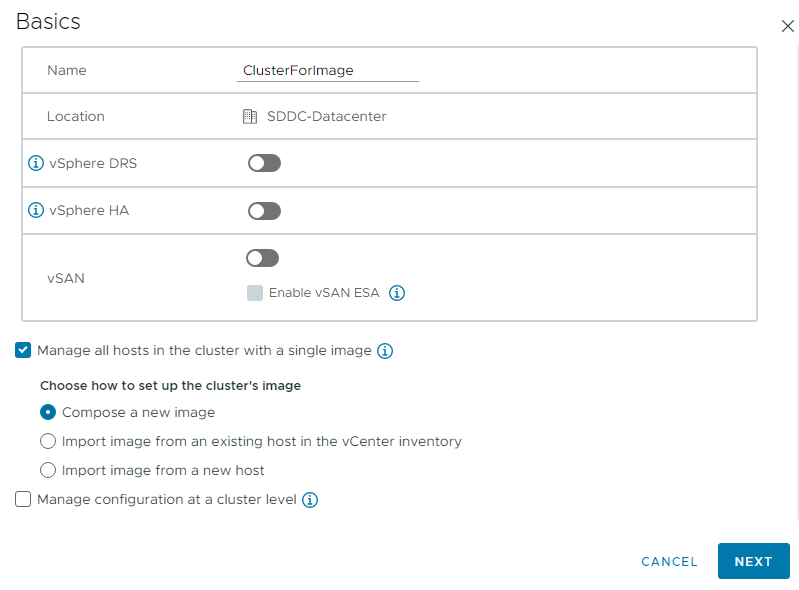
- Click Next.
- In the Image Setup section, select the ESXi software you uploaded in step 2.
- (Optional) In Vendor Addon, select the vendor add-on and click Next.
- Review the image details and click Finish.
The new cluster and vSphere Lifecycle Manager image are created.
What to do next
- If you created a vSphere Lifecycle Manager image in a vCenter Server managed by VMware Cloud Foundation, extract the image and apply it to a VI workload domain. See Extract a vSphere Lifecycle Manager Image.
- If you created a vSphere Lifecycle Manager image in an external vCenter Server, export the image from vCenter Server and import it to VMware Cloud Foundation. You can then apply it to a VI workload domain. See Export a vSphere Lifecycle Manager Image.
