A host can be configured with manual or automatic proxy settings. The distribution of these configurations will most likely be performed with Microsoft Group Policy Objects (GPO) or Mobile Device Management (MDM) platforms like Workspace ONE. However, it is necessary to understand provisioning methodologies to ensure the correct configuration is added on all devices.
Manual Proxy Settings
A host can be configured manually or automatically. The manual configuration requires the administrator to specify the proxy URL and port that Web browser traffic should be redirected towards. Additionally, manual entry of domains and endpoints pass might be required to ensure correct operations. The automatic method relies on the availability of a PAC file that the system can reference to download its proxy settings.
Ubuntu
The following is a simple example highlighting the manual configuration on an Ubuntu Desktop host. The general concepts shown here apply to Windows, macOS, Android, and iOS devices.
- Click the Show Applications button and select Settings.
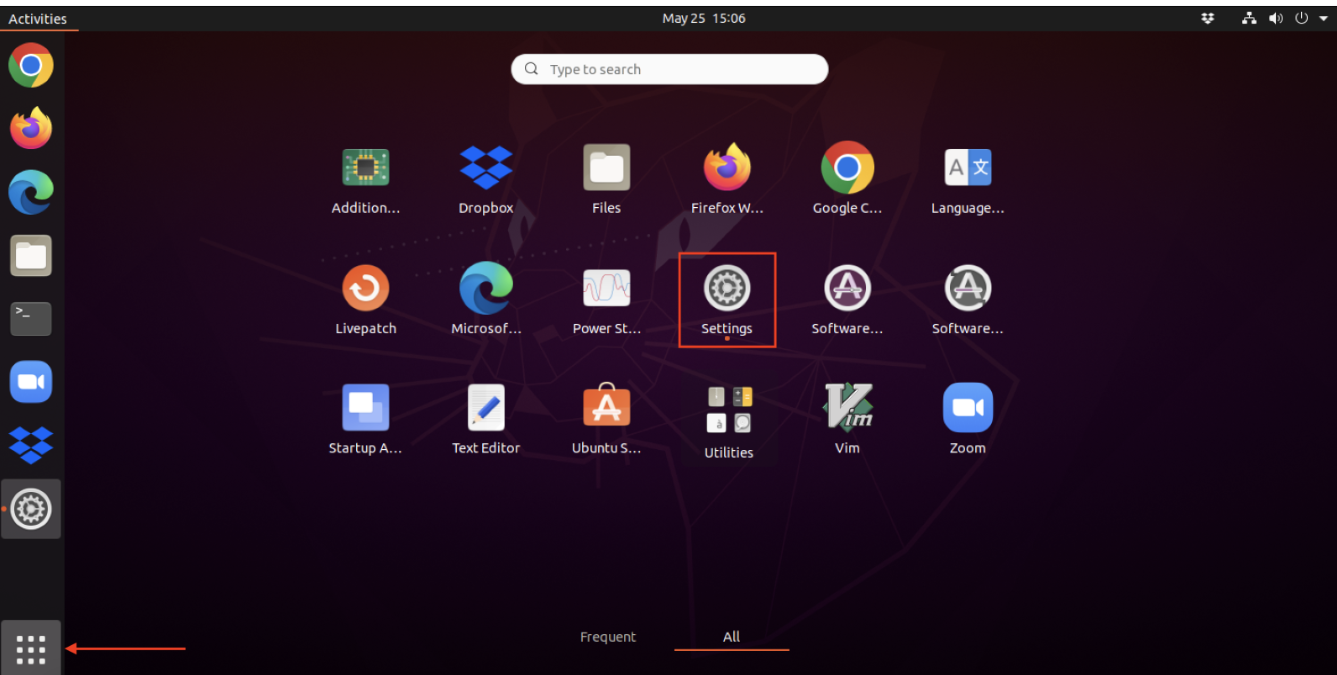
- In the Settings window, on the left pane, click Network.

- Go to Network Proxy and then click the Cog Wheel to turn the proxy settings ON (manually or automatically) or OFF.
- For manual configuration, users must retrieve the URL + Port information from Cloud Web Security. Navigate to , and then copy the Proxy URL.
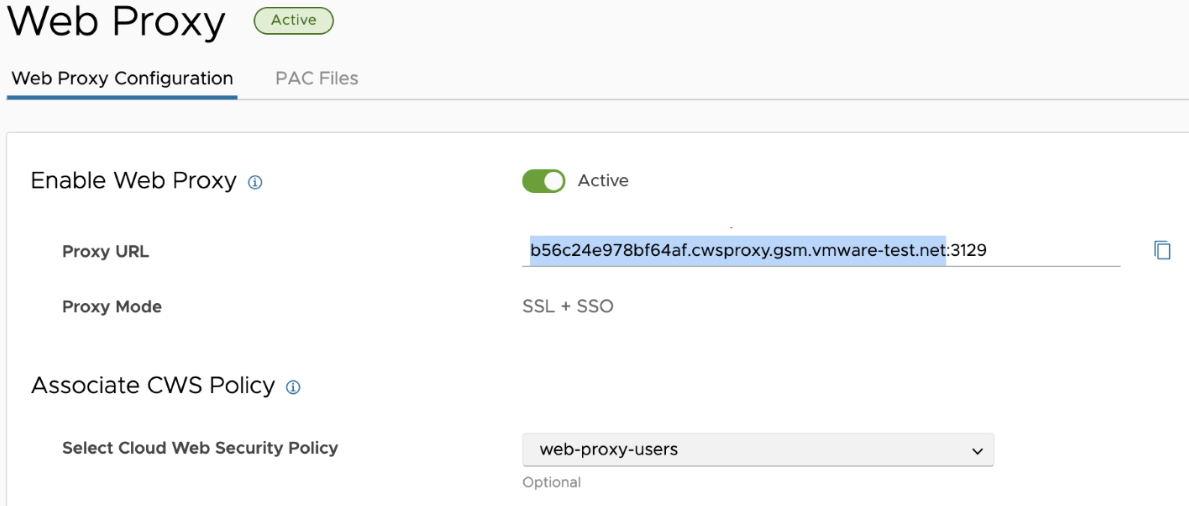
- Paste the URL into the HTTP Proxy and HTTPS Proxy fields.
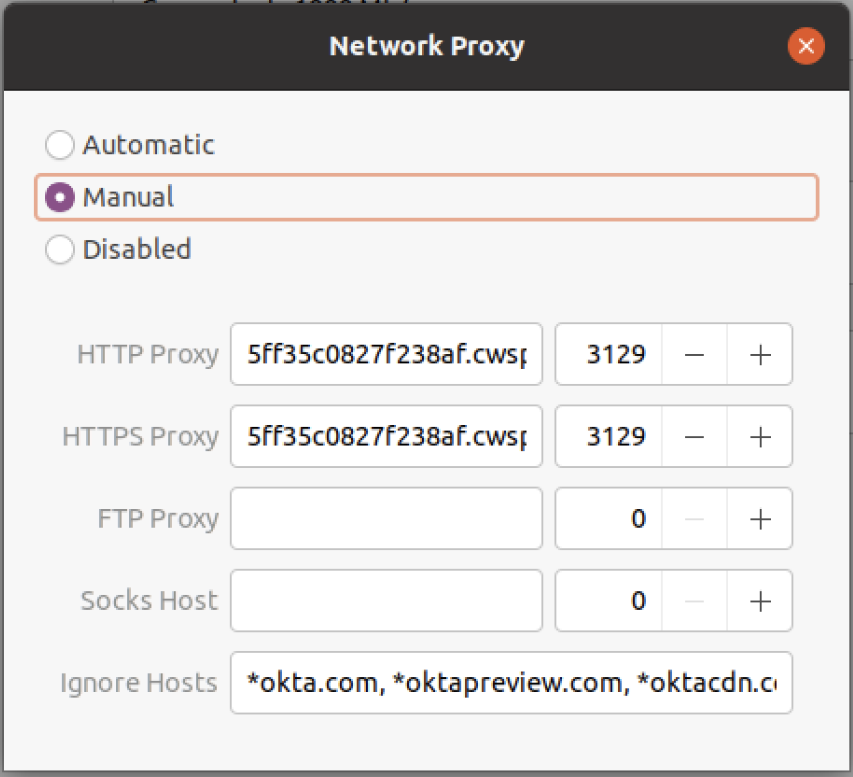
- Set the port to 3129, for both, HTTP Proxy and HTTPS Proxy fields. Users can copy and paste the port number from Cloud Web Security or enter it manually.
- Close the dialog to apply the settings.
Note: For the SSO to work, ensure to bypass the domains associated with your identity provider. The below example shows three domains related to Okta. Additional IdP domains are also provided below. If users do not see their IdP, please consult the respective product documentation to determine which domains need to be exempted from the proxy.
- Okta:
- *okta.com
- *oktapreview.com
- *oktacdn.com
- Workspace ONE Access: *vidmpreview.com
- Azure Active Directory:
- login.microsoftonline.com
- sts.windows.net
- microsoftonline-p.com
- msauth.net
- msftauth.net
- Okta:
- Launch your web browser to see the Cloud Web Security login page.
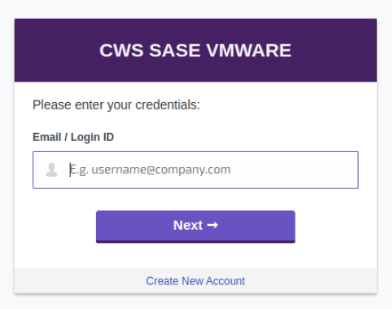 Note: If users have not installed the SSL Termination Certificate, a warning page “ Your connection is not private” appears. Users may choose to install the certificate or accept the warning and proceed to the Cloud Web Security login page. For more information about how to install the certificate, see SSL Certificate.
 - Enter a valid email address configured in the IdP, and then click Next.
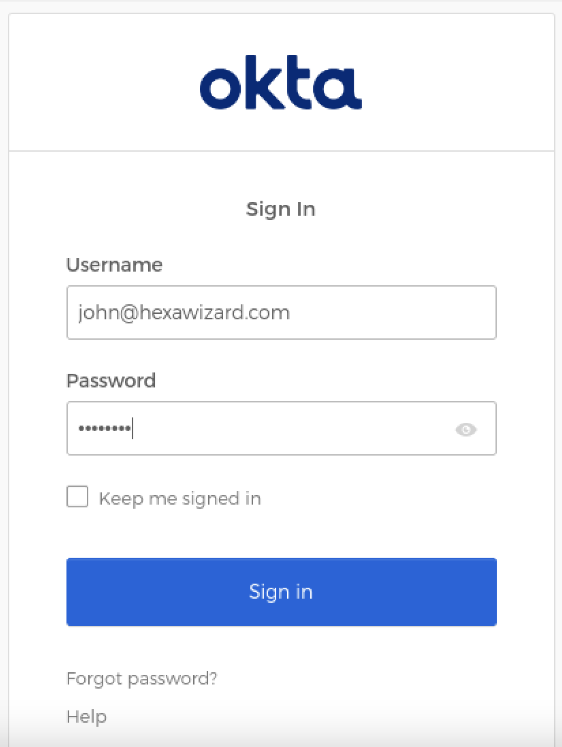
- In the IdP’s sign in page, enter your credentials, and then click Sign In.
- Validate your internet connectivity and Cloud Web Security Policy.
Automatic Proxy Settings
After configuring the manual proxy settings, convert the host to use the Web Proxy Auto-discovery (WPAD) file. The WPAD file is a more robust set of instructions that are downloaded and automatically set on the host.
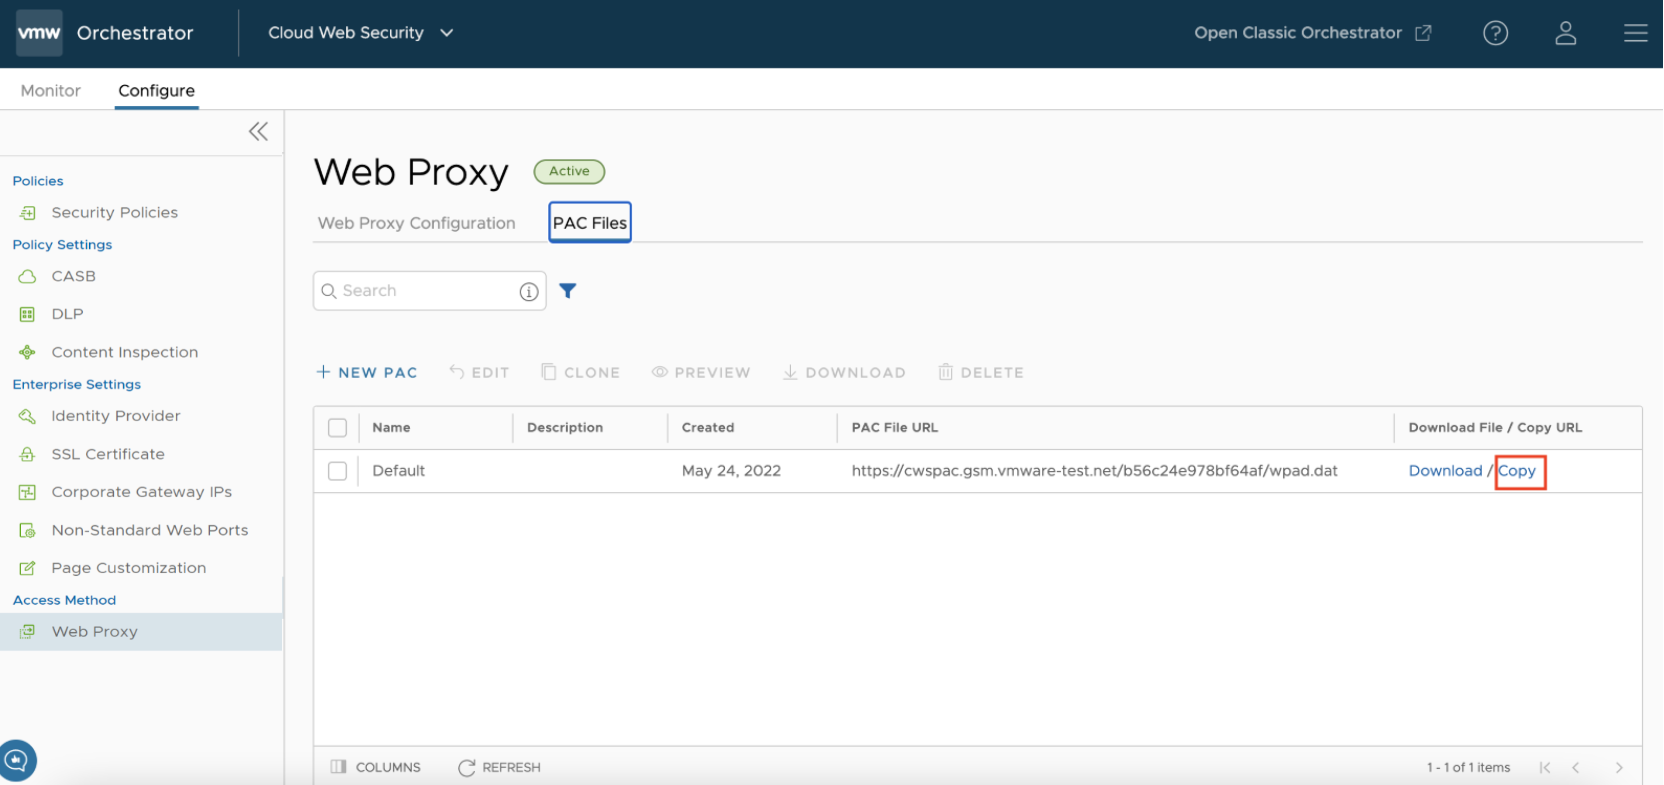
- Navigate to .
- Click the Copy link corresponding to any PAC file.
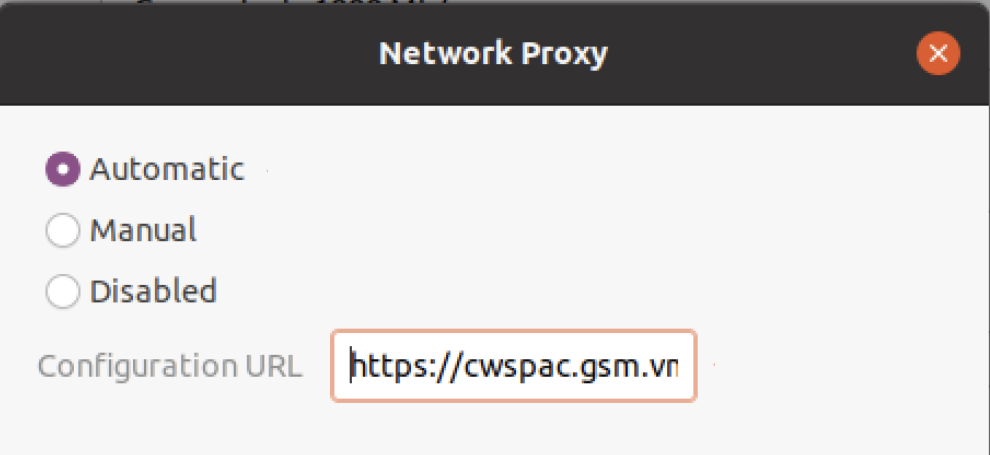
- Go back to the host and change the proxy settings to Automatic.
- Paste the copied URL in the Configuration URL field.
- Close the dialog to apply the settings.
- Windows: To configure the settings on a Windows system, see https://learn.microsoft.com/en-us/troubleshoot/developer/browsers/connectivity-navigation/use-proxy-servers-with-ie.
- macOS: To configure the settings on a macOS system, see https://support.apple.com/en-in/guide/mac-help/mchlp2591/mac#:~:text=Use%20the%20Proxies%20pane%20of,click%20Advanced%2C%20then%20click%20Proxies..
- Android: To configure these settings on an Android system, see https://support.google.com/pixelphone/answer/9655181?hl=en#zippy=%2Cset-up-a-proxy-to-connect-phones.
Note: The included reference is for a Google Pixel phone. Users may need to search for their specific model if the options are not the same.
- iOS: To configure these settings on an iOS system, see https://www.howtogeek.com/293676/how-to-configure-a-proxy-server-on-an-iphone-or-ipad/.