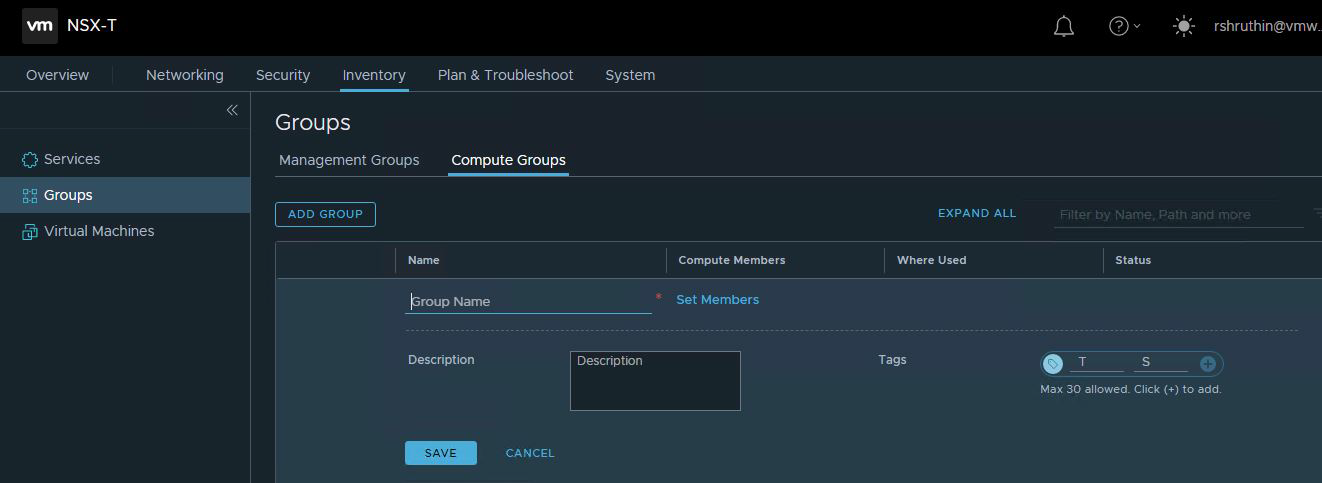
Procedure
- Create the following groups:
- Jumphost: Create this group to manage and configure the Citrix Virtual Apps and Desktops Management components. Add the respective IP address or subnet to allow inbound connection to the Citrix Delivery Controller.
- Citrix Delivery Controller: Create this group and configure the group members with IP addresses of the Citrix Delivery Controller.
- VDI user subnet: Create this group and configure the group members with IP subnets to allow inbound traffic to NSX advanced load balancer.
- NSX advanced load balancer: Create this group and configure the group members with virtual IP address of the NSX advanced load balancer.
Note: NSX Advanced load balancer is an optional component. You can use any load balancer.