You must set up the primary site for managing the components of Citrix Virtual Apps and Desktops.
Procedure
- Click Generate Scripts.
Scripts are saved into
C:\Users\administrator.vmcd\AppData\Local\Temp. The following scripts are generated.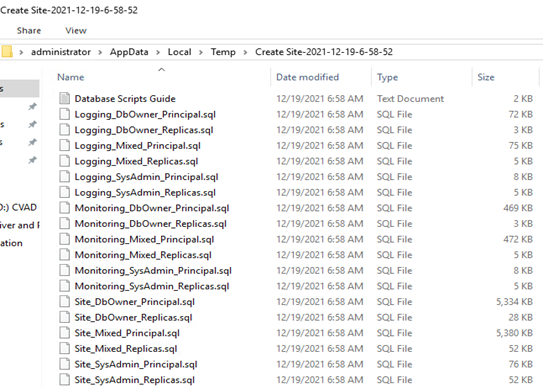 After the scripts are generated, you can run the scripts. However, before running the scripts, you must edit them. If you are using a replica database, you must run the replica scripts. See Databases for different database options and permissions required to set up these databases.
 - Uncomment the
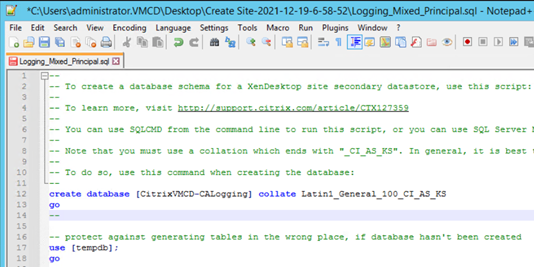
Monitoring_mixed_PrincipleandLogging_Mixed_Principlescripts.The following screenshots show how theLogging_Mixed_Principlescript is edited. Similarly, you can edit theMonitoring_mixed_Principlescript.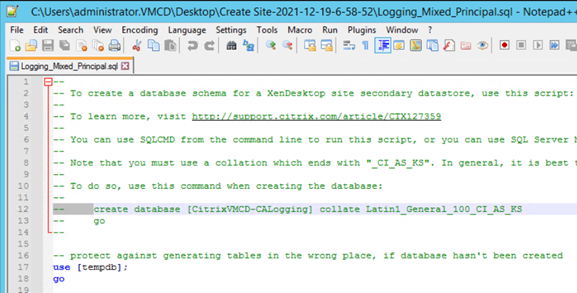
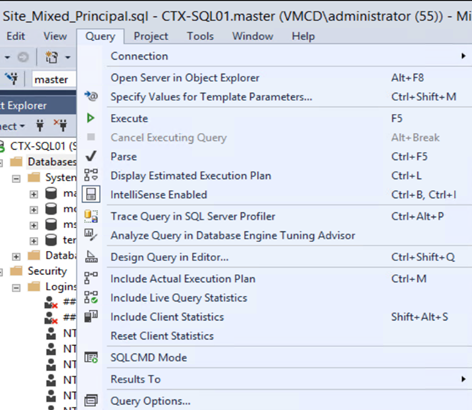
- From the Query menu, select SQLCMD Mode.
- Run the
Site_Mixed_Principalscript.If the site database is not accessible, then edit theSite_Mixed_Principalscript to manually create the Site Database.After the script is executed, the messages are displayed as shown in the following screenshot.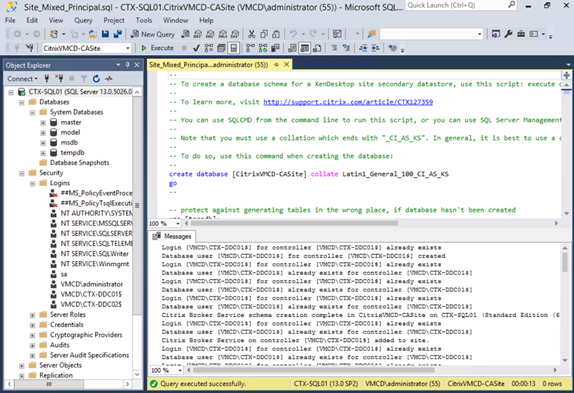 If you are not an administrator user, then you must create a new login in SQL server and grant public permission by selecting Public on the Server Roles page.
 - On the Databases page, enter the SQL Database server details and click Next.
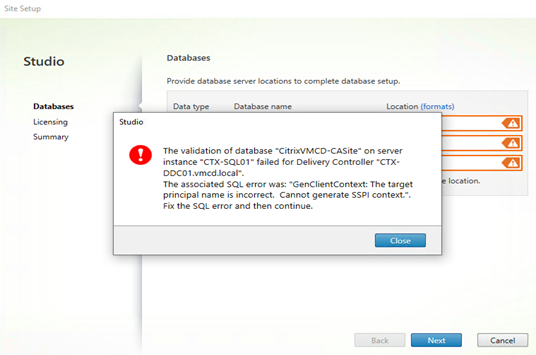
You may see the following error.