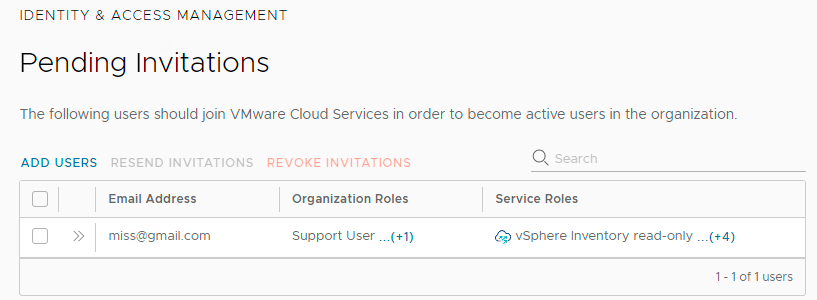
As an Organization Owner, you invite users to your Organization and grant them access to the services associated with it. You can also track the invitations you send. Invitations are valid for up to seven days. If you have sent an invitation in error, you can revoke it.

The users you invite can hold several roles:

  • A role within the Organization - Organization Owner or Organization Member. To see the permissions assigned to each of these roles, see What Organization roles are available in VMware Cloud Services.
  • A role within the cloud service to which you are inviting the user. Each cloud service has its own specific roles. For more information, refer to the documentation of the relevant VMware Cloud services.
  • Depending on your customer profile, you might also view the Managed Service Provider role which allows users to query the cloud service APIs for customer usage and data. If you assign this role to users of a tenant Organization, they will have access to all the data within the Organization.

Procedure

  1. On the Cloud Services Console toolbar, click the VMware Cloud Services icon and select Identity & Access Management > Active Users.
  2. Click Add Users.
  3. On the Add New Users page, enter the following information:
    1. In the Users text box, enter the email address of the user you want to add to your Organization.
      You can add more than one user at a time by separating email addresses by comma or entering each email address on a separate line.
    2. In the Assign Organization Roles section, assign the role the user will have in the Organization.
      The Organization Owner role has full administrative access. If you select the Organization Member role for the new user, consider adding additional access by selecting one or more roles in the Additional Roles section.
    3. To assign the user service roles in the Organization, click Add service access and use the drop-down menus to make a selection.
    4. Click Add service access again, to give the user access to another service.
  4. Click Add to send an invitation to the user.
    The invitations you send are valid for seven days. You can view the status of the invitation on the Identity and Access Management > Pending Invitations tab. An example of a pending invitation in Identity and Access Management.
  5. If you sent an invitation in error, you can revoke it. Select the check box next to the invitation and click Revoke Invitations.
    The activation link in the email is revoked and the person to whom you sent the mail cannot sign into the service.