A vCenter certificate might rotate when it expires or is refreshed.
When the vCenter certificate changes, you have to update the certificate in VMware Data Services Manager.
As a DSM administrator, perform these steps to configure the modified vCenter certificate.
Login to DSM.
curl --location -k -v 'https://[[PROVIDER_IP_ADDRESS]]/provider/session' \
--header 'Content-Type: application/json' \
--data-raw '{
"email" : "DSM ADMIN UserName",
"password" : "DSM ADMIN Password"
}'
Copy the Authorization Bearer token from the response headers, as shown below.

Get existing trusted certificates.
curl --location -k 'https://[[PROVIDER_IP_ADDRESS]]/appliance/provider/get-trusted-certificates' \
--header 'Accept: application/vnd.vmware.dms-v1+octet-stream' \
--header 'Authorization: [[Token from Step 1]]'
Copy the response content into a file on your system and save it.
Copy the vCenter certificate.
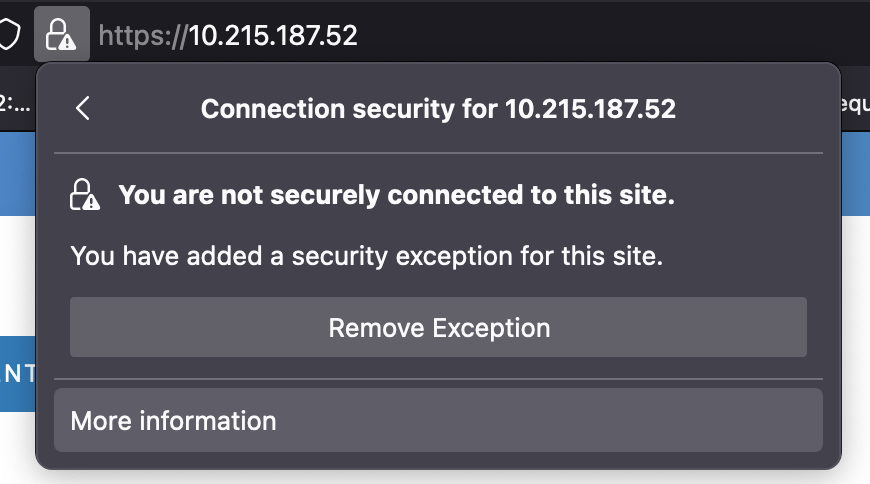
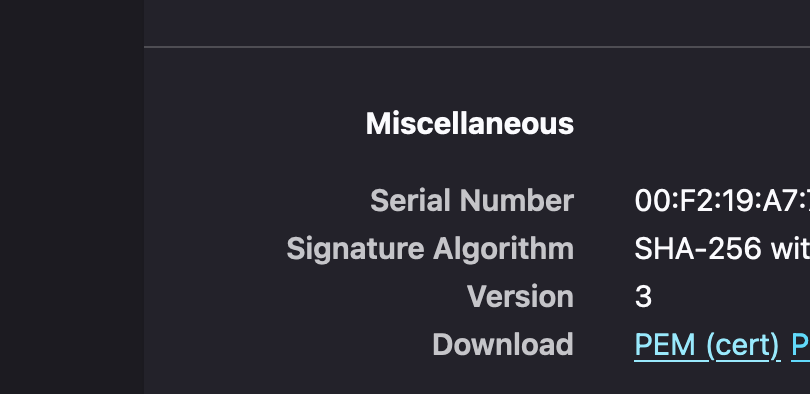
Download the certificate file for vCenter as shown below:

Click More Information.

Click View Certificate.

Click PEM(Cert)
This action downloads the certificate to local system.

Edit this file in a notepad, copy the content, and add it to the file that you saved in Step 2.
Add the trusted certificate.
curl --location -k --request POST 'https://<provider-ip>/appliance/provider/add-trusted-certificates' \
--header 'accept: application/vnd.vmware.dms-v1+json' \
--header 'Content-Type: multipart/form-data' \
--header 'Authorization: <token>' \
--form 'certificate=@"[[path of the ]]/provider-trusted-certs.pem";type=application/x-x509-ca-cert'
This action adds the new vCenter certificate to VMware Data Services Manager.
Delete the service account.
curl --location -k --request DELETE 'https://<provider-ip>/provider/vc/svc-account' \
--header 'Accept: application/vnd.vmware.dms-v1+json' \
--header 'Content-Type: application/json' \
--header 'Authorization: <token>' \
--data-raw '{
"vcHost"   : "<VCenter host>",
"userName" : "<VCenter username>",
"password" : "<VCenter password>"
}'
Observe the response code:
200, Service account deleted successfully.Create the service account.
curl --location -k --request POST 'https://<provider-ip>/provider/vc/svc-account' \
--header 'Accept: application/vnd.vmware.dms-v1+json' \
--header 'Content-Type: application/json' \
--header 'Authorization: <token>' \
--data-raw '{
"vcHost"   : "<VCenter host>",
"userName" : "<VCenter username>",
"password" : "<VCenter password>"
}'
Observe the response code:
200, Service account created successfully.
After performing this task, wait two to three hours for the vCenter certificate to get fully trusted with VMware Data Services Manager.