Install ESXi on all hosts in the vPAC Edge Compute Cluster interactively and enter the respective values from the prerequisites section to configure each host.
Procedure
- Power on the host and enter BIOS to mount or boot from the ESXi ISO.
- On the Welcome to the VMware ESXi x.x.x Installation screen, press the Enter key to start the installation.
- On the End User License Agreement (EULA) screen, press F11 to accept the EULA.
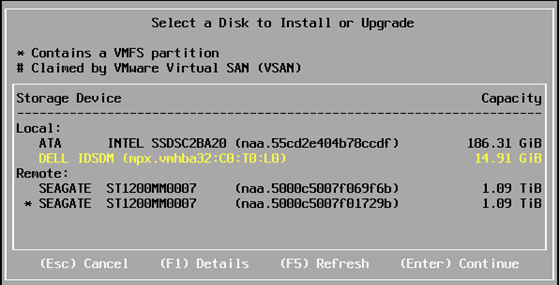
- On the Select a Disk to Install or Upgrade screen, select a permanent storage device to install ESXi and press Enter to continue.
Figure 1. Example Disk Selection for ESXi Installation 
- Select the keyboard layout and press Enter.
- Enter the esxi_root_user_password twice, for confirmation, and press Enter.
Note:
The password must be complex (a 7-40 character password that must include a mix of at least three of four: lowercase letters, uppercase letters, numbers, and special characters).
- On the Confirm Install screen, press F11 to start the installation.
- After the installation finishes successfully, unmount or remove the USB drive and press Enter to reboot the host.
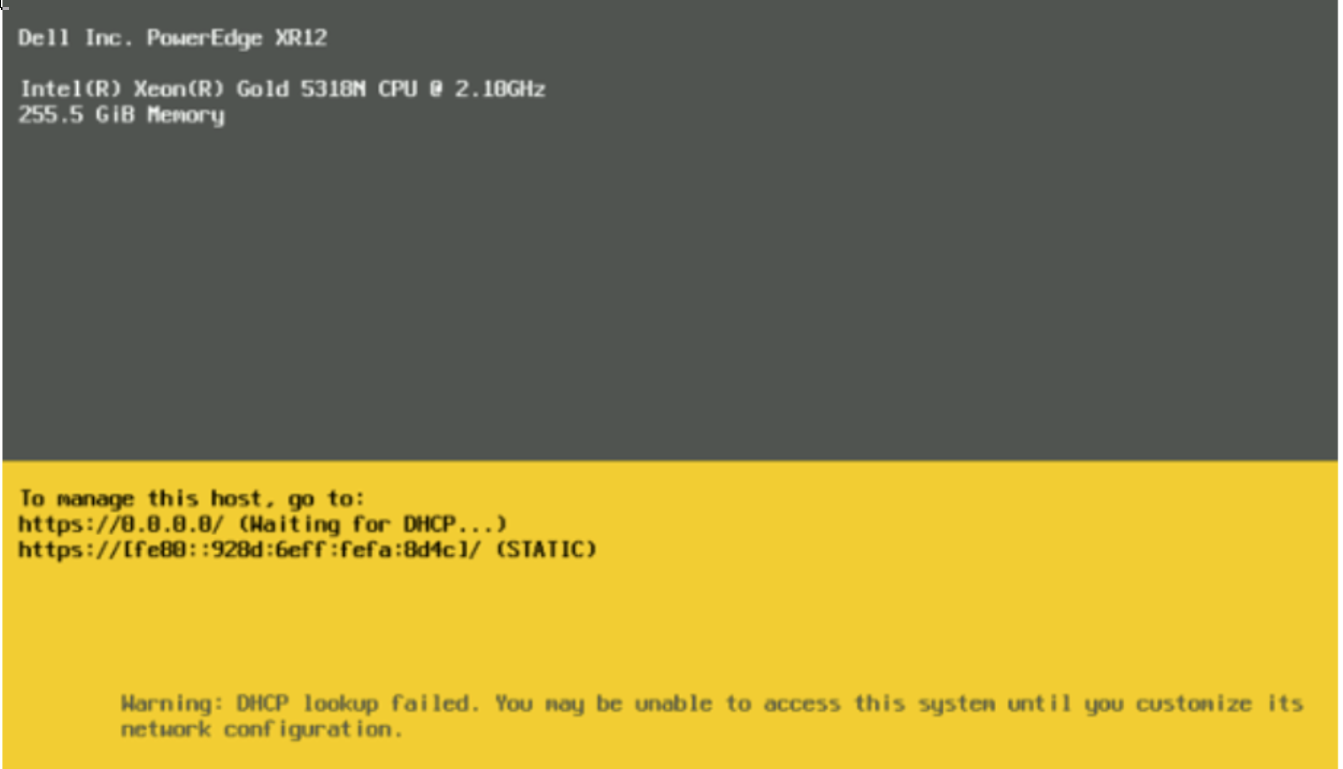
- After the host reboots and ESXi loads, the GUI is displayed. Press F2 to customize the system.
- Log in with the username (root) and password (that you created earlier).
Figure 2. ESXi Console 
- Navigate to Configure Management Network and press Enter.
- If required, you can select Network Adapters to audit or update the management interface (host ethernet ports) that are used for ESXi management.
An 'X' indicates that interface is enabled.
- Within the Configure Management Network menu, select IPv4 Configuration and press Enter.
An ‘o’ indicates the configuration option selected, and a static IP address, subnet mask, and default gateway can be entered.
- Again, within the Configure Management Network menu, select DNS Configurationand press Enter.
An ‘o’ indicates the configuration option selected, and a Primary and Alternate DNS Server can be entered, along with the Hostname.
- If required, IPv6 Configuration and Custom DNS Suffixes menus can be entered to adjust these settings.
- When finished, press Esc to exit the Configure Management Network menu and then press Enter to restart the host network.