Clusters Dashboard
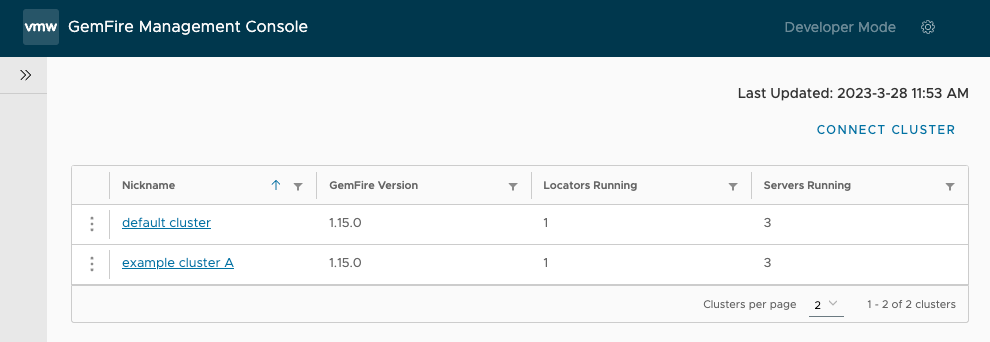
The Clusters Dashboard displays a list of all clusters that have been connected to the VMware GemFire® Management Console™.
Overview
The Cluster Dashboard allows you to:
Connect Clusters
When you first log in, the Management Console attempts to connect to a local cluster running on localhost at port number 7070. If the Management Console finds a cluster at the default location, it automatically connects to the cluster and labels it with the “default cluster” nickname. You can change the name of this cluster at your discretion.
To connect another cluster to the GemFire Management Console, follow the instructions in Cluster Connection
View Information
You can view the information listed below about each cluster on the Cluster Dashboard.
-
Nickname: The nickname supplied when creating the cluster. This nickname is only visible to users who log in to the same instance of the GemFire Management Console. You can change nicknames at your discretion.
-
GemFire Version: The current GemFire version of the connected cluster. For clusters running on Tanzu Application Service or Kubernetes, this column shows the underlying version of GemFire running. For example, a connected cluster using VMware GemFire for Tanzu Application Service version 1.14.6 would show the GemFire version 9.15.3.
-
Locators Running: The number of running locators in the cluster.
-
Servers Running: The number of running servers in the cluster.
You can sort this display by Nickname, or use the Filter Items icon in each column header to display a subset of connected clusters.
![]()
For more information about a cluster, click the cluster name in the Nickname column to see cluster details.
Actions
You can take actions on clusters from the Cluster Dashboard.
To take an action on a cluster:
-
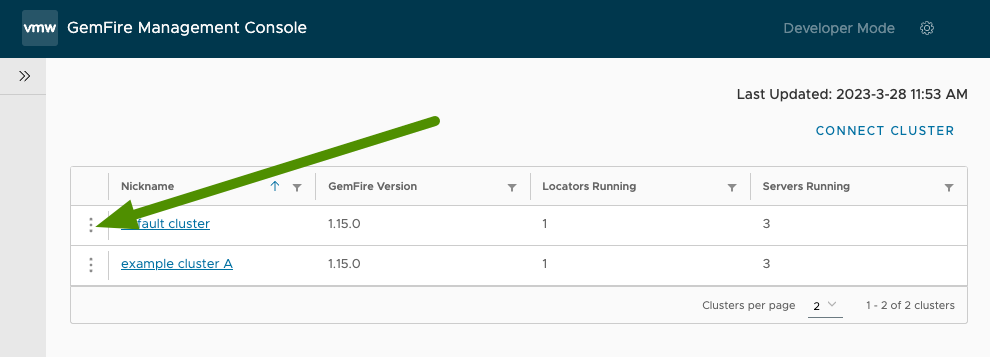
Click the “Action icon” (vertical ellipsis) to access the Action menu for a cluster.
-
From the Action menu, select an action.
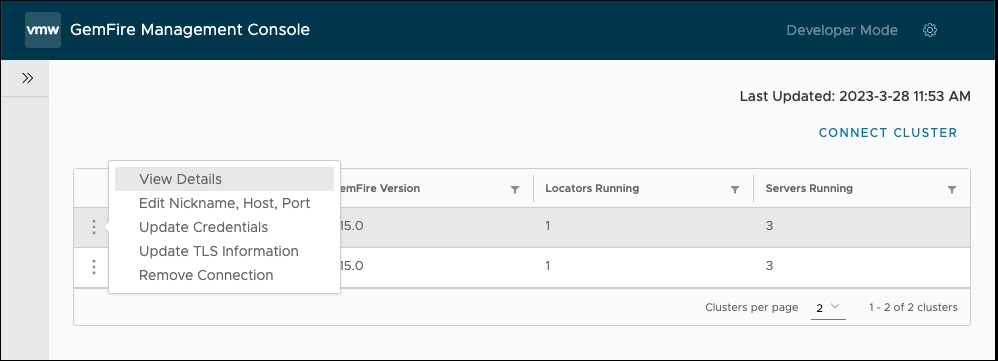
Available actions:
-
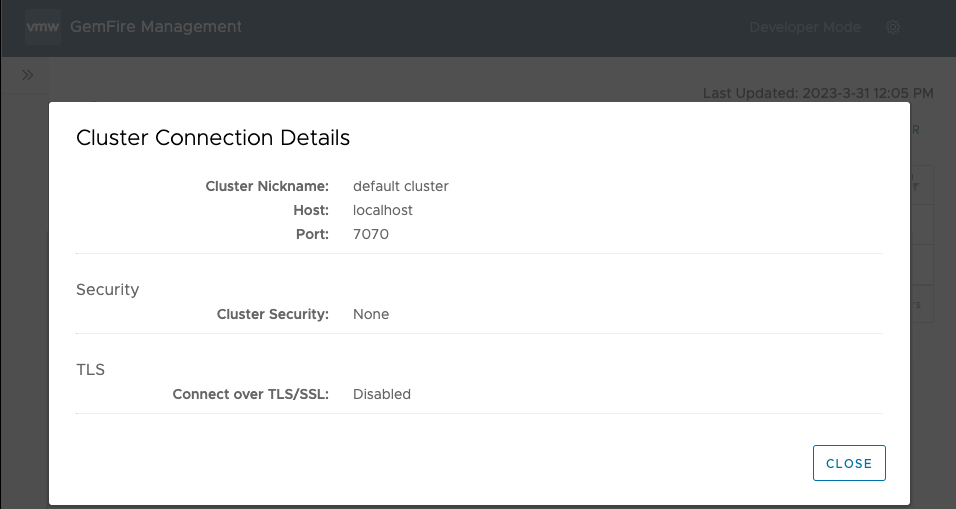
View Details: View the following information about the cluster:
- Nickname
- Host
- Port
- Cluster security settings
-
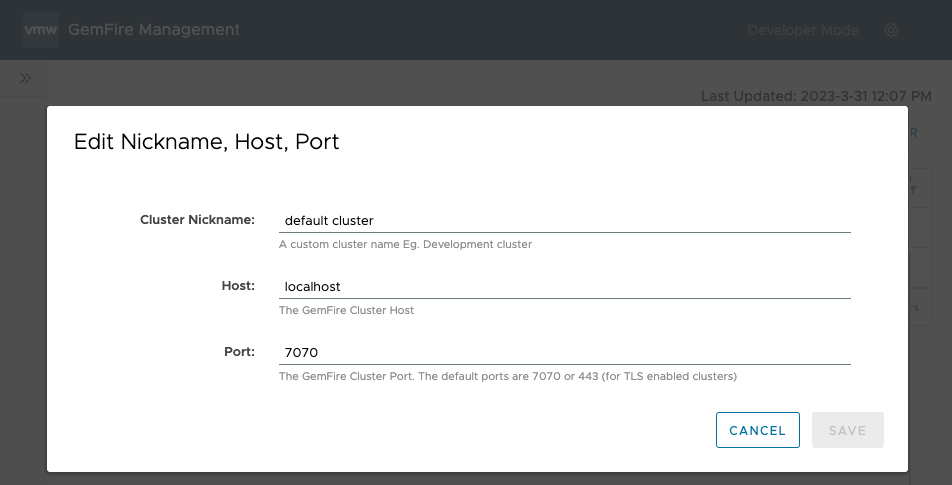
Edit Nickname, Host, Port: Change the Nickname, GemFire Cluster host name, GemFire Cluster port number of the cluster.
-
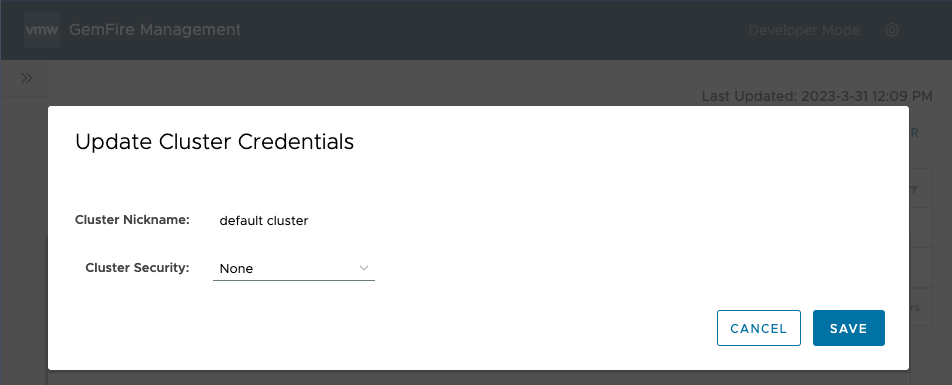
Update Credentials: Update the cluster security settings credentials (username/password or authentication token). You can also change the kind of security used to connect to the cluster. For more information about the security used to connect to clusters, see Cluster Connection.
-
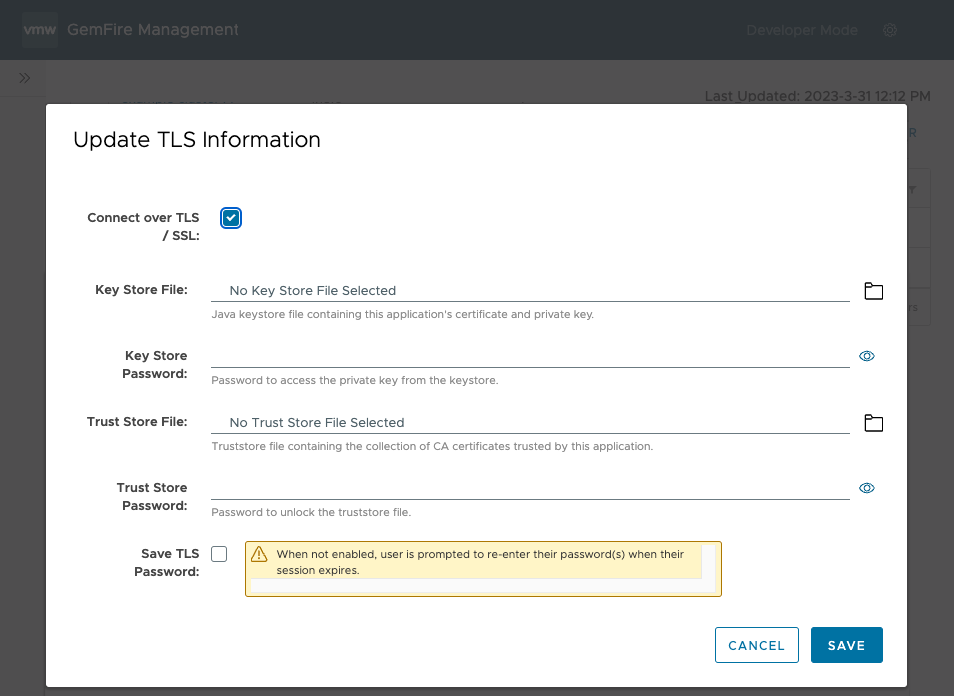
Update TLS Information: Update whether to connect over SSL/TLS and edit the following information about the SSL/TLS connection:
- Key Store File: The Key Store File that contains the certificate and private key for the Management Console.
- Key Store Password: The password needed to access the private key from the Key Store.
- Trust Store File: The Trust Store File that contains the collection of CA certificates trusted by the Management Console.
- Trust Store Password: The password needed to access the private key from the Trust Store.
- Whether or not to save the TLS password. If left unselected, you must re-enter the SSL/TLS passwords after session expiration or logging out and logging back in.
-
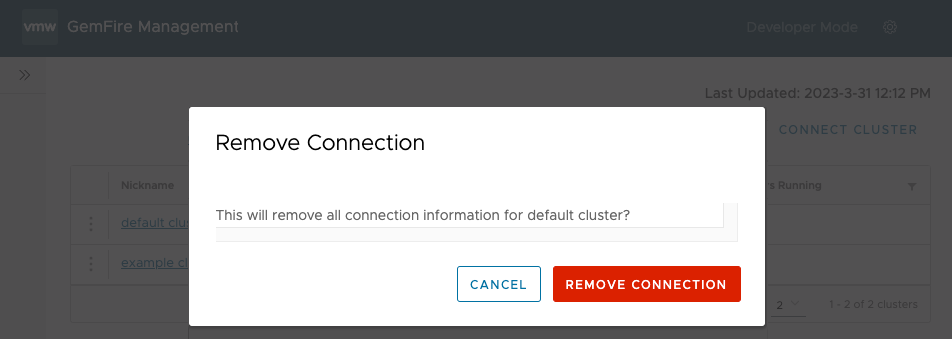
Remove Connection: Remove the connection from the GemFire Management Console. Removing the connection only removes it from the console, and does not shut down or stop the connected cluster.
