This topic explains how to set up the VMware Tanzu GemFire Session Management Extension.
To use the Tanzu GemFire Session Management extension with Tomcat application servers, you must modify Tomcat’s server.xml and context.xml files.
Configuration depends on the topology that you use:
For more information, see Common Topologies for HTTP Session Management.
Client/Server Setup
To run GemFire in a client/server configuration, the application server will operate as a GemFire client. To do this:
-
Add the following line to
$CATALINA_HOME/conf/server.xmlwithin the<Server>tag:<Listener className="org.apache.geode.modules.session.catalina.ClientServerCacheLifecycleListener"/> -
Depending on the version of Tomcat you are using, add one of the following lines to
$CATALINA_HOME/conf/context.xmlwithin the<Context>tag:-
For Tomcat 9.0:
<Manager className="org.apache.geode.modules.session.catalina.Tomcat9DeltaSessionManager"/> -
For Tomcat 10.1:
<Manager className="org.apache.geode.modules.session.catalina.Tomcat10DeltaSessionManager"/>
The application server operates as a GemFire client in this configuration.
-
-
Start the locator and server using
gfsh:gfsh start locator --name=locator1 gfsh start server --name=server1 --locators='localhost[10334]' --server-port=0
Peer-to-Peer Setup
To run GemFire in a peer-to-peer configuration:
-
Add the following line to Tomcat’s
$CATALINA_HOME/conf/server.xmlwithin the<Server>tag:<Listener className="org.apache.geode.modules.session.catalina.PeerToPeerCacheLifecycleListener" locators="localhost[10334]" /> -
Depending on the version of Tomcat you are using, add one of the following lines to
$CATALINA_HOME/conf/context.xmlwithin the<Context>tag:-
For Tomcat 9.0:
<Manager className="org.apache.geode.modules.session.catalina.Tomcat9DeltaSessionManager"/> -
For Tomcat 10.1:
<Manager className="org.apache.geode.modules.session.catalina.Tomcat10DeltaSessionManager"/>
-
Starting the Application Server
After you update the configuration, navigate to your working directory and start your Tomcat instance.
cd ~/workspace
$CATALINA_HOME/bin/startup.sh
Once started, GemFire automatically launches within the application server process.
NoteGemFire session state management provides its own clustering functionality. If you are using GemFire, do not also activate Tomcat clustering.
Verifying that GemFire Started
You can verify that GemFire has successfully started by inspecting Tomcat’s log file, which is located in $CATALINA/logs and named catalina.<DATE>.log, where DATE is in yyy-mm-dd format. Entries show startup entries, such as:
10-May-2023 12:53:14.791 INFO [main] org.apache.catalina.startup.HostConfig.deployDirectory Deployment of web application directory [/Users/workspace/apache-tomcat-10.1.20/webapps/host-manager] has finished in [2,491] ms
10-May-2023 12:53:14.799 INFO [main] org.apache.coyote.AbstractProtocol.start Starting ProtocolHandler ["http-nio-8080"]
10-May-2023 12:53:14.816 INFO [main] org.apache.catalina.startup.Catalina.start Server startup in [16678] milliseconds
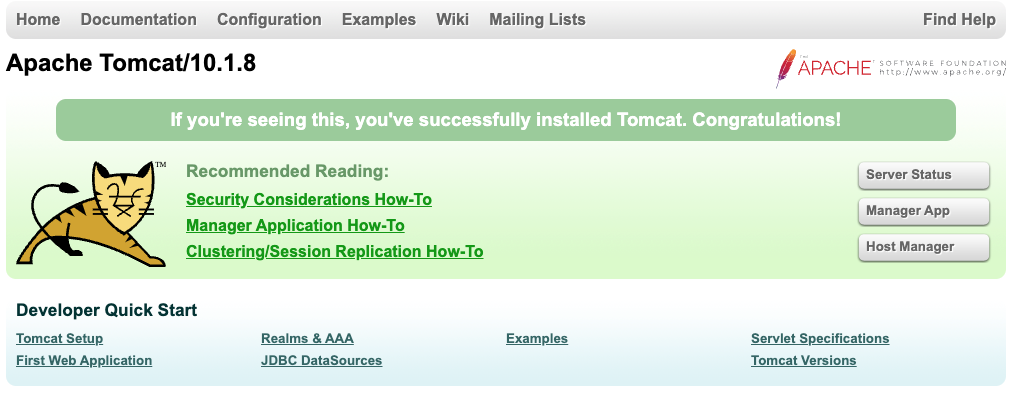
You can also confirm that Tomcat is running by opening a browser and navigating to localhost:8080. If you see the Tomcat home page, your installation was successful.

Troubleshooting Your Tomcat Installation
If you encounter errors when Tomcat stars indicating that GemFire classes are missing or improperly defined, you may find resolution by copying all of the GemFire-provided JAR files to your Tomcat lib directory, then restarting Tomcat.
cd $CATALINA_HOME/lib
cp $GEMFIRE_HOME/lib/*.jar .