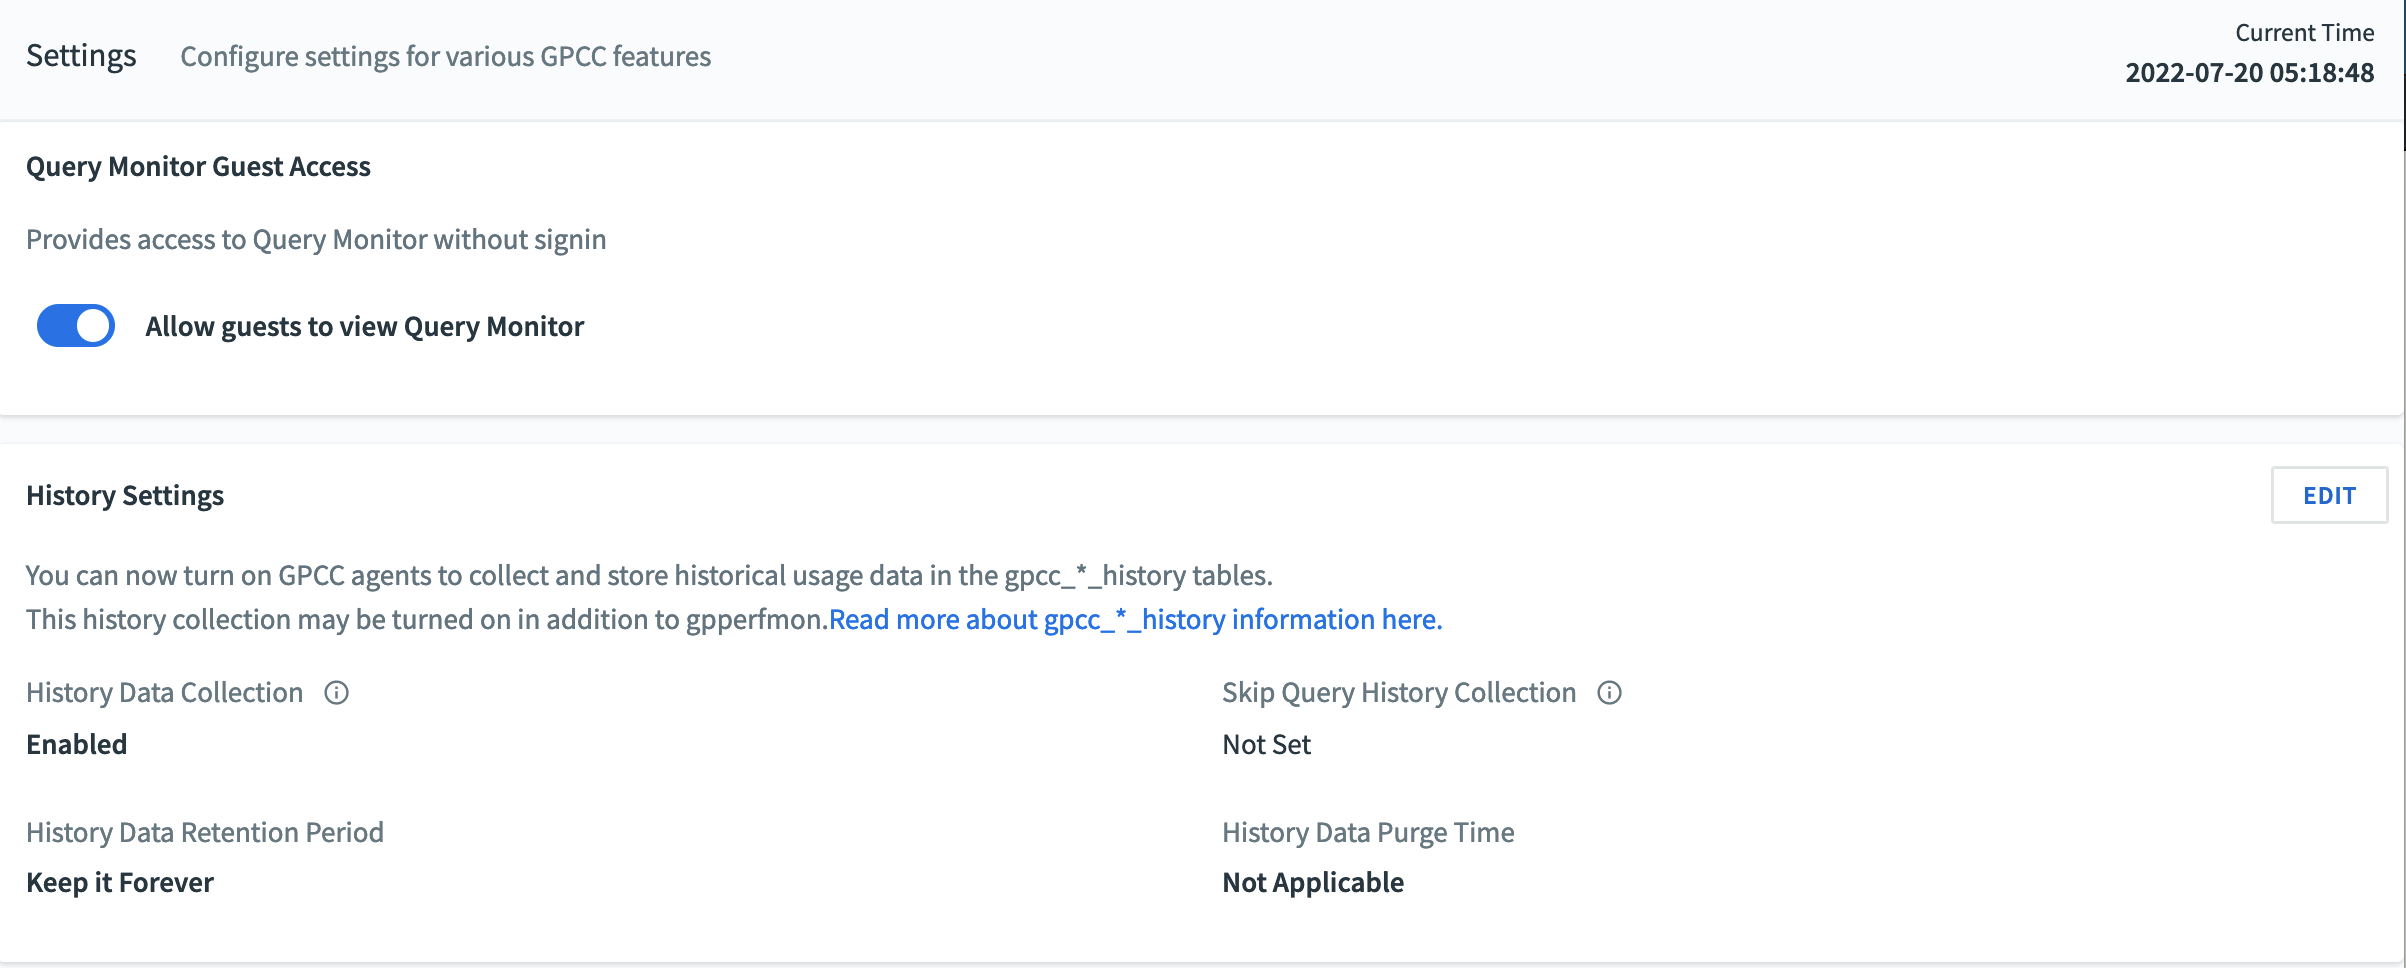
The Admin> Settings view enables Command Center administrators to configure settings for Command Center features.
Query Monitor Guest Access Settings
Turn on Allow guests to view Query Monitor to allow users access to the Query Monitor without logging in. When enabled, the Allow guests to view Query Monitor feature allows anyone with access to the Greenplum Command Center web server to click View Query Monitor on the Command Center sign-in screen and see the Query Monitor page without logging in. These anonymous users cannot cancel queries and cannot access any other Command Center features.
When this feature is off, the View Query Monitor link does not appear on the sign-in screen and anonymous users cannot see the Query Monitor page.
Command Center users with Admin permission can toggle the feature on an off with a mouse click. Users with Operator or Operator Basic permission see a message reporting if the feature is on or off.

History Settings
Turn on Enable GPCC history data collection to save query history, host metrics, and disk usage metrics to tables in the gpperfmon database gp`metrics schema.
Enter a number of seconds to set the minimum runtime for a query to be saved in history. The default is to save all queries. Set this threshold to prevent Command Center from filling history with trivial queries.

This option is enabled by default.
When GPCC history data collection is enabled:
- Command Center saves query and metrics history in the gpmetrics schema tables in the gpperfmon database. Only queries that execute for at least the number of seconds you specify are saved. Query plan node history is only saved for queries that run for at least 10 seconds, or the number of seconds you specify, if greater than 10.
- The Command Center History view displays saved history and metrics from the gpmetrics tables. See gpmetrics Schema Reference for information about the history tables.
- For best system performance, disable the Greenplum Database gpperfmon service if it is running. To disable the service, set the Greenplum Database
gp_enable_gpperfmonserver configuration parameter to off and restart Greenplum Database.
When GPCC history data collection is disabled:
- The Greenplum Databse gpperfmon service saves query and metrics history to the “legacy” history tables, in the gpperfmon database public schema. To use the gpperfmon service, you must create the gpperfmon database with the Greenplum Database
gpperfmon_installmanagement utility and enable the service. - The Command Center History view uses history data collected by the Greenplum Database gpperfmon service. See The gpperfmon Database for information about the gpperfmon service and tables.
Configure Retention Period For History Data
When History data collection is enabled, you may specify how long Command Center stores historical usage data in the gpcc_*_history tables. The default is to keep the data forever.
Using the History Data Retention Period dropdown menu, you may choose to have Command Center keep the data for 3 months, 6 months, 12 months, 24 months, or forever. In addition, for values other than Forever, you may configure the time of day at which Command Center purges the data, in the History Data Purge Time dropdown menu.
Once you have selected values in each of these two dropdown menus, click Save to save your selection.