You run the Apache NiFi user interface to configure a dataflow that uses the VMware Greenplum Connector for Apache NiFi to load data into Greenplum Database.
The Apache NiFi user interface operates on the following components:
- FlowFile - an object moving through the system; may be record-based
- Processor - the interface through which NiFi provides access to a FlowFile; routes, transforms, extracts information from a FlowFile
- Relationship - one or more routes to which a FlowFile is transferred from a Processor
- Connection - a link between Processors that represents one or more Relationships
- Controller Service - an extension that provides information for use by other components; for example, a service to: configure SSL, configure Greenplum Database connection properties, or serialize CSV data into a record-oriented format
A dataflow that you create with the Apache NiFi user interface to load data into Greenplum will link multiple processors, one of which will be the Connector PutGreenplumRecord processor.
This topic provides a basic introduction to using the Apache NiFi user interface to create a dataflow. Refer to the Apache NiFi User Interface Documentation for detailed information about using this interface.
Launching the Apache NiFi User Interface
The Apache NiFi user interface is an interactive interface through which you create and manage automated dataflows. You run the NiFi user interface in a browser window by specifying the following URL: http://<nifi_hostname>:<nifi_port>/nifi.
The default NiFi port number is 8080. To determine the port number for your installation, examine the nifi.web.http.port property setting in the $NIFI_HOME/conf/nifi.properties file and note the value.
If you are running NiFi on your local system using the default port, entering the following URL in a browser window to launch the NiFi user interface:
http://localhost:8080/nifi
When you start the NiFi user interface, you are presented a canvas on which you create your dataflow.

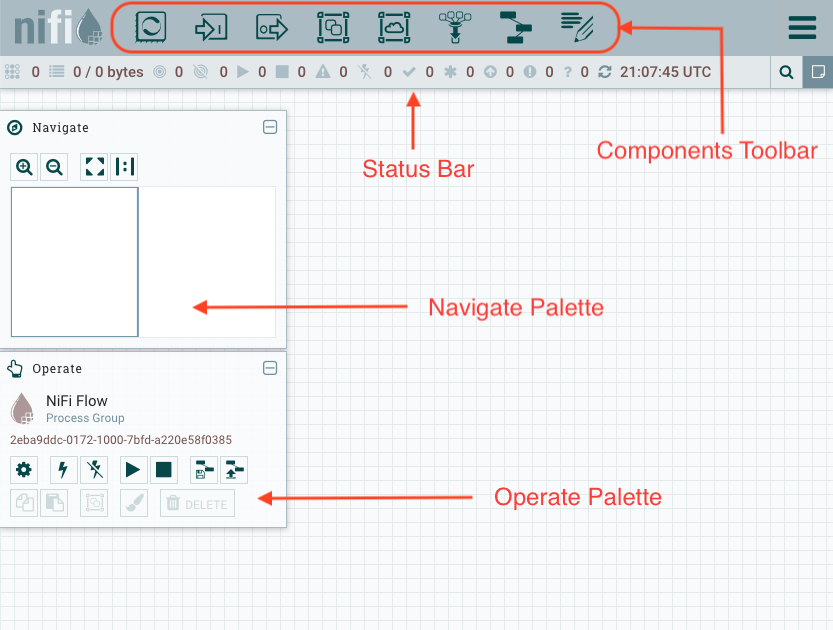
The Apache NiFi canvas includes:
- A Components Toolbar that consists of the components that you can drag and drop on to the NiFi canvas.
- An Operate Palette that includes buttons that allow you to manage the flow; you can configure, activate/deactivate, start/stop, or delete a component. You can also manage user access and configure system properties from this palette.
- A Status Bar that provides runtime information about the flow, including thread counts, data transfer amounts, and a refresh timestamp.
- A Navigate Palette that allows you to pan around the canvas.
The canvas also provides component search capabilities, and a global menu whose options allow you to manipulate components on the canvas.
Creating a DataFlow
To create a dataflow, you drag and drop Processor components on to the NiFi canvas and then connect them with a Connection component.
Adding a Processor to the Canvas
The Processor icon is located in the NiFi Component Toolbar:

To add a Processor to the canvas:
-
Drag a Processor component from the Component Toolbar to the canvas and drop it there.
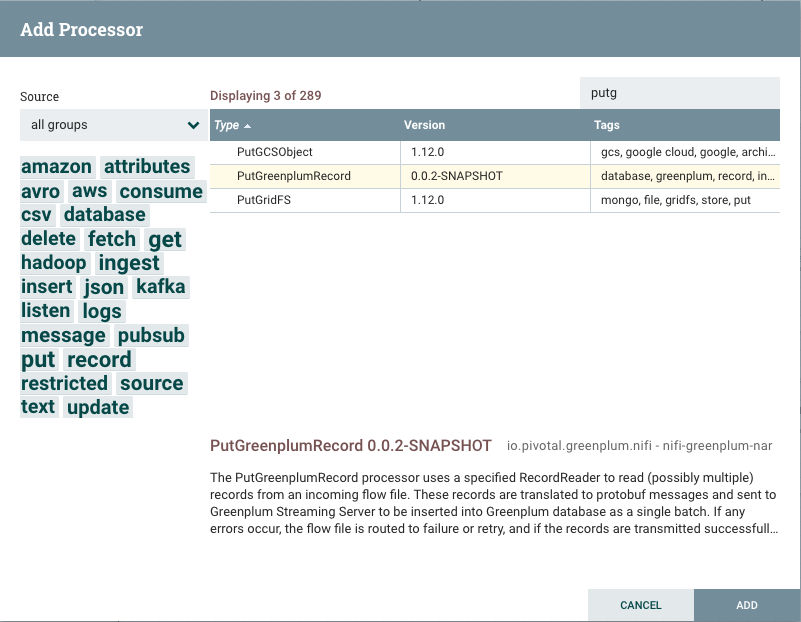
The Add Processor dialog displays:

-
Choose the Processor you want to add by scrolling through the list, selecting a search term from the left pane, or entering the processor name in the Filter field in the upper right corner of the dialog.
-
Select the desired Processor from the table, and double-click or press ADD.
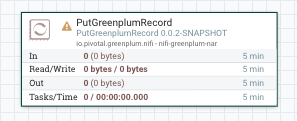
The Add Processor dialog closes, and the Processor component is added to the canvas.

A processor component that you add to the canvas is in the stopped state.
Refer to Adding Components to the Canvas in the Apache NiFi documentation for detailed information about adding a processor.
About the Context Menu
You most often interact with a component on the canvas via its context menu, which you display by right-clicking on the component. The menu options available vary based on the type of component and your privileges, and include Configure, Start, and Enable/Disable items.
You can operate on one or more selected components on the canvas via the buttons on the Operate Palette.
After you add a processor, you must Configure it; configuration properties are processor-specific. For example, Configuring the Connector describes the configuration properties for the PutGreenplumRecord processor.
Connecting Processors in a DataFlow
You initiate a relationship by connecting processors in a dataflow. Connect processors by hovering over the source processor, clicking the connection icon ![]() (the green highlighted arrow) in the source processor, and dragging and dropping it on to the destination processor.
(the green highlighted arrow) in the source processor, and dragging and dropping it on to the destination processor.
The Create Connection dialog displays. You use the DETAILS and SETTINGS tabs on this dialog to configure the connection, including its name, thresholds, prioritization, and load balance strategy.
Connecting Components in the Apache NiFi documentation describes the available connection configuration properties.
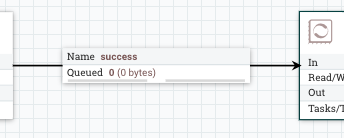
A connection is represented on the NiFi canvas as an object between the processors, and includes a line with a directed arrow from source to destination:

Starting the DataFlow
A processor component that you add to the canvas is in the stopped state. A processor must be enabled and started before it can be triggered. The processor scheduling strategy determines when and how a processor is triggered.
Start a component by right-clicking on the component and selecting Start from the component context menu. Or, start multiple components by selecting each component that you want to start, and pressing the start button ![]() in the Operate Palette.
in the Operate Palette.
Additional Apache NiFi References
Check out these Apache NiFi documentation references for more detailed information about the framework: