You can deploy a tenant using Service Center.
Prerequisites
Confirm that the Domain Join and Domain Bind accounts have been created, permissions are properly assigned, accounts are located in the proper OUs, and static DNS A records have been created.
Procedure
- On the Tenants tab in Service Center, click register a tenant.

- Fill out the General Info tab.
- On the Networks tab, click the Add button next to the data center name.

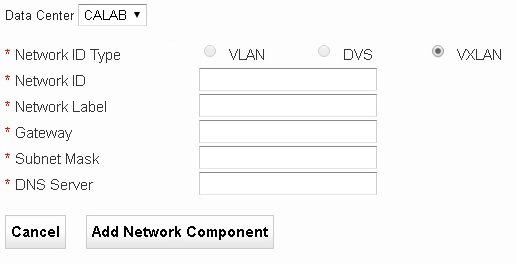
- Enter the network information from the Tenant Installation Worksheet.
- For standard VLANs, use the VLAN ID in the Network ID text box. For example, 1027.
- For DVS Port Groups, use the Port Group Name in the Network ID text box. For example, dvs-TenantA-Desktops-01.
- For VXLANs, truncate the beginning of the VXLAN name up to the SID and keep the rest when entering the name into the Network ID text box. For example:
- Name in vCenter: vxw-dvs-100-universalwire-24-sid-50017-NSX-U-VCAN-DEMO-DESKTOP-01
- Truncated name to use in Service Center: 50017-NSX-U-VCAN-DEMO-DESKTOP-01
- Click Save and Create Appliances.
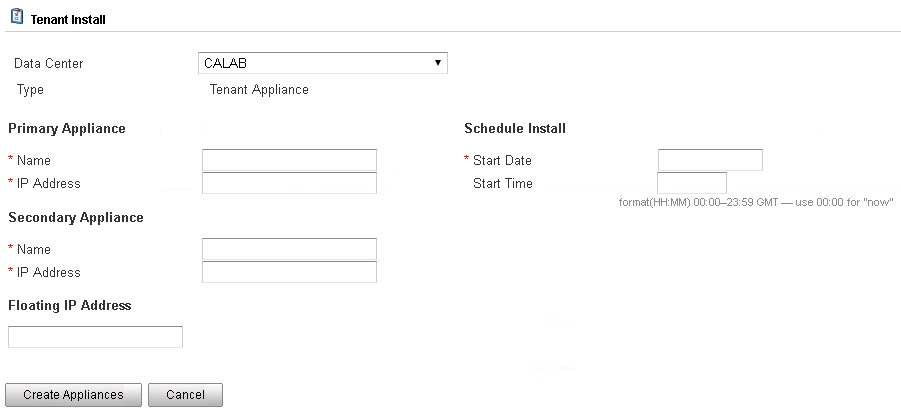
- On the next page, fill out the tenant appliance information and click Create Appliances.
- To monitor appliance reservations, click appliances > reservations.
Note: Wait until the tenant appliances have deployed before proceeding.
- If you are using a single vCenter Server configuration and you have not already made this setting, you must set the allow.shared.hostmanager policy to
true.Important: Using a single vCenter Server configuration is not considered a best practice for production environments. Use this configuration for demonstration or limited-use environments only.- In Service Center, click tenants > policy.
The Policy configuration page displays.
- Click an empty area of the page to the right or left of the policy list.
- Type
dtpolicy.Additional hidden policies display in the list. - If allow.shared.hostmanager is set to
false(the default value), double-click on the wordfalseto edit the value. - Enter
trueand click OK.
- In Service Center, click tenants > policy.
- Add a Tenant-dedicated vCenter to the Compute Resources.
- Select service grid > resources.

- Click the Compute Resources tab, then the Add Host Manager tab.
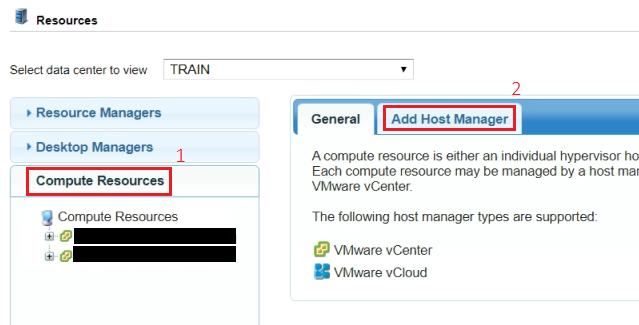
- Enter the FQDN and credentials of the vCenter Server you want to add, select resource managers from the drop-down menu, then click Add.
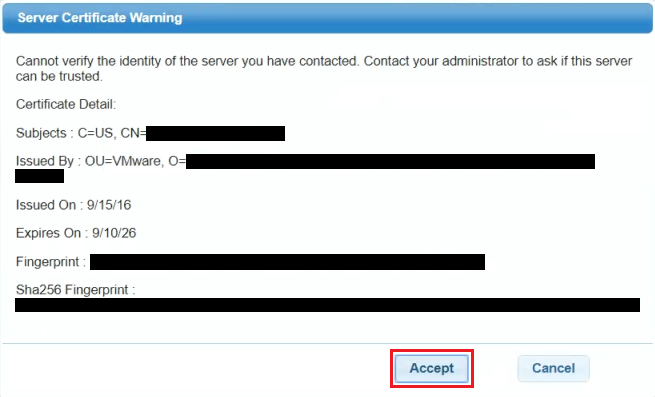
- Accept the certificate.
- Select service grid > resources.
- Assign resources by performing the following steps.
- Click service grid > resources.
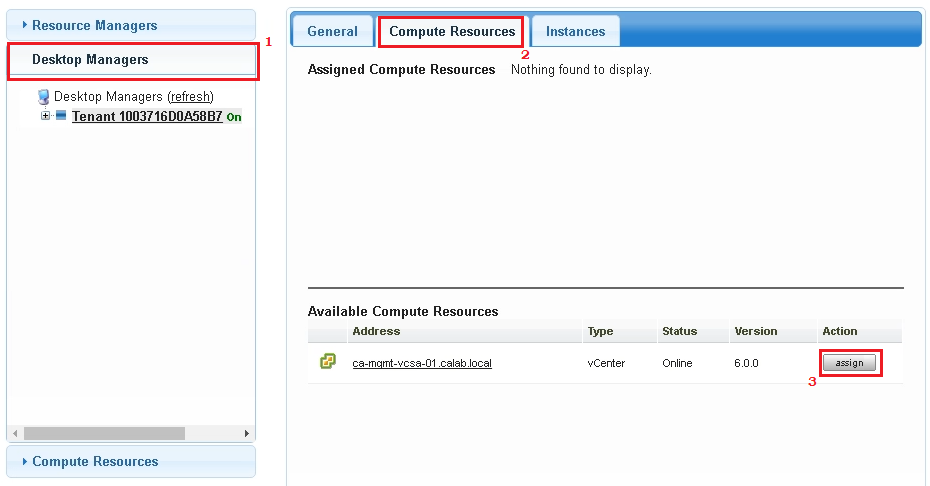
- On the Desktop Managers tab, click the Tenant name and then click the Compute Resources tab.
- Select the appropriate vCenter Server and click Assign.
- Select the cluster.
- Select the tenant and network under Usage.
- To dedicate this cluster to a single tenant, confirm that the Share this Compute Resource check box is not selected, then click Save.
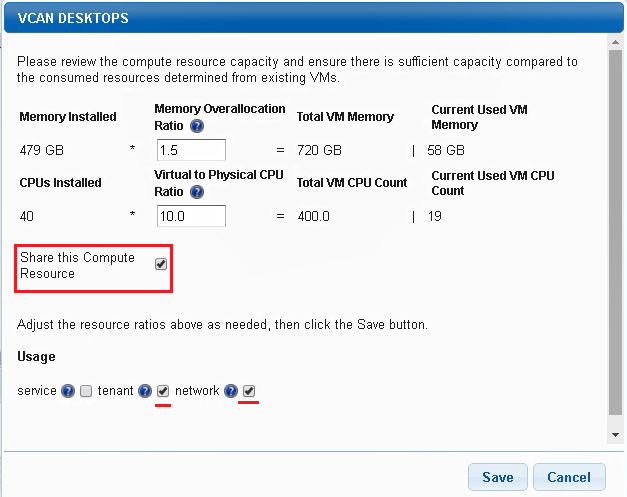
- To share this cluster across multiple tenants, confirm that the Share this Compute Resource check box is selected, then click Save.
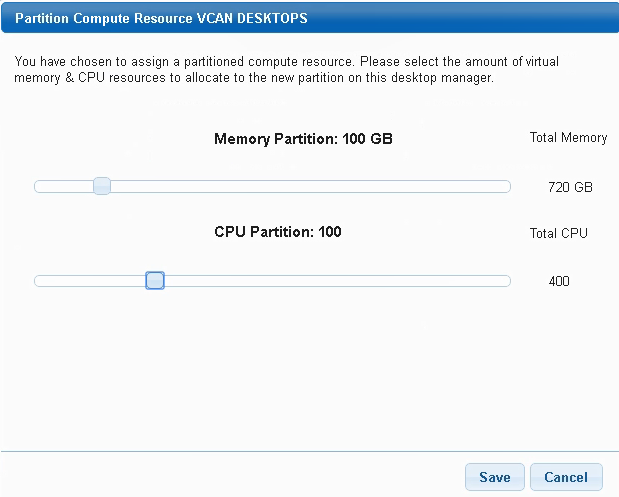
- On the following page, select the required Memory Partition and CPU Partition and click Save.
- On the Desktop Managers tab, click the Networks tab, then click the Assign button next to the network resource designated for this tenant.

- Click service grid > resources, click the Desktop Managers tab, and then click the Datastores tab.
- Enter the Datastore name as seen in vCenter, then click Submit.
- Because this is a regex text box, you can enter more complex strings, such as:
Tenant1-SSD-01 | Tenant2-SSD-02Tenant1-SSD-*

- Use the Datastore name as seen in vCenter Datastores and Datastore Clusters.

- Because this is a regex text box, you can enter more complex strings, such as:
- Configure User Licenses and Desktop Capacity.
- In Service Center, click tenants > browse tenants.
- Click the Edit button next to the appropriate tenant.
- Select the Quotas tab.
- Modify the User License text box.
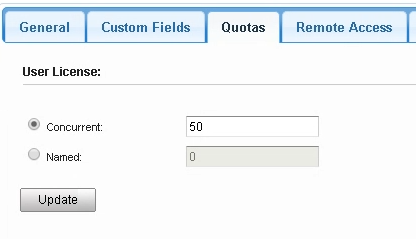
- Click that section’s Update button.
- Select the data center from the drop-down menu under Desktop Capacity, then assign the desired desktop capacity.

- Click that section’s Update button.
- Select the data center from the drop-down menu under Template Quota, then assign the desired template quota.
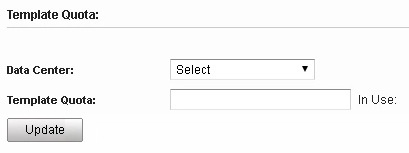
- Click that section’s Update button.
- Apply Certificates (this step can be performed at another time).
- In Service Center, click Tenants > Browse Tenants, then click the Edit button next to the appropriate tenant.
- Click the Certificates tab.
- Browse and select the appropriate files for the CA Certificate, SSL Certificate, and SSL Key, then click Submit.

- Click the Click here link on the same page to initiate a rolling reboot on the appliances to finish the certificate installation.