This topic describes the procedure for upgrading your service provider appliance.
Procedure
- Log into the Horizon Version Manager portal.

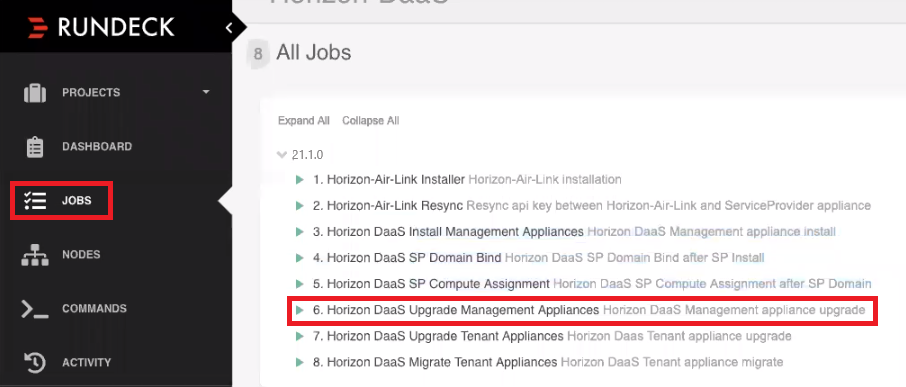
- Click Jobs > Horizon DaaS Upgrade Management Appliances.
 Note: Appliances must be in the root folder in vCenter. If not, the system cannot find the specified VMs and the job fails.
 - Fill out the info based on the details in the Service Provider Upgrade Worksheet and click Run Job Now.
Note: If you did not change the Template OVA password, the value in the Default-Template-Password text box must be Desktone1.
- Click the top left Log Output button and monitor the upload status on the bottom left of the browser page.
If your job fails at this point with error:
Appliance# already exists
then delete from the disk the VMs in the vCenter folder named 21.1.0.x.x. - The following output appears in the log when the job has finished successfully:

You can also scroll to the top of the page and verify that the job has a green check next to the job name.

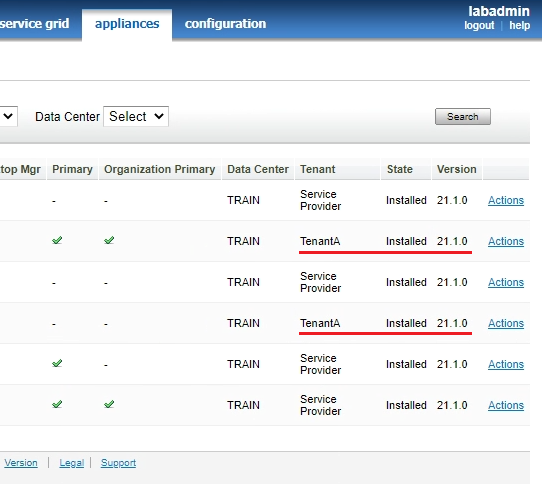
- Verify the new version:
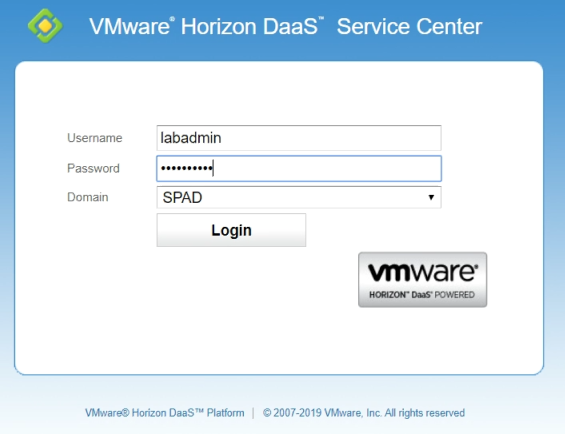
- Log into Service Center using the new IP address.

- Click the Version hyperlink at the bottom of the page.

You can also click appliances and see the updated versions.

- Log into Service Center using the new IP address.
- Update DNS records so that the records for Service Provider appliance A point to the new IP addresses.
Note: If you have any bookmarks pointing to the old vCenter IP, you must update them.
- If you are using a single vCenter Server configuration, after the tenant appliances are deployed you must set the allow.shared.hostmanager policy to
true.Important: Using a single vCenter Server configuration is not considered a best practice for production environments. Use this configuration for demonstration or limited-use environments only.- In Service Center, click tenants > policy.
The Policy configuration page displays.
- Click an empty area of the page to the right or left of the policy list.
- Type
dtpolicy.Additional hidden policies display in the list. - If allow.shared.hostmanager is set to
false(the default value), double-click on the wordfalseto edit the value. - Enter
trueand click OK.
- In Service Center, click tenants > policy.