Run the VMware Identity Manager Connector installer on a Windows server that meets all the requirements.

Prerequisites

  • Ports 80, 443, and 8443 must be available on the Windows server. If these ports are being used by other services, you will not be able to install the VMware Identity Manager connector.
  • The Windows server must be joined to the Active Directory domain, and you must install the VMware Identity Manager connector as a domain user that is also part of the administrator group on the Windows server on which you are installing, in the following cases:
    • If you plan to connect to Active Directory over Integrated Windows Authentication
    • If you plan to use Kerberos authentication
    • If you plan to integrate Horizon View with VMware Identity Manager and want to use the Perform Directory Sync or Configuring 5.x Connection Server options

    In these cases, you must also choose to run the IDM Connector service as a domain user. This option appears in the installation wizard.

  • For the installer to be able to browse to and validate domains and users during installation, the following requirements must be met.
    • The Windows server must be domain joined.
      Note: This is required only if you need to select a domain user to run the IDM Connector service. See the previous bullet for the scenarios to which the requirement applies.
    • The Computer Browser service might need to be enabled and running to browse domains.
    • NetBIOS over TCP/IP must be enabled.
    • A primary browser system should be configured on the network.
    • Broadcast traffic should be enabled on the network.

Procedure

  1. Download the VMware Identity Manager Connector Installer for Windows.
    You can download the installer from the VMware Identity Manager product page on My VMware, or from My Workspace ONE.
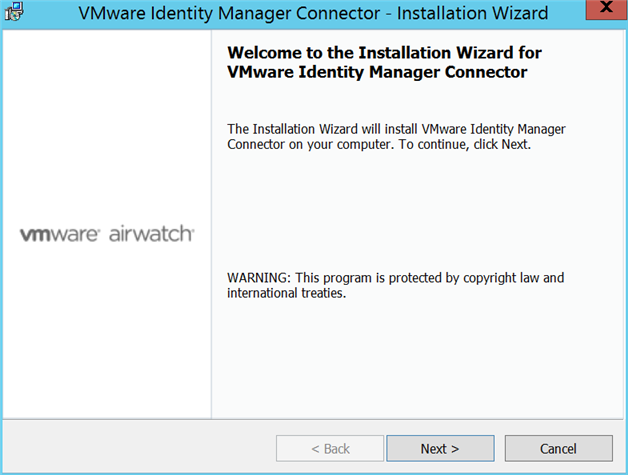
  2. Double-click the installer file to run the VMware Identity Manager Connector installation wizard.

    installer

  3. On the Welcome page, click Next.
    The installer verifies prerequisites on the server. If .NET Framework is not installed, you are prompted to install it and to restart the server. After restarting, run the installer again to resume the installation process.
    If a previous version is installed, the installer auto-detects it and offers the option to upgrade to the latest version.
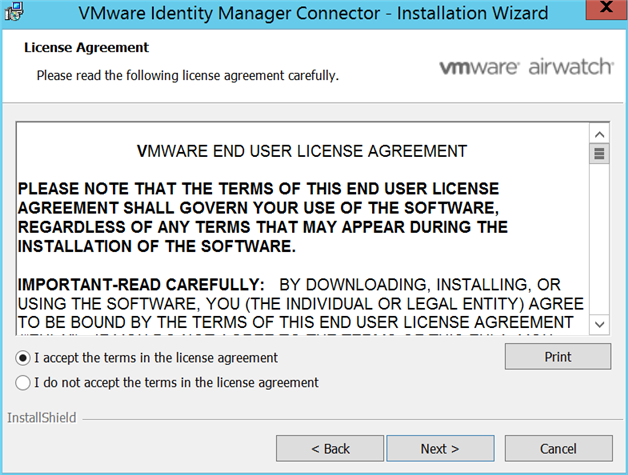
  4. Read and accept the VMware End User License Agreement, then click Next.

    Accept terms

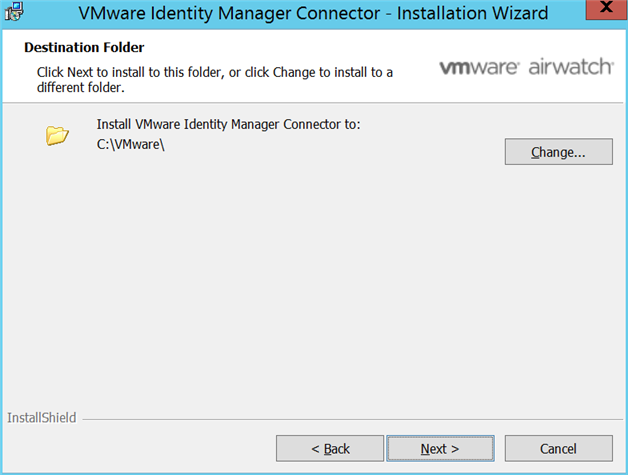
  5. Select the folder in which to install the VMware Identity Manager Connector.
    By default C:\VMware is selected.

    select destination folder

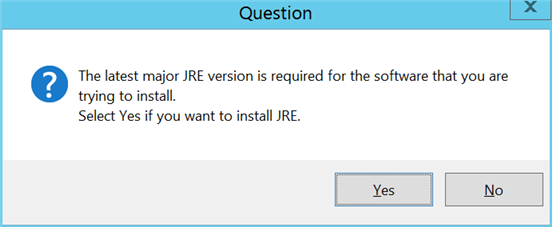
  6. If the latest, major version of the Java Runtime Environment (JRE™) is not already installed on the Windows server, the following pop-up appears.

    Iinstall JRE prompt

    Click Yes to install JRE. The installation takes a few minutes. Existing JRE versions are not deleted when the required version is installed.
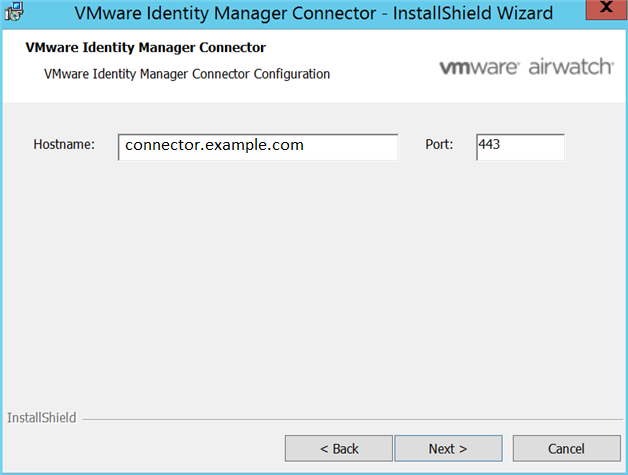
  7. In the VMware Identity Manager Configuration page, enter a host name and port for the connector.
    Specify the host name as a fully-qualified domain name (FQDN). For example, connector.example.com.
    Note: The name should match the domain to which the server is joined, if applicable.
    The default port is 443. Only 443 is supported for the VMware Identity Manager connector.

    Connector Configuration

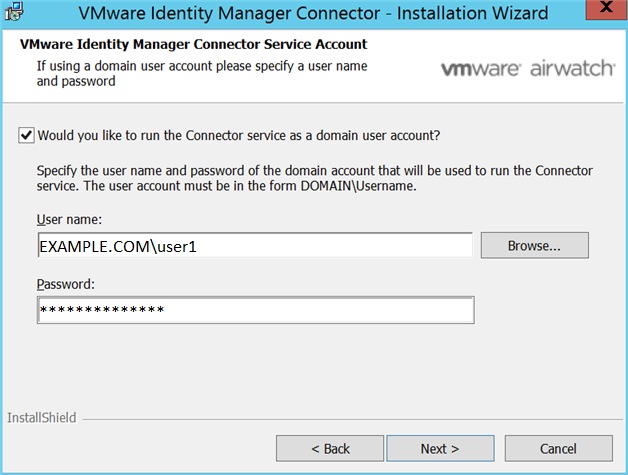
  8. In the VMware Identity Manager Connector Service Account page, if you want to run the Connector service as a domain user account, select the option and enter the user name and password of the domain user account.
    You must run the service as a domain user in the following cases:
    • If you plan to connect to Active Directory over Integrated Windows Authentication
    • If you plan to use Kerberos authentication
    • If you plan to integrate Horizon View with VMware Identity Manager and want to use the Perform Directory Sync or Configuring 5.x Connection Server options

    Service account page

    Note: If you are unable to locate domains or users when you click Browse, verify that you have met all the prerequisites.
  9. Click Next.
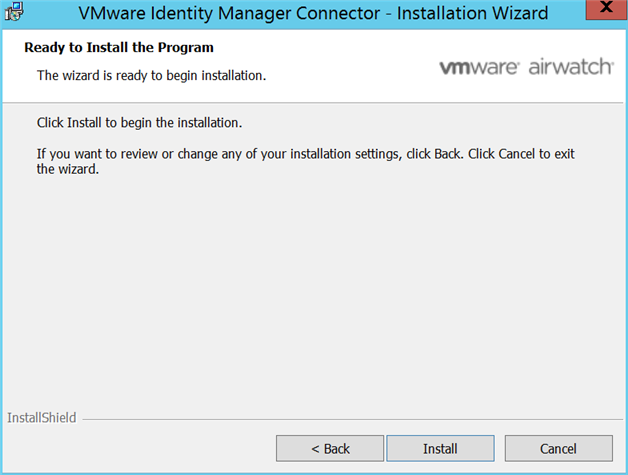
  10. In the Ready to Install the Program page, click Install.

    ready to install page

    The installation takes a few minutes.
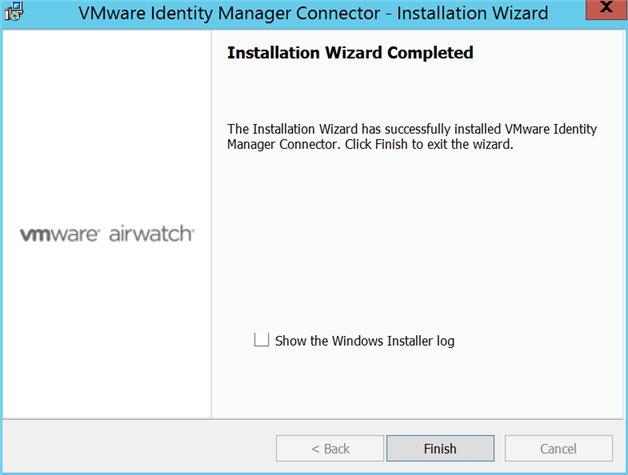
  11. When the Installation Wizard Completed page appears, click Finish.

    installation completed

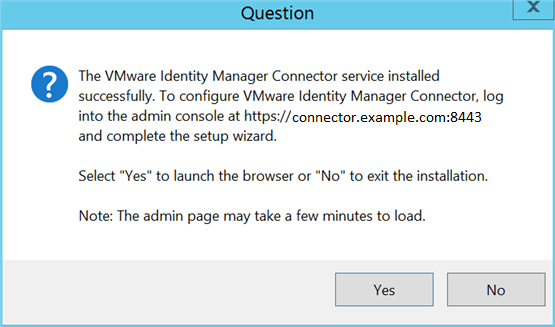
    The following pop-up appears, listing the URL to go to complete the setup wizard for the connector.
    pop-up with link to connector setup page

    The URL points to the connector admin pages at https://connectorhostname:8443.

What to do next

Go to the URL listed and complete the setup wizard for the connector.