


This section discusses how to configure Custom DNS using UI.
Uploading Python Script
A python script is uploaded to NSX Advanced Load Balancer to use a custom DNS profile option.
Navigate to and click Create to upload the script.
Provide DNS name and upload the script as the code to handle DNS records, for instance, update and delete the DNS records.
The script has the following methods used:
Create and update record
Delete record
In this example, the following parameters are used while uploading the script to NSX Advanced Load Balancer :
username: admin
password: password (It is marked as sensitive)
wapi version: v2.0
Server: IP address of the DNS provider
These parameters (provider-specific information) are used to communicate with DNS providers.
The above parameters are provided for example purpose only. Based on the method used in the script, the parameters are passed to the script.
Creating Custom DNS Profile
Navigate to the and click Create button to begin. Name the profile.
Select Custom DNS from the Type drop-down menu.
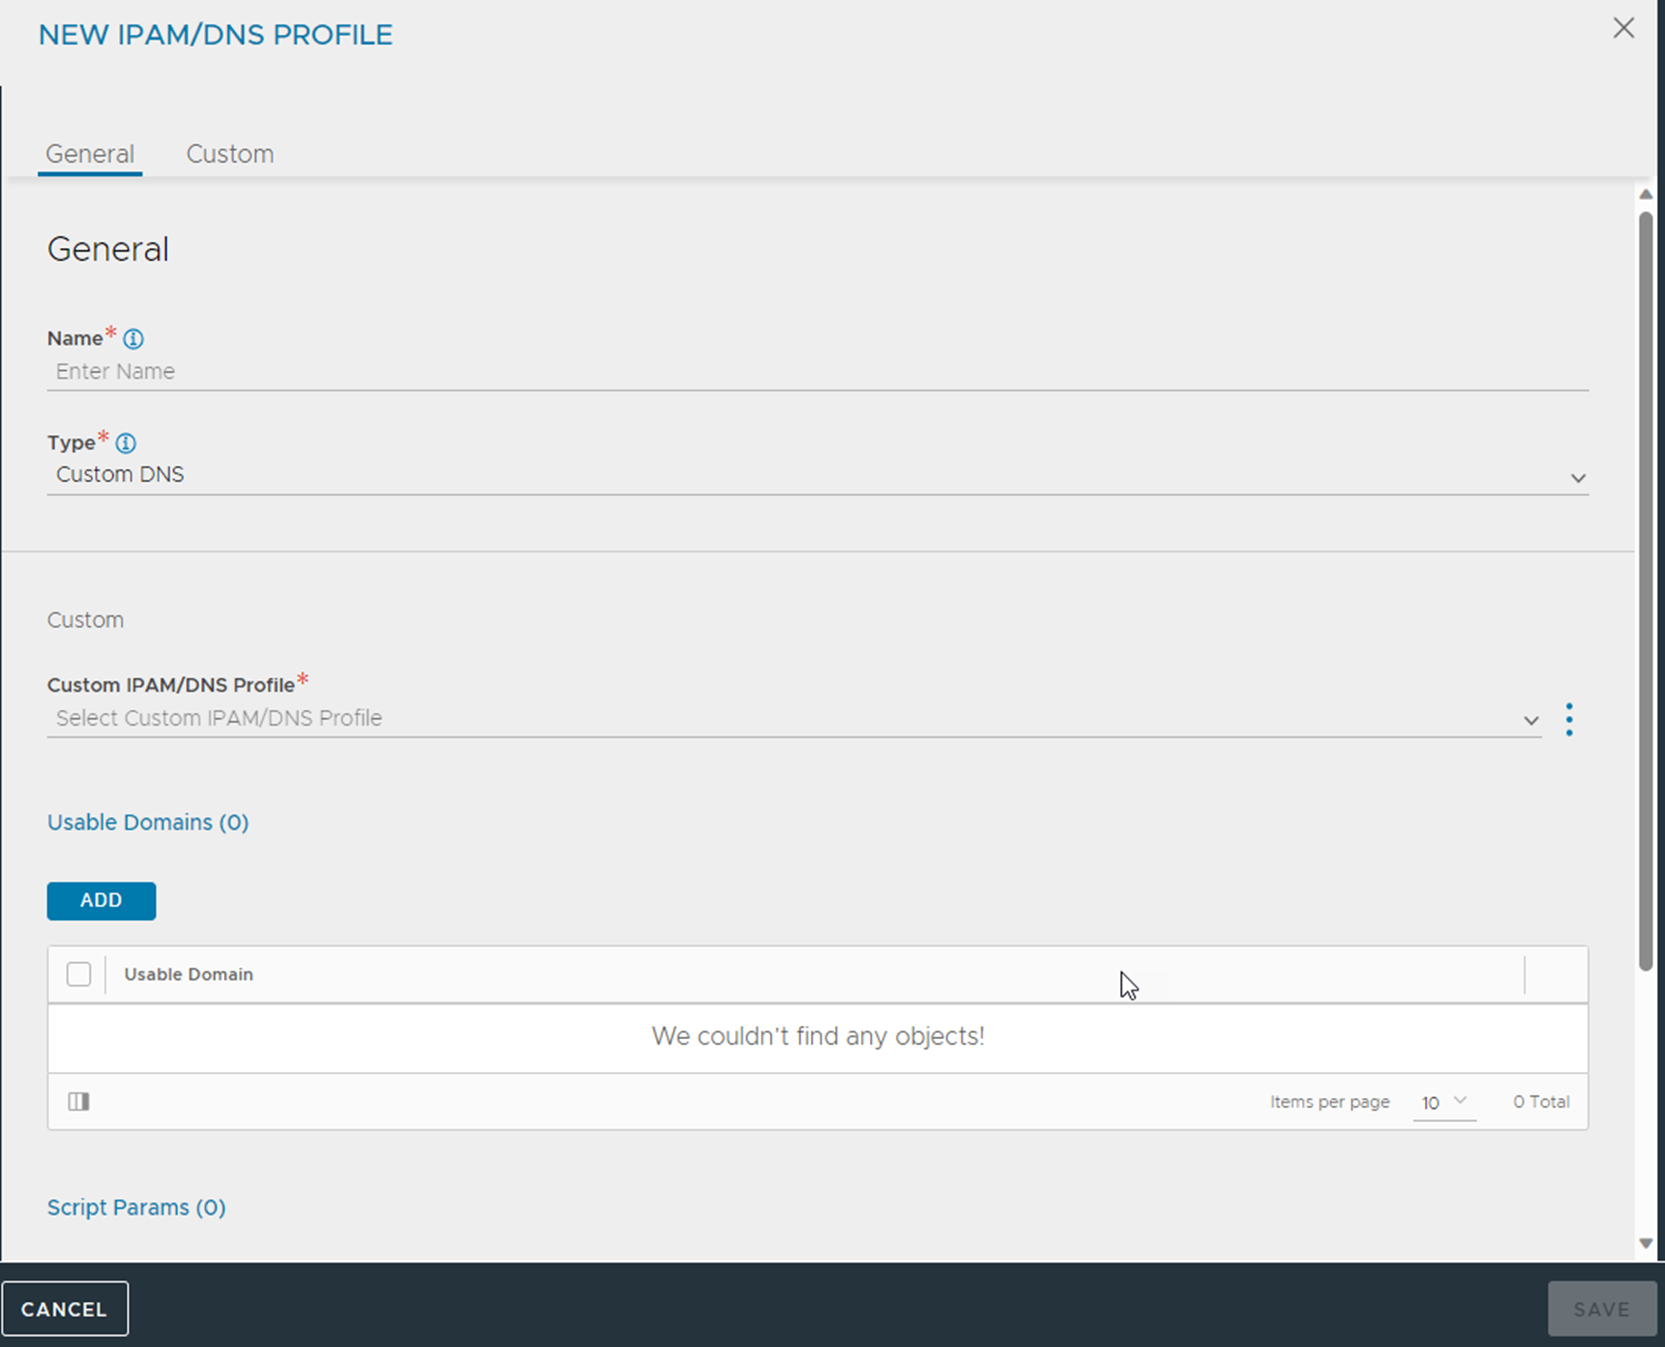
Choose Custom DNS created in the previous step and provide the additional provider-specific parameters, as shown below:
network_view: In this case, it is the default network view.dns_view: In this case, it is the default DNS view.
The additional parameters provided above and usable domains are optional fields. But, they help in provisioning virtual service automatically with the required attributes.
Using the same script, multiple usable domains can be created.
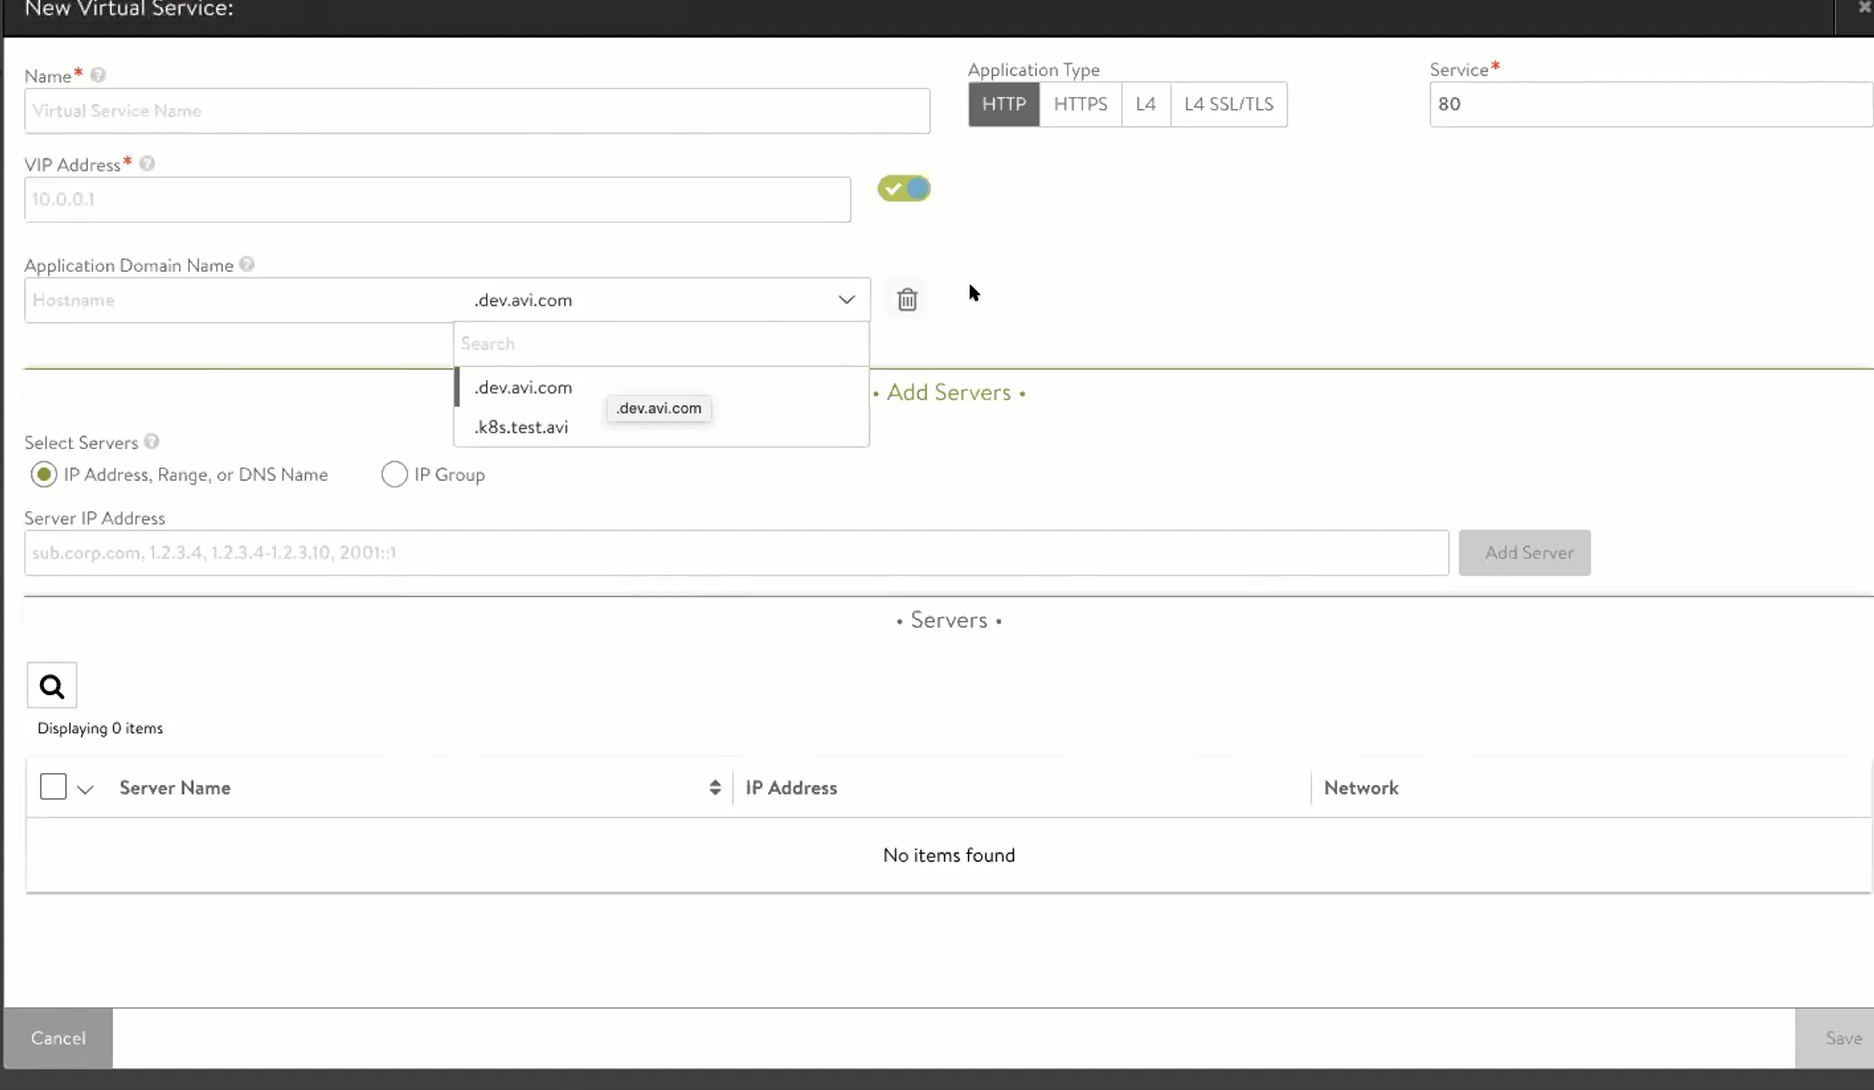
While provisioning the virtual service, the option to choose among multiple domains are available under Application Domain Name as shown below.
Using Custom DNS Profile for Cloud Deployment
To associate the custom DNS option for the cloud, navigate to and use the DNS profile created in the previous steps.
Creating Virtual Service
The following are the steps to create virtual service:
Navigate to .
Click Create to create a new virtual service which will use the Custom DNS profile for registering domain automatically. Specify the following details for the virtual service:
Name: Name of the virtual service.
VIP address: IP address of the virtual service.
Application Domain Name: Use the usable domain provided while creating the custom DNS profile.
Servers: IP address of the backend server.
Once the virtual service creation is successful, the FQDN will be registered with the virtual service.
The same domain will be registered at the DNS provider site as well.
