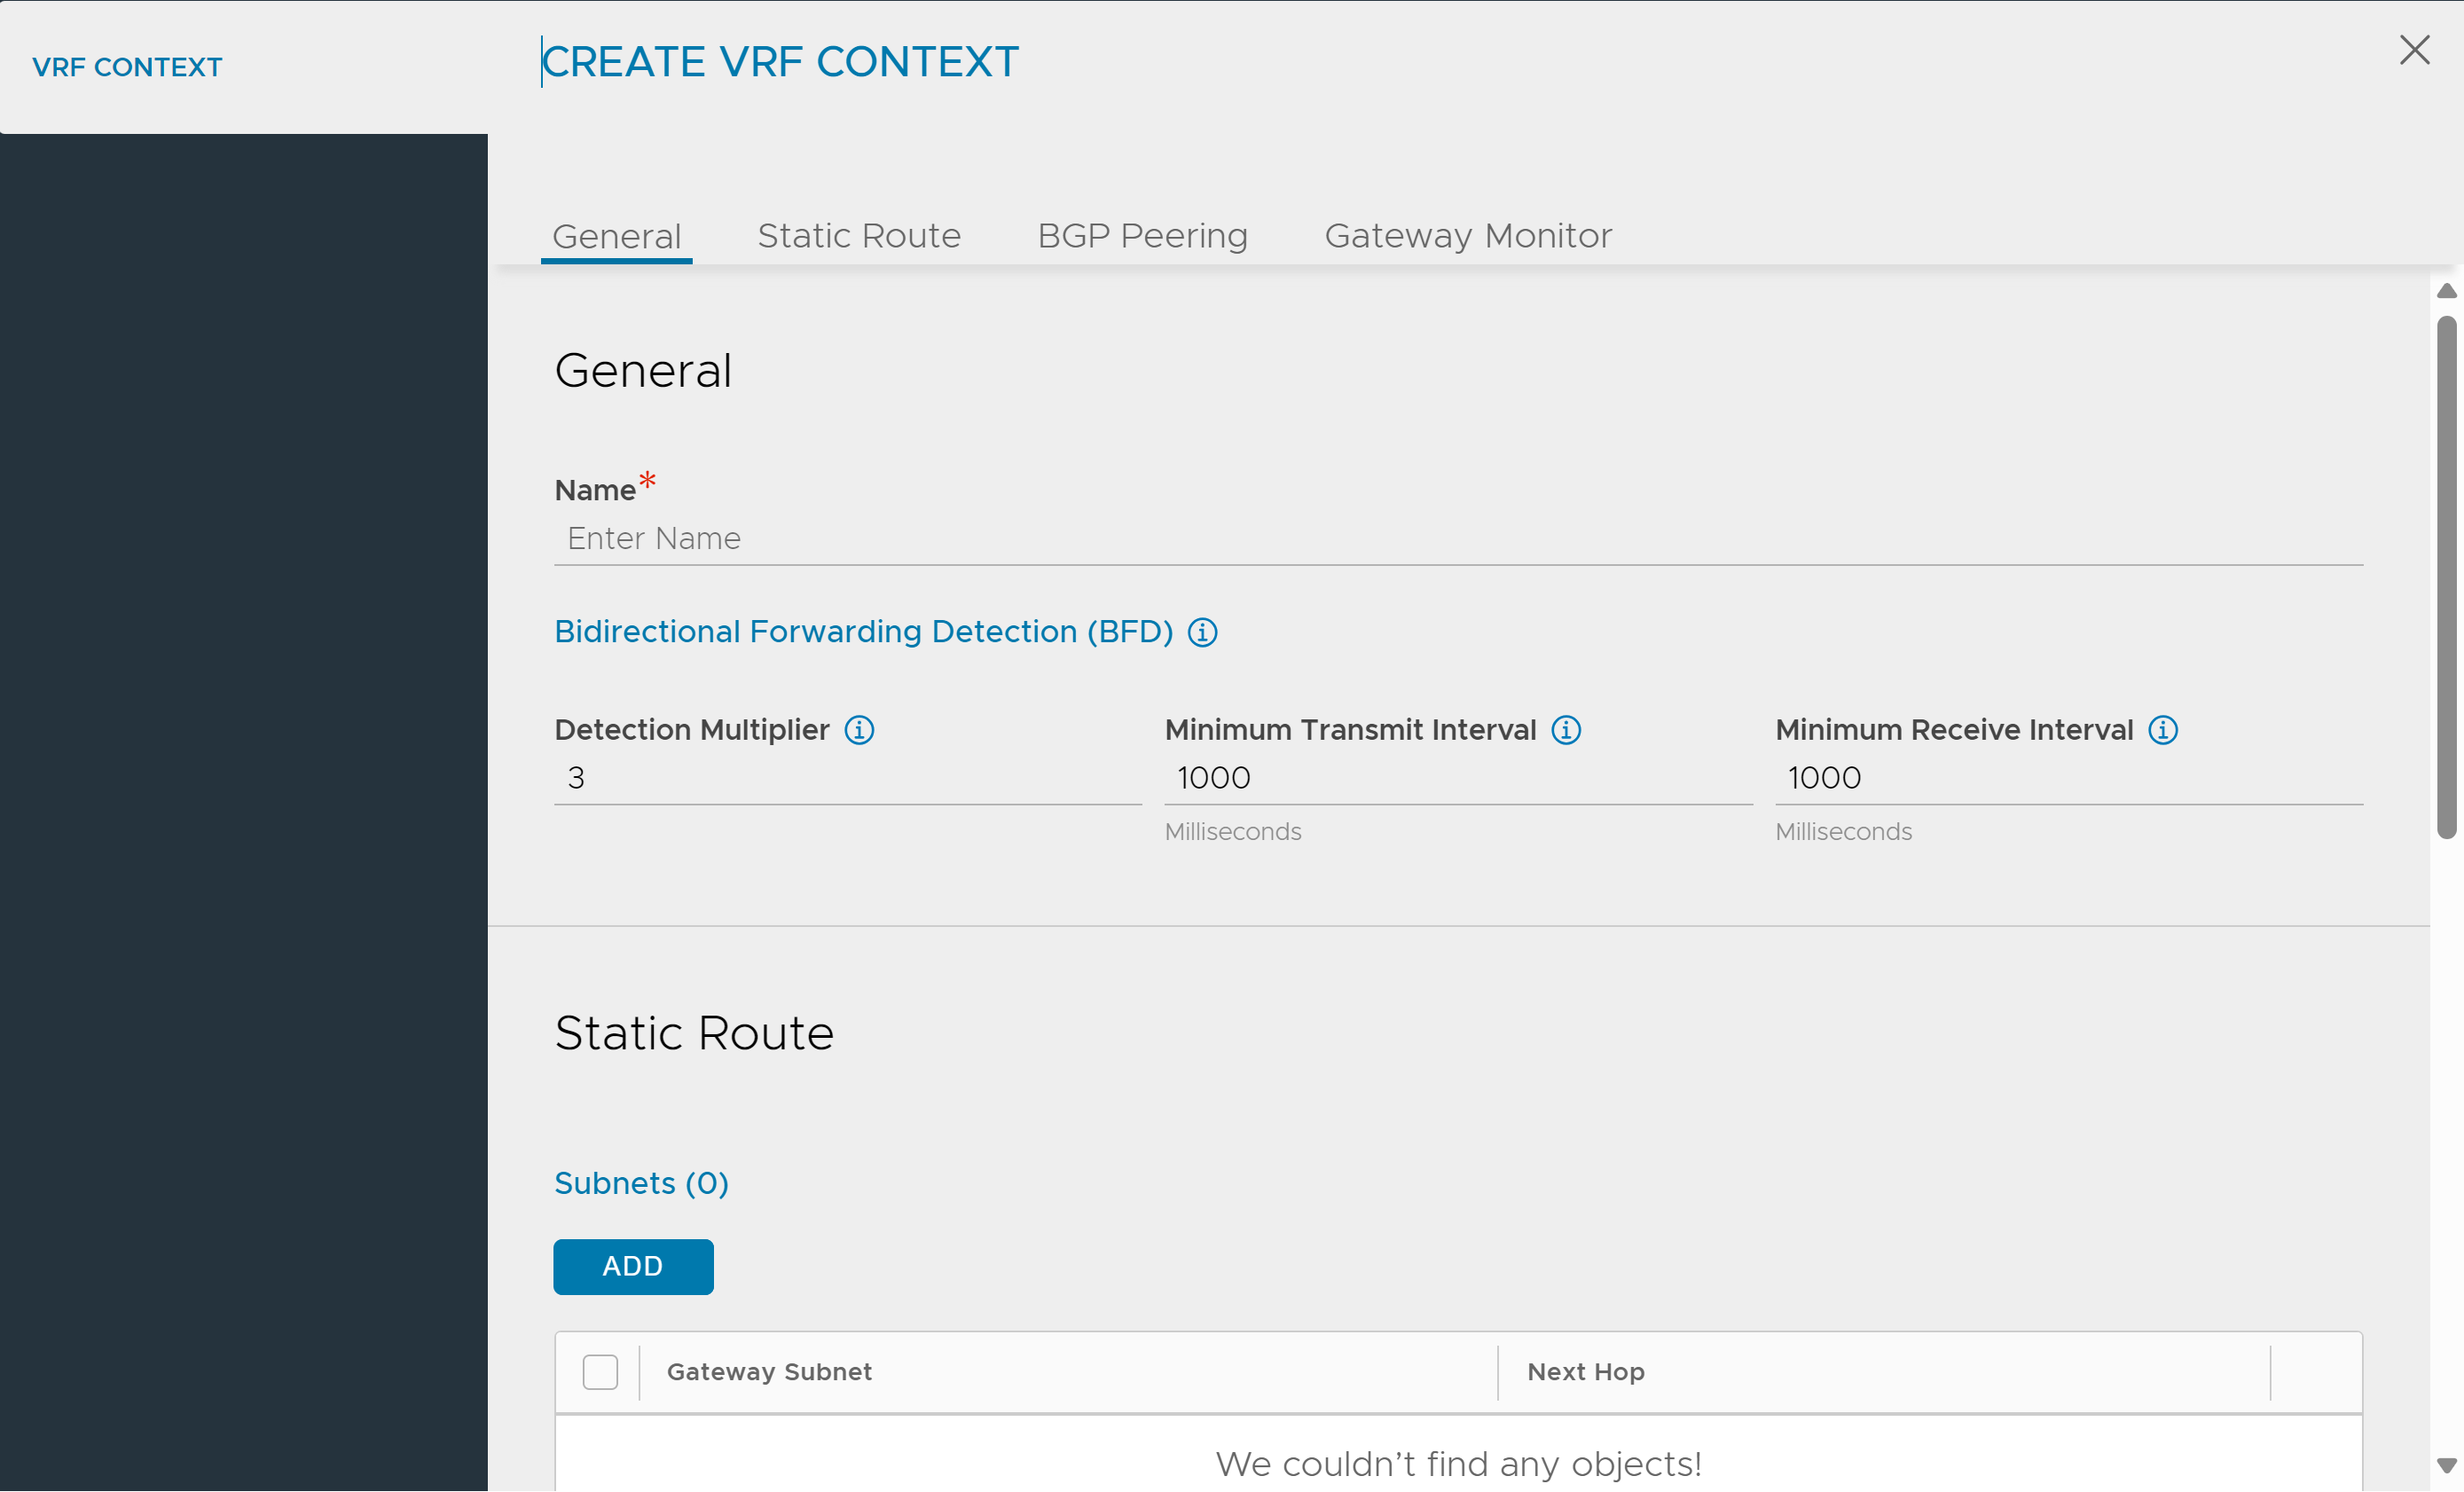
To configure BGP IPv6 peer on the NSX Advanced Load Balancer UI:
Procedure
- Navigate to Infrastructure > Cloud Resources > VRF Context and select the required cloud from the drop-down menu. Click CREATE.

- Click the BGP Peering tab and select the Enable BGP Peering check box.
- Specify the Keepalive Interval for Peers.
- Specify the Hold Time for Peers.
- Specify the desired BGP autonomous system value in the BGP Autonomous System (AS) ID field.
- Specify the Local Preference to be used for routes advertised.
- Specify the number of times the local AS must be prepended additionally in the Number of AS-Path Prepend field. Add Routing options, Peers, community strings.
- Click ADD under Routing Options.
- Specify the features that are applied to peers matching this label.
- Select the relevant check boxes. If you select Learn Routes and Advertise Only Default Routes, Learn Only Default Routes and Advertise Routes will be deactivated and vice-versa.
- Click the edit icon to edit an existing peer or ADD to create a new peer.
- Specify IPv4 Prefix and Peer details.
- Specify IPv6 Prefix and Peer details.
- Specify MD5 digest secret key details.
- Specify Advertisement Interval, Connection Timer, Keepalive Interval, Hold Time for the peer.
- Select Enable Bi-Directional Forward Detection. Only asynchronous mode is supported.
- Select Advertise VIP to this Peer.
- Select Advertise SNAT IP to Peer.
- Select Use iBGP as Local Override. This will override the profile level
local_aswith the peer levelremote_as.
- Click SAVE to complete the configuration.
Note:
You can save the configuration by entering just the IPv6 prefix and peer details. Corresponding IPv4 details are optional. However, for either IPv4 or IPv6, both prefix and peer details are required.