


A single virtual IP (VIP) can be shared across multiple virtual services simply by choosing a different port for each virtual service. Sharing a single VIP among multiple virtual services enables NSX Advanced Load Balancer to establish TCP connections over the same IP but on different ports for multiple incoming requests.
Sharing a single VIP across multiple virtual services can be configured through the NSX Advanced Load Balancer UI as follows:
Procedure
- Navigate to .
- Click Create Virtual Service and select the Advanced Setup option from the drop-down menu.
- Select the required cloud and click Next.
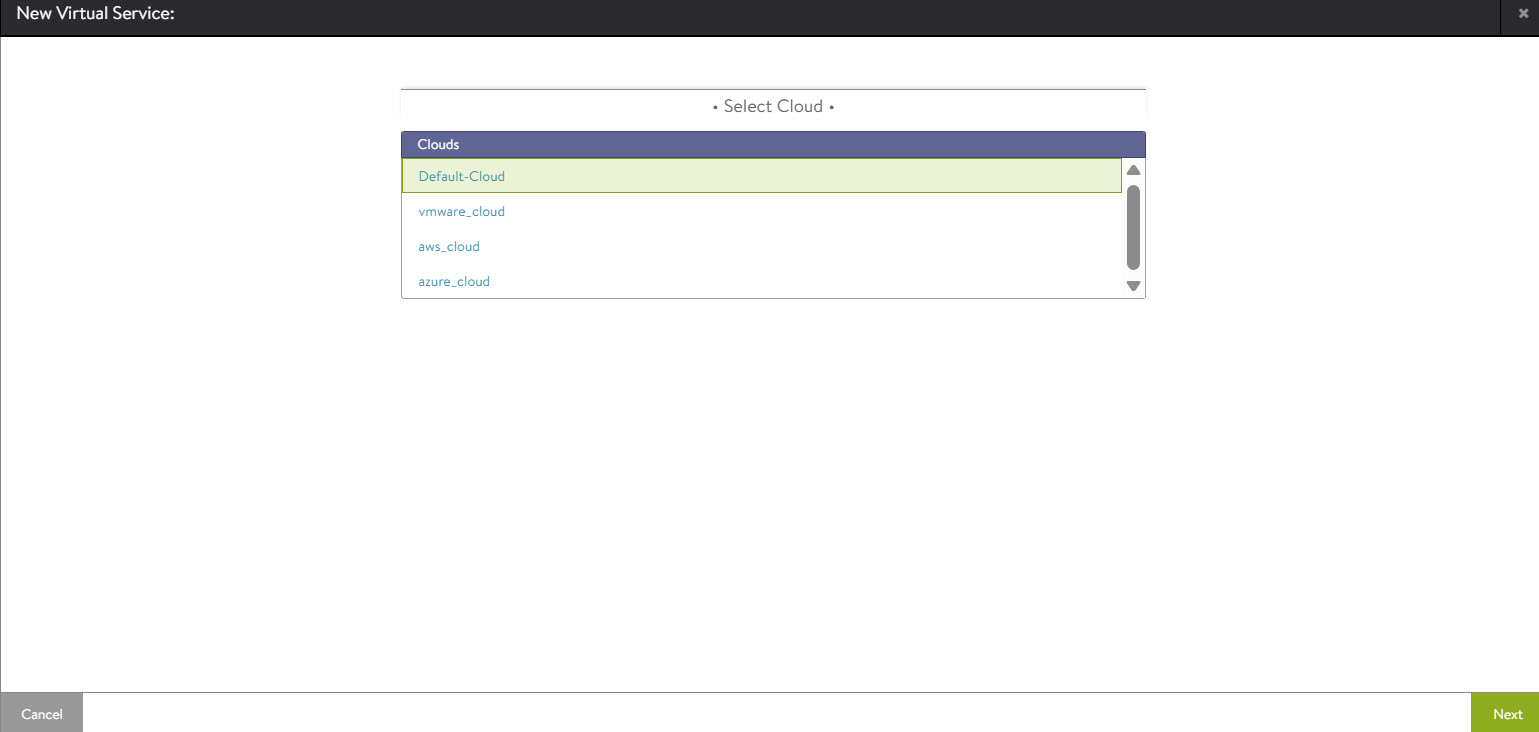
- Click the VS VIP drop-down menu and choose a virtual service to share its IP with the newly created virtual service.
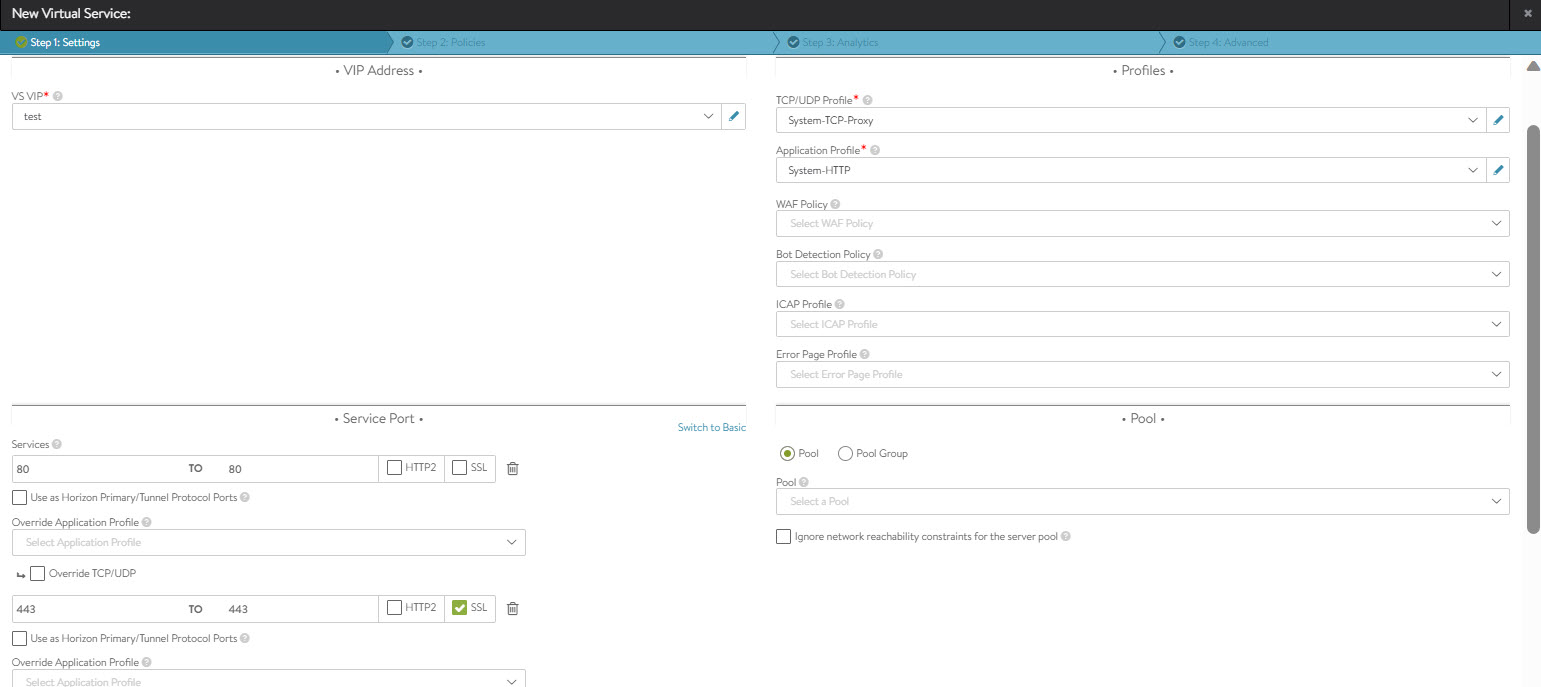

- In the Service Port section, click Switch to Advanced option and enter the desired Service Ports, TCP-UDP Profile, and SSL Profile (if required).
- Click Save.
Results
The VIP of the existing virtual service chosen in the VS VIP field will be shared with the newly created virtual service.
