


This section covers the steps to configure the NSX Advanced Load Balancer cloud connector using AWS shared key.
The following are the steps to configure the cloud connector using AWS shared key:
Procedure
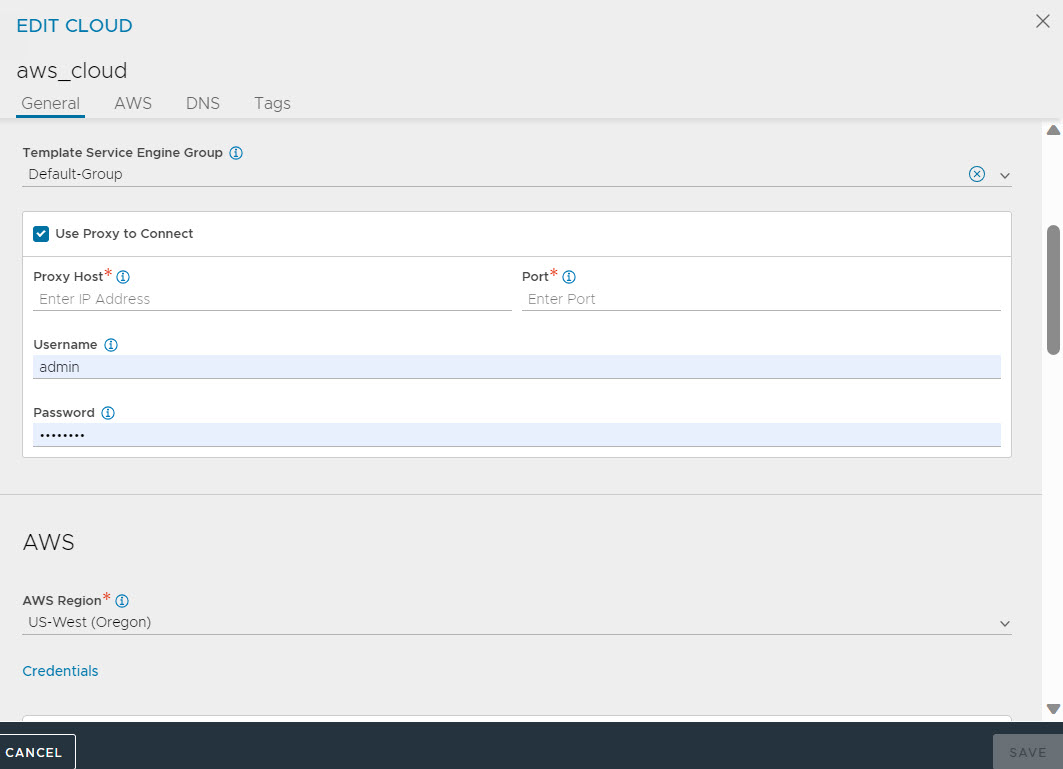
- Optional, use the drop-down menu to select AWS Region. Select the Use Proxy to Connect check box if there is a custom proxy between the user's corporate network and AWS. Provide the details for Proxy Host and Proxy Port if required.
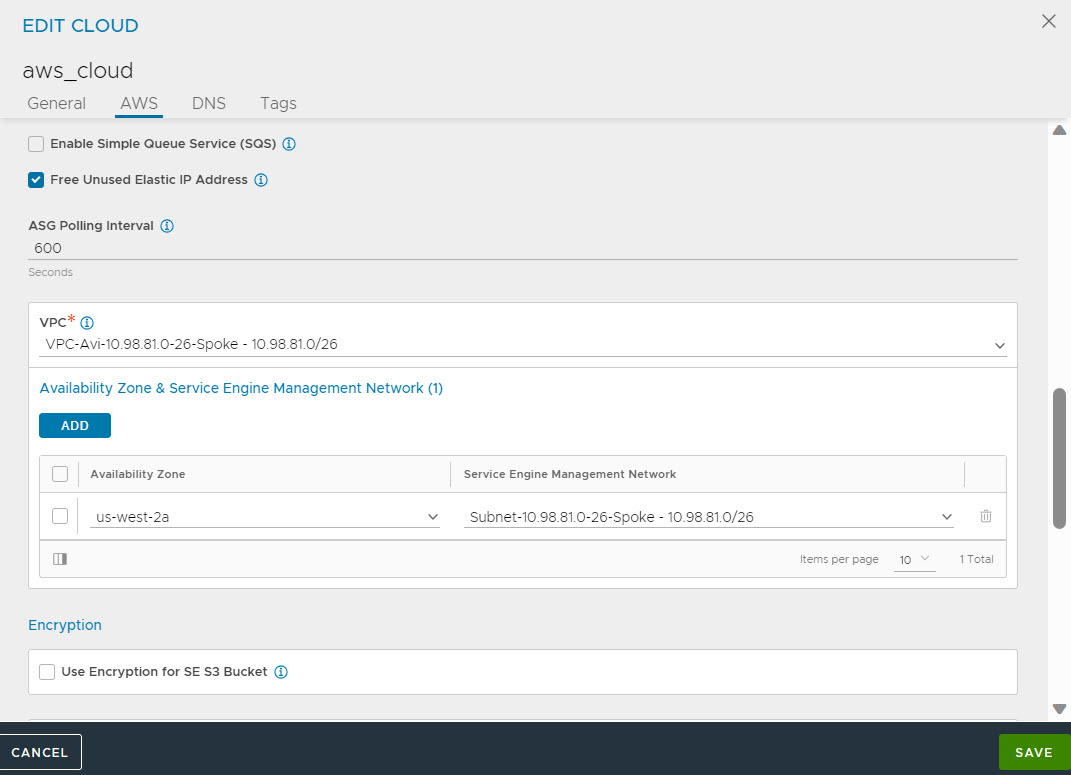
- Configure SE Management Network. This is the subnet in which the Controller will place the management vNIC of SEs. The management network of SE must be reachable from the Controller management IP address.
- Select Free Unused Elastic IP Address check box.
- Select the Availability Zone and Service Engine Management Network.
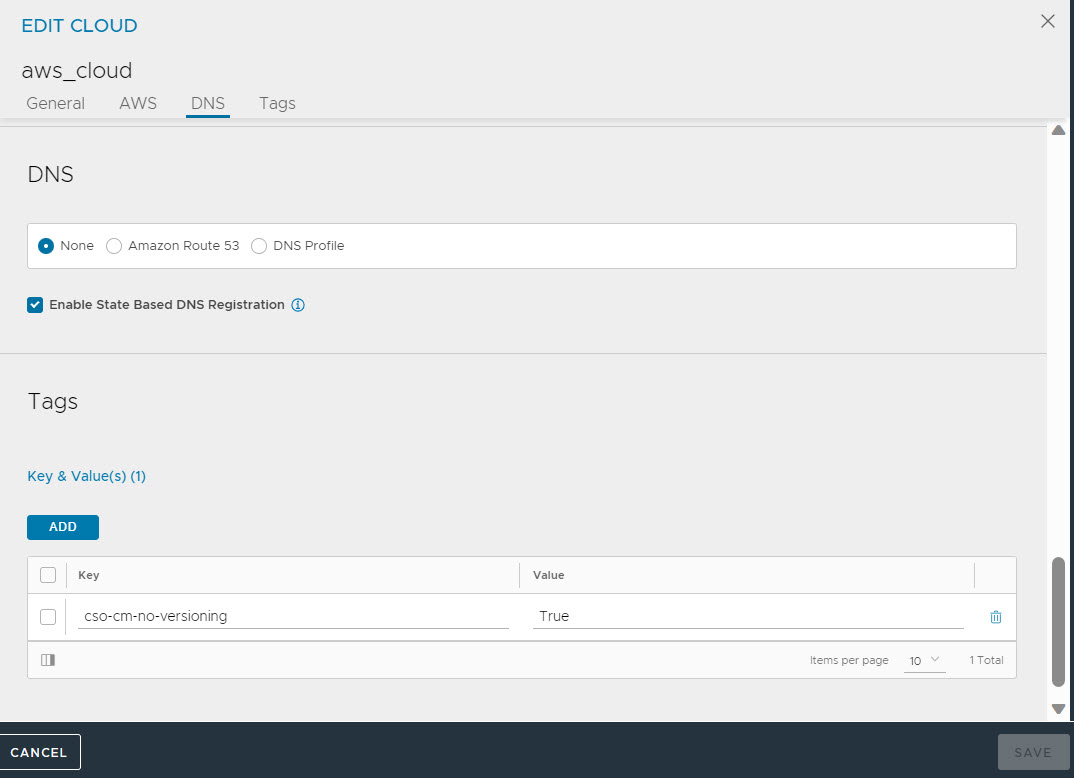
- Select the desired DNS Settings, and other settings as required. Click SAVE once all the desired options are selected.
What to do next
To verify the cloud configuration status, navigate to , click aws-cloud, and then click the Status button.
Status must turn green, indicating the installation was successful.
Figure 1.

