


This section explains the steps to configure EBS Encryption using NSX Advanced Load Balancer UI.
Procedure
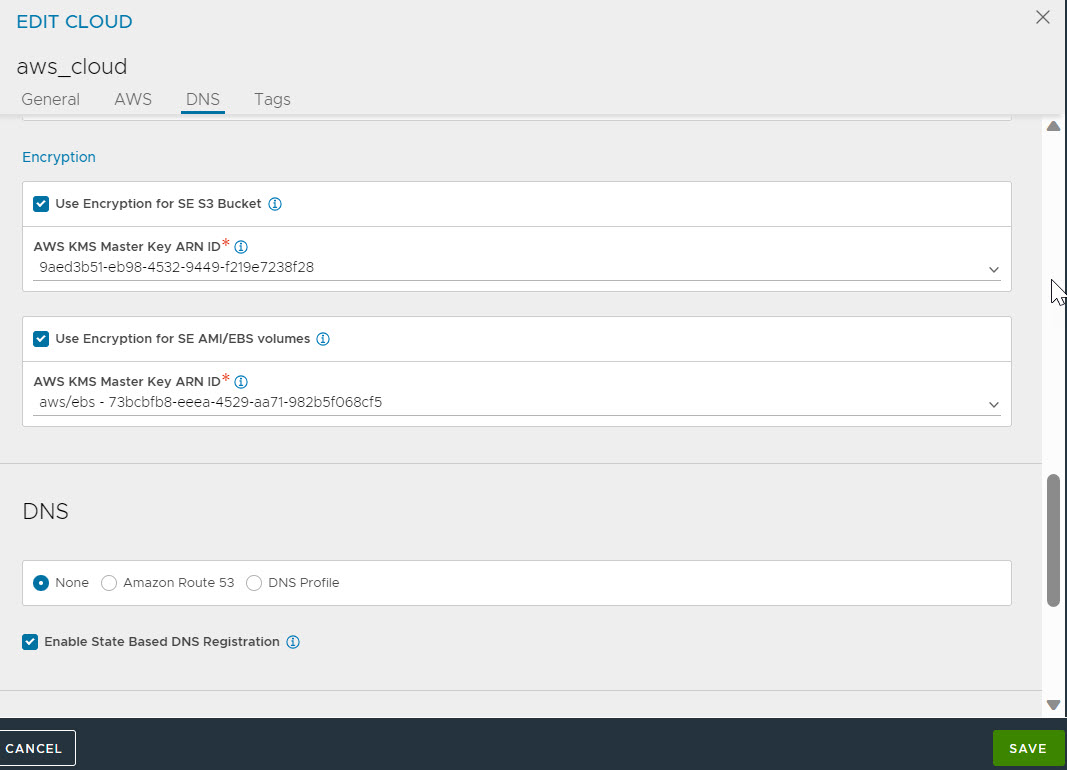
- For the AWS KMS Master Key ARN ID field, choose one of the relevant options:
- If the given credentials or Controller role has sufficient permissions to read the list of the keys, they will be displayed in a drop-down menu. Choose the displayed option.
- The key ARN can be entered manually in the Customer Master Key (CMK) format arn:aws:kms:AWS-Region:AWS-Account-ID:key/CMK-key-ID.
AWS Alias cannot be supported for keys since AWS returns KMS Key ARN ID instead of alias for the snapshot/AMI that we rely on to check for encryption key mismatch for the AMI.
Note:Most instance types are supported for EBS encryption. For complete information, see Amazon EBS Encryption.
The S3 bucket encryption feature requires VMimport.
As a part of cloud orchestration, NSX Advanced Load Balancer Controller will upload and manage either an unencrypted or encrypted Service Engine AMI based on the Use Encryption for SE AMI/EBS volumes option.
If you use encryption by default in the AWS account, use the same Key ID during the cloud configuration, which will be used for SE deployment.
