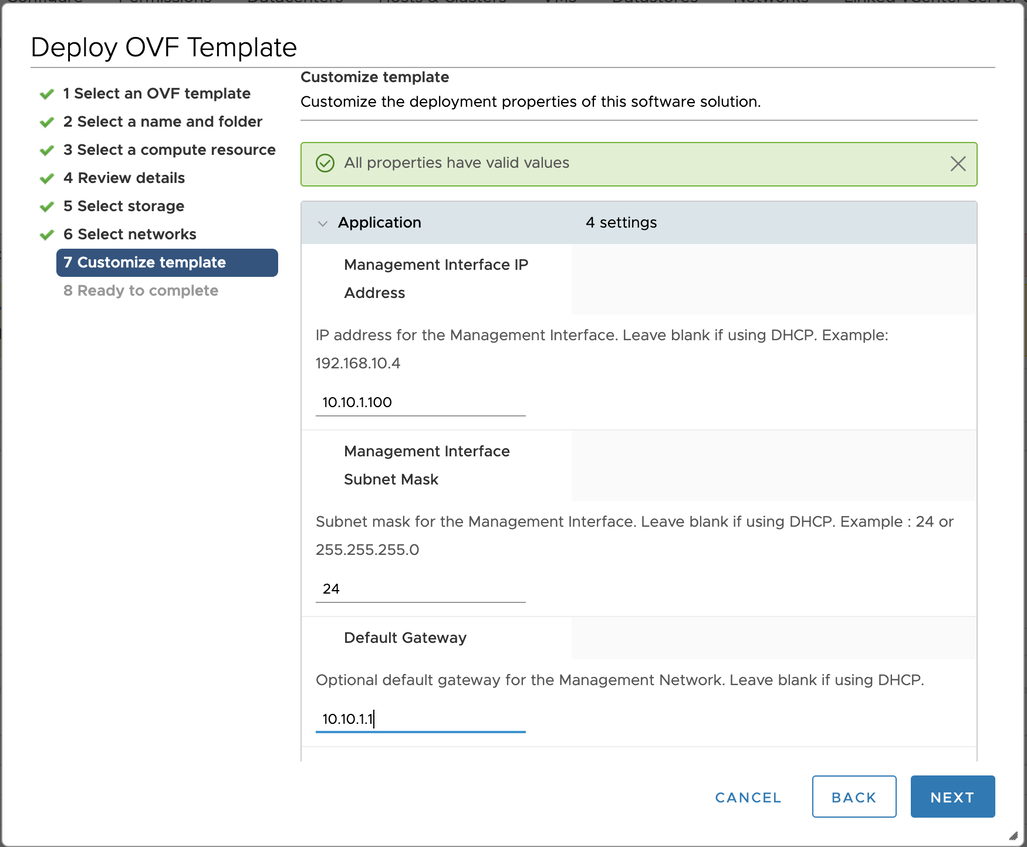
The Controller cluster virtual machines are deployed using the OVA, connected to the same management port group as the NSX-T Manager.
Procedure
- Log in to the vCenter server through a vCenter client.
- From the File menu, select Deploy OVF Template.
- Select the controller.ova file from your local machine.
- In the Deploy OVF Template wizard,
- Select the Virtual machine name and the location to deploy.
- Select the compute resource.
- Review the details and click Next.
- Select the storage and set the disk format to Thick Provision Lazy Zeroed.
- In the Select networks section, choose a management network for the Controller.
- Enter the management IP address, subnet mask and default gateway. In the case of DHCP, leave this field empty.
 Note:
Note:Using a static IP address is recommended for production setups.
The Controller OVA supports additional OVF properties. The following properties have been added to facilitate automated deployment of the Controller by the NSX Manager in a future release:
NSX-T Node ID
NSX-T IP Address
Authentication token of NSX-T
NSX-T thumbprint
Hostname of NSX Advanced Load Balancer Controller
These fields must be left blank in case of a direct deployment of the Controller.
- Review the setting and click Finish.
- Power on the virtual machine.
What to do next
After deploying the NSX Advanced Load Balancer Controller through NSX, you can check the status of registration using the show nsxt_registration command:
Status is Not Registered:
[admin:1234]: > show nsxt_registration
+--------+----------------+
| Field  | Value          |
+--------+----------------+
| status | NOT REGISTERED |
+--------+----------------+
Status is Registered:
[admin:1234]: > show nsxt_registration
+---------+---------------+
| Field   | Value         |
+---------+---------------+
| nsxt_ip | 10.xxx.xxx.xx |
| status  | REGISTERED    |
+---------+---------------+