


This section covers the steps to deploy the NSX Advanced Load Balancer Controller in Microsoft Azure.
NSX Advanced Load Balancer is available in Azure Marketplace as a Bring Your Own License (BYOL) offering.
Access Azure Marketplace at https://azuremarketplace.microsoft.com/ and log in using your Azure credentials. Alternately you can log in using your Azure credentials at https://portal.azure.com.
Marketplace Link: Navigate to the NSX Advanced Load Balancer page on Azure Marketplace.
Click Get it Now to start the deployment process. If the deployment is through the Azure portal, then create a new VM and search for NSX Advanced Load Balancer. The NSX Advanced Load Balancer VM will show up in the search results.
Figure 1. 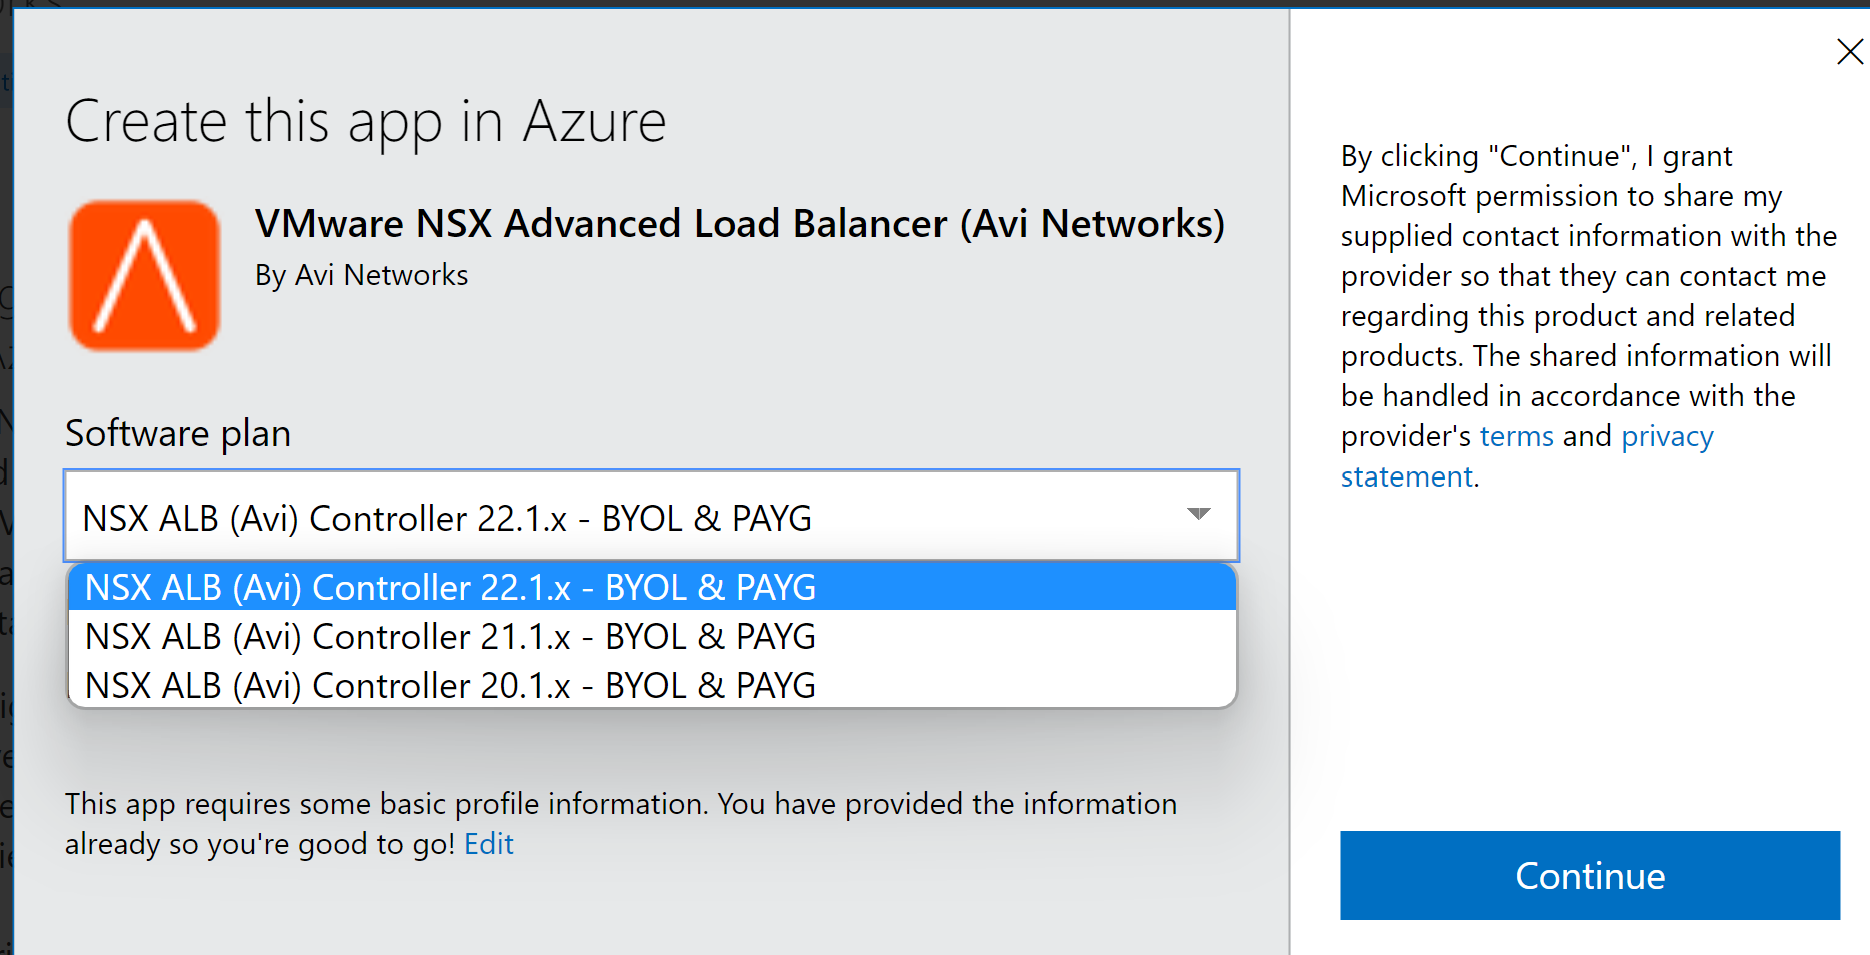
Follow the given steps to initiate the deployment:
Provide the information requested under the Basics tab. Click OK to continue to the next tab.
-
Based on deployment scale considerations, choose an appropriate VM size. The following table lists the minimum requirements for the VMs on which the Controller and the SEs are installed.
For the Controller, we recommend the following instance types:Component
Memory
vCPUs
Disk
Controller
24 GB
8
128 GB
Service Engine
2 GB
2
15 GB
For more information on the recommended hard disk size, see Allocating Disk Capacity.Deployment Size
Instance Type
Memory
vCPUs
Disk (Minimum)
Small
DS4V2
28 GB
8
128 GB
Medium
DS5V2
56 GB
16
128 GB
Large
F32SV2
64 GB
32
128 GB
Note:You can create Controllers on
Standard_D16ds_v5orStandard_D8ds_v5. In the Settings tab, select the following options:
Availability set: It is recommended to use an availability set for the Controllers.
Storage: Select Yes for managed disks.
Virtual network: Create a new VNet, or use an existing VNet.
Subnet: Select a subnet for the NSX Advanced Load Balancer Controller management IP address to be allocated from.
(Optional) Public IP address: Allocate an existing or new public IP address to the controller VM.
Network security group (firewall): Apply an existing or new network security group to restrict traffic to the Controller.
Click OK , followed by Purchase, to run final validations and initiate the deployment.
(Optional) Create a Controller cluster.
To create a Controller cluster,
If deploying from the Microsoft Azure Marketplace, use the JSON template found here.
If deploying from a downloaded version of VHD, use the JSON template found here.
Initial Configuration for NSX Advanced Load Balancer Controller
Once the Controller is up, it can be configured through a web browser. The FQDN will be mentioned as an output of the template execution, as in this case, avicontrollerpubip.westus.cloudapp.azure.com.
Follow the given steps to complete the initial configuration.
Provide credentials for the administrator account (Username: admin).
Figure 2. 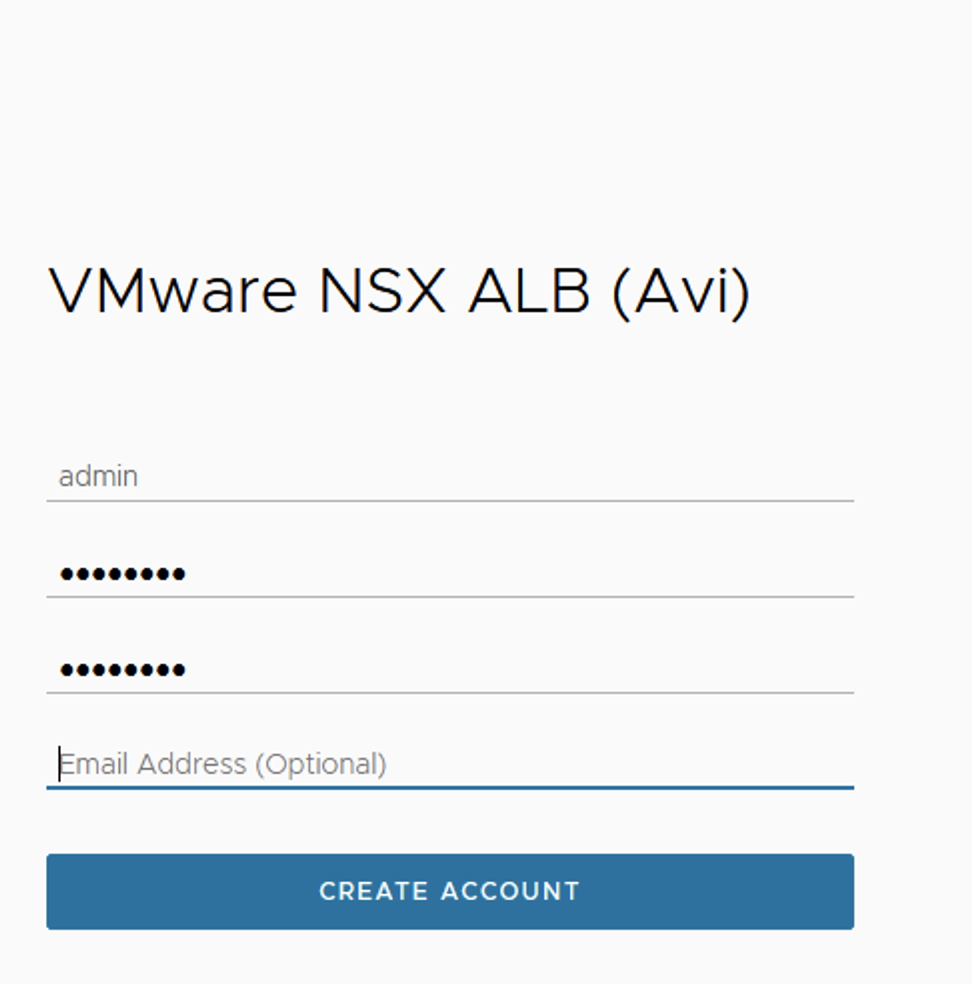
Provide DNS and NTP Settings (Can be edited later).
Figure 3. 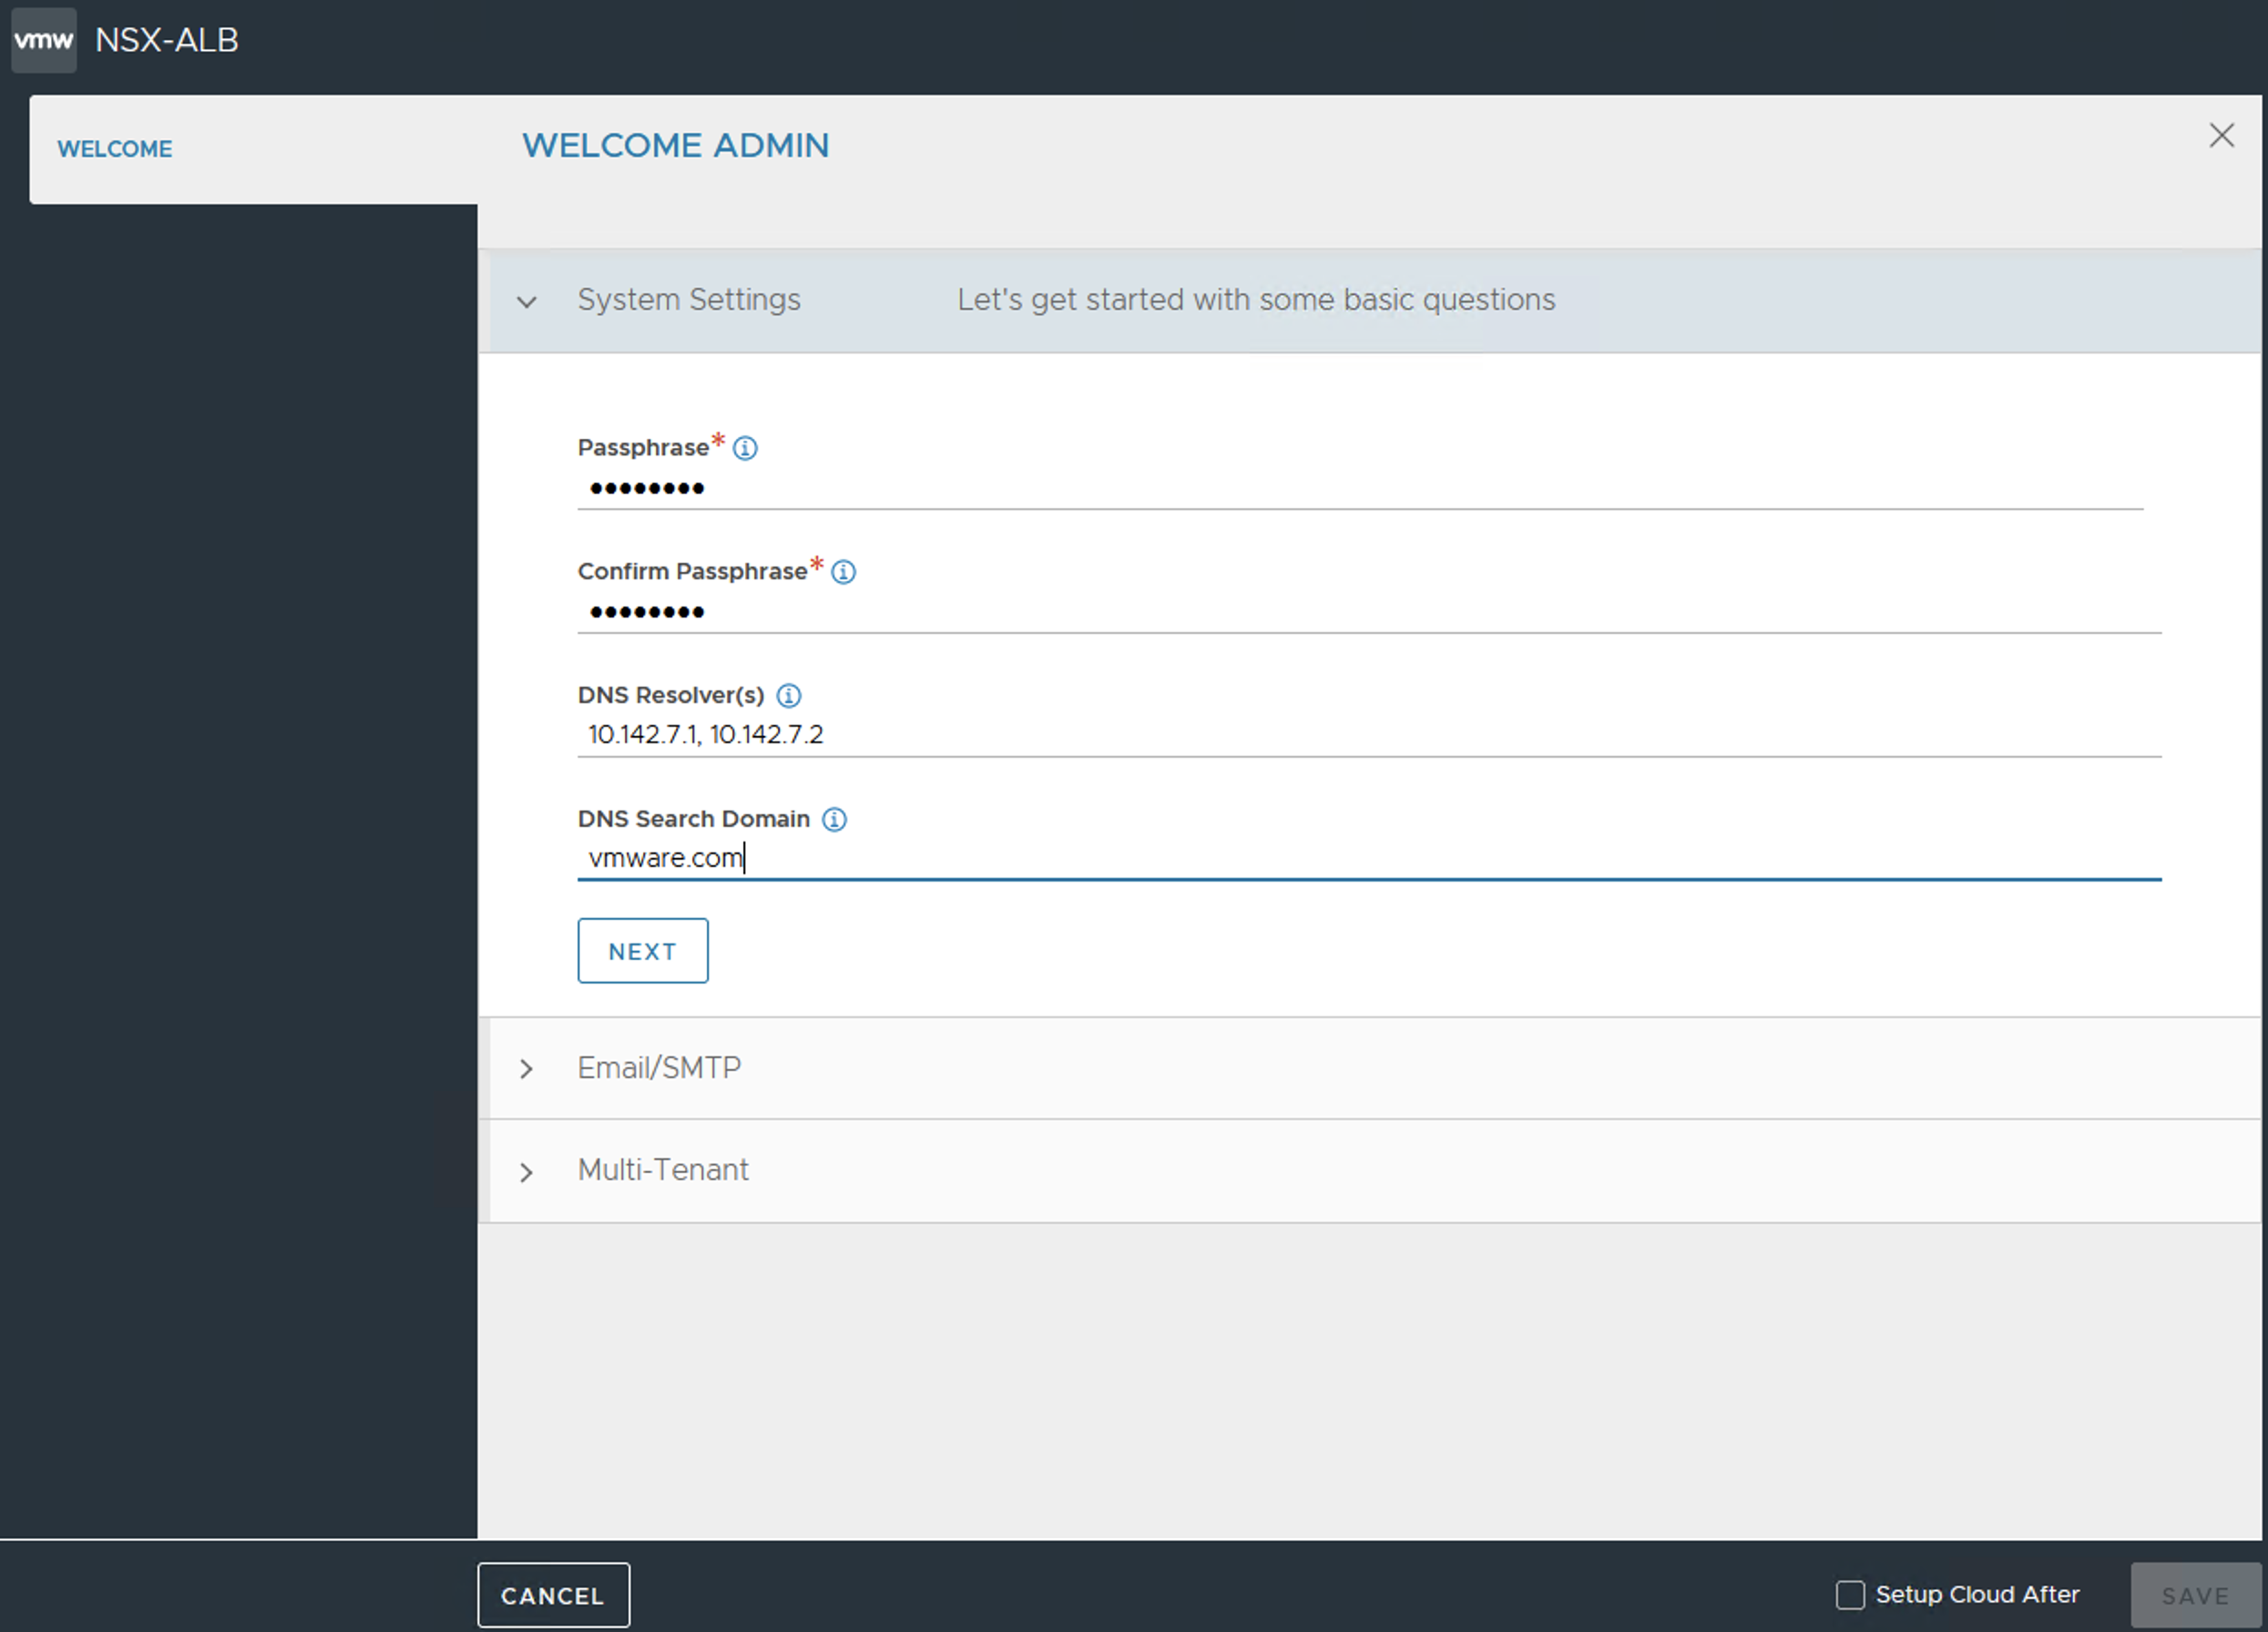
Provide an email address to be used for alerts from the Controller (Can be set up at a later stage).
Figure 4. 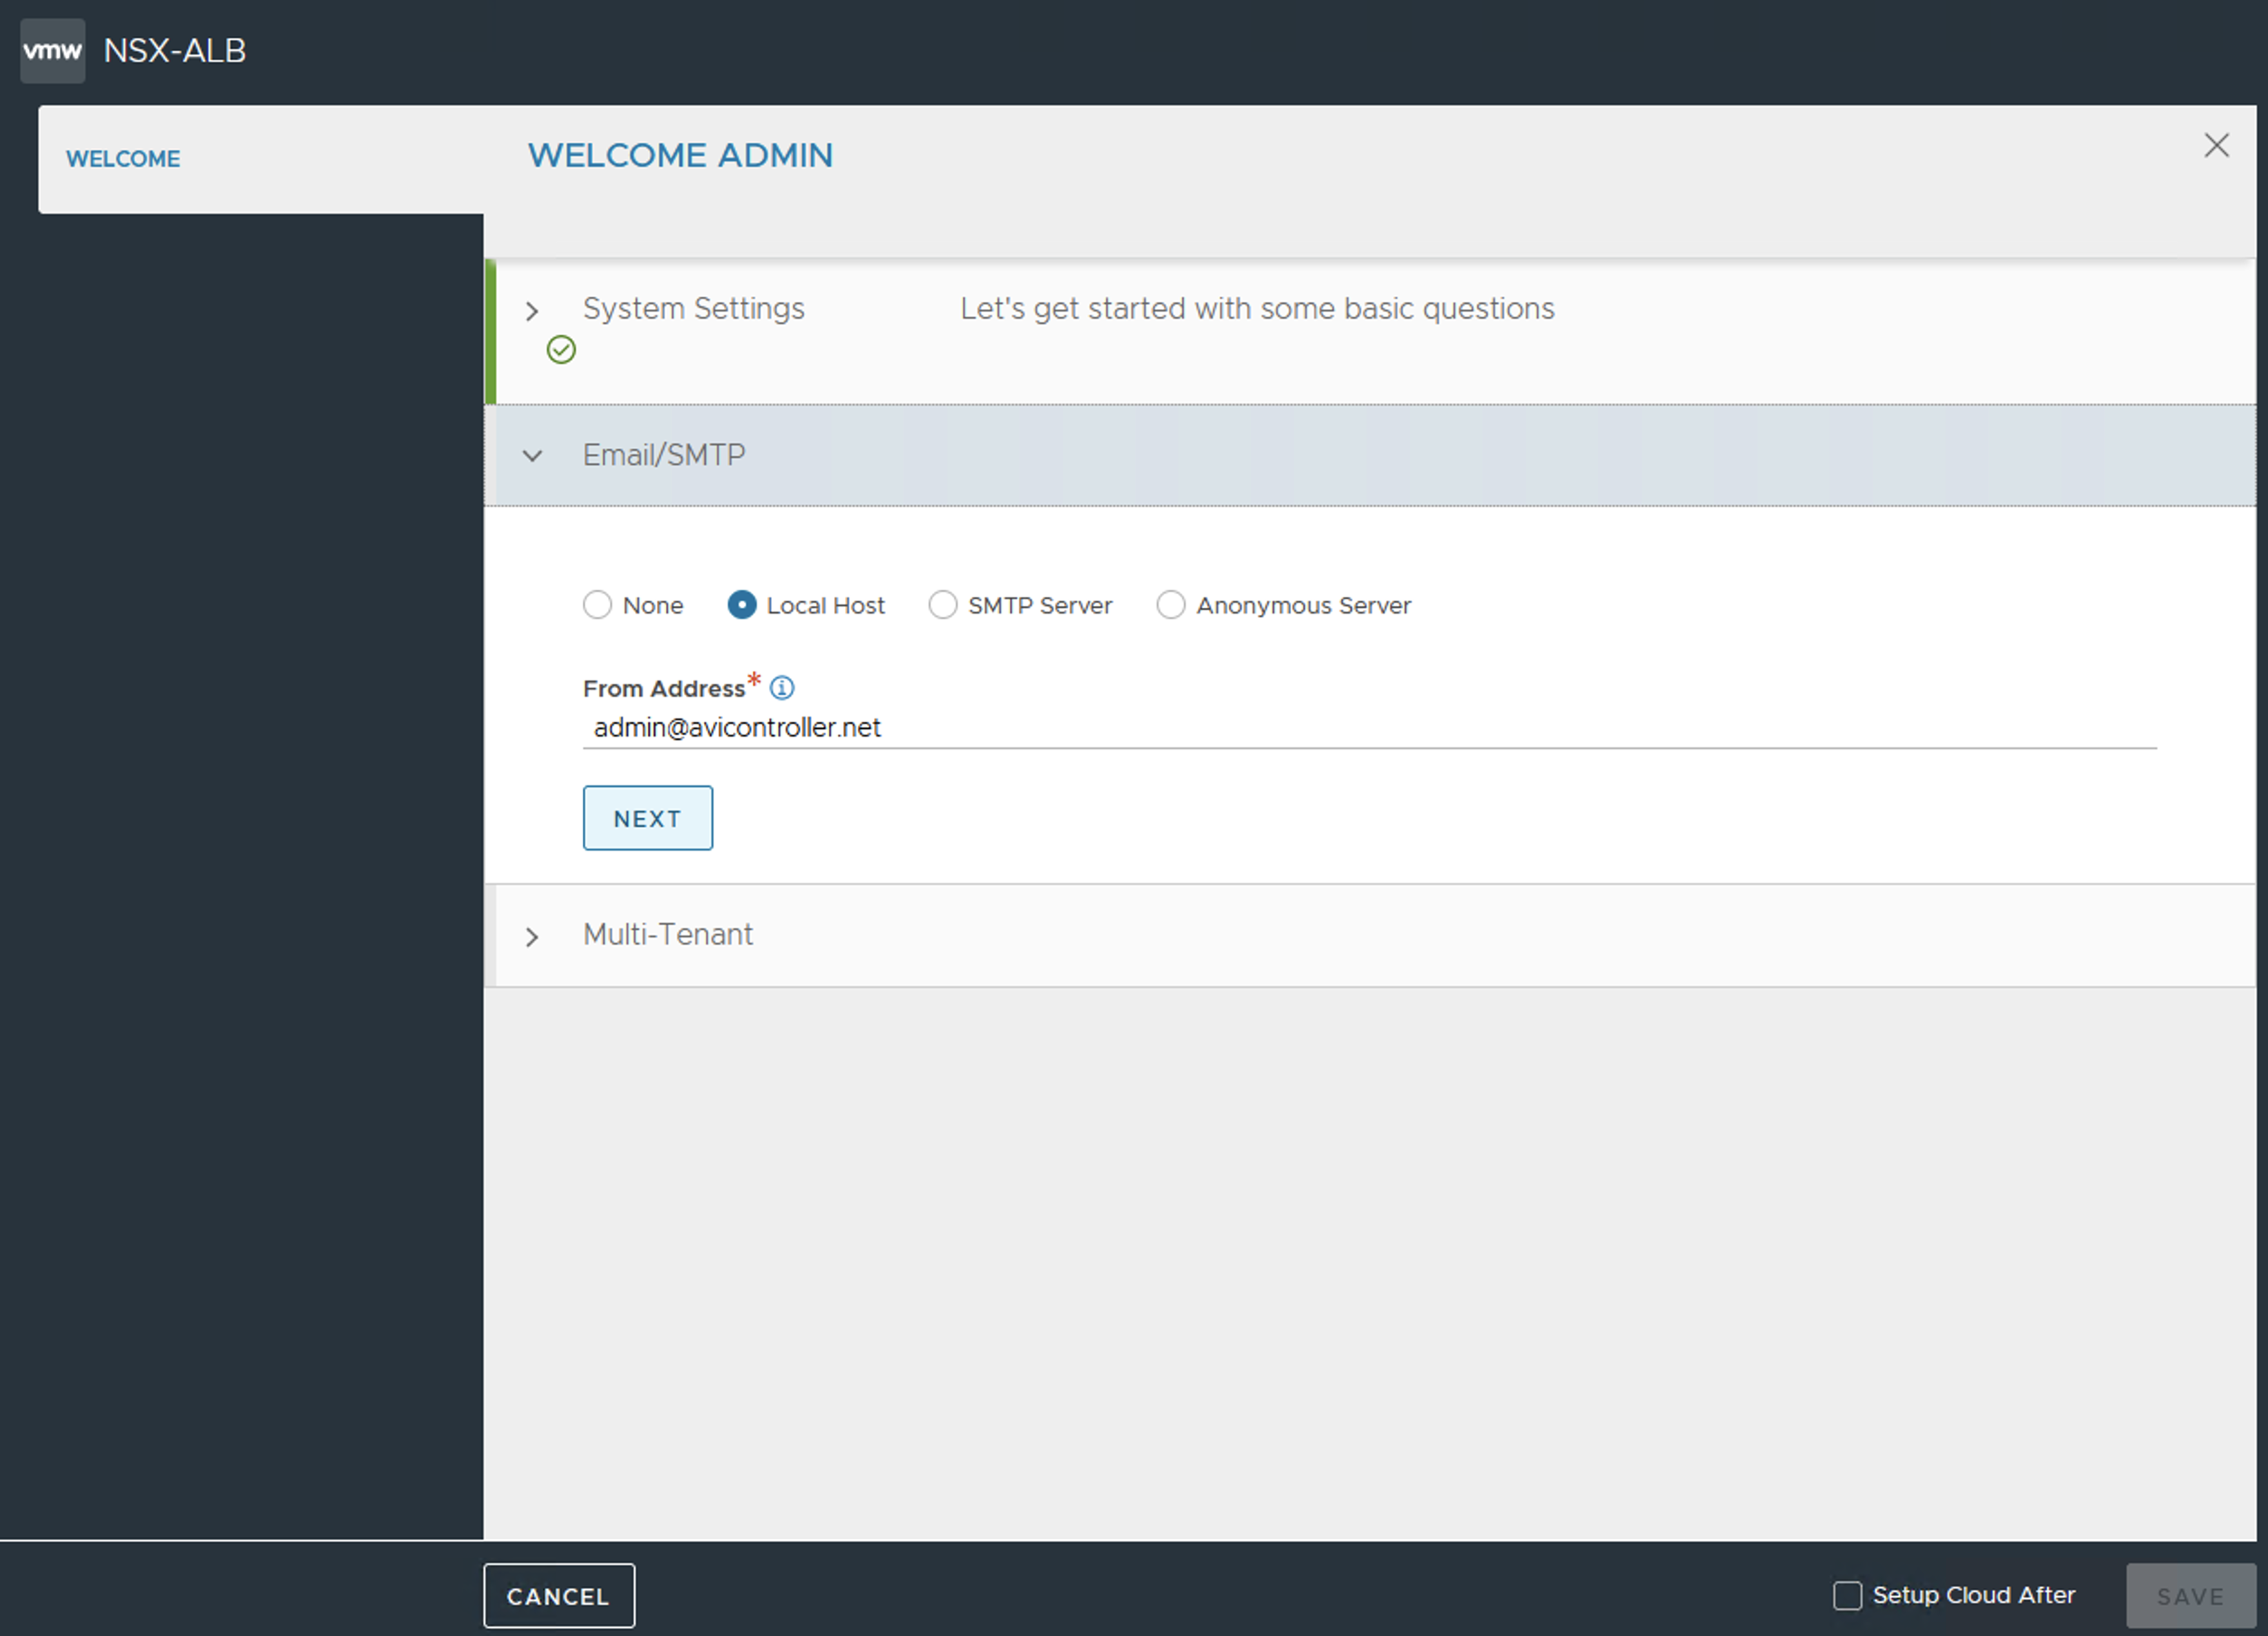
Select No Orchestrator to complete the initial configuration.
Continue by clicking No for Support multiple Tenants (Multi-tenancy can be enabled later).
Once the setup is completed, the browser will automatically refresh to the NSX Advanced Load Balancer Controller dashboard.
The next step is to configure Microsoft Azure cloud on NSX Advanced Load Balancer.
For more information, see Configuring the NSX Advanced Load Balancer Cloud Connector.
Once the cloud is configured on NSX Advanced Load Balancer Controller, complete the steps for configuring virtual service.
For more information, see Configuring Virtual Service.
To ensure complete redundancy, create a NSX Advanced Load Balancer Controller cluster. Creating the Controller cluster is an optional step.
Two additional Controller nodes can be added to create a 3-node NSX Advanced Load Balancer Controller cluster.
