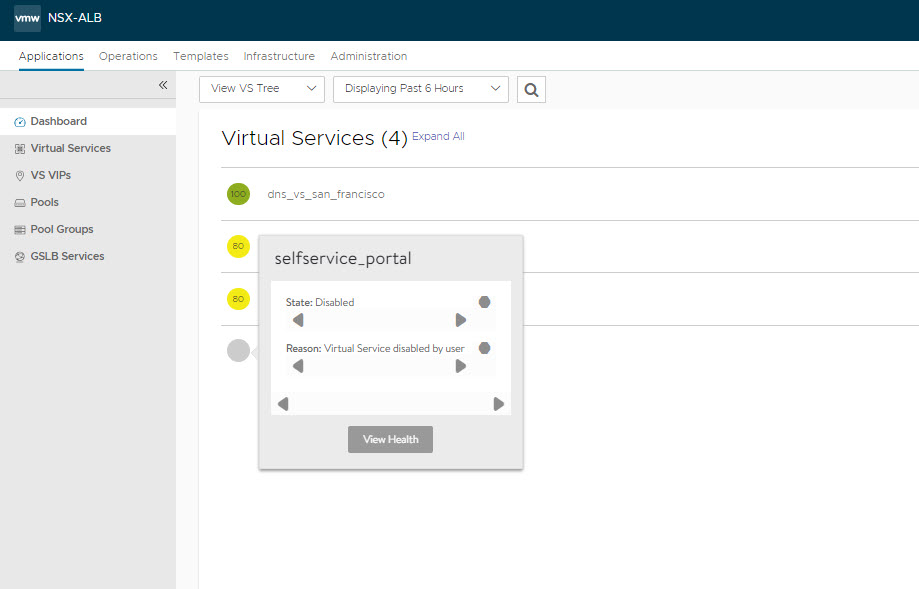
A virtual service can be manually deactivated by an administrator or an automated script. This section covers the steps in detail.
When deactivated, the virtual service is unattached from the SEs hosting it. Likewise:

Existing connections are immediately terminated.
The pool is placed in a grey (unused) state and is eligible for use by another virtual service.
Health monitors are not sent to the pool’s servers while the virtual service is deactivated.
If a virtual IP needs to be deactivated, each virtual service must first be deactivated. Once all virtual services using the VIP have been deactivated, NSX Advanced Load Balancer SEs will no longer respond to ARPs or network requests for the VIP.
Using UI
The following are the steps to deactivate a virtual service from the Controller’s web interface:
Navigate to the edit wizard for the virtual service.
Click the Enabled button in the Settings tab.
The button will change from green to red when the virtual service is deactivated.
Click Save to commit the change.
Using CLI
Execute the following command to enable a virtual service from the CLI:
: > configure virtualservice Test-VS
: > enabled
: > save
To deactivate a virtual service from the CLI:
: > configure virtualservice Test-VS
: > no enabled
: > save