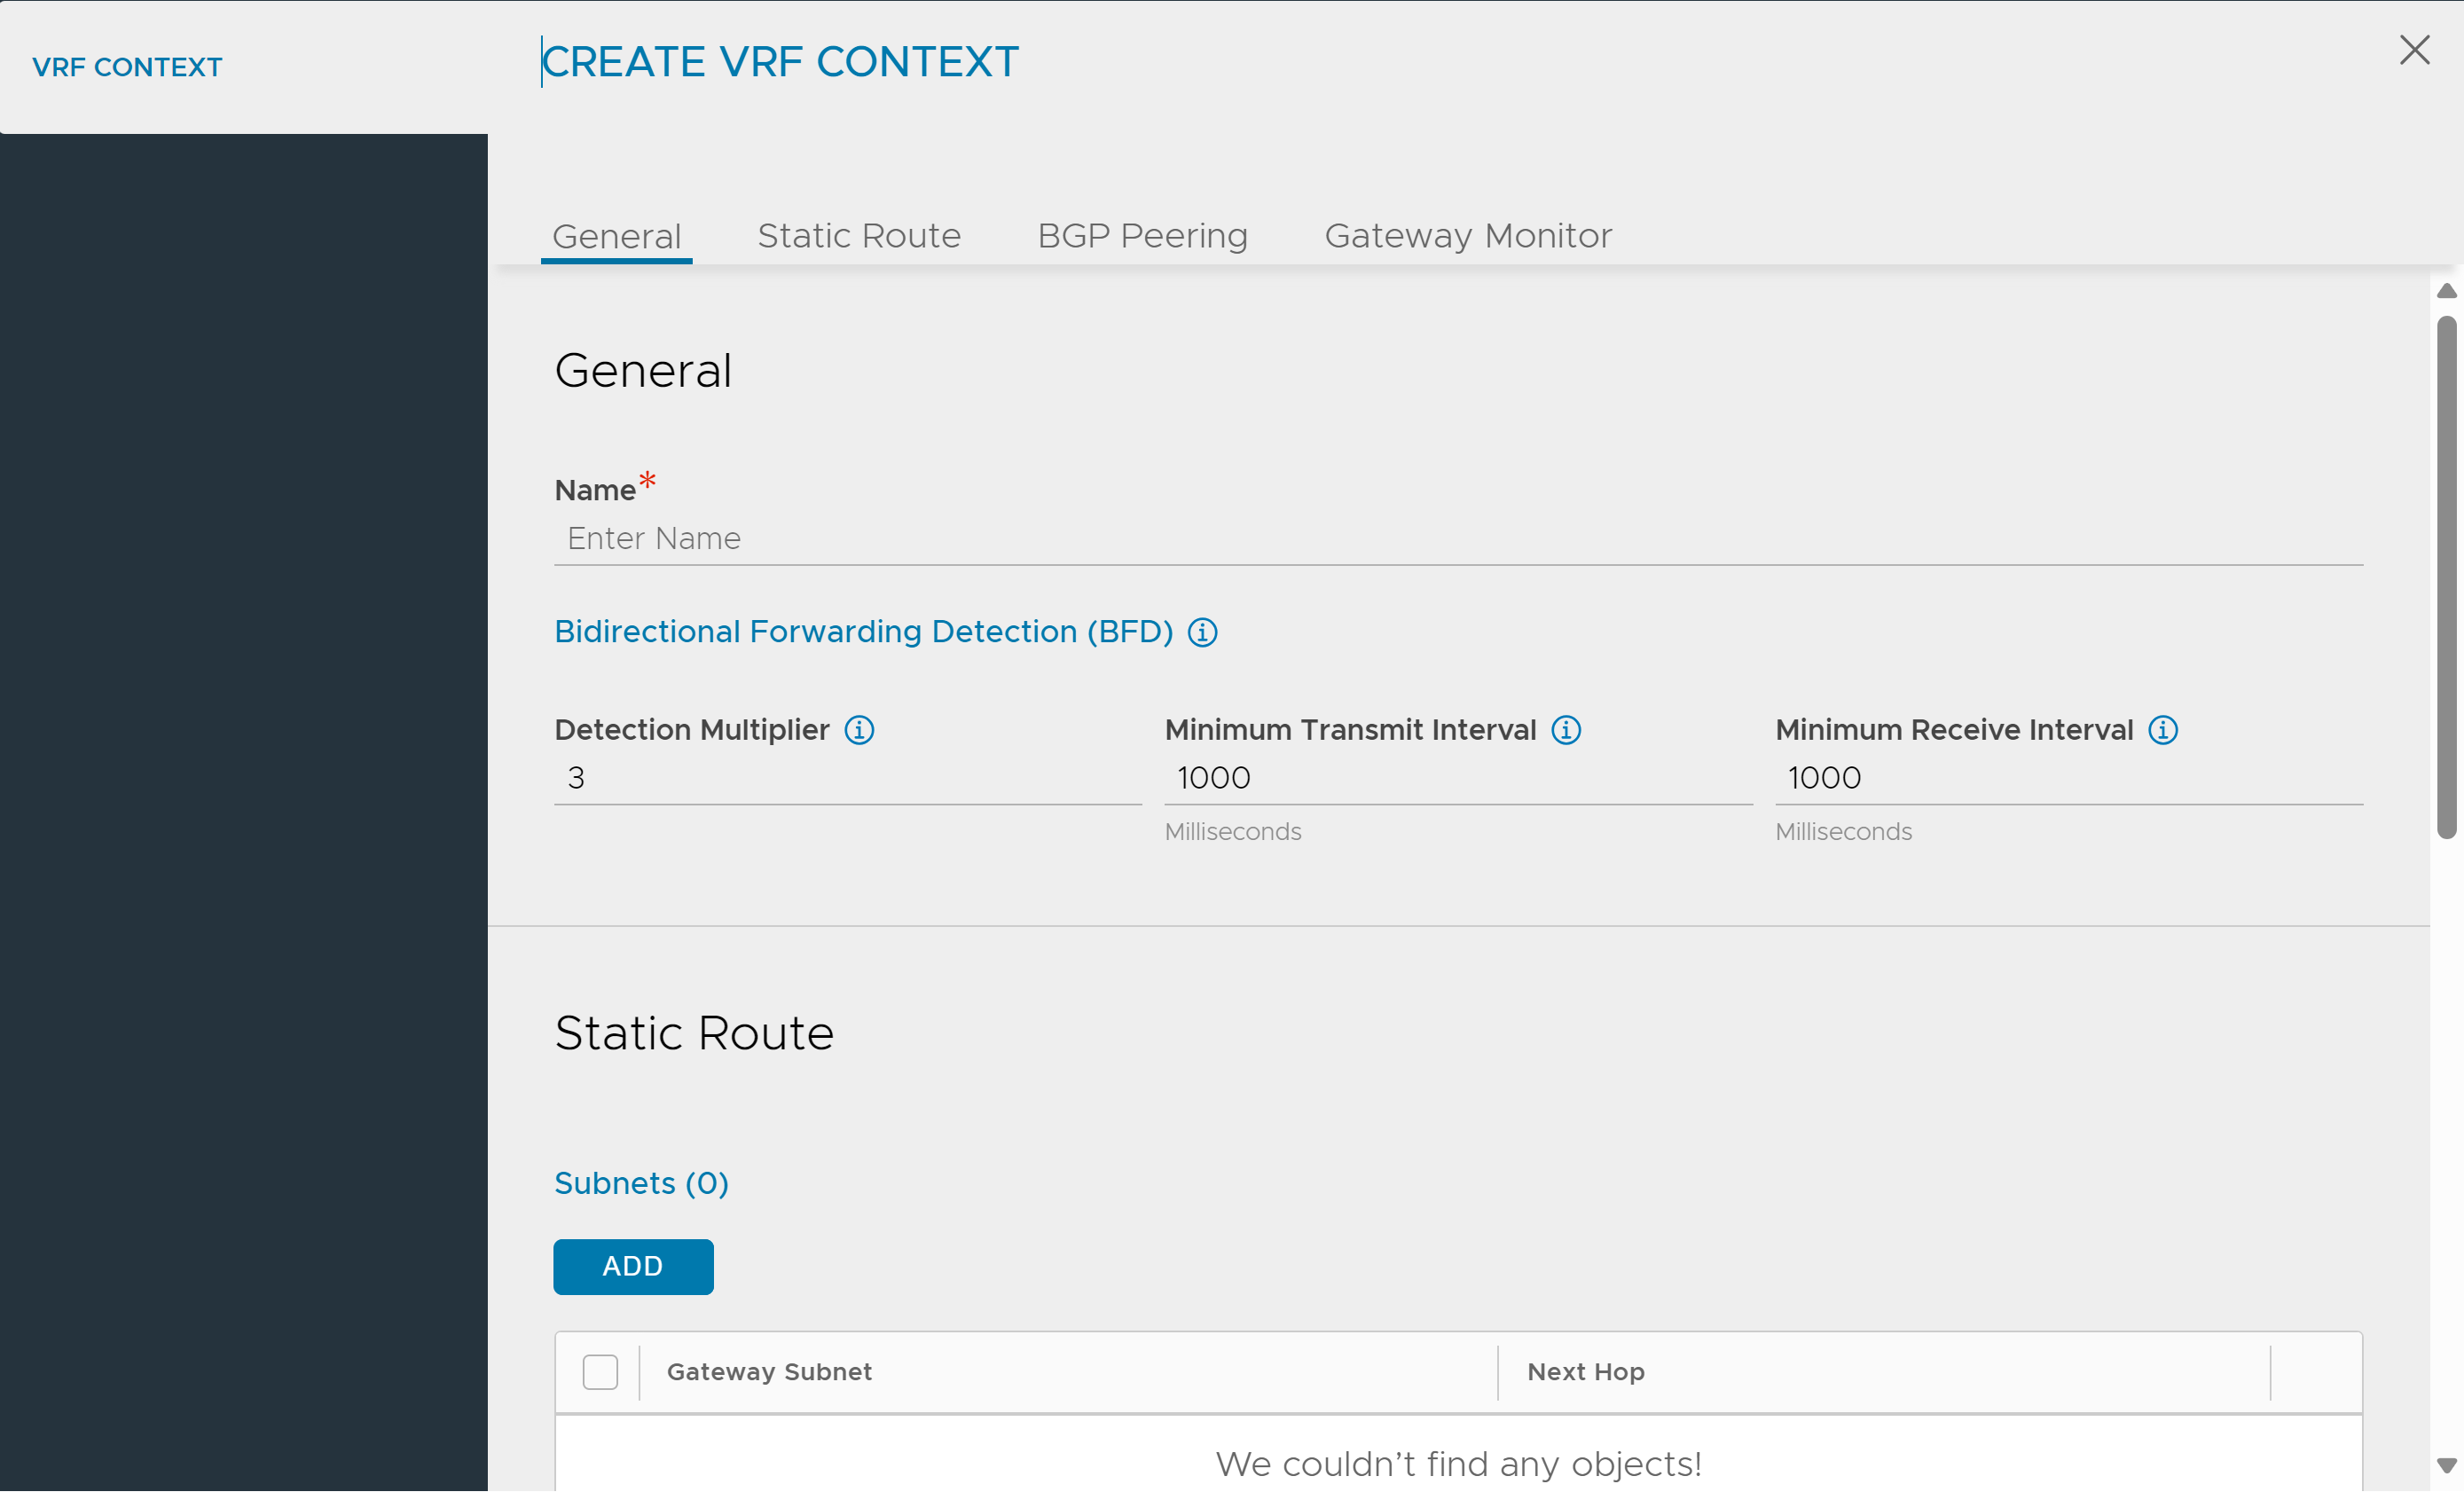
You can configure BGP profile using the web interface.
The following are the steps to configure BGP profile:
Navigate to .
Select the required cloud from Select Cloud drop-down menu. You can either create a new VRF context by clicking CREATE button or edit an existing VRF context.

General Tab
You can specif the following details:
Name: Specify the VRF context name.
Bidirectional Forwarding Detection (BFD)
- Detection Multiplier:
-
Specify the detection multiplier used in BFD. The range is from 3 to 255.
- Minimum Transmit Interval:
-
Specify the desired minimum transmit interval in milliseconds used in BFD. The range is from 500-4000000.
- Minimum Receive Interval:
-
Specify the minimum receive interval in milliseconds used in BFD. The range is from 500-4000000.
Static Route Tab
Click ADD to specify static route details such as Gateway Subnet and Next Hop.
BGP Peering Tab
Check Enable BGP Peering box to specify BGP peer details.
BGP Autonomous System (AS) ID: Specify the local autonomous system ID. The range is between 1 and 4294967295.
Type: Select the BGP peer type as iBGP or eBGP.
Keepalive Interval: Specify keepalive interval for peers. The range is from 0 to 3600.
Hold Time: Specify the hold time for peers. The range is from 3 to 7200.
Local Preference: Specify the local preference to be used for routes advertised.
This is applicable only for iBGP.
Number of AS-Path Prepend: Specify the number of times the local AS must be prepended additionally. The range is from 1 to 10.
Routing Options: Click ADD to specify the following details:
Label: Specify the routing label.
Learn Routes: Select this option to learn routes from the BGP peer. Enabling this field deactivates Learn Only Default Routes and Advertise Routes fields.
Advertise Only Default Routes: Select this option to advertise self as default router to the BGP peer. Enabling this field deactivates Learn Only Default Routes and Advertise Routes fields.
Learn Only Default Routes: Select this option to learn only default route from the BGP peer. Enabling this field deactivates Learn Routes and Advertise Only Default Routes fields.
Advertise Routes: Select this option to advertise the learned routes to the BGP peer. Enabling this field deactivates Learn Routes and Advertise Only Default Routes fields.
Max Learned Routes: Specify the maximum number of routes that can be learned from a BGP peer. The range is from 50 to 250.
Peer: Click ADD to specify the following details:
Label: Specify the label used to enable learning and/ or advertising the routes to this peer.
Placement Network: Select the network providing reachability for the peer from the drop-down menu.
IPv4 Prefix: Specify the subnet providing reachability for peer.
IPv4 Peer: Specify the IP address of the BGP peer
IPv6 Prefix: Specify IPv6 subnet providing reachability for the peer.
IPv6 Peer: Specify the IPv6 address of the BGP peer.
MD5 Secret: Specify peer autonomous system MD5 digest secret key.
Advertisement Interval: Specify the advertisement interval in seconds for this peer. The range is from 1 to 60.
Connection Timer: Specify the connection time in seconds for this peer. The range is from 1 to 120.
Keepalive Interval: Specify the keepalive interval in seconds for this peer. The range is from 0 to 3600.
Hold Time: Specify the hold time in seconds for this peer. The range is from 3 to 7200.
Enable Bi-Directional Forward Detection (BFD): Select this option to enable bi-directional forward detection. Only asynchronous mode is supported.
Advertise VIP to Peer: Check this box to advertise VIP to this peer.
Advertise SNAT to Peer: Check this box to advertise SNAT IP to this peer.
Use iBGP as Local Override: Check this box to override the profile level
local_aswith the peer levelremote_as.
Gateway Monitor Tab
Click ADD to specify IP address to monitor.